manuals.online logo
Brands
  1. Home
  2. •
  3. Brands
  4. •
  5. BOX DOCCIA
  6. •
  7. Shower Cabin
  8. •
  9. BOX DOCCIA NADIA User manual

BOX DOCCIA NADIA User manual

2.2
2.3
FIRST STAGE
SECOND STAGE
3.1
3.2
THIRD STAGE
Reversible enclosure
If you wish the left opening,
just slide the door in the rail
proles, with the handle facing
towards the inside.
FOURTH STAGE
Assembly instructions
Insert the upper and lower rail prole
in the angle brackets of the
previously assembled left side prole.
FIFTH STAGE SIXTH STAGE
2.1
Assembly instructions
Slide the folding door in both upper
and lower rail prole, as shown in
gure, making sure that all door
supports are inserted in the rail prole.
To make the operation easier cluster
the folding doors.
Assembly instructions
Insert the upper and lower rail prole
in the angle brackets of the previously
assembled right side prole.
Folding door“X” n. 2
Folding door“1”n. 2
n. 2
n. 1
Spare parts n. 3
n. 1
n. 2
n. 1
Magnetic plate n. 1
Level, pencil, awl, hammer, drill, drill bit 6 mm,
cross screwdriver, silicone caulking gun.
Assembly tools
Inner side shower compartment
Side to x
to wall
Outer side compartment
Assembly instructions
Tale the left-side prole and place it, as shown in the gure,
with the widest part facing outward. Place an angle bracket
marked by the number "1" in the upper part (Fig. 3.1) and an
angle bracket marked by an "X" in the lower part (Fig. 3.2).
IMPORTANT: The sides of the angle bracket marked by the "X"
and "1" should not be inserted within the prole, but must
remain outside, so that symbols remain visible.
Anchors and screws n.10+12
: Inner side shower compartment
Outer side compartment
Assemby instructions
Take the right-side prole, which has two small holes (in the
middle) for xing the magnetic plate (Fig. 2.1) and place it,
as shown in the gure, with the widest part facing outward.
Place an angle bracket marked by the number "1" in the
upper part (Fig. 2.2) and an angle bracket marked by an "X"
in the lower part (Fig. 2.3).
IMPORTANT: The sides of the angle bracket marked by the
"X" and "1" should not be inserted within the prole,
but must remain outside, so that symbols remain visible.
Reversible enclosure
The images and assembly
are related to the enclosure
with right opening.
If you wish the left opening,
simply invert the position
of the two side proles,
in order to have the prole
with the small holes for
xing the magnetic plate
(Fig. 2.1) on the left side.
NADIA
SIDE OPENING
ASSEMBLY INSTRUCTIONS
Folding door
Attachment door prole
Incoming prole for door Rail prole Side prole
Side prole section
Side to x
to wall
Side prole section
SEVENTH STAGE
TENTH STAGE
Istruzioni di montaggio
ELEVENTH STAGE TWELFTH STAGE
THIRTEENTH STAGE FOURTEENTH STAGE
7.2
7.1
8.1
8.2
6mm
EIGHTH STAGE
NINTH STAGE
Incoming prole
for door section
Incoming prole
for door section
x1
x2
x2
x1
x2
x2
x1
x2
x2
x1
x2
x2
n.1
n.2
n.2
n.1
n.2
n.2
Assembly instructions
Take the assembled enclosure and put it into the enclosure
compartment. Mark on the walls, with an awl, the ten holes on
the proles (Fig. 7.1).
IMPORTANT: The prole must be perfectly plumb (Fig. 7.2).
NOTICE: Ensure that in the wall there are no power or telephone
lines, water pipes or gas.
Move the enclosure away from the wall and with a drill pierce
the ten holes where the marks were drawn up (Fig. 8.1).
Insert anchors into the holes (Fig. 8.2).
NOTICE: Ensure that in the wall there are no power or
telephone lines, water pipes or gas.
10.1
10.2
Assembly instructions
Take the assembled shower enclosure
and add it in the shower compartment.
Secure the enclosure to the walls with
screws, being careful not to use
excessive force.
Assembly instructions.
From inside the shower compartment, insert, interlocking,
the attachment door prole (Fig. 10.2) in the left side prole
(Fig. 10.1). Exercise, top to bottom, the pressure needed to
hear the insert click. Proceed, then, for the entire length of the
side prole. NOTICE: Careful not to mistake the attachment
door prole (Fig. 10.2) with the incoming door prole (Fig. 10.3)
Reversible enclosure
Assembly instructions
From inside the shower compartment, insert, interlocking,
the incoming prole for door in the right side prole.
Exercise, top to bottom, the pressure needed to hear the insert
click. Proceed, then, for the entire length of the side prole.
Istruzioni di montaggio
From inside the shower compartment insert,
interlocking, the last semitransparent
component of the folding doors in the
attachment door prole, previously installed.
Exercise, top to bottom, the pressure needed
to hear the insert click. Proceed, then, for the
entire length of the side prole.
Assembly instructions
Screw the magnetic plate to
incoming prole for door.
Assembly instructions.
Assembly instructions
Apply silicone on the outside of
the enclosure and let it dry for at
least 24 hours.
Lubricate the rail proles using
liquid soap or liquid cream,
to facilitate doors sliding.
Instructions
To prevent fraying,
if necessary, secure
the rail proles with
the screws,
as shown.
10.3
Proles Section
If you wish the opening to the left, just enter the
attachment door prole in the right side prole.
Proles Section Proles Section
If you wish the opening to the left, just enter the incoming
prole for door in the left side prole.

Popular Shower Cabin manuals by other brands

Alumax Stickstall 794 Series installation instructions

Alumax

Alumax Stickstall 794 Series installation instructions

Jacuzzi Summer Rain 2 Wall and 3 Wall Installation and operating instructions

Jacuzzi

Jacuzzi Summer Rain 2 Wall and 3 Wall Installation and operating instructions

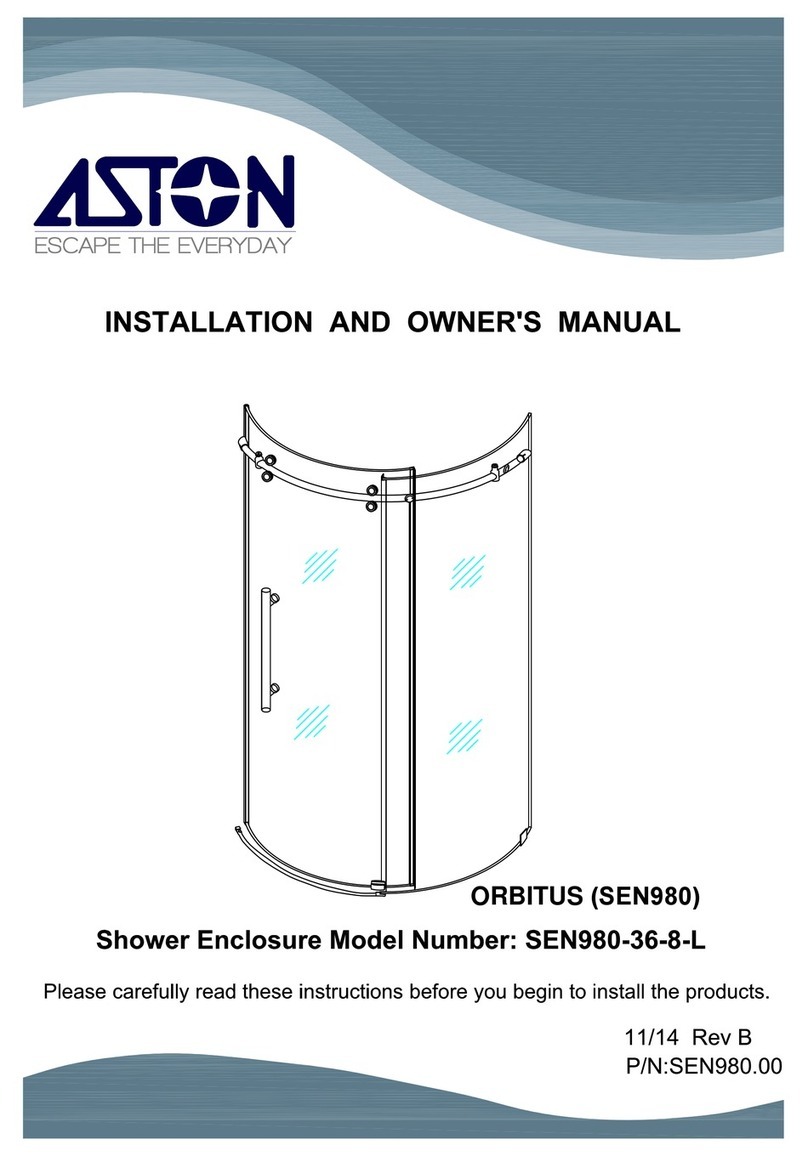
Aston Global SEN980-36-8-L Installation and owner's manual

Aston Global

Aston Global SEN980-36-8-L Installation and owner's manual

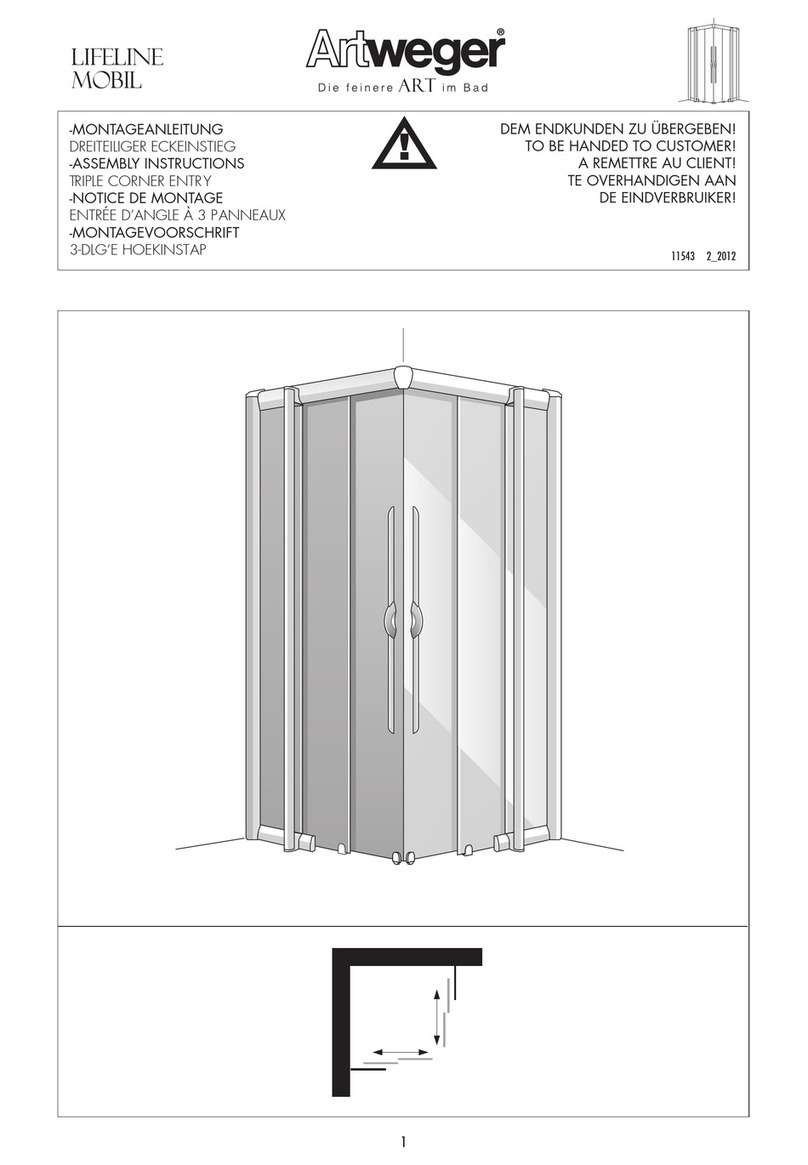
Artweger Lifeline Mobil Assembly instructions

Artweger

Artweger Lifeline Mobil Assembly instructions

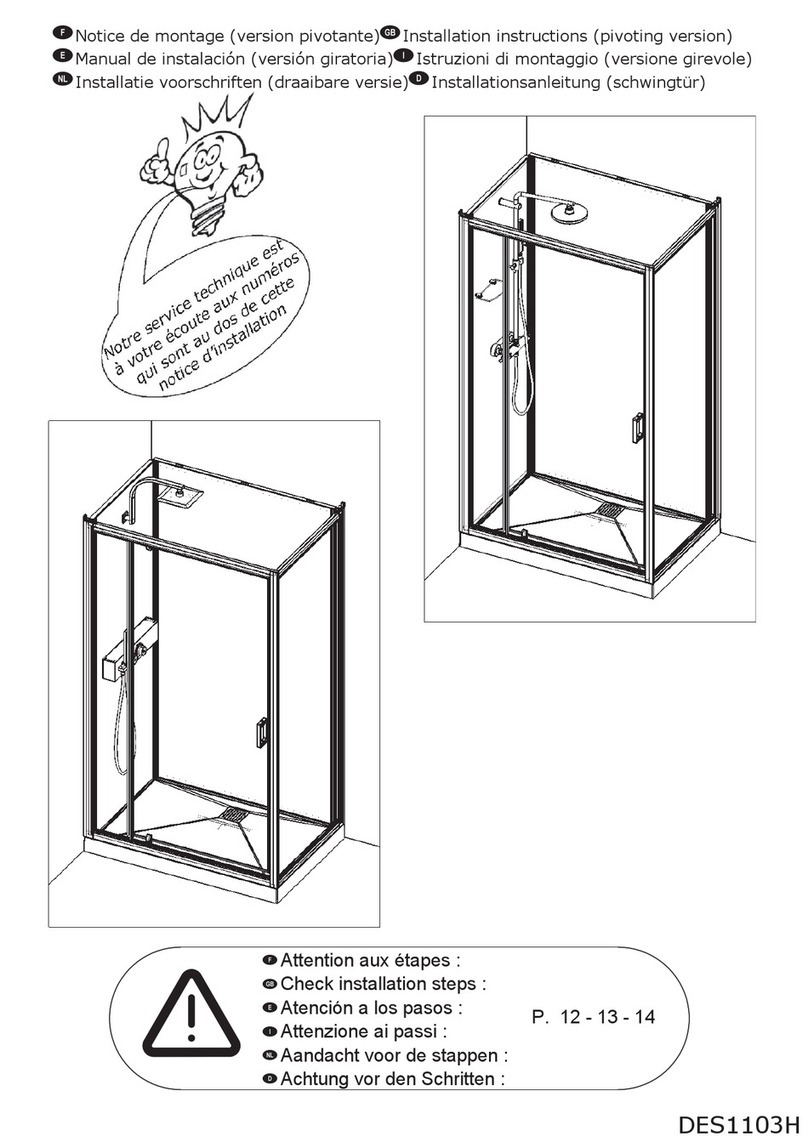
Kinedo EDEN 2 installation instructions

Kinedo

Kinedo EDEN 2 installation instructions

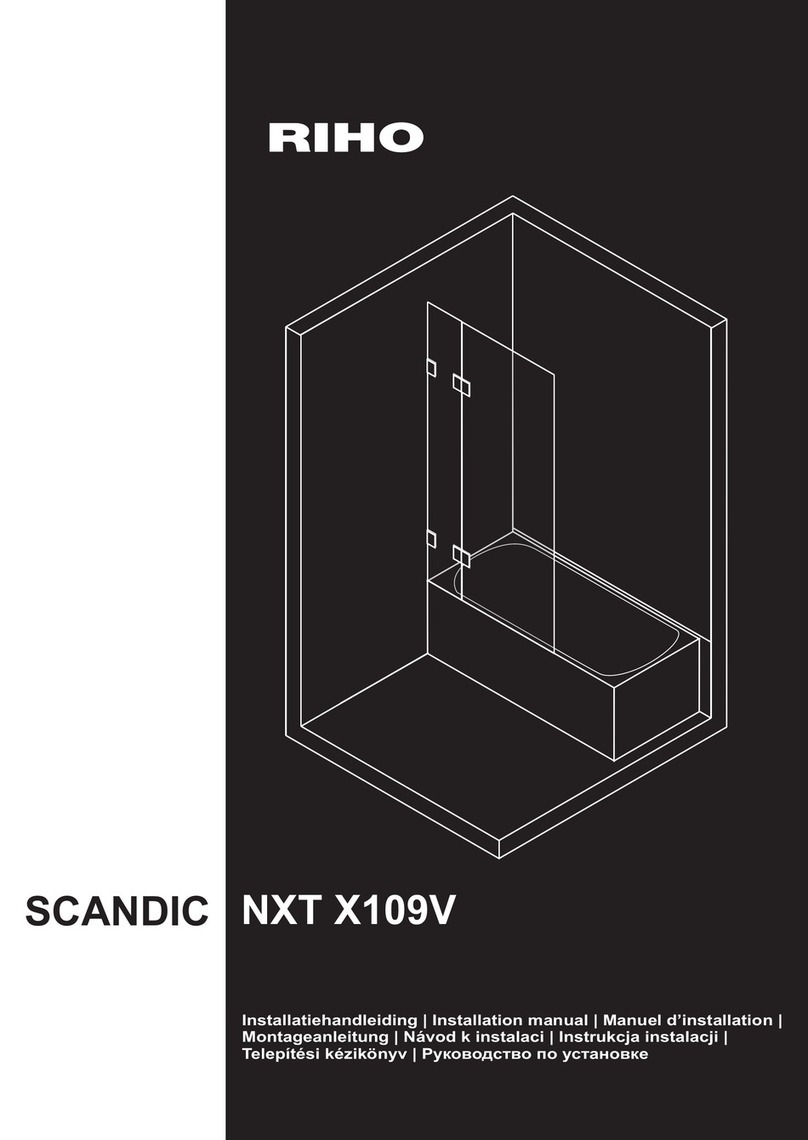
RIHO SCANDIC NXT X109V installation manual

RIHO

RIHO SCANDIC NXT X109V installation manual

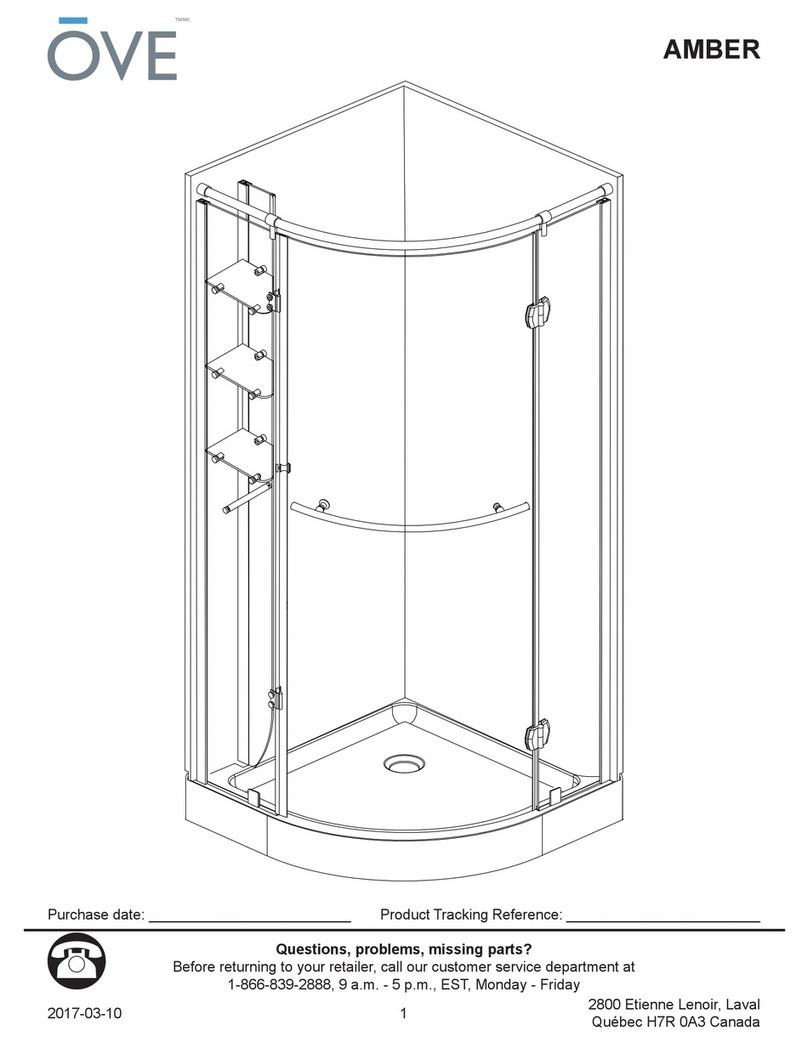
OVE AMBER manual

OVE

OVE AMBER manual

Radaway Fuenta New KDJ-B Assembly instruction

Radaway

Radaway Fuenta New KDJ-B Assembly instruction

Omnires NDC80X Installation and Maintenance

Omnires

Omnires NDC80X Installation and Maintenance

AFG KERMI LIGA LIG3L100201AK Cleaning and maintenance

AFG

AFG KERMI LIGA LIG3L100201AK Cleaning and maintenance

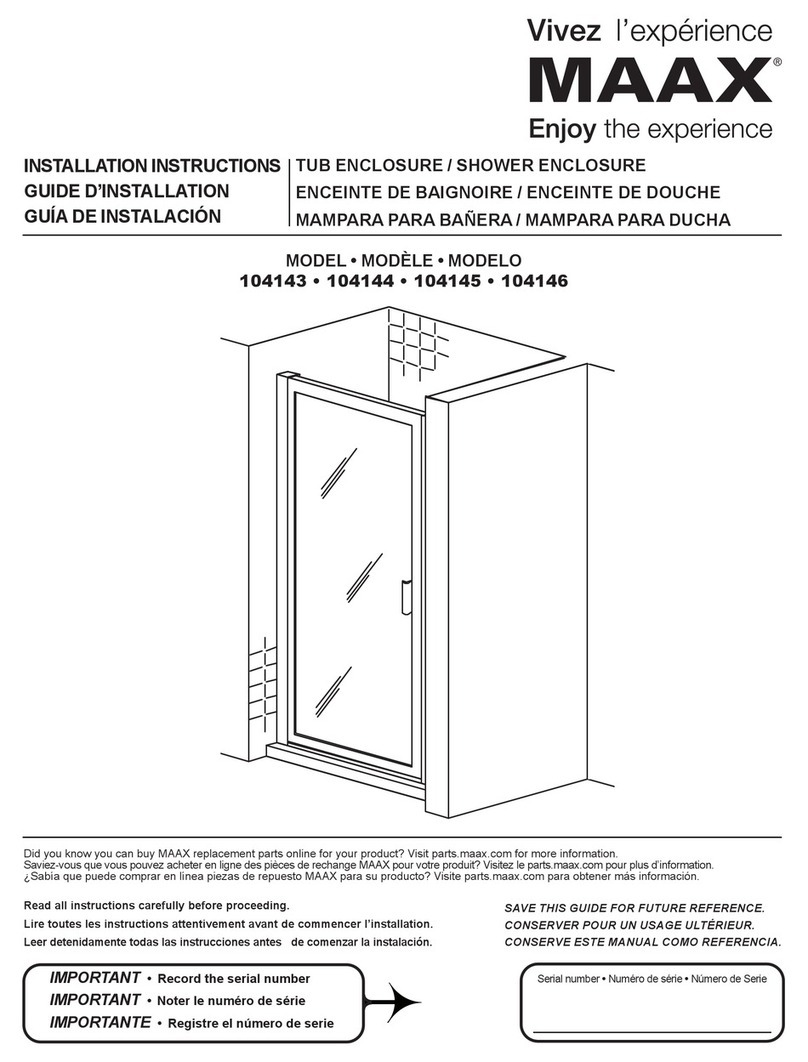
MAAX 104143 installation instructions

MAAX

MAAX 104143 installation instructions

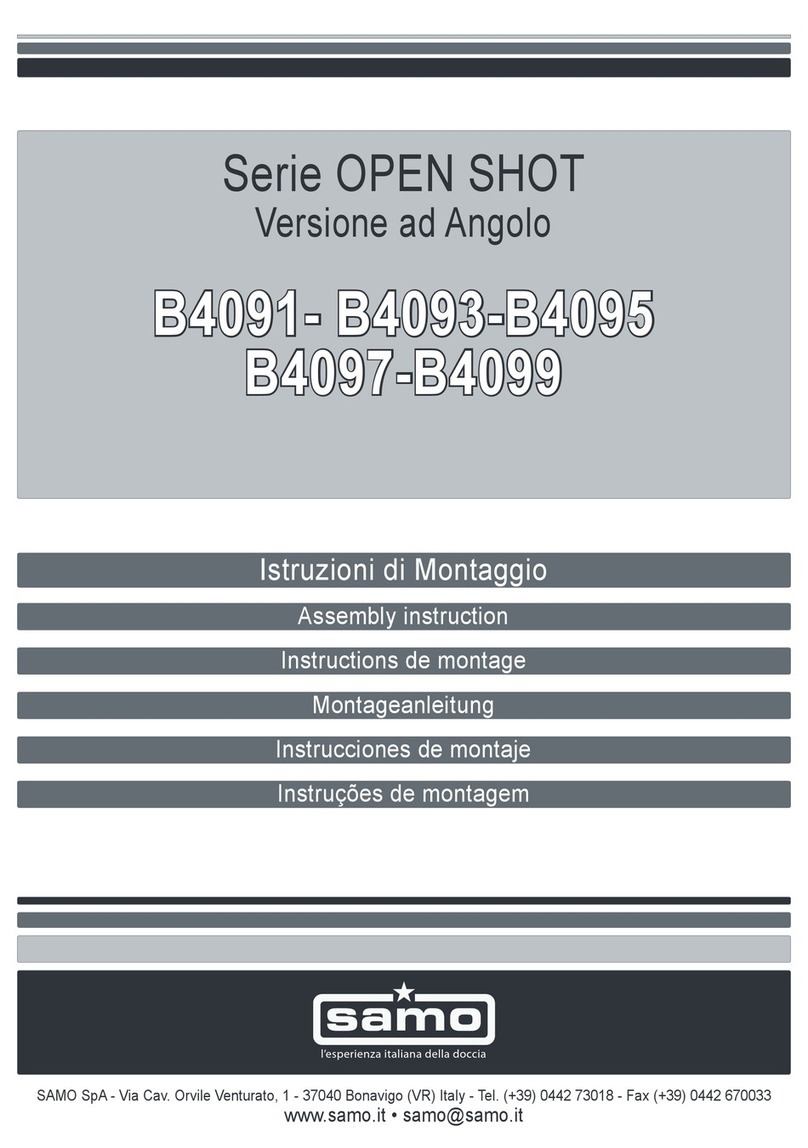
Samo Open Shot Series Assembly instruction

Samo

Samo Open Shot Series Assembly instruction

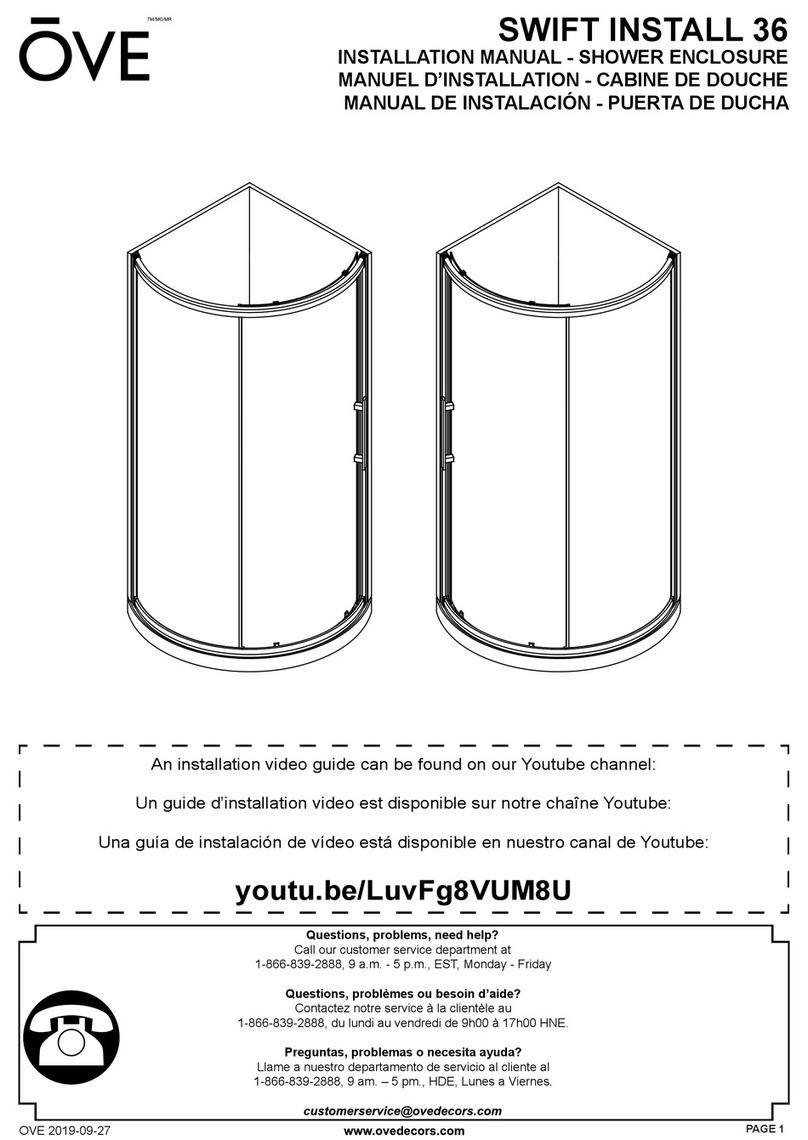
OVE SWIFT INSTALL 36 installation manual

OVE

OVE SWIFT INSTALL 36 installation manual

STEIN GEORGIA SQUARE quick start guide

STEIN

STEIN GEORGIA SQUARE quick start guide

INDA B4430 F manual

INDA

INDA B4430 F manual

OVE NIKO 48 installation manual

OVE

OVE NIKO 48 installation manual

OVE CAMILLA 48 instruction manual

OVE

OVE CAMILLA 48 instruction manual

Insignia PR12L-OBF-CG-S installation manual

Insignia

Insignia PR12L-OBF-CG-S installation manual

manuals.online logo
manuals.online logoBrands
  • About & Mission
  • Contact us
  • Privacy Policy
  • Terms and Conditions

Copyright 2025 Manuals.Online. All Rights Reserved.