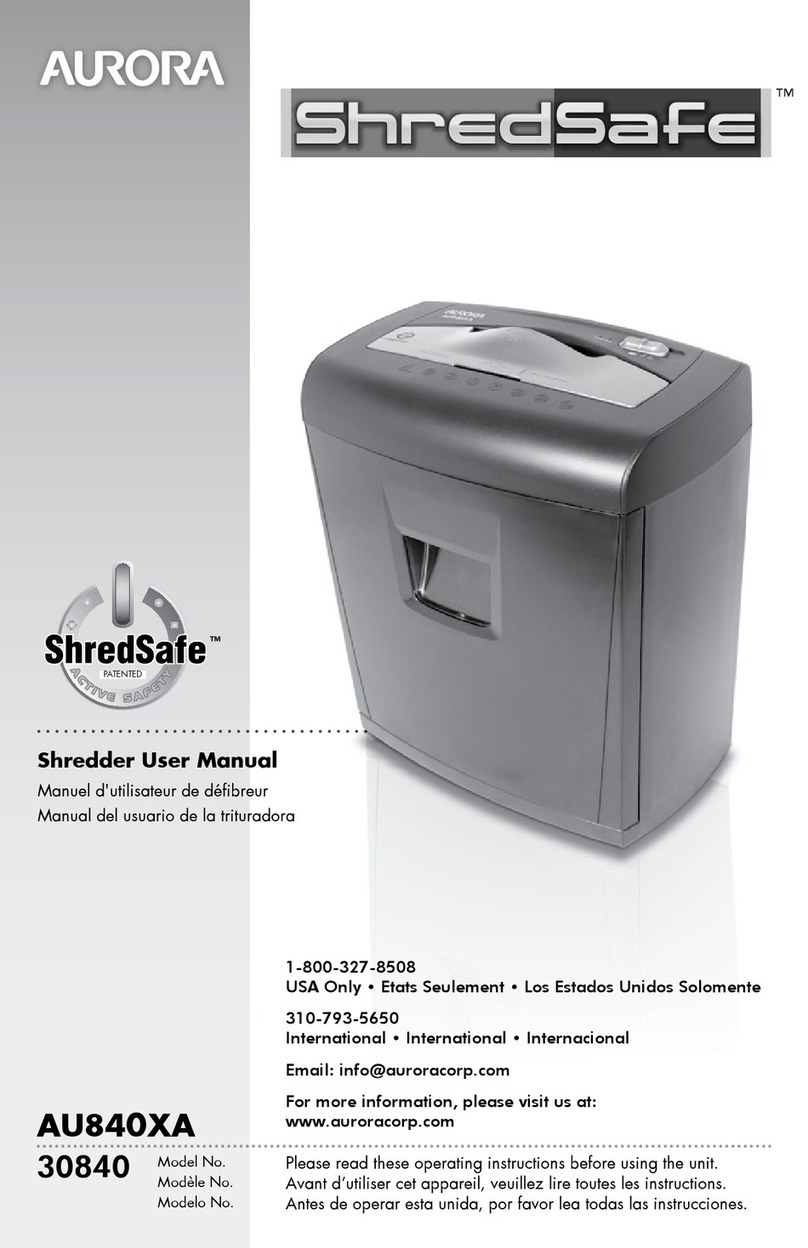
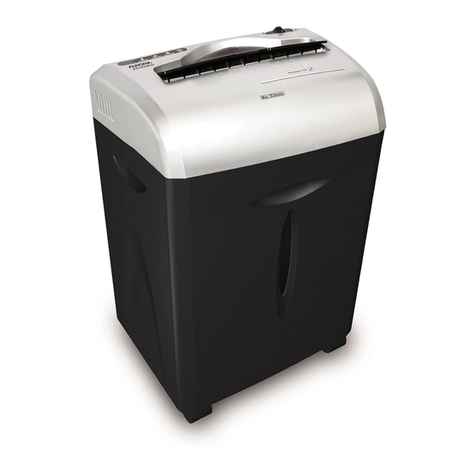
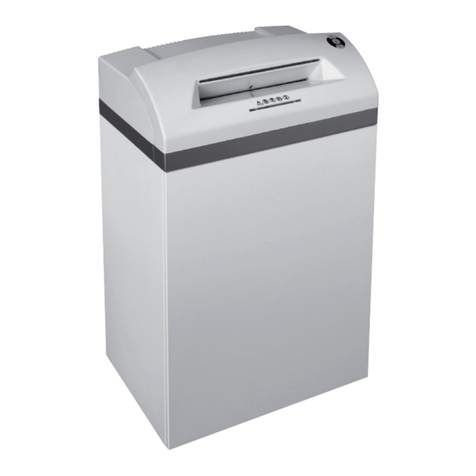
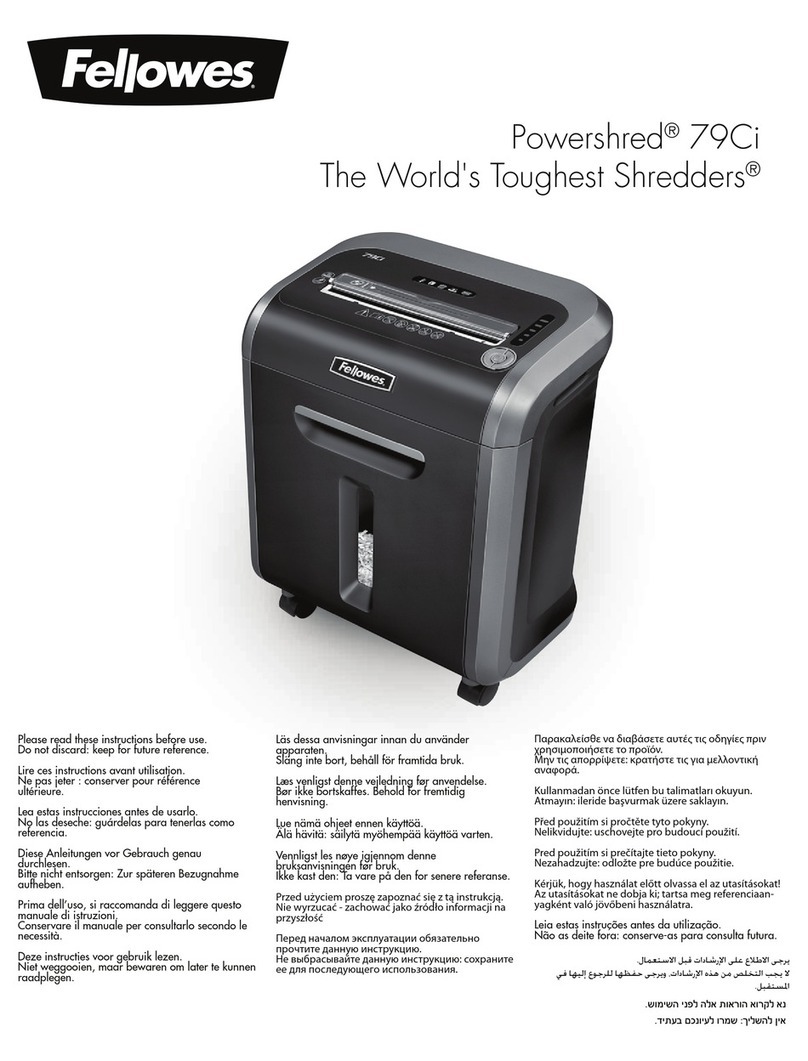
Boxis Nanoshred BN100P Series User manual

BN100P SERIES

Contents
Product Diagram ............................................................................................ 3
Warnings......................................................................................................... 4
Installation / Safety Instructions ..................................................................... 5
Technical Specifications / Assembly / Setup ................................................. 6
Operation..................................................................................................... 7-8
Maintenance ................................................................................................... 8
Warranty ......................................................................................................... 9
Return Instructions & Contact Info ................................................................. 9
PRODUCT SUPPORT
ULTRA HIGH LEVEL SECURITY
This Boxis®Nanoshred™will render your most sensitive
documents into virtually unreadable particles! This
shredder offers an ultra high security level shredding in a
personal sized machine. The Boxis®Nanoshred™will turn
a letter-size document into at least 3,000 particles. Just
imagine the peace of mind knowing that your shredded
documents will never be deciphered!
MAXIMIZE BIN CAPACITY
One of the advantages of the nanocut®shred size is
the ability to maximize the space in the waste bin. The
nanocut®particles will fill your waste bin more densely
thereby optimizing the bin capacity.
LESS IS MORE PRODUCTIVITY
With the Boxis®Nanoshred™, you will have less bulk in
your trash! Compared to comparable crosscut or microcut
shredders, the Boxis®Nanoshred™can shred a lot more
documents before you have to empty the bin. Shred more
and empty less.
MICROCUT NANOCUT

3
1
year
Limited Product
Warranty
Paper Feed
Throat Rev/Off/Power
Switch
Wastebasket
Casters
REVERSE
OFF
POWER
CREDIT CARD
POWER
DOOR OPEN
OVERHEAT
OVERLOAD
Product Diagram

4
WARNINGS
CAUTION: KEEP THIS DEVICE AWAY FROM CHILDREN AND PETS!
Place the paper shredder in an area less accessible to children.
DO NOT PLACE FINGERS TOO CLOSE TO THE FEED SLOT AS
SERIOUS INJURY MAY OCCUR. Paper shredders can pull children’s
fingers into the shredder mechanism.
AVOID GETTING LOOSE CLOTHING OR JEWELRY NEAR THE
FEED SLOT.
AVOID GETTING HAIR NEAR THE FEED SLOT.
NEVER spray any aerosol-based products in or around the shredder.
NEVER dispose of flammable chemicals, or materials that have come
into contact with flammable chemicals (for example, nail polish, acetone,
gasoline) in the shredder basket. NEVER use any petroleum based or
flammable oils or lubricants in or around the machine, as some oils can
combust causing serious injury. Lubricants specifically designed for
shredders are acceptable.
NEVER place the shredder near water or any heat source.
Avoid direct contact with water.
STOP USE IMMEDIATELY IF:
1. The shredder blades become jammed with paper.
2. The shredder motor makes loud and/or irregular noises
during operation.
3. The shredder blades or paper guides become bent or
compromised in any way.
Continuing to operate your shredder with any of the above
conditions present could be potentially dangerous.
! !
STOP STOP

5
Installation
• Only operate this product from the type of power source indicated on the marking
label. If you are not sure of the type of power available, consult an electrician.
• Make sure the electrical outlet is easily accessible from the shredder.
• Shredder must be operated only in upright position.
• To make sure the shredder has proper ventilation, place it a minimum distance of
2 in. (5 cm) from the wall or furniture.
Safety Instructions
1. Read and follow all instructions before use. Save these instructions for later use.
2. Always turn off and unplug the machine before moving, servicing, cleaning, or
anything other than normal operation. Serious injury may result. Clean shredder
with a damp cloth, using a mild soap and water solution.
3. Do not use abrasives or petroleum-based cleaners.
4. Place this product as close as possible to power source for quick and easy
unplugging.
5. Turn off the power switch before removing waste bin. It is advisable to
disconnect the power cord before opening the shredder.
6. This product should never be placed near a radiator or other heat source.
7. Do not allow anything to rest on the power cord. Do not place the power cord
where people may walk on it.
8. If an extension cord is used with this product, make sure the total ampere (amps)
ratings on the products plugged into the extension cord do not exceed the
extension cord’s ampere rating.
9. Do not attempt to service this product yourself, as opening or removing
covers may expose you to risks of getting injured. Also, doing this will void the
shredder’s warranty.
10. Unplug this product and contact technical support when:
• The power cord or plug is damaged or frayed.
• Liquid has been spilled on the product.
• The product has been exposed to rain.
• The product does not operate normally, even when the operating instructions
are followed.
• The product has been dropped, or the casing has been damaged.
11. This shredder should be operated only with an operator in attendance.
12. Empty the waste bin regularly so that the waste output is not impeded.
13. This machine can shred normal paper and credit cards. However, you should
shred only one type of these items at a time to avoid causing an overload.

6
Assembly
NOTE: This shredder will operate only when used with the supplied basket. The
supplied basket has a built-in safety feature which prevents the shredder from
operating if used with any other basket or if improperly assembled.
This shredder contains sharp edges on the underside of the shredder head.
The plug on the power supply cord is intended to serve as the disconnect
device, so the socket-outlet should be installed near the equipment and should
be easily accessible.
Setup
1. Place the machine on level ground and plug the power cord into any easily
reached grounded electrical outlet.
2. Make sure the wastebasket is correctly positioned.
3. Connect the power cord to any standard 120 volt AC outlet. For pluggable
equipment, the socket-outlet shall be installed near the equipment and shall
be easily accessible.
3. Slide the switch to ON position.
4. Insert paper to activate.
Paper Clips and Staples:
IMPORTANT ! This shredder should NEVER shred anything made of metal:
staples, small paperclips, industrial or non-standard size staples, jumbo and/
or butterfly paperclips, or binder clips. ONLY paper can be inserted to be
shredded, otherwise damage will be caused to the blades.
Technical Specifications
Cutting Type ........................................................................................... Nano Cut
Shred Size .................................................................... 0.08 x 0.39 in. (2 x 10mm)
Will Shred ...........................................................................................Paper ONLY
Continuous Operation ............................................................................2 minutes
Cool Down Time...................................................................................30 minutes
Bin Size ......................................................................... 3.50 gallons (13.25 liters)
Unit Dimensions .......................12.8 x 8.46 x 16.85 inches (325 x 215 x 428 mm)
Unit Weight .................................................................................. 13.23 lbs (6.0kg)

7
Cautions:
1. All shredders have very sharp, exposed blades on the underside. Please use
care when mounting the shredder on to the wastebasket.
2. Make sure power cord is not damaged in any way and that the outlet is
properly functioning.
3. It is normal for residual lubricant in the motor to burn off during the first
several extended uses of your shredder. Should you notice a slight burning
odor or the presence of small wisps of smoke during the first several
extended uses, you may continue using the shredder. If either symptom
continues to occur after repeated use, please contact technical support for
assistance.
Operation
Please read operating instructions before using shredder. Check machine for
damage or defect; remnants of paper particles found in the waste bin are normal
due to product testing.
Clearing a Jam
If paper is not inserted properly into the shredder, or if the sheet capacity is
exceeded, a jam may result. Move the switch to the REVERSE (<<) position,
and remove the excess paper from the top and pull it out. TO PREVENT ANY
INJURIES, DO NOT PLACE YOUR HANDS NEAR THE FEED OPENING. Once
the paper is cleared, normal shredding operation can resume. If the shredder
jams while in reverse, press the switch to the AUTO position and let shredder
run to clear the jammed paper. If jam does not clear, slide the switch back and
forth between the REV and AUTO until the jam is cleared. If the jam cannot
be cleared following this procedure, unplug the unit and carefully remove the
jammed paper manually.
Overheating
If your shredder overheats, the unit will automatically shut off and all functions
will cease in order to protect the motor. Turn off and unplug the shredder from
the outlet. Allow enough time for the motor to cool down. The shredder will not
resume normal function until the temperature of the motor cools down to a safe
temperature. Once cool, plug the shredder back into the outlet, turn the unit
back on and resume normal operation. Make sure to empty waste basket to
avoid overloading the basket and damaging the cutting mechanism.

8
Operation (cont’d)
Bin Full Function
Some shredders are equipped with a mechanical or optical Bin Full sensor.
When the basket becomes full, the shredder will cease operation. Empty basket
to resume operation.
Emptying Basket
Always turn the shredder off and unplug the power cord from the AC outlet
before cleaning it, moving it, or emptying the wastebasket. Always keep
wastebasket emptied so that the shredder’s output is not impeded. Never let the
wastebasket get full. This will lead to shredded material being pulled back up
into the shredder and cause jams.
MAINTENANCE:
Apply lubricant after 30 minutes of shredding or a minimum of twice per month.
Only shredder lubricant sheets or bottled lubricant designed specifically for
shredders should be used. Follow the instructions provided with the shredder
lubricant. NEVER USE AN AEROSOL LUBRICANT, or any lubricant that is
flammable. Refer to the warnings provided in this shredder manual.
Shredder bag will fit this model.

9
Warranty and Product Registration
The manufacturer warrants the machine for a limited time to be free from defects in
material and workmanship, does NOT include normal wear and tear. If any part is
found to be defective during the warranty period, your sole and exclusive remedy will
be repair or replacement, at the manufacturer’s option and expense, of the defective
part except for the shipping cost. It is the responsibility of the consumer to pay the
shipping costs to return the machine to the manufacturer.
*Parts and labor first 90 days. After 90 days, parts only.
This warranty is valid for the original consumer only with original proof of
purchase and is not transferable. This warranty does not apply in cases of abuse,
mishandling or unauthorized repair. ANY IMPLIED WARRANTY, INCLUDING THAT
OF MERCHANTABILITY OR FITNESS FOR A PARTICULAR PURPOSE, IS HEREBY
LIMITED IN DURATION TO THE APPROPRIATE WARRANTY PERIOD SET FORTH
ABOVE. In no event shall the manufacturer be liable for any consequential or
incidental damages attributable to this product. This warranty gives you specific legal
rights. You may have other legal rights that vary according to the laws of each state.
For more details, or to obtain service under this warranty, please contact us
at 866-377-4771.
Please retain original proof of purchase to ensure that your product is recorded and
warranty information received.
Return Instructions
1. Before you return your shredder, call 866-707-1854 for a Return Authorization
Number (RA#), shipping instructions, and the manufacturer’s address.
2. Make a photocopy of the proof of purchase (store receipt), showing original
purchase date, and tape it securely to the shredder (DO NOT send the original
receipt).
3. Pack the shredder in its original carton, or equivalent, and write the RA# clearly on
the outside of the box.
4. Ship the shredder to the address provided. Save your shipping receipt.
Call us for an ra# before returning a defective product.
Product Registration:
Please register your new product by calling 866-707-1854.
Contact Us:
For more information, please call 866-707-1854, or email us at
support@boxisshredder.com.


Table of contents
Other Boxis Paper Shredder manuals
