Boxx Atom User manual

Before Using the Boxx Atom System
Before using the Atom system for the first time, please inspect the outer casing, plugs and cables for any physical
damage as well as slowly rotate the unit to ensure all components are in place and nothing has come loose during
ship-ping.
Safety Guidelines
The following guidelines will help to ensure the safe use of the Boxx Atom system:
• Keep all ventilation holes clear and unblocked and proper ventilation is provided at all times when in use.
• Do NOT insert objects of any kind into the ventilation holes as this may result in damage to the unit
• Do NOT use when wet and provide adequate cover when using in the rain.
• Do NOT use liquid cleaners or aerosol cleaners on the unit. Use a damp cloth for cleaning.
• Do NOT disassemble this product.
If you require assistance or are concerned about the working condition of the Boxx Atom system, please contact our
Service team at [email protected] or call +44(0)203 507 0385.
Using the Boxx Atom System
The Boxx Atom Lite system has been designed to be compact and lightweight with a durable aluminum enclosure. Care
should be taken to avoid damaging the sensitive circuit board inside. Do not attempt to open or service the unit, as the
internal circuits and antennas have been configured for optimum performance. Opening the Boxx Atom unit will void
the unit’s warranty.
Maintaining “line-of-sight” between the transmitter and receiver will optimise the range of the system. The Boxx Atom
system has a unique transmission system which has been designed to transmit through walls and floors from a
moving camera. All microwave transmission systems will have issues transmitting through objects such as concrete,
steel, glass, water and the human body.
Accessories
It is recommended that only the accessories that come with or are purchased from Boxx TV are used with the Boxx
Atom system. Use of other accessories may damage the unit. Any units damaged by 3rd party cables or
accessories are not covered by the warranty.
The following accessories are included in the price of the Boxx Atom units Replacement accessories can be
purchased directly from Boxx TV or a local reseller.
Boxx TV Ltd. • Suite 17, Imperial Studios, 3-9 Imperial Road, London SW6 2AG
T: +44 (0)203 507 0385 • F: +44 (0)207 900 6350 • sales@boxx.tv • www.boxx.tv
User Guide: Boxx Atom System V1.1 -
April 2017

User Guide: Boxx Atom System V1.1 -
April 2017
Boxx Atom Transmitter Accessories
QTY Product Code Description
2 ANT601 5dBi 5GHz 14cm RP-SMA antenna
1 CBL101 BNC to BNC 40cm video/audio cable
1 CBL103 4-pin Hirose to 2-pin Anton D-tap power cable
1 CMP001 Super Clamp
1 CMP003 Adjustable Tilt Arm
Boxx Atom Receiver Accessories
QTY Product Code Description
1 CBL101 BNC to BNC 40cm video/audio cable
1 CBL103 4-pin Hirose to 2-pin Anton D-tap power cable
1 PS1206 100-240V~50/60Hz 0.3A Power Supply
1 CMP001 Super Clamp
1 CMP003 Adjustable Tilt Arm

Boxx Atom Transmitter Operations
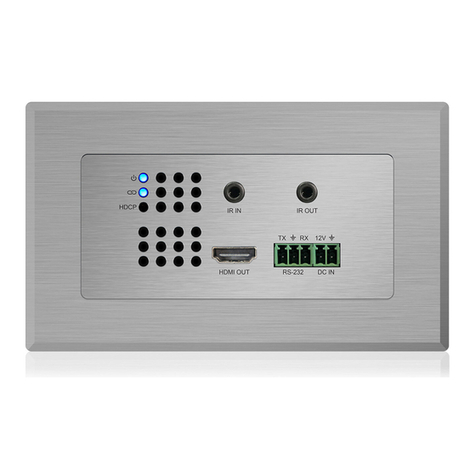
A. Channel LCD Window
B. Channel Selection Button
C. 3G HD-SDI Video/Audio Output
D. 3G HD-SDI Video/Audio Input
E. 4-pin Hirose 7-36V DC Power Input
F. RP-SMA Antenna Port
G. Video Status Indicator LED
H. Power Status Indicator LED
I. HDMI Video/Audio Input
J. Fan Speed Control Pot
K. 1/4” Threaded Mount
L. Unit Serial Number
Boxx Atom Transmitter Setup
Power Supply
1. Using the CBL103 supplied with the Boxx Atom Transmitter, insert the 4-pin Hirose plug on the cable into the
4-pin socket on the Boxx Atom Transmitter (Fig 1-E).
2. Insert the 2-pin Anton D-tap plug on the CBL103 cable into the the 2-pin Anton D-tap socket on the camera or
battery plate.
3. The Boxx Atom Transmitter will automatically turn on once power has been supplied to a unit and the last
channel used will be displayed on the Channel LCD Window (Fig 1-A).
Notes:
The 4-pin Hirose connector on the transmitter and the CBL103 cable are congured so that pin 1 is negative and pin 4
is positive.
The Boxx Atom Transmitter can also be powered via mains power by connecting a CBL111 & PS1205 cables (sold
separately) to the Boxx Atom Transmitter. Alternatively the Boxx Atom Transmitter can be powered via a 4-pin Lemo
socket using a CBL107 cable (sold separately) which connects to the transmitter via its 4-pin Hirose socket (Fig
1-E).
Both the Boxx Atom Transmitter and Lite Receiver can be turned on/off while connected to a power source by
pressing and holding the Channel Selection Button (Fig 1-B & Fig 2-B) for 5 seconds.
Video/Audio
1. Connect the two ANT601 antennas to the Boxx Atom Transmitter via the RP-SMA Ports (Fig 1-F) on the top of the
transmitter; making sure not to overtighten the connection as it may damage the internal components.
2. Using the CBL101 cable supplied with the Boxx Atom Transmitter, connect one side of the cable to the 3G HD-SDI
BNC Input socket (Fig 1-D) on the Boxx Atom Transmitter.
Alternatively connect an HDMI cable (not supplied with the Boxx Atom Transmitter) to the HDMI Input socket
(Fig 1-I) on the Boxx Atom Transmitter.
Do not use both the HD-SDI BNC Input socket and HDMI Input sockets at the same time.
3. Connect the other end of the CBL101 (or HDMI) cable to the corresponding HD-SDI/HDMI video/audio output socket
on the camera.
Notes:
The Boxx Atom Transmitter is equiped with a 3G HD-SDI Video/Audio Output socket (Fig 1-C) to be used for
monitoring the video input signal.
When the video/audio input is being supplied from the camera via the HDMI Video/Audio Input socket (Fig 1-I, the
3G HD-SDI Video/Audio Output socket (Fig 1-C will not function for monitoring the input signal. This feature is only
available when the video/audio input is being supplied from the camer via a BNC cable to the 3G HD-SDI Video/Audio
Input socket.
User Guide: Boxx Atom System V1.1 -
April 2017
Fig 1

Boxx Atom Receiver Operations
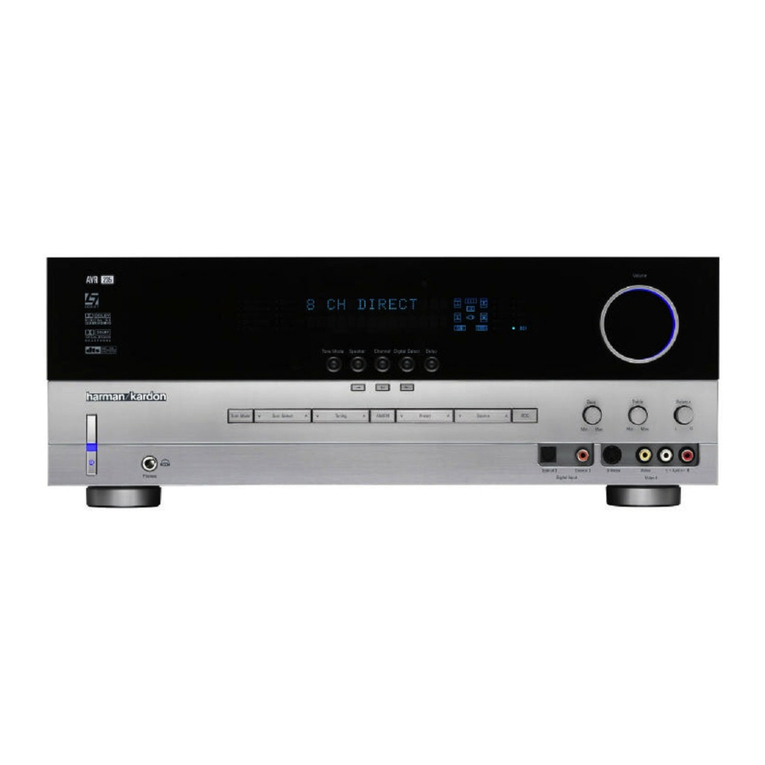
A. Channel LCD Window
B. Channel Selection Button
C. 3G HD-SDI Video/Audio Output
E. 4-pin Hirose 7-36V DC Power Input
F. Signal Strength Indicator LED
G. Video Status Indicator LED
H. Power Status Indicator LED
I. HDMI Video/Audio Output
J. Fan Speed Control Pot
K. 1/4” Threaded Mount
L. Unit Serial Number
Boxx Atom Receiver Setup
Power Supply
1. Using the CBL111 cable supplied with the Boxx Atom Receiver, insert the 4-pin Hirose plug on the cable into the
4-pin Hirose socket on the Boxx Atom Receiver (Fig 2-E).
2. Connect the 4-pin XLR plug of the CBL111 cable to the PS1205 4-pin XLR socket; making sure that the mains plug
is also connected via the figure-8 connector on the PS1205 power supply.
3. The Boxx Atom Receiver will automatically turn on once power has been supplied to a unit and the last channel
used will be displayed on the Channel LCD Window (Fig 2-A).
Notes:
The CBL103 cable can also be used to connect the receiver to a power source using the Anton 2-pin D-tap connector.
Video/Audio
1. Using the CBL101 cable supplied with the Boxx Atom Receiver, connect one side of the cable to the 3G HD-SDI
BNC Video/Audio Output socket (Fig 2-C) on the Boxx Atom Lite Receiver.
Alternatively connect an HDMI cable (not supplied with the Boxx Atom Receiver) to the HDMI Input socket
(Fig 2-J) on the Boxx Atom Receiver.
Do not use both the HD-SDI BNC Input socket and HDMI Input sockets at the same time.
2. Connect the other end of the CBL101 (or HDMI) cable to the corresponding HD-SDI/HDMI video/audio input socket
on the monitor or recording device.
Warranty
The system is sold with a limited warranty of 12 months (Warranty term) by Boxx TV Ltd (Manufacturer). Specific
advice, repairs and replacement options are available to the original purchaser in the event the Atom system fails to
conform to this warranty. The Manufacturer shall not be responsible for product damages caused by natural disasters,
fire, static discharge, misuse, abuse, neglect, improper handling, unauthorized repair, alteration or accident. The
Manufacturer shall not be liable for any special, incidental or consequential damages, even if informed of the
possibility thereof in advance. You must inform your place of purchase within 28 days of detecting a defect in material
or workmanship not conforming to the specifications (see Specifications section of this guide) of the Atom system.
During the Warranty term, the Manufacturer will, at its discretion and without extra charge, as your exclusive remedy,
repair or replace the products that do not comply with this warranty; or failing this, will reimburse the purchase price of
the system. This amount will be based on length of ownership and may be reduced in accordance with general
accounting principles.
Repairs Under Warranty
A receipt of purchase, or any other proof of purchase, bearing the date of purchase and the product serial number
must be presented for all warranty repairs. The Manufacturer reserves the right to refuse free-of-charge warranty
service if the requested documentation cannot be presented or if the information is incomplete or incompatible with the
Reseller’s records. Repair, at the Manufacturer’s option, includes replacement of boards or parts with new or
functionally equivalent reconditioned parts or boards. The Manufacturer does not warrant the installation, maintenance
or service of the system, parts or accessories.
User Guide: Boxx Atom System V1.1 -
April 2017
Fig 2

Warning Statement
This equipment has been tested and found to comply with the limits for a Class B
digital device, pursuant to part 15 of the FCC Rules. These limits are designed to
provide reasonable protection against harmful interference in a residential
installation. This equipment generates, uses and can radiate radio frequency energy
and, if not installed and used in accordance with the instructions, may cause harmful
interference to radio communications. However, there is no guarantee that
interference will not occur in a particular installation. If this equipment does cause
harmful interference to radio or television reception, which can be determined by
turning the equipment off and on, the user is encouraged to try to correct the
interference by one or more of the following measures:
• Reorient or relocate the receiving antenna.
• Increase the separation between the equipment and receiver.
• Connect the equipment into an outlet on a circuit different from that to which the
receiver is connected.
• Consult the dealer or an experienced radio/TV technician for help.
Caution: Any changes or modifications to this device not explicitly approved by
manufacturer could void your authority to operate this equipment.
This device complies with part 15 of the FCC Rules. Operation is subject to the following
two conditions: (1) This device may not cause harmful interference, and (2) this device
must accept any interference received, including interference that may cause undesired
operation.
To comply with FCC RF exposure compliance requirements, this grant is applicable to
only mobile configurations. The antennas used for this transmitter must be installed to
provide a separation distance of at least 20 cm from all persons and must not be co-
located or operating in conjunction with any other antenna or transmitter.
We, Boxx TV Ltd. Hereby declared frequency stability is better than 20ppm which
ensures that the signal remains in the allocated bands under all operational conditions .
User Guide: Boxx Atom System V1.1 -
April 2017
This manual suits for next models
1
Table of contents

