Brainz 38507 User manual
EN
BRAINZ CAR DASHCAM
INSTRUCTION MANUAL
PLEASE READ ALL INSTRUCTIONS CAREFULLY AND
RETAIN FOR FUTURE USE
This is what you need:
USB Cable (included)
USB Car adapter (included)
USB Adapter (optional)
Product description:
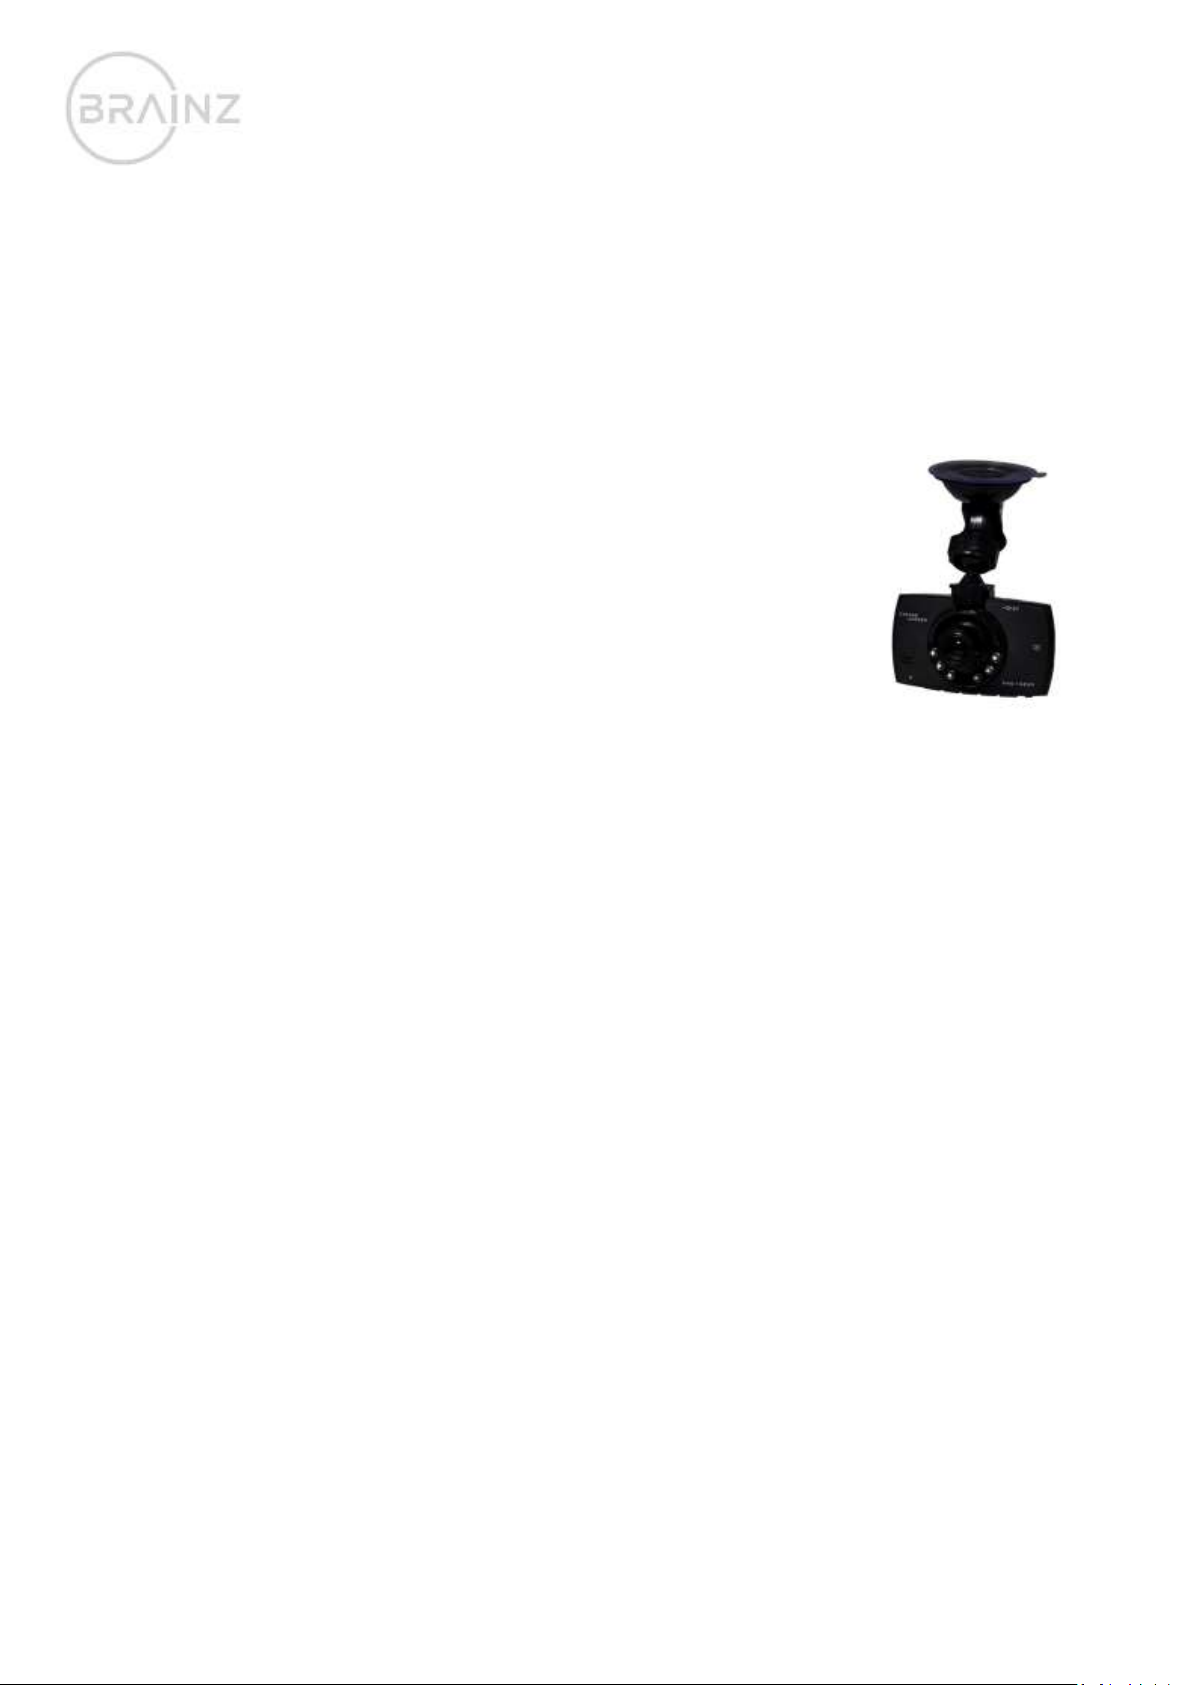
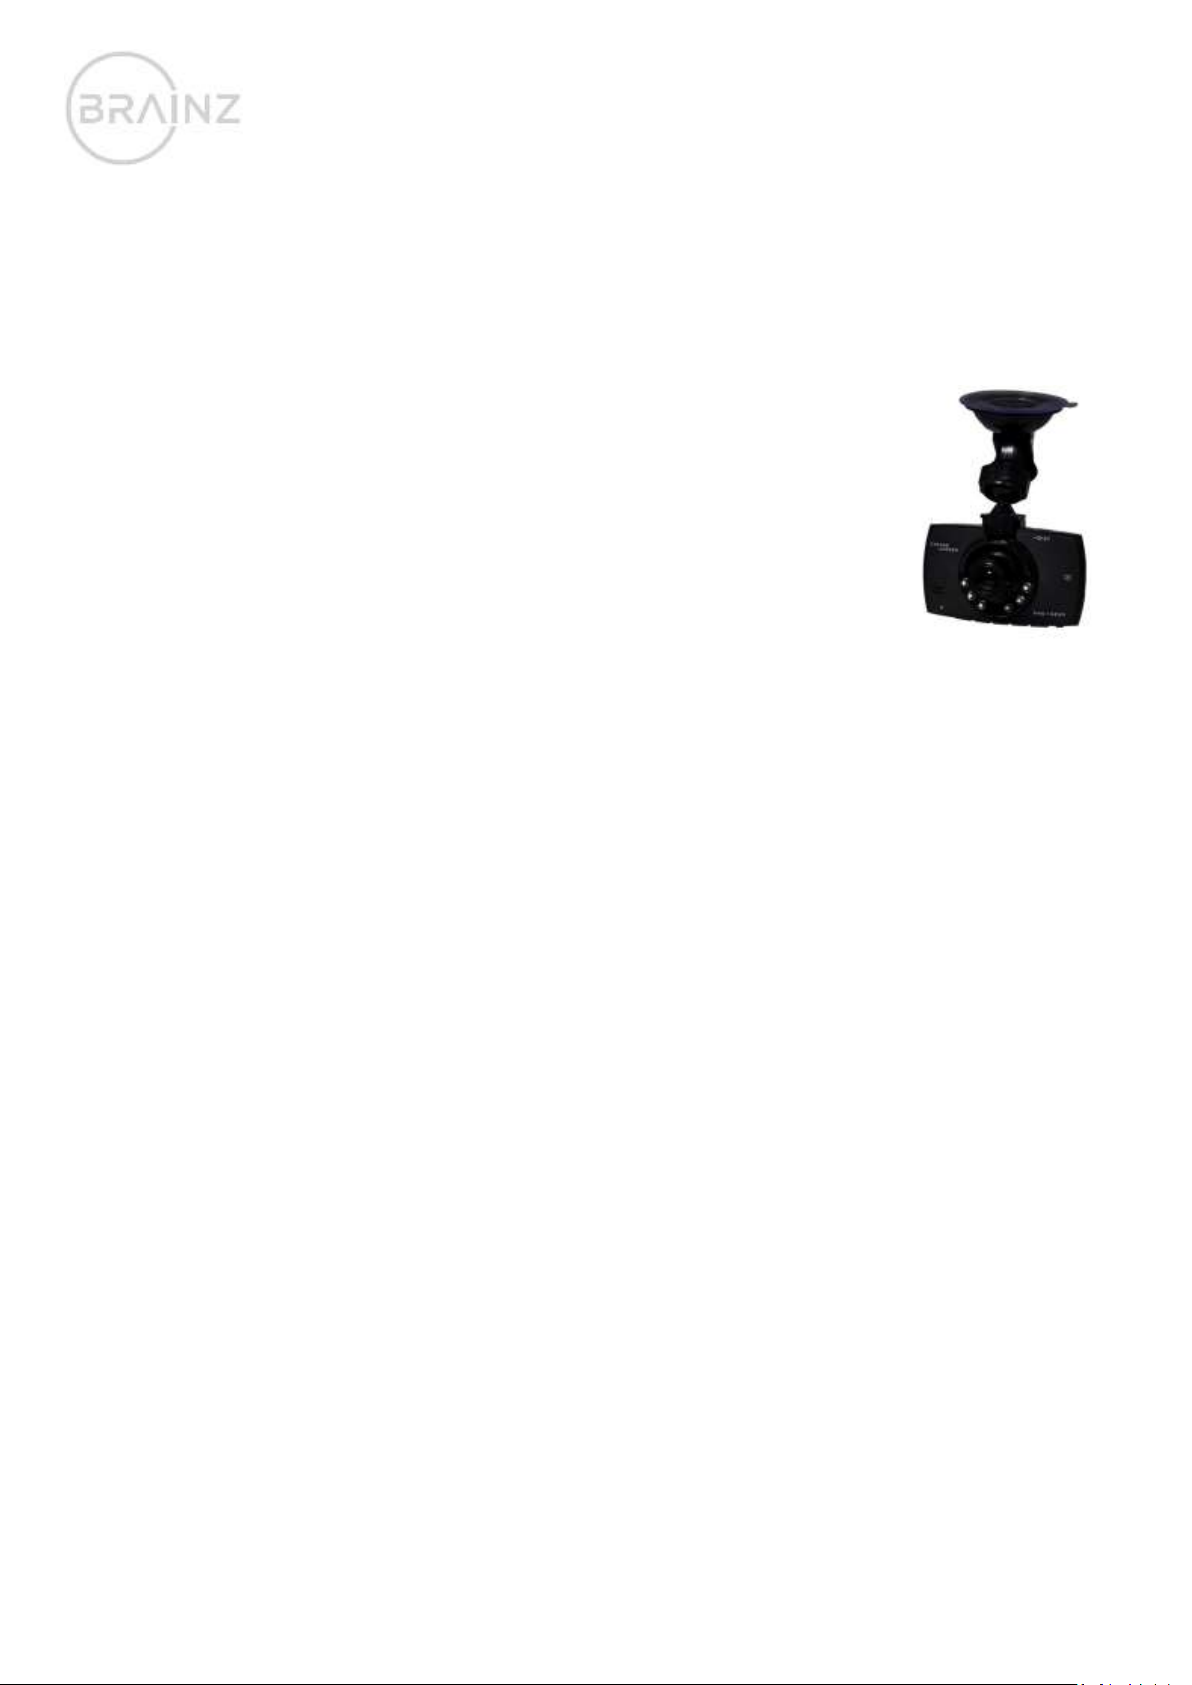
With this dashcam you can capture in detail what happens on the road. A pleasant partner who can help when needed. The
images are saved in 1080P HD quality on a Micro SD card (not included). The video format with which the dashcam records is
AVI, for photos that is JPG.
This is how you set it up:
Connect the dashcam in the car to the supplied car adapter. The dashcam turns on by itself. The dashcam cannot record
images if there is no SD card in the dashcam. Once you have done this you can start recording. Mount the dashcam in the
desired location in the car. Make sure the road is clearly visible. You can start filming with the OK button.
With the Mode button you can change the mode in which the dashcam is located. The dashcam has a movie mode, a photo
mode and a mode in which you can view the captured images and photos. The recording mode can be recognized by the
1080p image quality at the top of the screen of the dashcam. If you are in photo mode, there is a blue A in the top right of
the screen.
You can adjust various settings via the menu button. Adjust this to your preference:
•Resolution. This is the image quality on which the dashcam films. Higher resolution means the SD card will fill up sooner.
•Screen Saver. You can activate this mode to save energy. You can set how many minutes after which the dashcam goes
into screen saver mode. The dashcam will continue to record if you have turned it on.
•Loop recording. Here you can set how long the dashcam will record before making a new recording.
•Voice recording. Here you can set whether the dashcam also records sound during filming.
•Language. You can set the language of the dashcam here.
•Light Frequency. Here you can set the height of the frequency of the recordings. Many lamps and lighting in the
Netherlands, LED or other lighting is what it looks like, so the best setting is 50Hz here.
•Date. You can also set the date on the dashcam using the OK button and the arrow keys.
You can connect the dashcam to your PC to view the recordings and photos. Connect the dashcam and open the dashcam in
your computer. This is usually stated where the USBs and CDs are also displayed. If you have opened the dashcam, there is a
folder "DCIM". This folder contains all recordings and photo material that the dashcam has made.
This manual is applicable for item number 38507.
More information about this product is available on www.brainz-electronics.nl
NL
BRAINZ AUTO DASHCAM
GEBRUIKSAANWIJZING
GELIEVE DE INSTRUCTIES ZORGVULDIG TE LEZEN
EN TE BEWAREN VOOR LATER GEBRUIK
Dit heeft u nodig:
USB Kabel (meegeleverd)
USB Autoadapter (meegeleverd)
USB Adapter (optioneel)
Productomschrijving:
Met deze dashcam leg je haarfijn vast wat er op de weg gebeurt. Een prettige partner die kan helpen wanneer het nodig is.
Het opslaan van de beelden gebeurt in een 1080P HD kwaliteit op een Micro SD kaart (niet bijgeleverd). Het videoformaat
waarmee de dashcam opneemt is AVI, voor foto’s is dat JPG.
Zo laadt u het op:
De dashcam werkt alleen als deze constant aangesloten zit op een voeding. Gebruik de meegeleverde auto-oplader om de
dashcam te gebruiken in de auto. Als u uw beelden wilt bekijken kunt u de meegeleverde USB-kabel gebruiken om de
dashcam aan de computer aan te sluiten.
Zo stelt u het in:
Sluit de dashcam in de auto aan de meegeleverde auto-adapter aan. De dashcam gaat uit zichzelf aan. De dashcam kan geen
beelden opnemen als er geen SD-kaart in de dashcam zit. Als u dit heeft gedaan kunt u beginnen met opnemen. Monteer de
dashcam op de door u gewenste plek in de auto. Zorg dat de weg goed te zien is. Met de OK-knop kunt u beginnen met
filmen.
Met de Mode-knop kunt u de mode waarin de dashcam zich bevindt veranderen. De dashcam heeft een film-mode, een foto-
mode en een mode waarin u de gemaakte opnames en foto’s terug kan zien. De opname-mode is te herkennen aan de 1080p
beeldkwaliteit boven in het scherm van de dashcam. Als u zich in foto-mode bevindt, staat er rechts boven in het scherm een
blauwe A.
Via de menu-knop kunt u verschillende instellingen aanpassen. Pas deze naar voorkeur aan:
•Resolutie. Dit is de beeldkwaliteit waarop de dashcam filmt. Hogere resolutie betekent dat de SD-kaart eerder vol raakt.
•Screen Saver. Deze modus kunt u aanzetten om energie te besparen. U kunt instellen na hoeveel minuten de dashcam
op screen saver-modus gaat. De dashcam blijft wel opnemen als u deze aan heeft gezet.
•Loop recording. Hier kunt u instellen hoelang de dashcam opneemt voordat hij een nieuwe opname maakt.
•Voice recording. Hier kunt u instellen of de dashcam ook geluid opneemt tijdens het filmen.
•Taal. U kunt hier de taal van de dashcam instellen.
•Light Frequency. Hier kunt u de hoogte van de frequentie van de opnames instellen. Veel lampen en verlichting in
Nederland is LED of andere belichting wat er op lijkt, dus de beste instelling is 50Hz hier.
•Datum. U kunt ook de datum instellen op de dashcam door middel van de OK-knop en de pijltjestoetsen.
U kunt de dashcam aansluiten aan uw PC om de opnames en foto’s te bekijken. Sluit de dashcam aan en open de dashcam in
uw computer. Deze staat meestal vermeld op de plek waar de USB’s en CD’s ook weergeven worden. Als u de dashcam hebt
geopend, staat er een map ‘DCIM’. In deze map staan alle opnames en fotomateriaal wat de dashcam gemaakt heeft.
Deze handleiding is van toepassing op artikelnummer 38507.
Meer informatie over dit product vindt u op www.brainz-electronics.nl
Table of contents
Languages:


