7
Troubleshooting
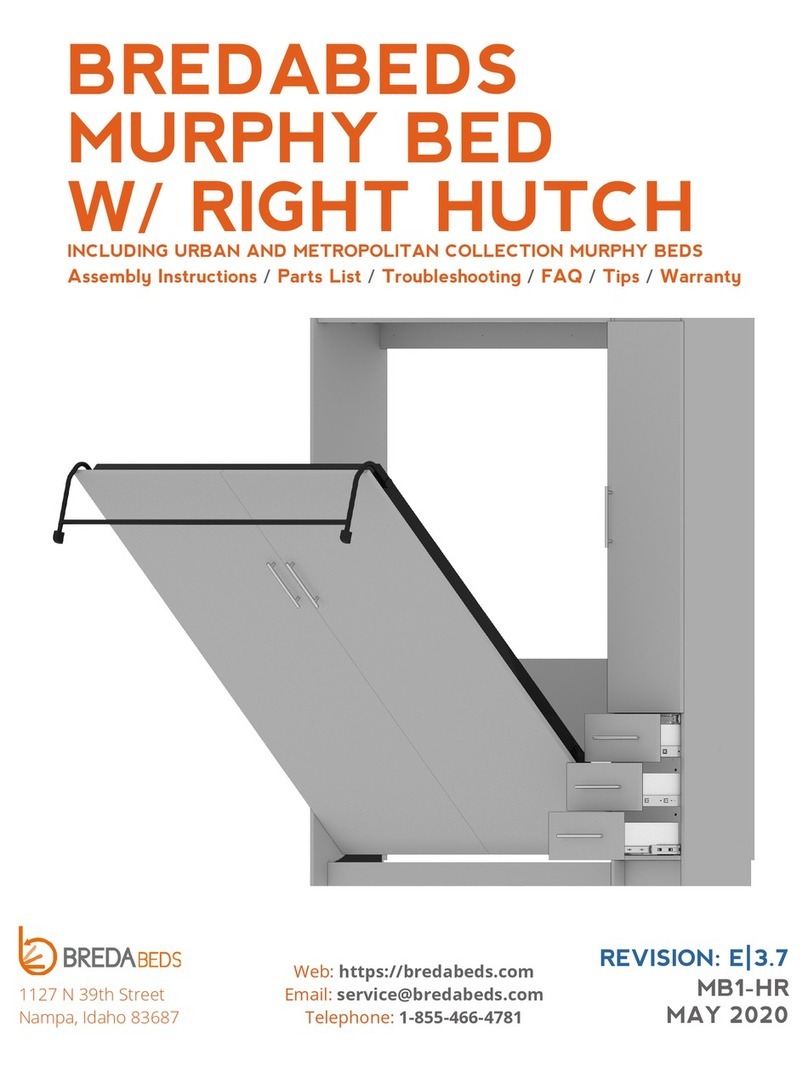
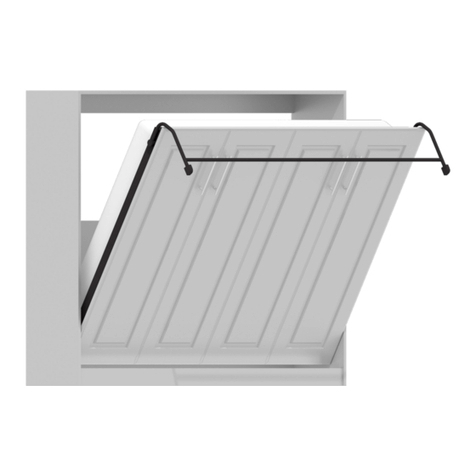
The bed doors hit the Toe Kick when opened.
This can happen for several dierent reasons:
• The most common scenario happens before the bolt in hole #2 has been
inserted. Before the bolt in hole #2 is inserted, the bed doors are pivoting on
the bolt in hole #1, then once that bolt is inserted and tightened, the doors will
fully be attached to the mechanism arms, changing the pivot point further back
inside the Bed Cabinet. If this matches your situation, remove the Toe Kick until
assembly has been completed. Once completed, you can re-attach the Toe Kick
by opening the bed and tightening the cams on the Toe Kick from the back side.
• The Toe Kick may have been attached upside down. The bottom of the Toe Kick
should be ush with the bottoms of the sides. If there is a 1/4” dierence, ip
the Toe Kick around and tighten the cams. See Chapter 1, Step 4.
• The frame may have been improperly aligned. The steel frame must be 1/2”
back from the Mechanism End. The Mechanism End is the end of the bed that
your head will be as you lay in the bed. It’s also the end of the bed that connects
to the mechanism. See Chapter 4, Step 3.
TROUBLESHOOTING
Verify the steel frame is 1/2” back from the Mechanism End. The Mechanism End is
the end of the bed that your head will be as you lay in the bed. It’s also the end of
the bed that connects to the mechanism. See Chapter 4, Step 3.
Verify the bolts in Hole #2 (10 1/2” from frame end) and Hole #3 (19 1/4” from
frame end) are inserted and securely tightened. See Chapter 5, Step 4.
The Bed Face Panel falls inside of the Bed Cabinet (and hits the wall). The bed
doors do not hit the top shelf.
The way the legs are shaped prevent the legs from slipping out from under the
bed without rst raising up on the Bed Face Panel. If your legs are slipping out, it’s
usually one of the following issues:
• When opening the bed, be sure both legs are extended all the way down.
• Check that the leg stop cylinder is in the bottom hole (see Fig. 4D on Chapter
4, Step 2 for an assembled view) and that the leg rod has been installed (see
Chapter 6, Step 3).
• If the legs hit against the bed doors instead of the cylinder, verify the frame is
1/2” back from the Mechanism End (see Chapter 4, Step 3). If you have slightly
less than 1/2”, follow the steps below to extend the leg from the leg disk.
1: Remove the mattress and use a 1/2” socket to remove the Hex nut.
2: Loosen the set screw with an Allen wrench and then re-insert the leg into the
round disk.
3: Tighten the set screw securely with an Allen wrench and then attach the Hex
nut with a 1/2” wrench.
For a video demonstration, see: breda.us/leg-adjustment
The legs slip out from under the bed or have pulled out from the round leg disks.
I’m missing parts/hardware not included with my bed.
If you suspect anything is missing, take inventory of the parts you do have using
the part/hardware lists sheet with and note any other parts/hardware you may be
missing. Often times, parts or hardware can get misplaced and will turn up later,
so double check your work area and any other places it may be. If you still cannot
nd it, contact us and we’ll be glad to send you more parts/hardware, be sure to
have your order number ready and a list of all missing parts/hardware.
FREQUENTLY ASKED QUESTIONS
I have damaged parts on my bed, what do I do?
pictures of the damaged areas, part name(s) (found on the part label), provide
your order number and any other additional information. We give remake parts
a priority, and they can typically be sent to you within a few days after you notify
us, but be sure to notify us immediately. Note: We provide a touch-up crayon,
matching the color of your bed in hardware package #8 to x minor chips on the
edges of the panels.
I’m finished with assembly, but I have extra parts leftover.
This is normal, we provide extra hardware with each bed model as a convenience.
Once assembled, you can discard this additional hardware.
Why don’t the illustrations match my parts?
The illustrations in the booklet match a Queen size. If your bed is di erent than
this, the illustrations may be slightly di erent, however installation is identical. In
addition to this, sometimes elements in the illustrations are not shown for clarity.
UNPACKING YOUR BREDABED
When you rst receive your BredaBed, it will be loaded on a pallet with banding. This
banding can be cut carefully with a utility knife and the individual pieces can be carried to
where the bed will be assembled. When handling panels, take special precaution to avoid
scratching and chipping on the corners and side edges. If the bed won’t be assembled for
an extended period of time, store the panels at on the ground on top of a soft surface,
such as a rug or carpet. Usually, when parts or hardware are reported as missing, they
are usually just misplaced and turn up later, so be sure to keep all hardware and boxes
together. Inspect the panels for damage and take inventory using the “Parts List” on the
following pages to verify you have everything. When you’re ready to begin assembly,
have all parts, hardware and tools in your work area. Do not unpack hardware until
instructed to do so. Additionally, keep children and pets away from work area
during assembly for their safety.
What is the maximum mattress thickness I can use?
Our beds are designed for U.S. mattress sizes up to 11” thick.


