DANGER!
You will nd this symbol before every section of
text that deals with the risk of minor to severe
injuries resulting from improper use.
CAUTION!
You will nd this symbol before every section of
text that deals with the risk of minor to severe
injuries resulting from improper use.
NOTE!
You will nd this symbol in front of every section
of text which deals with the risk of damage to
property or the environment.
Designated use
This device is for personal and private use only. It was developed for
a magnied representation of observations of nature.
General warnings
DANGER!
Sharp-edged and pointed tools are often used for
working with this device. Therefore, keep this device
and all accessories and tools in a place inaccessible to
children. Danger of bodily injury!
DANGER!
This device contains electronic parts which are powered by
a power source (AC adapter and/or batteries). Never leave
children unattended whilst handling the device! Only use the
device as described in the manual. Otherwise, you run the
DANGER of an ELECTRIC SHOCK.
DANGER!
Do not expose the device to high temperatures. Use only
the supplied AC adapter. Do not short-circuit the device or
batteries or dispose of in re! Excessive heat and improper
handling can cause short circuits, res and even explosions!
DANGER!
Never bend, squeeze or pull power cables, connecting
cables, extensions or connectors. Protect cables from sharp
edges and heat. Check this device, cables and connections
for damage before use.
Never attempt to operate a damaged device, or a device with
damaged electrical parts! Damaged parts must be replaced
immediately by an authorized service agent.
DANGER!
• Children must only use the device under adult
supervision. Keep packaging materials (plastic bags,
rubber bands, etc.) away from children! There is a DANGER
OF CHOKING!
CAUTION!
Chemicals and liquids do not belong in children's hands!
Do not drink chemicals! Clean hands thoroughly under
running water after use. In case of accidental contact with
eyes or mouth, rinse with water. In case of complaints,
consult a doctor immediately and show the substances.
NOTE!
Do not disassemble the device! In the event of a defect, please
contact your dealer. They will contact the Service Centre and can
arrange the return of this device for repair if necessary.
General Information
About this instruction manual
Please read the safety instructions in this manual carefully. Use this
product only as described in the manual to avoid damage to the
device or injury. Keep the operating instructions in a safe place so
that you can always keep up to date on all the operating functions.
SD card (not included)
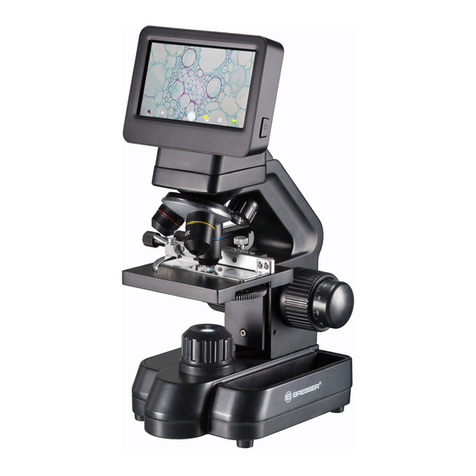
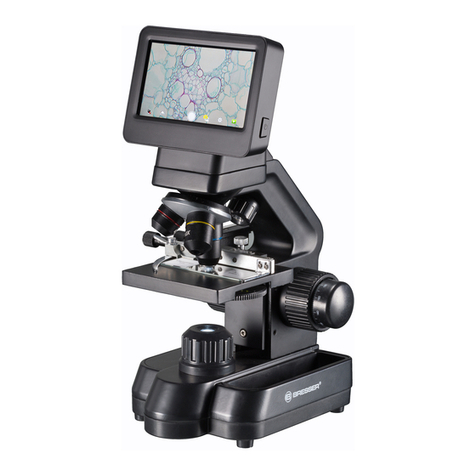
If you want to save photos or videos with your microscope, you
need an SD card up to max. 32GB.
Insert it into the slot (4) until it clicks into place. You can even do this
when the power is on.
To remove, press the SD card until you hear a clicking sound. Now
you can easily pull it out.
If the shutter release button is pressed when the SD card is not
inserted, an error message appears: "No card.
general / Location
Before you start setting up your microscope, choose a suitable
location. First, make sure that your microscope is placed on a stable,
vibration-free surface.
For start-up, the supplied power adapter is connected to the
microscope
(A)
and a 230 V socket. Use the on/o switch (15) of the
microscope to switch on the corresponding illumination and turn
the brightness control knob (16) to adjust the brightness for optimal
illumination of the specimen. (For safety reasons, please use only
the supplied power supply. Third-party power supplies may not
meet the required technical specications. Damage caused to the
device by third-party power supplies is not covered by the warranty)
Built-in LED lighting
For start-up, the supplied power adapter (A) is connected to the
microscope and a 230 V socket. The illumination is switched on with
the on/o switch (15
)
of the microscope "I/0". The LED illumination
is equipped with a continuously adjustable brightness control (16
)
for optimal illumination of the specimen. By turning the brightness
knob, the LED light can be adjusted brighter or darker.
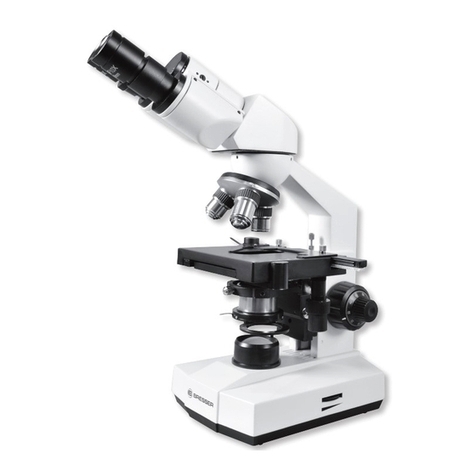
One component of the illumination is the Abbe condenser (10).
Adjust it using the height adjustment (14) so that you obtain a well
illuminated image eld. For most observations, the top position of
the condenser is required. The condenser diaphragm (10a) is used to
adjust the illumination according to the aperture of the objectives.
Correct diaphragm setting ensures optimum resolution. At higher
magnications, the diaphragm must be opened further (turn lever
to the left). A (too wide) closed condenser diaphragm will increase
contrast and depth of eld, but ne details will be lost.
Observation
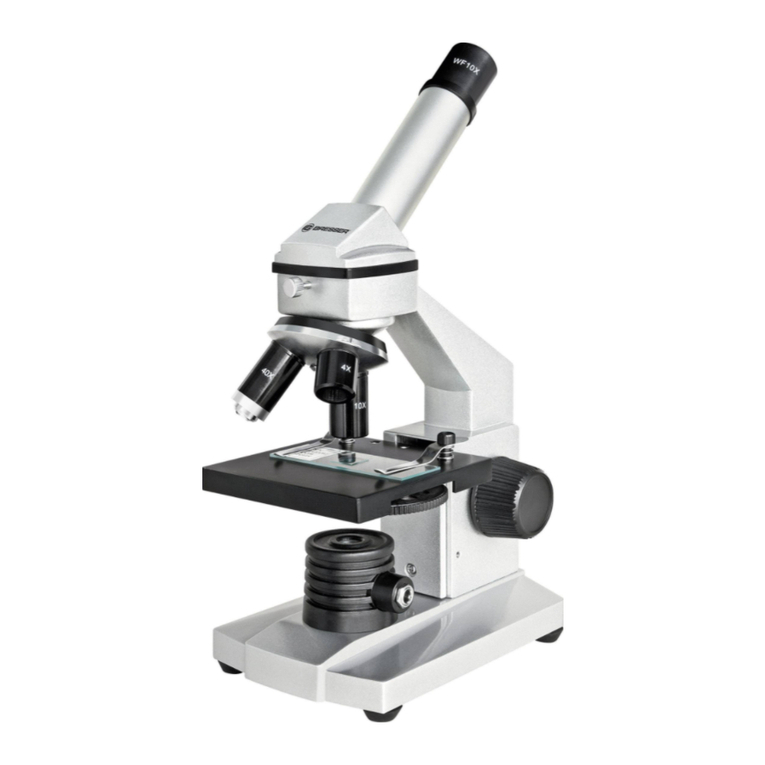
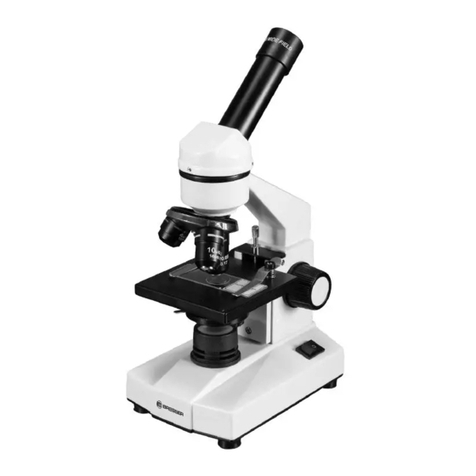
Rotate the objective revolver (6) to select the 4x objective for object
observation. To do this, place a permanent specimen directly under
the objective on the microscope table (7) by clamping it in the table.
To do this, rst push the specimen holder (11) to the side, place the
permanent specimen on the mechanical table and carefully allow the
specimen holder to return to the permanent specimen. The object to
be observed must be exactly above the illumination. To achieve this,
there are two knurled screws on the cross table, the so-called cross
table drives (8 and 9). By turning these screws, exact positioning of the
object, in the right or left direction and forward or backward is possible.
T
o focus the specimen, rst turn the coarse focusing knob (12). You
can achieve precise focusing with the ne focusing (13).
To change the magnication, turn the revolving nosepiece (6) to the
