Brica b pro5 alpha plus User manual


• This is a hight tech product, please don’t drop or hit it.
• Do not expose this product to any magnezed items. Avoid area that has
strong radio or magnec waves, This waves can cause damage, failure and
or distoron on the pictures and sounds.
• Do not put this product in a high temperature environment or exposed to
direct sunlight in a long me.
• Please use high-quality micro SD card, to endure the quality of your record-
ing and photo taking.
• Do not place the micro SD card in places with high magnec waves to avoid
losing or damaging the data inside the card.
• If the unit overheats, have smoke, or have burnt smell during charging
process, please plug out the charger to avoid re.
• During charging keep it away from children, to avoid electrocuon or chok-
ing because of thechild playing with the cable.
• Keep the product in dry and cool place.
• Avoid keeping the product in dusty place.
WARNING
PREFACE
This product is a high-denion video recording device which designed to
fulll the market needs. This product has various industry-leading features
like digital video recording, photo recording, audio recording, video viewer,
and replacable baery. This makes the product to be agood choice as a video
recording device on you vehicle, a camera that record your sports acvity,
outdoor acvity, security cam, underwater cam, etc. Giving you the freedom
to record anyme, anywhere.
For B-PRO5 User Guide in english, please download at www.brica.co.id

PRODUCT FEATURES
• Waterproof casing enables you to record your underwater acvity up to
40m depths.
• High denion screen to view your photo and video.
• Replacable baery to ease the use and extend the life of your camera.
• Can sll be used to while charging is in progress.
• Can record while using external baery.
• 16.35-megapixel image sensor.
• Wide Angle lens.
• HDMI HD output.
• Can be used as a Web camera.
• Support memory card up to 64GB maximum.
• Support many video resoluons.
• Movie les saved in high bitrate .MP4 format.
• Support dierent photo modes.
• Video encrypon supported.
• Small and compact size and with many color choices.

HOW TO USE
INSERTING THE MEMORY CARD
1. Insert the memory card to it’s slot.
2. Ensure the orientaon is correct, if it stuck do not force it to avoid dam-
aging the memory card and the camera.
3. Press unl you hear the click noise.
Note: Choose a good quality class-10 or UHS-1 memory card to ensure compability
INSERTING AND REMOVING THE BATTERY
1. Open the baery cover.
2. Insert the baery according to the +/- sign that are printed on the
baery.
3. Press unl the baery is fully inserted.
4. To remove the baery, open the cover and remove the baery.
Note: Please remove the baery if the camera will not be used in a long period of me.
CHARGING
1. Connect the USB cable with the included power adapter, and to the cam-
era, then plug the adapter to an electrical outlet.
2. The unit will turn on automacally, please turn o the unit. The indicator
(red) near the screen indicates the unit is charging.
3. Charging process is complete when the indicator light (red) is turned o.
Note: Turn o the unit by long-pressing the power buon to make the charging process faster.
TURNING THE UNIT ON/OFF
• Press the power buon once to turn on the unit.
• Long press the power buon (3-5 sec) to turn o the unit.
Note: Unit can be set to turn o automacally on the sengs menu.
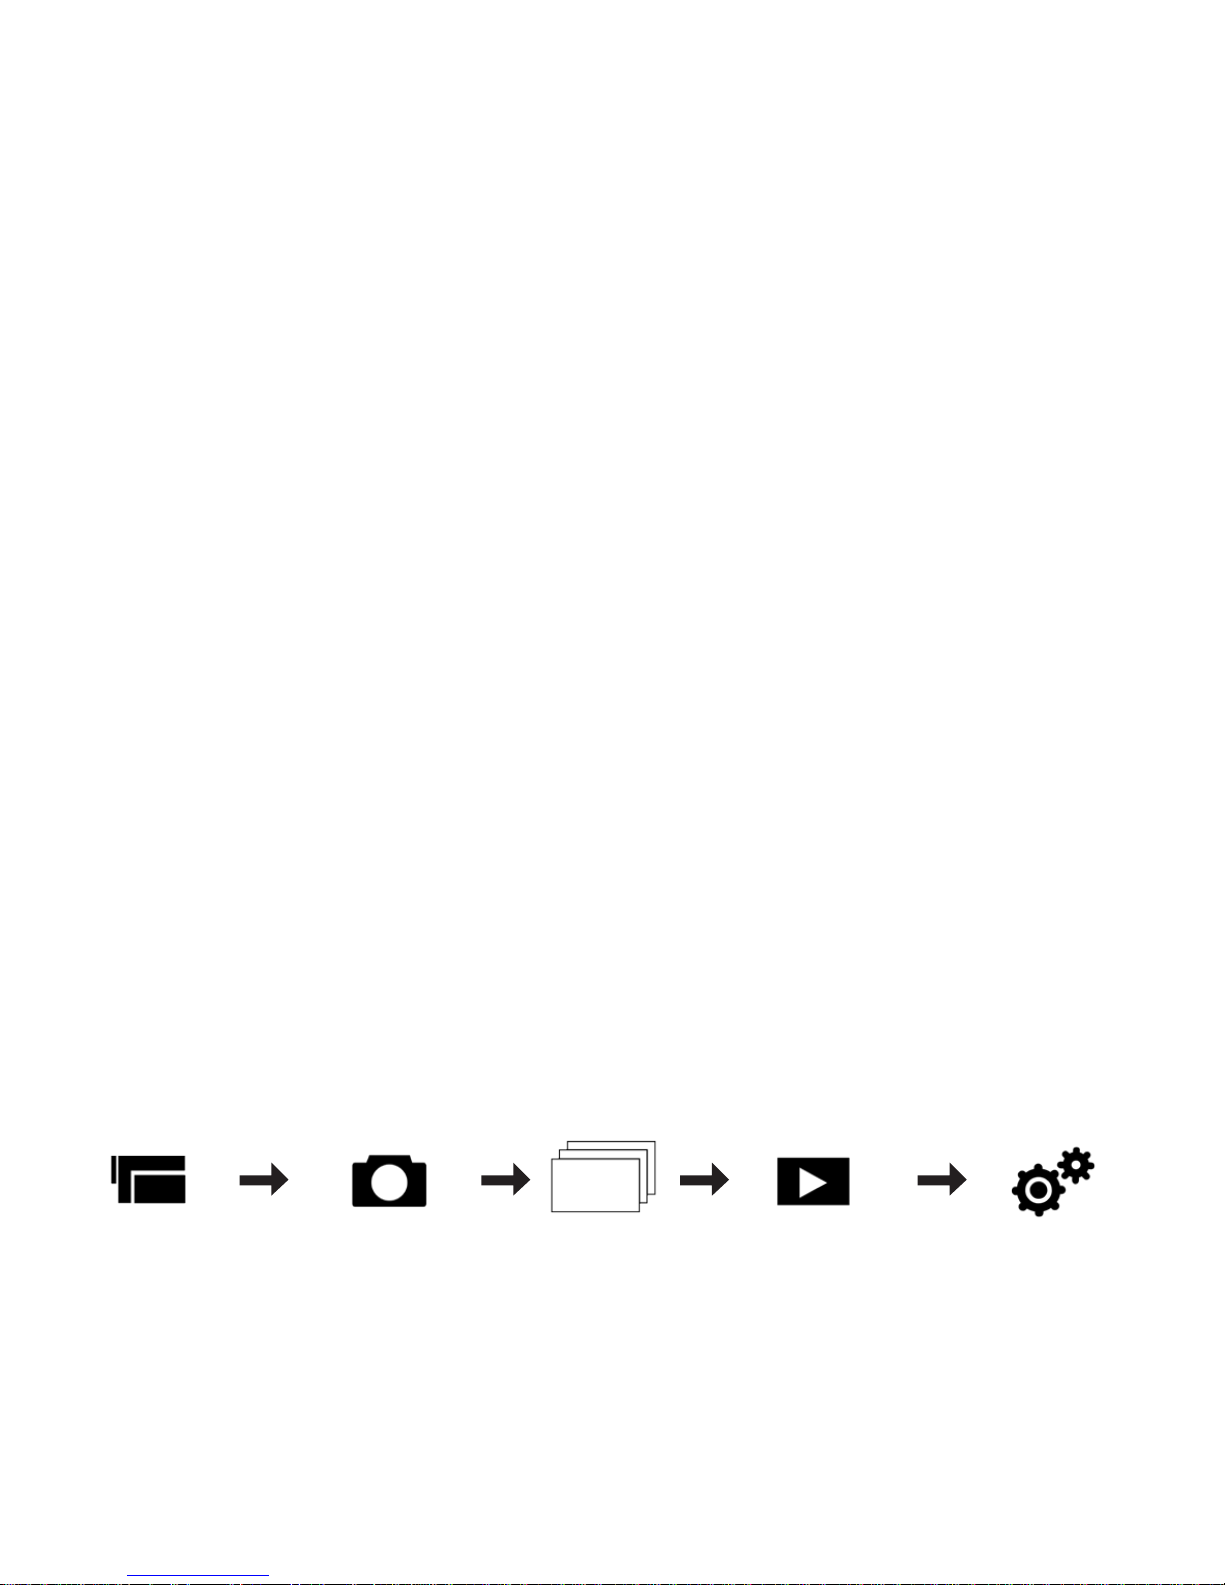
CHANGING MODES
Press the power buon once when the camera is turned on to change modes.
Mode Video Mode Photo Mode Burst Mode Playback
Video - Foto
Mode Pengaturan

RECORDING VIDEO & PHOTO & PHOTO BURST
• To record video, go to video mode, and press the shuer buon to start
recording, and press the shuer buon again to stop recording.
• To record a photo, go to photo mode and press the shuer buon to take
photo, this is also the same for photo burst mode.
Note1: For photo and video seng, see SETTINGS.
Note2: The amount of photo in BURST mode are set in burst seng.
PLAYBACK
• On playback mode, the “up” and “down” buon, will funcons as naviga-
on buon to choose which photo or video that want to be seen.
• To play a video, press the shuer buon on the selected video, press it
again to pause the playback.
• During video playback, the navigaon buon funcons as fast forward
and rewind buon.
• To stop the video playback, press the power buon.
WATERPROOF CASE
Please test the casing to ensure that there is no leakage.
Note: Warranty claim waterproof case only valid for 10 days aer date of purchase.

WIFI
B-PRO5 Alpha Plus can be connected the your Android based or iOS based
smartphone, aer it was connceted the B-PRO5 unit can be controlled re-
motely using the smartphone, also, photo and video can be transfered to your
connected smartphone.
1. Find and download “B-PRO5” app in google playstore or appstore iOS.
2. Turn on the WiFi on B-PRO5 Alpha Plus, by pressing the shuer buon
for about +/- 5 second, or by turning it on via sengs.
3. The Red indicator light in front of the camera unit will blink, which meant
that the WiFi is starng. Please wait unl the wi icon to turn green on
LCD screen.
4. Turn on WiFi n your smartphone, nd and connect “BPRO5AP” and when
asked for password, enter “1234567890” which is the default password.
5. Aer the connecon are made, run the app that was downloaded previ-
ously in step 1.
Note1: WiFi Password and WiFi SSID can be changed from sengs.
Note2: Please check the WiFi SSID name via sengs to see your unit WiFi SSID

ENTERING THE SETTINGS
To enter the sengs menu, press the power buon to change modes unl it
enters the sengs menu. Use the “UP” and “Down” buon for navigaon, and
shuer buon to enter the sub-menu or conrm.
VIDEO RESOLUTION
This opon is for changing the video resoluon on video mode.
B-PRO5 Alpha PLUS has 4 video resoluons :
1. 2K (2304x1296) @30fps
2. 1080p (1920x1080) @60fps/30fps
3. 720p (1280x720) @120fps/60fps/30fps
4. 480p (848x480) @240fps/120fps/60fps/30fps
Note1: fps (frame per second) shows how many pictures were taken per video seconds.
Note2: resoluon above is based on NTSC seng.
Note3: The higher the video resoluon, the bigger the le size.
SETTINGS

PHOTO RESOLUTION
This opon is form changing the photo size in photo mode and on burst mode.
B-PRO5 Alpha PLUS has the following photo resoluon available:
16M(4608x3456 4:3) - 14M (4254x3264 4:3) - 12M (4000x3000 4:3) -
8M (3264x2448 4:3) - 5M (2560x1920 4:3) - 3M (2048x1536 4:3) -
2M (1920x1080 16:9) - 1.2M (1280x960 4:3) - VGA (640x480 4:3)
Note1: For photo with wide 16:9 aspect rao, please set it to 2M.
Note2: The higher the resoluon, the bigger the photo le.
VIDEO QUALITY
This opon is for changing the video quality level, with video quality opon
sengs as follows:
Super Fine - Fine - Normal
Note: The higher the quality, the bigger the video le.
PHOTO QUALITY
This opon is for changing the photo quality level, the opons sengs are as
follows:

Super Fine - Fine - Normal
Note: The higher the photo quality, the bigger the le.
FOV (FIELD OF VIEW)
This opon is used for changing the eld of view on both video and photo
mode, the opons are as follows:
Wide - Medium - Narrow
Note: Set it to wide FOV to get the sheye eect.
SELF TIMER
This opon is for acvang the sel-mer funcon on B-PRO5 Alpha Plus.
This opon has the following sengs:
O - 3 sec - 5 sec - 10 sec - 30 sec - 60 sec
Note1: This funcon is only for photo mode and photo burst mode.
Note2: If this funcon is acve then the auto-shoot funcon will not be accessible.

BURST
This opon is to set how many photos that will be taken on burst mode.
The amount of photos that can be taken are as follows:
3 Photo/shot - 5 Photo/shot - 10 Photo/shot - 20 Photo/shot
AUTO SHOOT
This opon is for acvang the auto-shoot funcon on photo mode.
This opon has the following sengs:
O - 3 sec - 5 sec - 10 sec - 30 sec - 60 sec
Note: This funcon will make the camera automacally take photo every me the mer hits zero conn-
uously, to turn it o press the shuer buon again.
TIME LAPSE
This opon is for acvang the me-lapse funcon on video mode.
This opon has the following sengs:
O - 1 sec - 2 sec - 5 sec - 10 sec - 30 sec - 60 sec
Note: The me stamp on video mode will be disabled if this funcon is acve.

VIDEO STAMP
This opon is for showing the date and me stamp on the videos taken in
video mode.
PHOTO STAMP
This opon is for showing the date and me stamp on the photos taken in
photo and burst mode.
LOOP RECORDING
This opon is for acvang the loop-recording funcon on B-PRO5 Alpha Plus.
This funcon will make B-PRO5 Alpha Plus record video in clips, which the
oldest clip will be automacally overwren when the memory card is full.
The clip duraon can be set with the following opons:
O - 2 mins - 3 mins - 5 mins

MOTION DETECT
This funcon if turned on will make B-PRO5 Alpha Plus unit to automacally
start recording a video when its sensor detects any kind of moon.
The sensro sensivity can be set with the following opons:
O - Low - Medium - High
STATUS LED
This opon is for conguring the indicator lights on the B-PRO5 Alpha Plus.
The conguraon sengs are as follows:
OFF: All indicator lights will be turned o.
1: Only the indicator light on the shuer buon that is turned on.
2: Only the light at the shuer buon and on the front face that is turned on.
3: Only the light at the boom of the unit that is turned o.
4: All indicator lights wil be turned on.

WiFi LED
This opon is for conguring the WiFI light indicator, whether it will be acve
or not when the WiFi is acve.
Note: WiFi indicator light is the red light on the front face of the camera.
OSD
This opon is for conguring the informaon shown on the LCD display
If this opon are acvated, the informaon such as baery, photo/video reso-
luon, etc will be shown on video, photo and burst mode.
Note: If this opon are turned o, there will be no info displayed including the current acve mode.
AUTO DVR
This opon is for conguring B-PRO5 Alpha Plus to automacally turned on
and start recording if it’s connected to a power charger, this funcon is recom-
mended if B-PRO5 Alpha Plus needs to be used as a car-cam.
Note1:If this funcon is turned on, the video recording will not be able to be stopped manually by press-
ing the shuer buon, to turn o the recording, just un-plug the the unit from the charger.
Note2: The Delay O funcon will aect this funcon.

DELAY OFF
This opon is to make B-PRO5 Alpha Plus keep recording for a set amount of
me before the unit is turned o automacally.
The set amount of me that can be chosen are as follows:
O - 5 sec - 10 sec - 15 sec - 30 sec - 60 sec
Note: This funcon will only work when Auto DVR is acve.
TV OUT
This opon is used when connecng B-PRO5 Alpha Plus to TV.
If it’s acve and the B-PRO5 Alpha Plus is connected to TV, then the display on
the camera LCD screen will automacally move to the connected TV.
Note1: Use mini HDMI cable to connect B-PRO5 Alpha Plus to the TV.
Note2: HDMI cable are sold separately.
TV MODE
This opon is for conguring the camera video recording, so when the video is
played on TV it will be according to your region default mode, either NTSC or
PAL, this aect the fps on video recording, the standard for PAL is 25fps while
on NTSC it’s 30fps.

IMAGE ROTATE
This opon when turned on will make the video/photo recording rotated 180°
automacally, use only this funcon if B-PRO5 Alpha Plus needed to be used
on upside-down poson.
VOLUME MIC
This opon os for changing the volume level on the microphone, starng from
OFF to 100%.
Note1: On 100%, the mic will have high sound sensivity, this may cause some unwanted noise on your
video recording.
Note2: On video mode or during video recording the mic can be turned o/on by pressing the “UP”
buon, the mic icon will be red if it’s o.
LANGUAGE SETUP
This opon is for changing the language used on the camera unit.
The default language is in Bahasa Indonesia.
for changing the displayed language, look for “Tampilan Bahasa” on the
sengs menu.

TIME SETUP
Date and me will automacally synchronize when B-PRO5 Alpha Plus is con-
nected with a smartphone using WiFi.
To change the date and me manually:
1. Choose “Time Setup” in sengs.
2. Use the “up” and “down” buon to change the value, and the shuer
buon to change the eld.
3. Press the shuer buon aer changing the date and me, or press the
power buon to cancel and go back to sengs menu.
DATE FORMAT
This opon is for changing the date format, with the format opons as follows:
Year/Month/Day - Day/Month/Year - Month/Day/Year
SCREEN OFF
This opon is used to conserve the baery by turning the LCD screen o aer
a set amount of me have elapsed.
There are 4 opons : OFF - 1 Min - 3 Min - 5 Min.

AUTO SHUTDOWN
This opon is used for power conservaon by turning the camera o com-
pletely aer a set amount of me.
There are 4 opons : OFF - 1 Min - 3 Min - 5 Min.
Note: This funcon will not work if the camera is currently recording or taking photo using the au-
to-shoot funcon.
FREQUENCY
This opon is used to set the refresh rate on the LCD screen, either at
50/60Hz.
METERING
This opon is used to determine the opmal auto-sengs for shuer speed or
aperture when taking photo or recording video for best quality.
Center: based on the area (60%-80%) in the center of the image sensor.
Mul: based on the average of detected light source in the Image Sensor and
weighted for opmal result.
Spot: based on the ny area (1%-5%) in the center of the image sensor.
Table of contents
Other Brica Action Camera manuals


