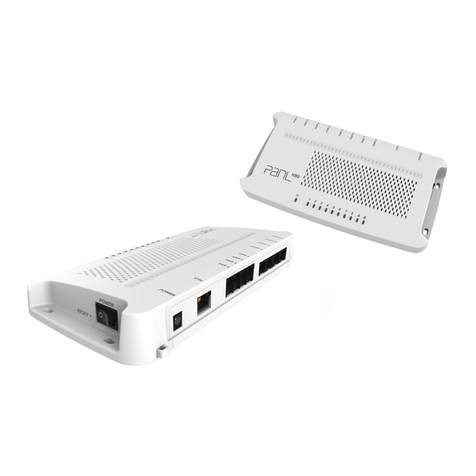
PH44/PH80
Quick Start Guide
To activate control menu, do a long press on the [Reset] button until the System Health LED indicators (LED 9 and 10) are flashing
in green. Do an immediate short press again to enter into the control menu. LED 1-4 flashes green indicating control menu is
successfully triggered.
After successfully triggering the control menu, the corresponding 4 functions below can be toggled by doing short presses on the
[Reset] button, this will be reflected on LED 1-4.
1)Rollback to previous firmware
2)Set Hub back to un-configured state
3)Reset Hub to Factory Settings
4)Go back to selection (1)
Once the desired function is selected, simply do a long press and the selected LED will change from green to yellow indicating that
the function desired is successfully executed. If there is no input selection for a period of time, the hub will return to the normal
operation mode.
To perform a reboot function, simply do a short press (3-5 seconds) on the [Reset] button.
To perform a system shutdown, simply press the [Reset] button for more than 5 seconds and release.
LED 9 will be flashing blue while LED 10 will be flashing green indicating a successful shutdown.
System Health LED Indicator
Unconfigured Hub Mode
(Please refer to the User Manual for configuration)
Factory reset or firmware rollback
Factory reset or roll back failed
(Manually power off and on hub to reboot)
Network link missing
(Check if Ethernet cable is connected or hub’s Wi-Fi is configured)
Hub Temperature is above the threshold value
(Alert notification will be sent to and Hub will shut down)
The Hub’s control menu cab be accessed through the [Reset] button located at the side of the hub to trigger certain actions:
PH44/80 System Health LED Indicator
This device complies with part 15 of the FCC Rules. Operation is subject to the
following two conditions:
1) This device may not cause harmful interference, and
2) This device must accept any interference received, including interference
that may cause undesired operation.
NOTE: This equipment has been tested and found to comply with the limits for
a Class B digital device, pursuant to part 15 of the FCC Rules. These limits are
designed to provide reasonable protection against harmful interference in a
residential installation. This equipment generates, uses and can radiate radio
frequency energy and, if not installed and used in accordance with the
instructions, may cause harmful interference to radio communications.
However, there is no guarantee that interference will not occur in a particular
installation. If this equipment does cause harmful interference to radio or
television reception, which can be determined by turning the equipment off and
on, the user is encouraged to try to correct the interference by one or more of
the following measures:
Reorient or relocate the receiving antenna.
Increase the separation between the equipment and receiver.
Connect the equipment into an outlet on a circuit different from that to
which the receiver is connected.
Consult the dealer or an experienced radio/TV technician for help.
To maintain compliance with FCC’s RF exposure guidelines, at least (To be
updated based on MPE report) cm of separation distance between the PanL
Hub44 device and the user's body must be maintained at all times.
The package includes a PH44/PH80 Hub, a 24V DC power adaptor and 4/8
terminators for PH44/PH80 respectively. The power plug cable is not
included in the box and may be packed outside the box separately.


