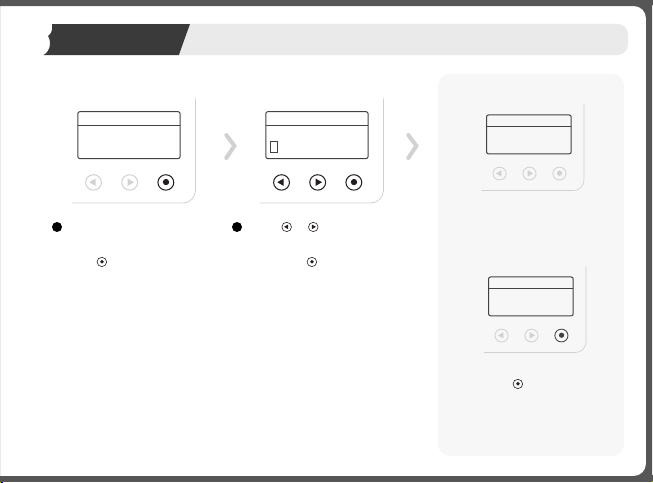
The digits of the code entered incorrectly
appears on the screen.
Press and enter the PIN Code again.
Sequence of
Recovery Words
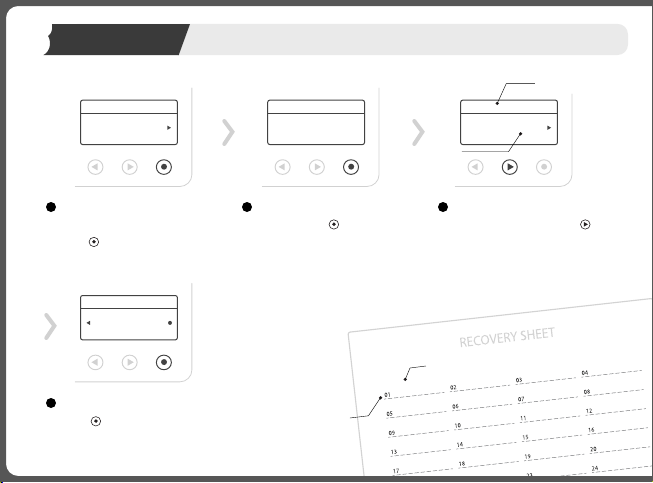
Confirm your
Recovery phrase
* If the recovery phrase is entered correctly
* If the recovery phrase is entered incorrectly
A message confirming that the recovery
word was correctly entered appears.
Press and enter the next word.
Confirmed phrase
Launch
1/5 Failed attempt
Launch
Check the sequence on top and choose
a correct word using the and
buttons.
Press and check the answer.
6
SWEET
Initial Setup 08
2 / Create Wallet ㅣ Confirm the Recovery Phrase Backup
3
Phrase 01
5Press and start the Confirm Re-
covery Phrase Backup process.
If the words are all entered correctly,
a message confirming that they were
correctly entered appears.
Press and move to the next step.
Confirmed
all phrase
Launch
Launch
In case the PIN Code is entered incorrectly
more than five consecutive times, the dev-
ice is automatically reset, and the system
returns back to the PIN Code Setup page.
Reset the system all over again.
Enter 4~10 Digits
5
PIN Code