manuals.online logo
Brands
  1. Home
  2. •
  3. Brands
  4. •
  5. Brother
  6. •
  7. Sewing Machine
  8. •
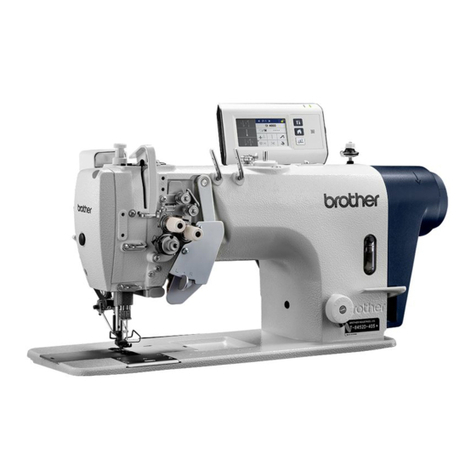
  9. Brother BE-0901E-AC Installation manual

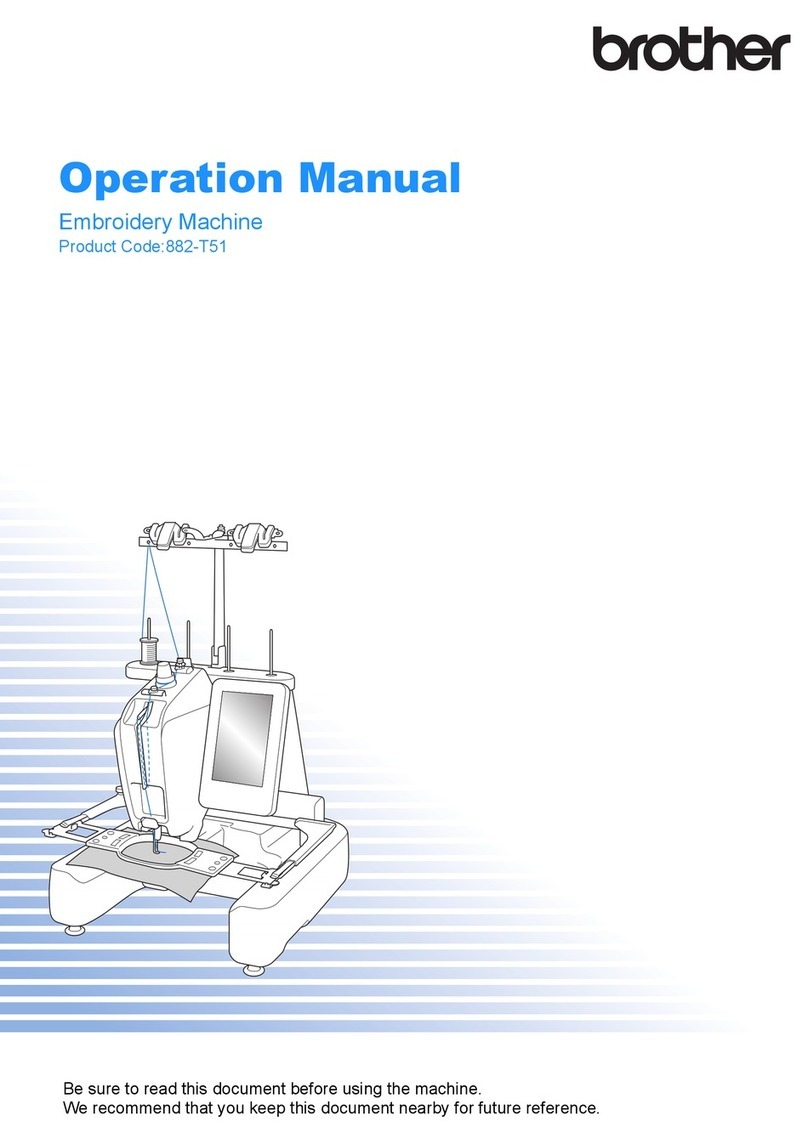
Brother BE-0901E-AC Installation manual

Other manuals for BE-0901E-AC

5

This manual suits for next models

2

Other Brother Sewing Machine manuals

Brother LB-6800PRW User manual

Brother

Brother LB-6800PRW User manual

Brother BAS-320 User manual

Brother

Brother BAS-320 User manual

Brother DreamWeaver XE VM6200D User manual

Brother

Brother DreamWeaver XE VM6200D User manual

Brother BES-1210AC User manual

Brother

Brother BES-1210AC User manual

Brother LB-6800PRW User manual

Brother

Brother LB-6800PRW User manual

Brother BAS-311A User manual

Brother

Brother BAS-311A User manual

Brother FD4-B271 User manual

Brother

Brother FD4-B271 User manual

Brother BES-1240BC User manual

Brother

Brother BES-1240BC User manual

Brother COMPACT OVERLOCK MACHINE User manual

Brother

Brother COMPACT OVERLOCK MACHINE User manual

Brother CS-100T User manual

Brother

Brother CS-100T User manual

Brother CS-8060 User manual

Brother

Brother CS-8060 User manual

Brother 888-F42 User manual

Brother

Brother 888-F42 User manual

Brother PS-1000 User manual

Brother

Brother PS-1000 User manual

Brother TN-845B User manual

Brother

Brother TN-845B User manual

Brother DB2-B737 Mark III User manual

Brother

Brother DB2-B737 Mark III User manual

Brother BAS-342G PS User manual

Brother

Brother BAS-342G PS User manual

Brother BAS-511 User manual

Brother

Brother BAS-511 User manual

Brother Innov-is NS2750D User manual

Brother

Brother Innov-is NS2750D User manual

Brother LS2-B891 User manual

Brother

Brother LS2-B891 User manual

Brother CE-8080PRW User manual

Brother

Brother CE-8080PRW User manual

Brother LT5-P13 User manual

Brother

Brother LT5-P13 User manual

Brother KE-430C Guide

Brother

Brother KE-430C Guide

Brother DB2-B721 User manual

Brother

Brother DB2-B721 User manual

Brother BAS-300G-484/484SF User manual

Brother

Brother BAS-300G-484/484SF User manual

Popular Sewing Machine manuals by other brands

Singer 569U1100 Operator's guide

Singer

Singer 569U1100 Operator's guide

ELNA 2002 instruction manual

ELNA

ELNA 2002 instruction manual

Siruba DL7200D-NM1 Instruction book

Siruba

Siruba DL7200D-NM1 Instruction book

Silver Viscount 9500e instruction manual

Silver

Silver Viscount 9500e instruction manual

Pfaff 3588-05/020 instruction manual

Pfaff

Pfaff 3588-05/020 instruction manual

JUKI DDL-9000A instruction manual

JUKI

JUKI DDL-9000A instruction manual

Pfaff 284 Instruction book

Pfaff

Pfaff 284 Instruction book

Reliable MSK-335B Specification sheet

Reliable

Reliable MSK-335B Specification sheet

Kenmore 385. 19000 owner's manual

Kenmore

Kenmore 385. 19000 owner's manual

Husqvarna Viking Designer SE user guide

Husqvarna Viking

Husqvarna Viking Designer SE user guide

Singer 645 owner's manual

Singer

Singer 645 owner's manual

Riccar RL634DE user manual

Riccar

Riccar RL634DE user manual

ZOJE ZJ9800 Operation manual

ZOJE

ZOJE ZJ9800 Operation manual

Siruba C007JP Instruction book

Siruba

Siruba C007JP Instruction book

IKEA SY user guide

IKEA

IKEA SY user guide

Pfaff 571 instruction manual

Pfaff

Pfaff 571 instruction manual

Singer 15-91 Adjusters manual

Singer

Singer 15-91 Adjusters manual

Pegasus WT100 Series instructions

Pegasus

Pegasus WT100 Series instructions

manuals.online logo
manuals.online logoBrands
  • About & Mission
  • Contact us
  • Privacy Policy
  • Terms and Conditions

Copyright 2025 Manuals.Online. All Rights Reserved.

If your machine settings have not been programmed or if a “hard
reset” has been completed (necessitating reprogramming), these
instructions will walk you through programming the settings list.
PLEASE READ THESE INSTRUCTIONS
COMPLETELY BEFORE ATTEMPTING
ANY OF THESE PROGRAMMING STEPS.
To reset the machine to the default settings:
1.“Power off” the machine.
2.Press and hold the key on the panel.
3.“Power on" the machine. Release the
key after the machine completes the “boot-up”
process.
4. Press the key, when it is available on the
display.
Let the machine complete the deletion process
before continuing.
For Technical Assistance Please Call Toll Free
1-877-4BROTHER
Email: [email protected]
Website: http://www.brother-usa.com/industembroidery/tech_down.aspx
B
BE
E-
-1
12
20
01
1B
B,
,
9
90
01
1E
E-
-A
AC
C
1
Settings Programming starts:
Press the key twice. Allow time for the display to react to
the first keystroke. The screen should appear as such:
Press the key, which will highlight the icon to the right. The
Display should appear as such:
Press the key. The Display should appear as such (Next
Page):
2
Press the key. The screen should appear similar to such:
The Thread Break feature has now been programmed.
Press the key. The display should appear similar to:
Press the key so the icon is highlighted. The display
should appear as such (Next Page):
3
Press the key. The display should appear as such:
There are six speed ranges that can be programmed. The
programming will be set from a high speed of 1000 SPM (Stitches per
Minute) to 500 SPM, decreasing in 100 SPM increments. The image
displayed above, shows the speed of ranges 1, 2, & 3. The number
to the right of each icon shows the current programmed speed
of each range. Range 1 is shown with a speed of 1200 SPM, in the
image above.
Press , , & then the key. You have just set
range one to be 1000 SPM, and are now able to the second range.
Press ,& then the key; press ,& then
the key; press ,& then the key;
press ,& then the key; press ,. The
4
key will not have to be pressed after setting the sixth speed range.
The six speed ranges should now be programmed as 1000, 900, 800,
700, 600 & 500 SPM. Press the key 5 times, pausing to review
each programmed value as you scroll. Verify each setting increases
by a value of 100 SPM as you press the key. You may press the
number keys to alter a value if you see that it is programmed
incorrectly. After the key has been pressed so speed range one
is highlighted, the display should appear as:
Press the key to accept the new speed settings.
The screen should appear as such:
Press the key. The display should appear as such (Next
Page):
5
Press the key. The display should appear as such:
Press the key twice so the icon is highlighted. Let the
display react to the first keystroke before pressing the key the
second time. The display should appear as such:
Press the key to change the trace from rectangular to
octagonal. The screen should appear as such (Next Page):
6
Press the key. The display should appear as such:
Press the key once. The display should appear as such:
Press the key. The display should appear as such (Next
Page):
7
Press the key two times so the word “Beep” is highlighted. The
screen should appear as such:
There are three options for the “Beep” setting; OFF, ON, or 5. This
will determine if the panel “beeps” when there is a thread break, or
how many times it will beep. Press the arrows to scroll
through the choices. Most operators prefer the setting of “5”, so the
machine will alert them when a thread break occurs, but stop beeping
after five beeps. When the “5” is selected, the screen should appear
as such:
Press the key two times, so “Del. small stch” appears (allow for
the display to react to each key pressed). The display should appear
as such (Next Page):
8
Press the key until “0.2” replaces the word “OFF”. Each time
one of the keys is pressed, the value will increase or
decrease by 0.1 mm. The display should appear as such:
Press the key. The display should appear as such:
Press the key so the icon is highlighted. The display
should appear similar to (Next Page):
9
Press the key. The display should appear as such:
Each icon will have a slash through it as shown in the first icon.
Press the key. The slash will be removed from the first icon.
Press the key & then the key to remove the slash from the
second icon.
Press the key & then the key to remove the slash from the
third icon. The display should appear as such:
10