manuals.online logo
Brands
  1. Home
  2. •
  3. Brands
  4. •
  5. Brother
  6. •
  7. Sewing Machine
  8. •
  9. Brother BES-1241 User manual

Brother BES-1241 User manual

1
For Technical Assistance Please Call Toll Free 1-877-4BROTHER
BES-941,1241,961,1261,963,1263 Quick Ref.
LOADING A DESIGN FROM A FLOPPY DISK
SETTING THE COLOR SEQUENCE
Insert floppy disk into the disk drive
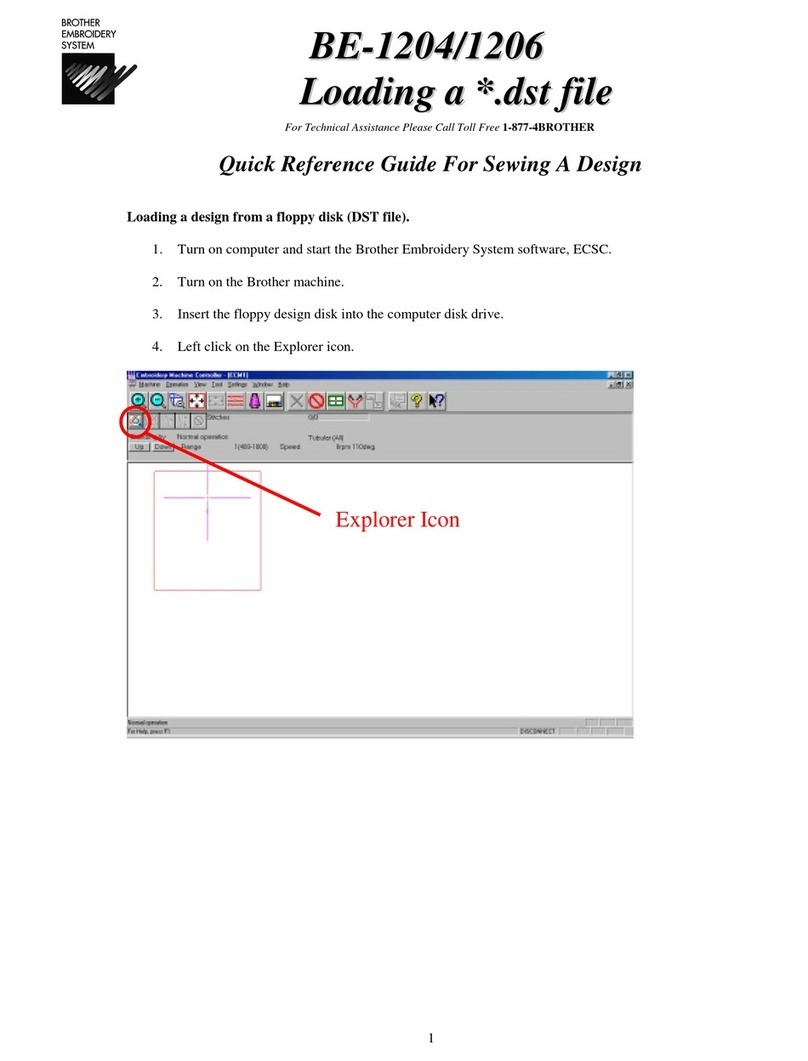
Press the “Floppy Disk” button to enter machine
memory selection screen .
Press the “Needle Select” buttons to
change pages.
Press the “Arrow Keys” to move the highlighted
area over the design you wish to load.
Press the “Start” button to copy the design to the
machine memory and make it the active design.
Note: Machine will not start. You would
have to press “Start” again before the
machine would start sewing.
Press the “Needle Set” button to enter the color
programming mode
Use the “Numeric Keypad” to assign a needle
number (Color).
Use the “Zero” button to assign a
two-digit needle. (example: 12)
Continue to select needle numbers until all colors
have been programmed.
Press the “End” button to exit the color-
programming mode with the sequence saved.
ENTER A DESIGN FROM THE MACHINE MEMORY
POSITIONING AND SEWING THE DESIGN
Press the “Floppy Disk” button to enter machine
memory selection screen .
Press the “Arrow Keys” to move the highlighted
area over design you wish to load.
Press the “Enter” button to select the design for
sewing.
Set the color sequence for the design.
Position and Sew the design
Press the “Arrow Keys” to center your design in
the hoop.
Press the “START” button to begin sewing the
design.
Press the “Confirm” button to verify the design
will fit in the frame at the location you have chosen.
ROTATE A DESIGN
Press the “Edit” button to enter the design edit
mode.
Press the “Left & Right Arrow” buttons to
change the degree at which to rotate the design.
Press the “End” button to save the rotation degree
and exit the edit mode.
Press the “Floppy Disk” button to enter floppy
disk selection screen . Use the “Numeric Keypad” to assign a sewing
speed by pressing a number 1–6. 1=fast, 6=slow.
2
MANUALLY TRIMMING THE THREAD
Press the “Thread Trimming” button to have the
machine trim the thread.
CANCELLING SEWING
“FLOATING” THROUGH A DESIGN
ERASING A STORED DESIGN FROM MEMORY
MOVING THE NEEDLE CASE
DELETE ALL DESIGNS STORED
From the “Stand-B
y
Screen”
(
Above
)
.
Press the “Asterisk” button to select the amount o
f
stitches you wish to move at one time.
Press the “Left & Right Arrow” buttons to move
BACK or FORWARD the specified amount of
stitches in the design.
Press the “Needle Select” buttons to change
needles manually. Continue pressing button until
desired needle is reached.
Turn the power of the machine to the OFF position.
Press and HOLD the “Delete” button while turning
the power to the ON position
Press the “Delete” button again when asked to erase
all stored designs. Pressing the “Enter” key will reset
all machine settings and may result in poor quality.
“FLOATING” TO A SPECIFIC STITCH NUMBER
From the “Stand-B
y
Screen”
(
Above
)
.
Press the “Asterisk” button FIVE (5) times.
Use the “Numeric Keypad” to select the number
of the stitch you wish to move to.
Press the “End” button to have the machine jump
to that stitch location.
LOADING A DESIGN FROM COMPUTER
Press the “Floppy Disk” button to enter machine
memory selection screen .
Press the “Start” button to copy the design to the
machine memory and make it the active design.
Note: Machine will not start. You would
have to press “Start” again before the
machine would start sewing.
Press the “Floppy Disk” button to enter floppy
disk selection screen .
Press the “Floppy Disk” button to enter
communication selection screen .
Press one of the “Needle Select”
buttons to begin communication with
Press the “Arrow Keys” to move the highlighted
area over the design you wish to load.
Press the “Needle Select” buttons to
change pages.
Press the “Floppy Disk” button to enter machine
memory selection screen .
Press the “Arrow Keys” to move the highlighted
area over design you wish to erase.
Press the “Delete” button to select the design for
deletion.
Press the “Enter” button to confirm the deletion of
data.
From the “Stand-By Screen” (Above)
and the machine stopped.
Press the “ESC” key to cancel the sewing
Press the “ENTER” key to confirm
Revised 1/10/05
This manual suits for next models

8

Other Brother Sewing Machine manuals

Brother XL5300 User manual

Brother

Brother XL5300 User manual

Brother XL-6452 User manual

Brother

Brother XL-6452 User manual

Brother BAS-423 Owner's manual

Brother

Brother BAS-423 Owner's manual

Brother MA4-V61 User manual

Brother

Brother MA4-V61 User manual

Brother DB2-8715 User manual

Brother

Brother DB2-8715 User manual

Brother KXC4589-051 User manual

Brother

Brother KXC4589-051 User manual

Brother ST371HD User manual

Brother

Brother ST371HD User manual

Brother Computerized Embroidery Machine User manual

Brother

Brother Computerized Embroidery Machine User manual

Brother VX1140 User manual

Brother

Brother VX1140 User manual

Brother 888-P20 User manual

Brother

Brother 888-P20 User manual

Brother Z-8560A User manual

Brother

Brother Z-8560A User manual

Brother XL-2600 User manual

Brother

Brother XL-2600 User manual

Brother LZ2-B855E User manual

Brother

Brother LZ2-B855E User manual

Brother 885-U01 User manual

Brother

Brother 885-U01 User manual

Brother BAS-311F-0 User manual

Brother

Brother BAS-311F-0 User manual

Brother CE-5000PRW User manual

Brother

Brother CE-5000PRW User manual

Brother BAS-102V User manual

Brother

Brother BAS-102V User manual

Brother BAS-311A User manual

Brother

Brother BAS-311A User manual

Brother BAS-311H User manual

Brother

Brother BAS-311H User manual

Brother EF4-N11 User manual

Brother

Brother EF4-N11 User manual

Brother 885-X03 User manual

Brother

Brother 885-X03 User manual

Brother LB6770 PRW User manual

Brother

Brother LB6770 PRW User manual

Brother FB-V51A User manual

Brother

Brother FB-V51A User manual

Brother BC800 User manual

Brother

Brother BC800 User manual

Popular Sewing Machine manuals by other brands

Duerkopp Adler 296-FA11 parts list

Duerkopp Adler

Duerkopp Adler 296-FA11 parts list

Singer 185 Instructions for using

Singer

Singer 185 Instructions for using

Singer Studio S18 instructions

Singer

Singer Studio S18 instructions

CHEE SIANG INDUSTRIAL M121 Series instruction manual

CHEE SIANG INDUSTRIAL

CHEE SIANG INDUSTRIAL M121 Series instruction manual

kansai RX UTC manual

kansai

kansai RX UTC manual

HIGHLEAD GC22618 Instruction manual parts catalog

HIGHLEAD

HIGHLEAD GC22618 Instruction manual parts catalog

JUKI DDL-8700 instruction manual

JUKI

JUKI DDL-8700 instruction manual

Janome MyLock 203 Instruction book

Janome

Janome MyLock 203 Instruction book

Pfaff synchrotronic 1229 Instruction book

Pfaff

Pfaff synchrotronic 1229 Instruction book

Garudan GP-510-143 User manual and  spare parts list

Garudan

Garudan GP-510-143 User manual and spare parts list

JUKI MB-1800 series Engineer's manual

JUKI

JUKI MB-1800 series Engineer's manual

Consew 146RB-1A-1 Operating	 instruction

Consew

Consew 146RB-1A-1 Operating instruction

Atlanta Attachment Company 1344S88 Technical Manual & Parts Lists

Atlanta Attachment Company

Atlanta Attachment Company 1344S88 Technical Manual & Parts Lists

Singer Initiale instruction manual

Singer

Singer Initiale instruction manual

Singer QUANTUM 9920 instruction manual

Singer

Singer QUANTUM 9920 instruction manual

Singer 221K7 parts list

Singer

Singer 221K7 parts list

Simplicity S210 instruction manual

Simplicity

Simplicity S210 instruction manual

SWF SB Series user manual

SWF

SWF SB Series user manual

manuals.online logo
manuals.online logoBrands
  • About & Mission
  • Contact us
  • Privacy Policy
  • Terms and Conditions

Copyright 2025 Manuals.Online. All Rights Reserved.