ASL-700 OPERATOR 02-03-2022 Bruno Independent Living Aids
6
OPERATION
Lowering the platform
1. Open the keyswitch cover.
2. Insert the key and turn it to ON position.
3. Press and hold the DOWN switch to
lower the platform.
4. Release the switch when the platform
reaches the ground.
5. Position the mobility device on the
platform.
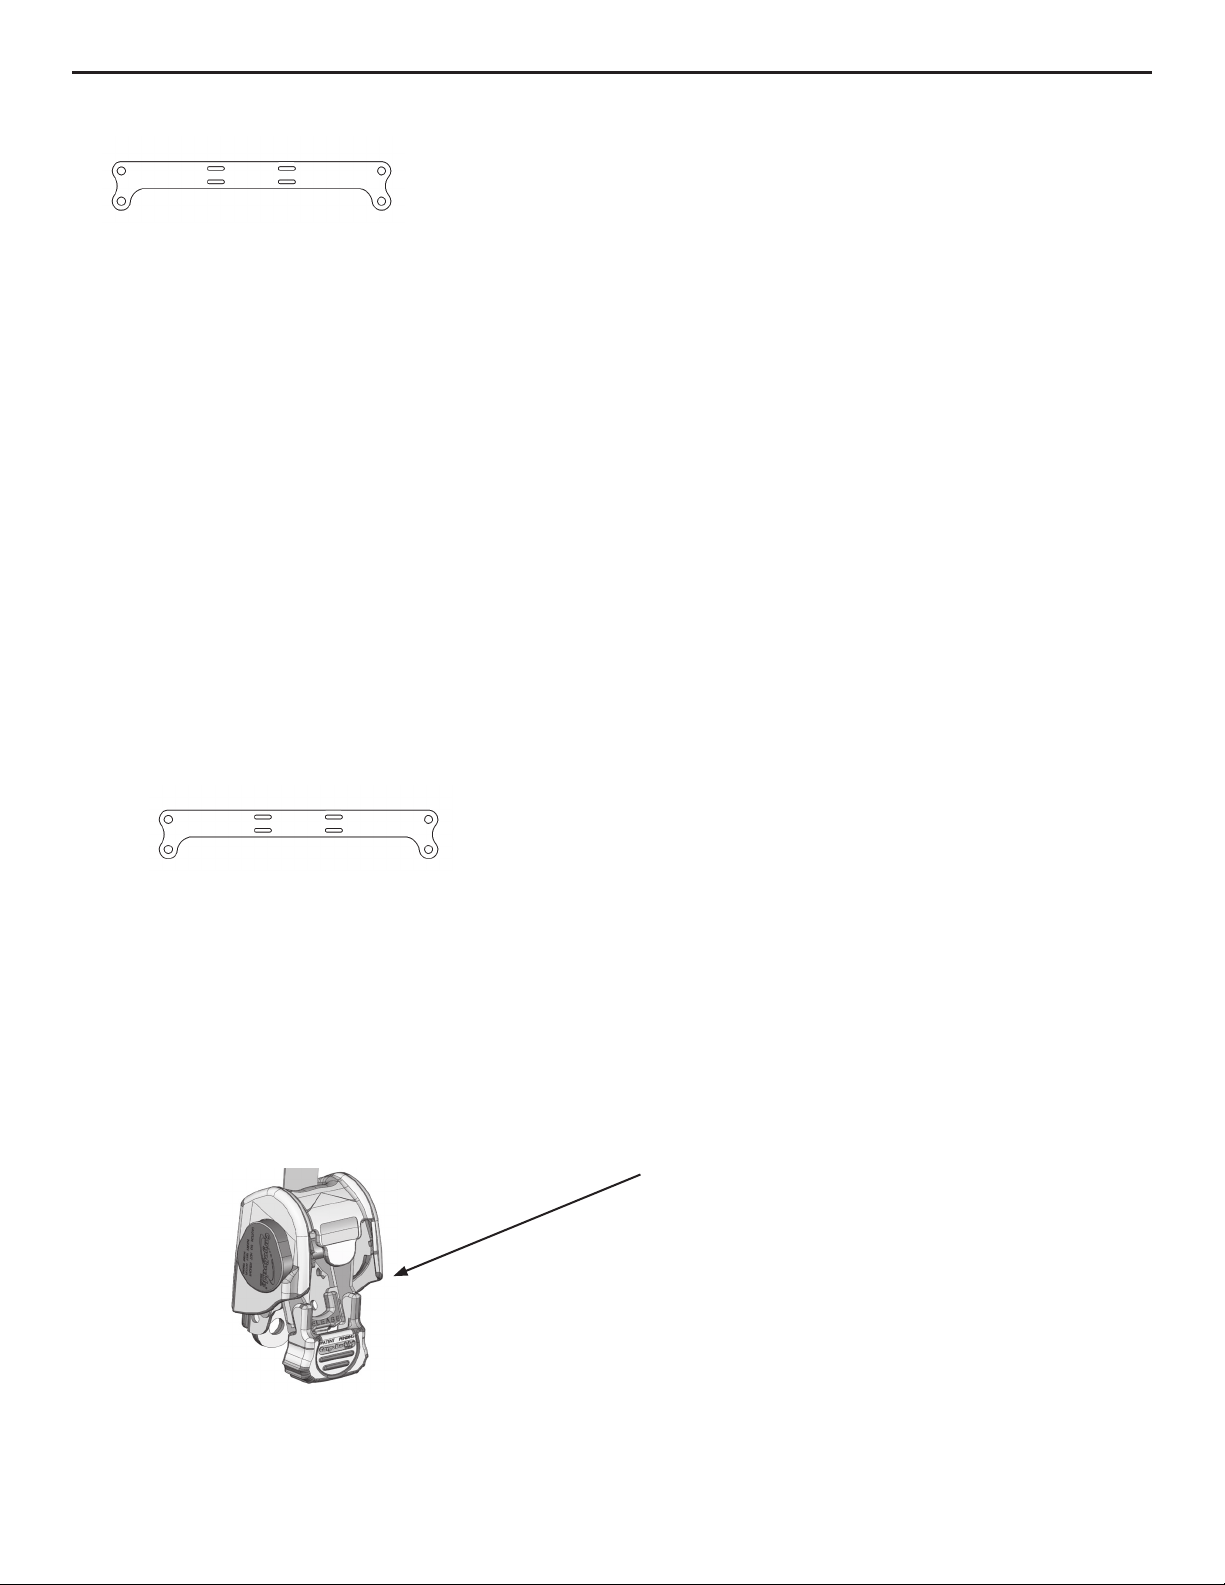
• Have an authorized Bruno dealer
remove the mobility device seat,
mount the docking plate (see above)
between the seat and the swivel
plate of the mobility device and place
the seat assembly back on the mobility
device.
Retractable belt hooks
attach to this docking
plate.
Raising the platform (Loading)
• Open the keyswitch cover.
• Insert the key and turn it to the ON
position.
• Make sure an authorized Bruno dealer
has installed the docking plate shown
earlier in this manual.
• Press and hold the UP switch to raise the
platform/mobility device.
• Release the switch when the platform
reaches the uppermost position.
• Secure the mobility device to the platform
using the (3) ratcheting belts. See the
next page for belt operation.
• Turn the key to the OFF position.
• Remove the key from the key switch.
• Close the key switch cover.
• Have an authorized Bruno dealer
remove the mobility device seat,
mount the docking plate (see
above) between the seat and the
swivel plate of the mobility device
and place the seat assembly back
on the mobility device.
Retractable belt hooks
attach to this docking
plate.