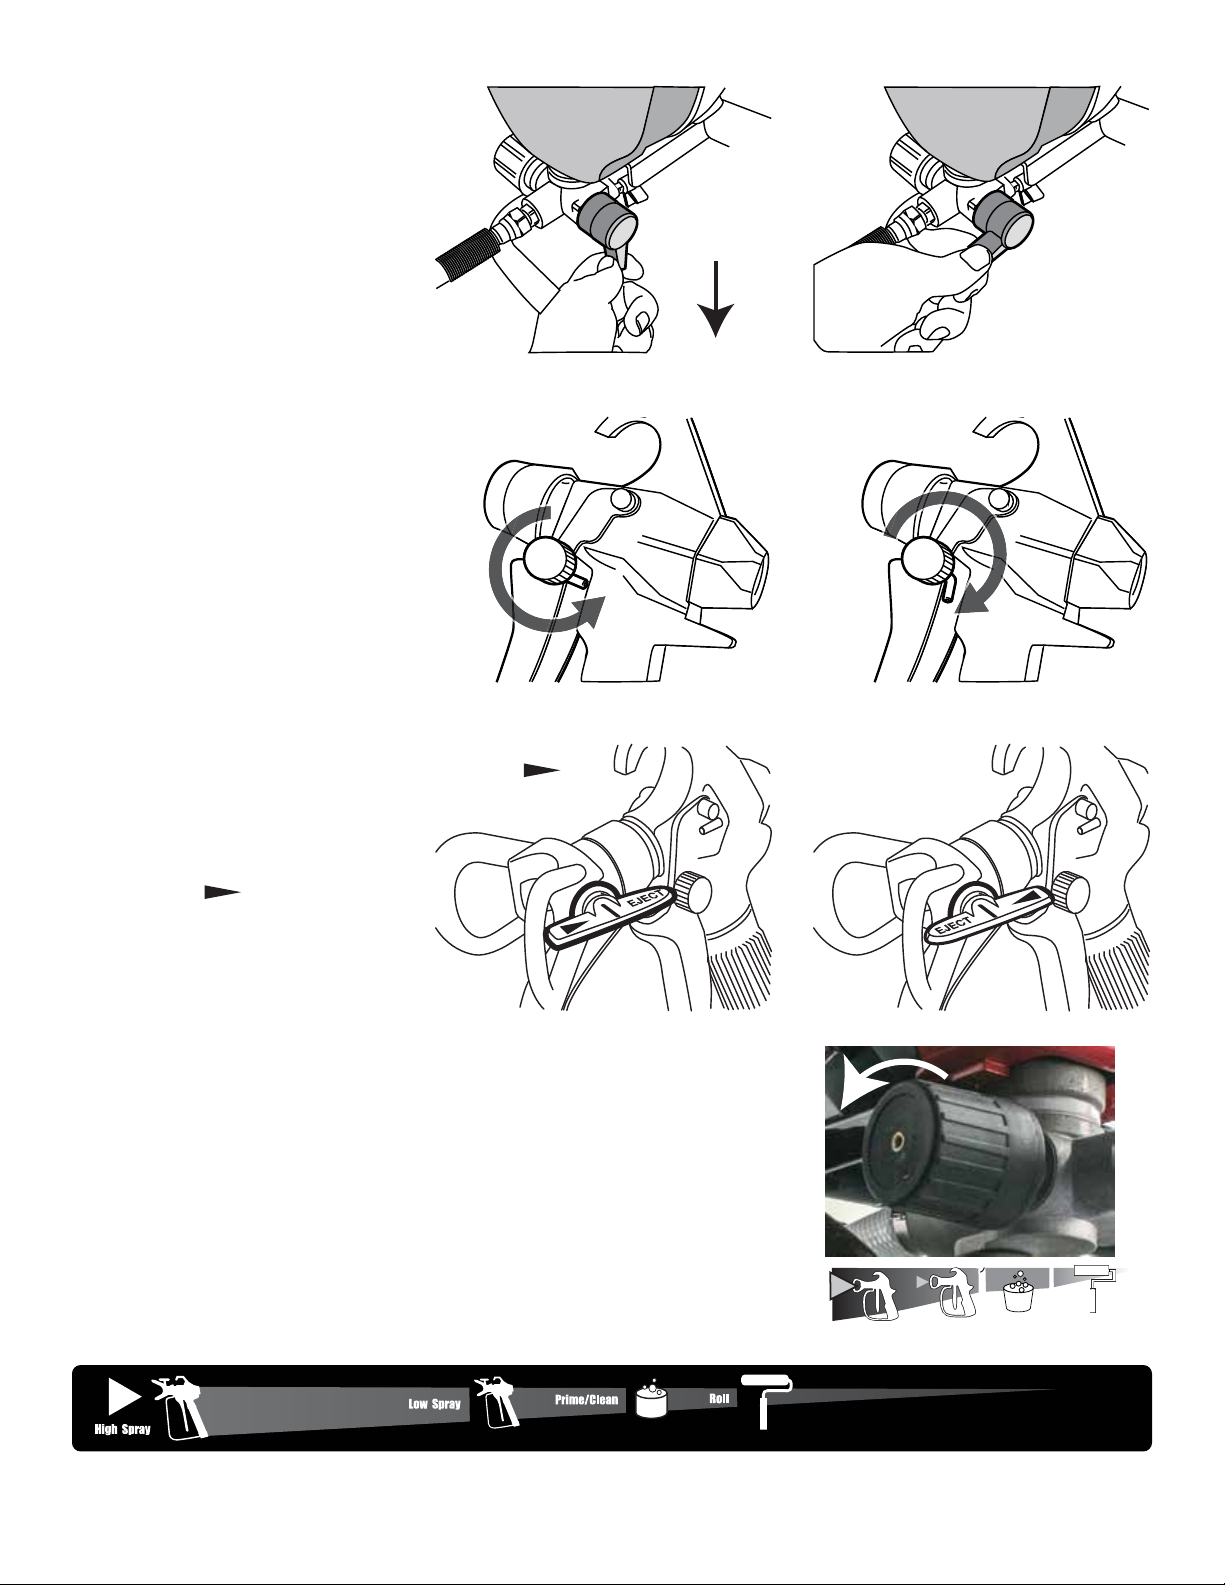
Page 4
Paint Sprayer Safety Warnings
1. INJECTION HAZARD!
Although this paint gun is airless,
it still puts out paint at a very high
pressure. Through improper use, paint
can be injected through a person’s skin,
leading to serious injury, possibly amputation.
If paint is accidentally injected into someone’s skin,
contact a doctor immediately. Do not treat an injection
injury as a simple cut. Injection can lead to amputation
and requires immediate surgical treatment.
2. Do not point your sprayer at anyone, including
yourself. Do not place your hand in front of
tniaptcelfedottpmettaroelzzons’nuGyarpS
spray with your hand during use.
Gloves and clothing don’t offer adequate protection
from toxic paints, sealers, water-proofers, or stains.
3. Do not come into contact with a fluid stream
created by a leak in the paint hose.
4. Engage the Spray Gun’s trigger
lock when not spraying.
5. dezirusserpreyarpStniaPevaeltonoD
while unattended.
6. Do not clean Spray Gun tip while it is
still connected to paint hose.
7. Keep the trigger and the electrical
cord plug clean and paint-free.
8. Do not run Paint Sprayer while empty.
9. Do not use Paint Sprayer to spray
,sezalg,stniapcillatem,sotsebsa
red lead, cement, ground chalk,
abrasive grainy paints containing lime, or bleach.
These will damage the spray gun and void the warranty.
10. Do not spray flammable materials in vicinity
of open flame or near ignition sources. Motors,
electrical equipment, and controls can cause electrical
arcs that will ignite a flammable gas or vapor. Do not
store flammable liquids or gases in vicinity of this unit.
11. Keep fire-extinguishing equipment
present and in good-working order.
12. Keep pump away from spray area to avoid
contact with solvents and paint fumes.
13. Use Paint Sprayer with water-based or
mineral spirit-type materials only.
14. Do NOT use bleach, low-flash naphthalene,
acetone alcohol or toluene when cleaning
Paint Sprayer equipment.
15. Do NOT use solvents with flash points less than
70° F (21° C) to clean equipment. These may
cause an explosion. Examples of acceptable
cleaning solvents are water, mineral spirits and
lacquer thinner. Note that some of these solvents
may be inappropriate for certain kinds of paint;
follow the paint supplier’s recommendations.
16. Follow the material and solvent manufacturer’s
safety precautions and warnings.
17. Keep paint hose away from sharp objects.
Bursting hoses may cause injury.
Examine hoses regularly and replace if damaged.
18. When flushing Paint Sprayer system,
use lowest possible pressure setting.
19. All hoses and spray gun accessories used with Paint
Sprayer must be pressure rated at or above 3000 PSI.
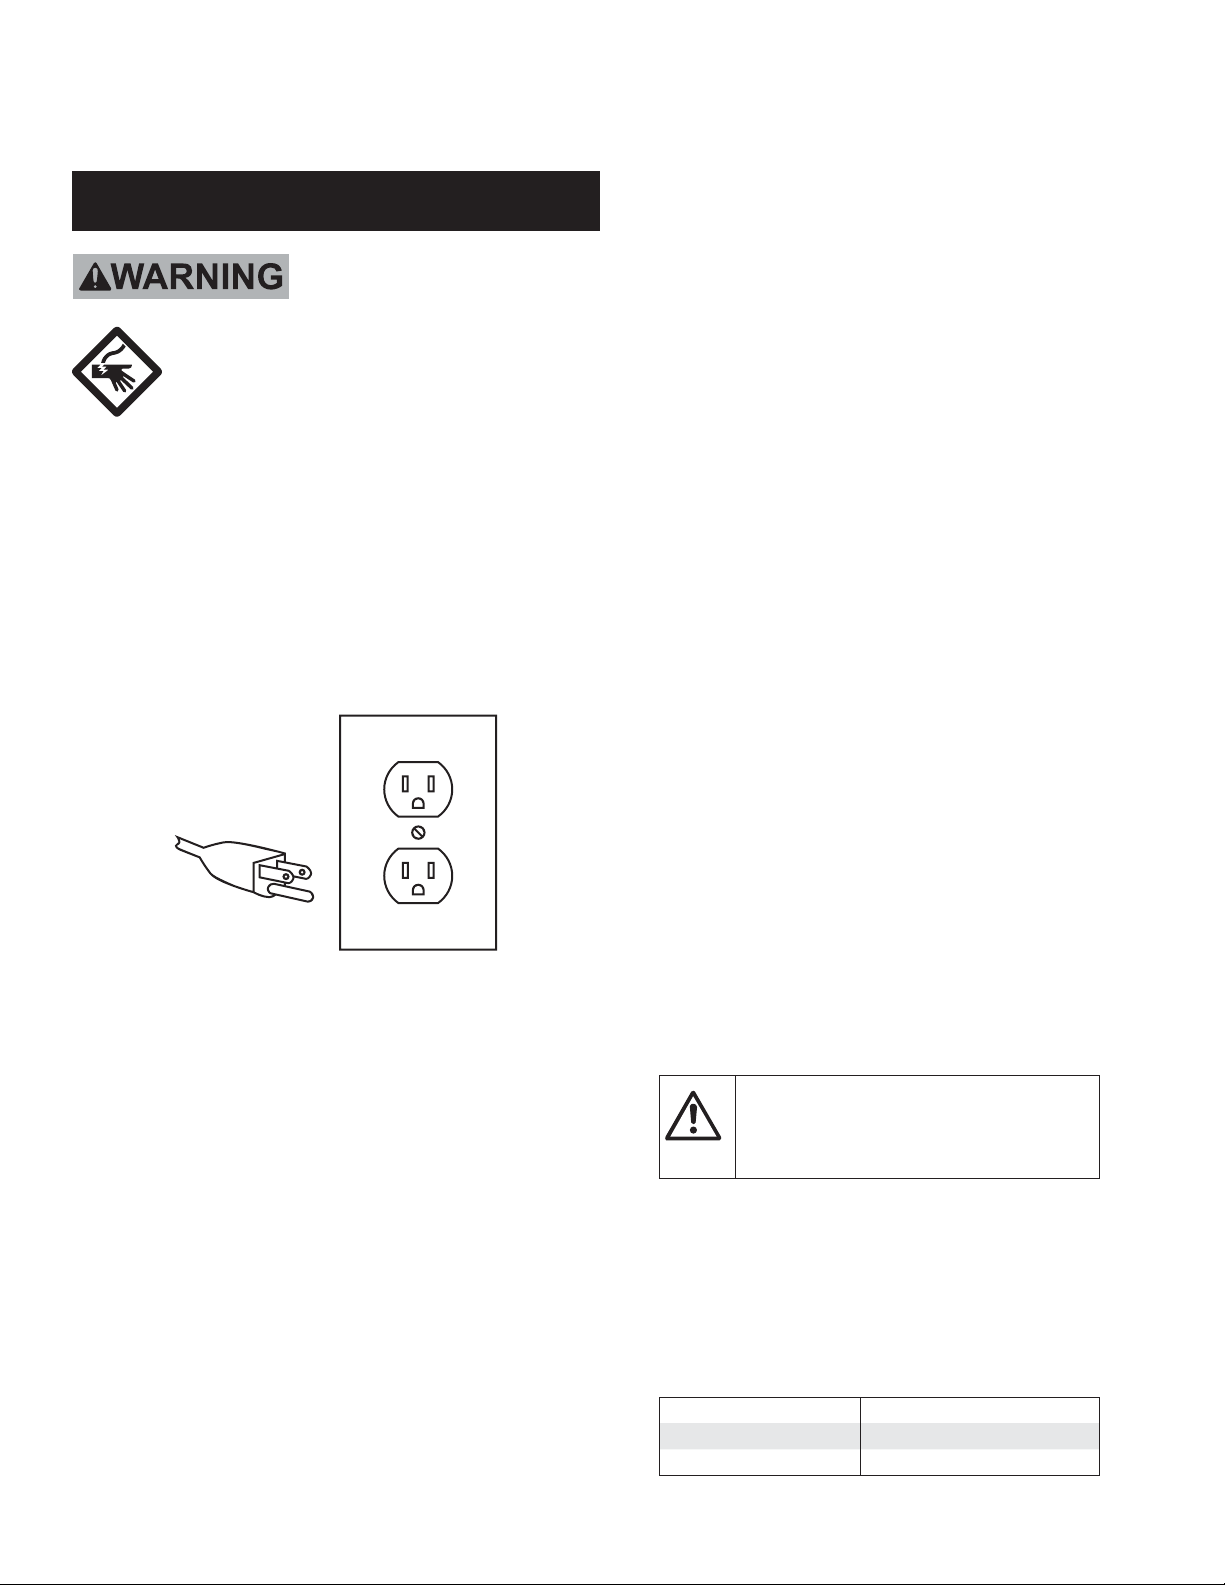
20. The Paint Sprayer must be plugged into
an outlet that is grounded in accordance
with all local codes and ordinances.
21. Use caution while spraying on windy days.
22. Do not use Paint Sprayer without the
Spray Gun’s nozzle guard in place.
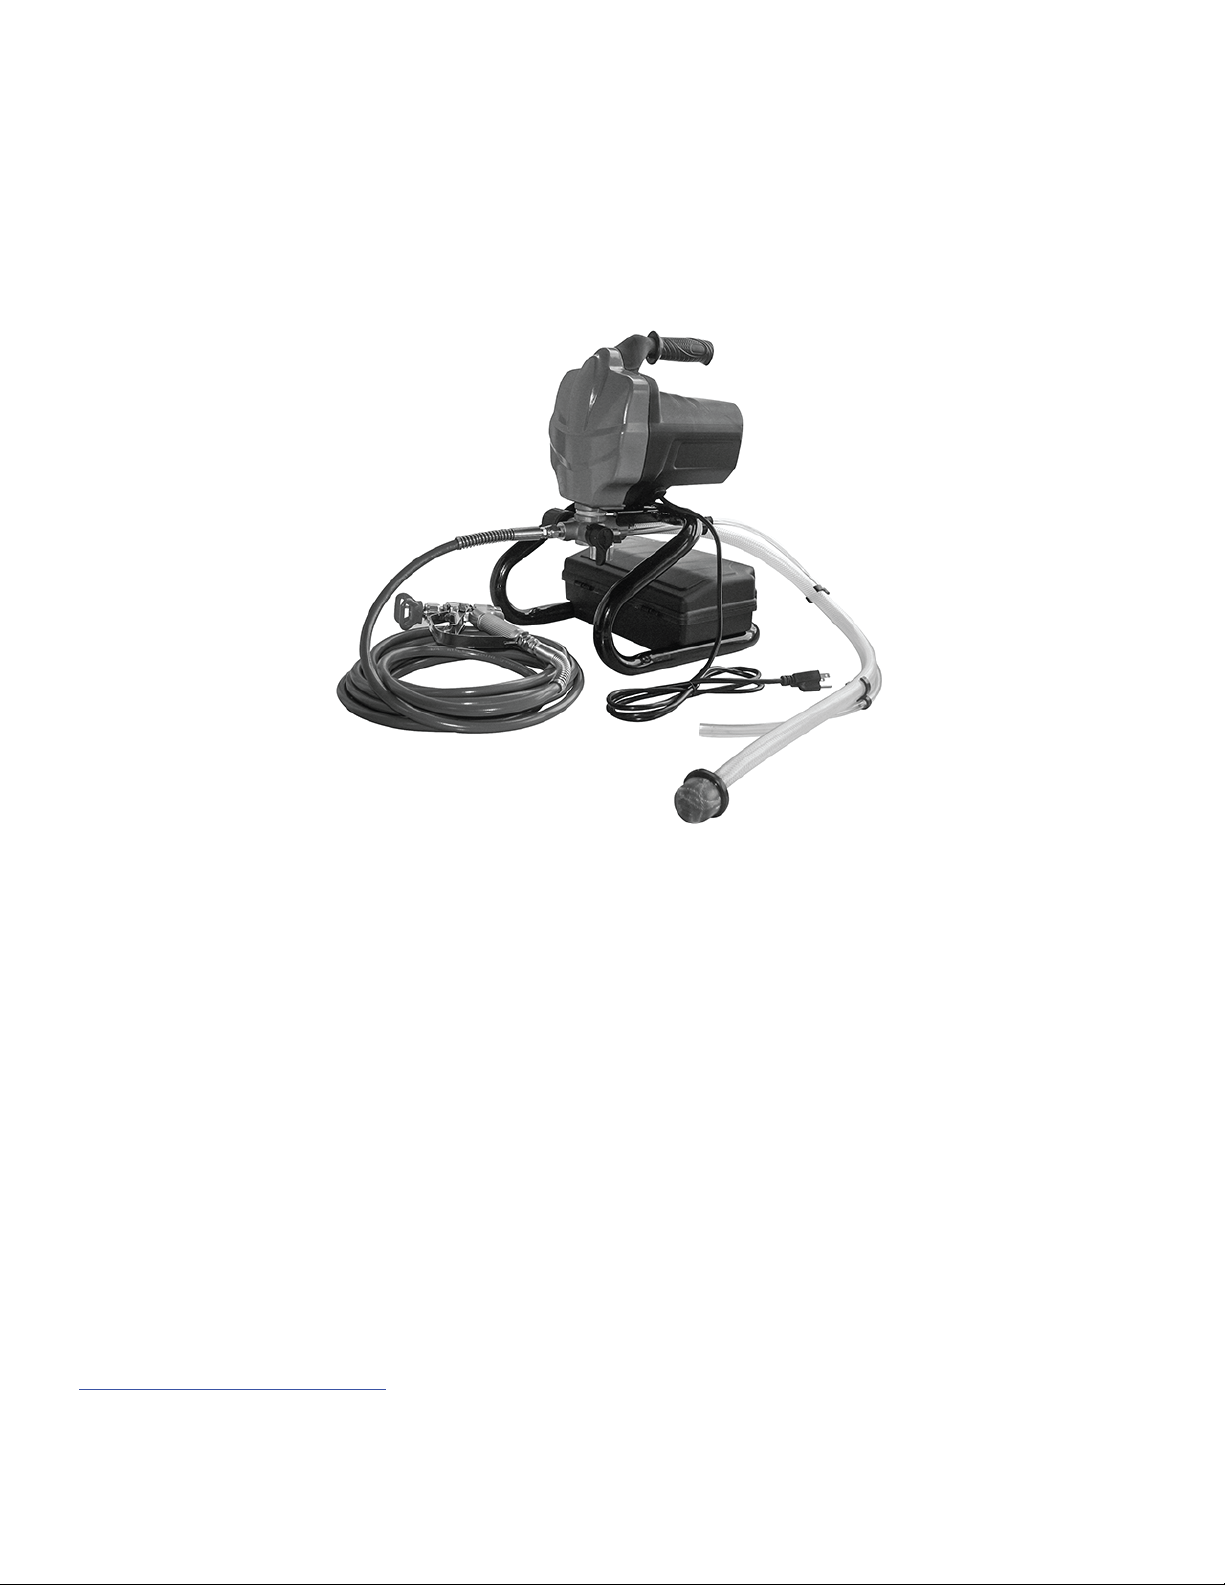
ITEM # APS517 Airless Paint Sprayer Operating Instructions
WARNING: HAZARDOUS VAPORS
Paints, solvents, insecticides, and other materials
can be harmful if inhaled or come in contact
with the body. Vapors can cause severe nausea,
fainting, or poisoning.
PREVENTION
• Use a respirator or mask if vapors can be inhaled. Read
all instructions supplied with the mask to be sure it will
provide the necessary protection.
• Wear protective eyewear.