manuals.online logo
Brands
  1. Home
  2. •
  3. Brands
  4. •
  5. Fimco
  6. •
  7. Paint Sprayer
  8. •
  9. Fimco LG-4-3-1 User manual

Fimco LG-4-3-1 User manual

Page 1
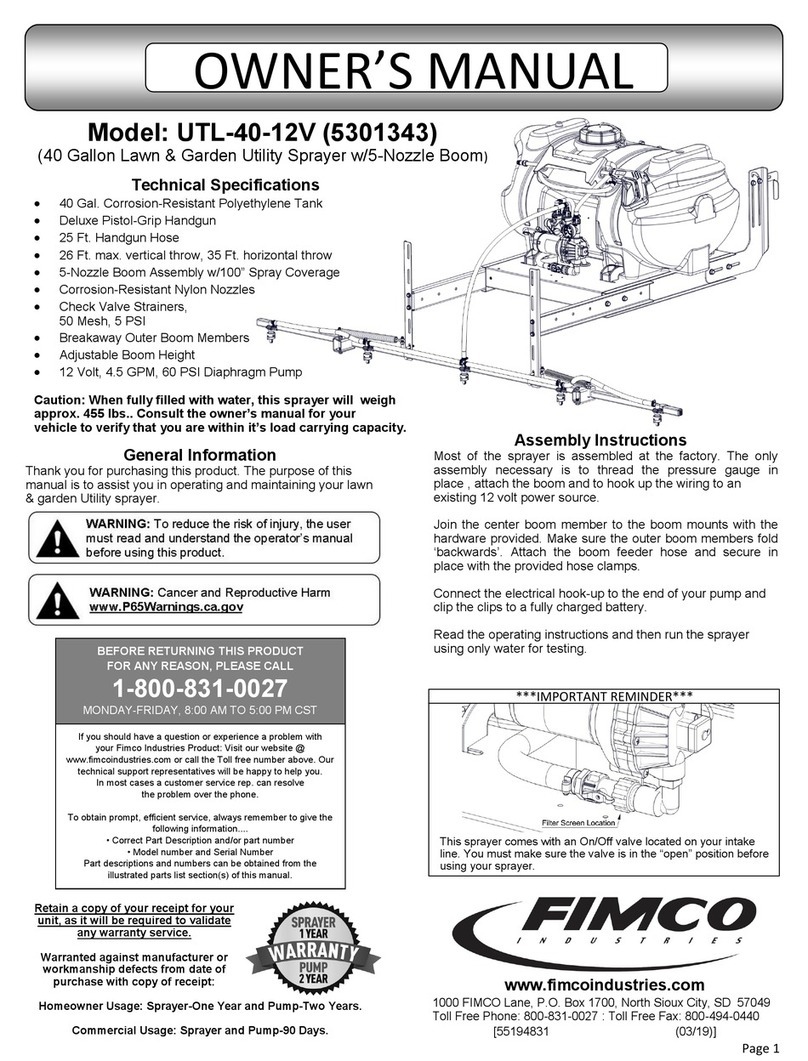
Model: LG-4-3-1 (5302314)
(4 Gallon, 3.6 V, Spot Sprayer)
Technical Specifications
4 Gallon Corrosion-Resistant Polyethylene Tank
Rechargeable Handgun
Continuous Use Over 1 Hour
2.5 Hours Recharge Time
Removable base for handheld spraying
Ergonomic Back Pack Straps for back pack spraying
6-3/4” Wheels with high ground clearance
Unit height with base = 39”
Tank height without base = 19”
NOTE:
It is VERY important for you to test your sprayer with plain
water before actual spraying is attempted.
Allow 20 seconds for the fluid to reach the handgun and begin
spraying. If the fluid does not reach the handgun and drains out of
the hose when the trigger is released, the hose is not connected
to the handgun correctly. Disconnect and reconnect the quick
connect shut off and begin priming again. If the fluid does not
reach the handgun and stays in the coiled hose, lower the hand-
gun below water level, this will allow the pump to prime.
Operation
Fill the tank 1/2 full with water first and then add the chemical slowly, mix-
ing as you pour the chemical into the tank and then fill the rest of the way.
You may use the handgun to spray into the solution in order to mix the
chemical and water.
After spraying, rinse and clean the equipment both inside and out. Flush
the pumping system with water.
Be sure to read the chemical label(s) before application!
After Spraying & Winter Storage
After use, fill the sprayer tank part way with water. Start the sprayer and
allow the clear water to be pumped through the plumbing system and out
through the spray nozzle. Refill the tank about half full with plain water and
use FIMCO Tank Neutralizer and Cleaner and repeat cleaning instructions
above. Flush the entire sprayer with the neutralizing/cleaning agent, then
flush out one more time with plain water. Follow the chemical manufactur-
er’s disposal instructions of all wash or rinsing water.
WARNING: Some chemicals will damage the plumbing components
if allowed to soak untreated for a length of time! ALWAYS flush the
system as instructed after each use.
Drain all water out of your sprayer. Store in a place where temper-
atures will not be in the freezing range.
Proper care and maintenance will prolong the life of your sprayer.
OWNER’S MANUAL
General Information
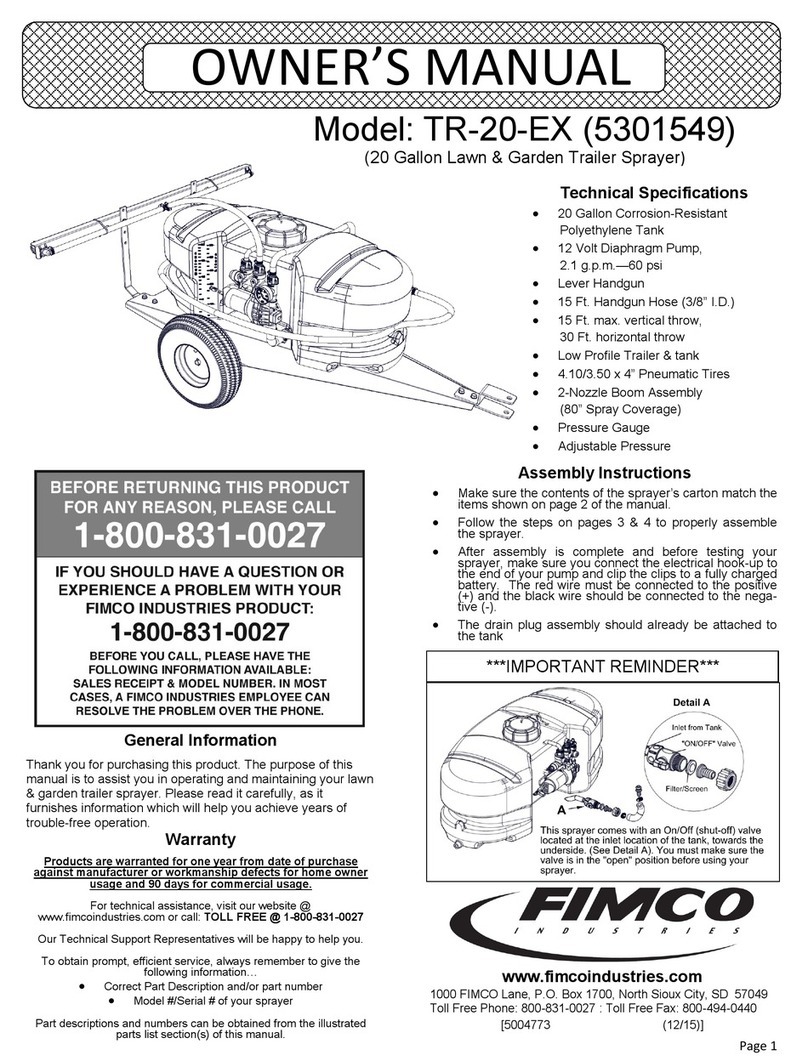
Thank you for purchasing this product. The purpose of this
manual is to assist you in operating and maintaining your lawn
& garden spot sprayer. Please read it carefully, as it furnishes
information which will help you achieve years of trouble-free
operation.
Warranty
Products are warranted for one year from date of purchase
against manufacturer or workmanship defects for home owner
usage and 90 days for commercial usage.
For technical assistance, visit our website @
www.fimcoindustries.com or call: TOLL FREE @ 1-800-831-0027
Our Technical Support Representatives will be happy to help you.
To obtain prompt, efficient service, always remember to give the
following information…
Correct Part Description and/or part number
Model #/Serial # of your sprayer
Part descriptions and numbers can be obtained from the illustrated
parts list section(s) of this manual. [5008438 (07/15)]
Page 2
Assembly
Instructions
Step 1
Unscrew Tank Retaining Bolt from tank, do not remove from
black base. Remove tank from base.
Step 2
Install qty. (2) wand clips with qty. (2) #10-24 x 1/2” long
screws with a #2 Phillips screwdriver.
Step 2
Step 3
Push handle onto handle tube and align holes. Insert qty. (1) #10-24 hex nut into hex
recess in handle. Insert qty. (1) #10-24 x 1-3/8” screw through the handle and tube.
Tighten with #2 Phillips screwdriver.
Step 4
Push handle tube into base and align holes. Insert qty. (1) #10-24 hex nut into hex
recess in base. Insert qty. (1) #10-24 x 1-3/8” screw through handle tube and base.
Tighten with #2 Phillips screwdriver.
Step 5
Replace tank on base and secure in place with the Tank Retaining Bolt.
Step 6
All that is left to complete assembly of your sprayer is to attach the coiled
hose assembly and handgun assembly to the unit.
***The Sprayer should now be ready to use***
Step 1
Step 3
Step 4
Step 5
Step 6
Sprayer Conversions:
Wheeled Dolly Sprayer
When the tank is attached to the base, the unit is
ready to spray as a wheeled Dolly Sprayer. The tank
easily pulls behind you without having to carry the
weight. Works best with finished lawns.
Handheld Sprayer
To convert the sprayer to a Handheld
Sprayer, turn the tank retaining bolt counter
clockwise until the tank is loose. To reattach
the tank, set the tank on the base and turn
the tank retaining bolt clockwise. The tank
retaining bolt will remain attached to the
base. When the tank is removed from the
base, the tank is easily carried by hand.
Works best for light spraying on uneven
ground or in between landscaping.
Wheeled
Handheld
Backpack
Backpack Sprayer
To convert the sprayer to a Backpack Sprayer, turn the tank retaining
bolt counter clockwise until the tank is loose. The tank retaining bolt will
remain attached to the base. When the tank is removed from the base,
the backpack straps can be attached The upper clip should be attached
to the Top Backpack Attachment Location. The lower clip should be
attached to the Lower Backpack Attachment Location. Works best for
long distance spraying on rough terrain or steep inclines.
Page 3
Off Position On Position
Handgun Charging
 Follow the ‘After Spraying & Winter Storage’ instructions to clean the
tank and handgun plumbing
 Turn Shut Off Valve to the Off position
 Disconnect hose from handgun by pressing the release button
 Pump remaining clean water out of handgun
 Lightly pull and rotate the rubber cover, revealing the charging jack
and charging indicator light. This is located at the base of the hand-
gun
 Plug the charger into a 110 Volt AC electrical receptacle
 Insert the male charging plug into the female jack at the base of the
spray wand. The light will turn red, indicating charging has begun. (If
the red light blinks, an incorrect voltage charger is being used.
Disconnect the charger immediately
 The light will turn green when charging is complete. Then disconnect
the plug from the handgun and the charger from the electrical recep-
tacle when the charging operation is complete
 Rotate and re-plug in the rubber cover over the charging jack. This
will prevent dirt and dust from getting inside the receptacle.
Handgun Wand and Nozzle Options
The Removable Nozzle Assembly can be installed on the
Removable Wand to spray closer to the desired location. The
Removable Nozzle Assembly can be installed directly on the
handgun for more compact spraying (See Detail NOZZLE)
Detail NOZZLE
Page 4
Exploded View/Parts List:
LG-4-3-1 (5302314)

This manual suits for next models

1

Other Fimco Paint Sprayer manuals

Fimco 5302886 User manual

Fimco

Fimco 5302886 User manual

Fimco BK-5 User manual

Fimco

Fimco BK-5 User manual

Fimco 15-2N-TRL-GS User manual

Fimco

Fimco 15-2N-TRL-GS User manual

Fimco LG-15-EC-SP User manual

Fimco

Fimco LG-15-EC-SP User manual

Fimco 3PT-65-NR-7 User manual

Fimco

Fimco 3PT-65-NR-7 User manual

Fimco DBK-71-QR User manual

Fimco

Fimco DBK-71-QR User manual

Fimco ATVBK-3025-QR User manual

Fimco

Fimco ATVBK-3025-QR User manual

Fimco BK-1 User manual

Fimco

Fimco BK-1 User manual

Fimco LG-28-SS User manual

Fimco

Fimco LG-28-SS User manual

Fimco UTL-40-5 User manual

Fimco

Fimco UTL-40-5 User manual

Fimco 150-3PT-5880 User manual

Fimco

Fimco 150-3PT-5880 User manual

Fimco LG-40-DLX User manual

Fimco

Fimco LG-40-DLX User manual

Fimco ATV-25-71 User manual

Fimco

Fimco ATV-25-71 User manual

Fimco LG-13-P User manual

Fimco

Fimco LG-13-P User manual

Fimco 3PT-200-NR-1225FX4 User manual

Fimco

Fimco 3PT-200-NR-1225FX4 User manual

Fimco PRO Series User manual

Fimco

Fimco PRO Series User manual

Fimco LG-5-P Technical Document

Fimco

Fimco LG-5-P Technical Document

Fimco LG-1500-304 User manual

Fimco

Fimco LG-1500-304 User manual

Fimco LG-1500-303 User manual

Fimco

Fimco LG-1500-303 User manual

Fimco BB-304 User manual

Fimco

Fimco BB-304 User manual

Fimco LG-10-EC User manual

Fimco

Fimco LG-10-EC User manual

Fimco LSS-235-H User manual

Fimco

Fimco LSS-235-H User manual

Fimco PRO Series User manual

Fimco

Fimco PRO Series User manual

Fimco 3PT-300-8R-2BB User manual

Fimco

Fimco 3PT-300-8R-2BB User manual

Popular Paint Sprayer manuals by other brands

amspray DSP 1400 Series owner's manual

amspray

amspray DSP 1400 Series owner's manual

Toro Multi Pro 41602 Operator's manual

Toro

Toro Multi Pro 41602 Operator's manual

Compact SB-2-546 Operation manual

Compact

Compact SB-2-546 Operation manual

Graco Magnum ProX instructions

Graco

Graco Magnum ProX instructions

Walter 53-L 126 operating instructions

Walter

Walter 53-L 126 operating instructions

sunjoe SPX-FC34-MXT manual

sunjoe

sunjoe SPX-FC34-MXT manual

Ingersoll-Rand 651533-X Operator's manual

Ingersoll-Rand

Ingersoll-Rand 651533-X Operator's manual

Smithco Spray Star 3182 with Raven 440 System Operator's

Smithco

Smithco Spray Star 3182 with Raven 440 System Operator's

Graco Magnum XR5 operating instructions

Graco

Graco Magnum XR5 operating instructions

Fuso Seiki Lumina HM Series Maintenance manual

Fuso Seiki

Fuso Seiki Lumina HM Series Maintenance manual

Graco DURON Performance Max 395 Repair

Graco

Graco DURON Performance Max 395 Repair

PA RL56 30.4500.10 Technical manual

PA

PA RL56 30.4500.10 Technical manual

CleanCraft ADSG 15 operating instructions

CleanCraft

CleanCraft ADSG 15 operating instructions

Biosan PSU-2T operating manual

Biosan

Biosan PSU-2T operating manual

ASM L1900 Repair Instructions and Parts List

ASM

ASM L1900 Repair Instructions and Parts List

Berthoud ULV user manual

Berthoud

Berthoud ULV user manual

VAUPEL 2000 MS operating manual

VAUPEL

VAUPEL 2000 MS operating manual

AST PCH GMP-025 Series instruction manual

AST

AST PCH GMP-025 Series instruction manual

manuals.online logo
manuals.online logoBrands
  • About & Mission
  • Contact us
  • Privacy Policy
  • Terms and Conditions

Copyright 2025 Manuals.Online. All Rights Reserved.