manuals.online logo
Brands
  1. Home
  2. •
  3. Brands
  4. •
  5. Burgess
  6. •
  7. Camera Accessories
  8. •
  9. Burgess Optical TMB User manual

Burgess Optical TMB User manual

BURGESS Optical /TMB
MRFTM FinderInstructions
Burgess Optical Company
7756 OakRidge Hwy
Knoxville,Tennessee 37931, USA
(865)769-8777
Front Burgess Optical © June2005
The Burgess Optical/TMB MRFTM finderisasingle-
powerred-dot type finderadapted formounting on
telescopesand binocularsofalltypes. Features
include fourdifferent reticules, seven levelsof
brightness control, and alight weight and compact
design. The MRFTM finderhasaprecision ground
reflexlenswithminimal parallax.Included with
the MRFTM finderisabasethat allowsthe MRFTM
findertobe easilyremoved and stored.
The MRFTM finderisused withbotheyesopen
and one eyedirectlybehind the MRFTM finder.
One offourred reticulesissuperimposed on the
sky, and the telescope isaimed bymoving
the telescope untilthe red dotof the reticule
issuperimposed on the target.
Onthe top of the MRFTM finderisaPower/Brightness
Switch, whichistopped withaBattery Cover, and an
Up/DownAdjustment.Onthe rearofthe MRFTM finder,
and accessed fromthe bottom,isaReticuleSelector
Switch.Onthe leftside ofthe MRFTM finderisa
Left/Right Adjustment and twoBaseSecuring Screwsfor
attaching the MRFTM findertothe mounting base. Onthe
right side of theMRFTM finderisan Adjustment Lockfor
preventing the Up/Downand Left/Right adjustmentsfrom
moving,and an Up/DownClickAdjustforadjusting the
amount of clickfeedback when making Up/Down
adjustments.
Use and Operation
First,turnon the MRFTM finderbyrotating the
Power/Brightness Switch.The Off position isaspictured
withthe 0on the switchaligned withthe whitedot. The
switchhasclick stopsat the sevenBrightness settings
and the Off position.Turnthe power/brightness control
untilthedesired brightness ofthe reticuleisreached. A
setting of1isthe dimmest setting suitablefornightuse.
Second, rotatethe ReticuleSelectoruntilthe desired
reticuleisdisplayed.Lastly,itisagood practicetoverify
that the MRFTM finderisaligned withthe telescope each
timethe MRFTM finderisattached tothe telescope.
Keep botheyesopen and position one eyeat a
comfortabledistancebehind the MRFTM finder.The eye
behind the finderwill see the reticulepattern
superimposed upon the viewseen bythe othereye.Eye
placement behindthe MRFTM finderisnot critical
becausethe finderhasverylittleparallax,that is, the
reticuleremainssuperimposed on the samepartof the
sky asthe eyemovesbehind the MRFTM finder.The
telescope ismoved untilthe centerdot overlaysthe
objecttobe viewed.
Reticules
Anyone offourdifferentreticulescan be selected.
Illustrated belowarethe fourreticulepatterns: asingle
dot, suchasthosefound withtraditional red-dotfinders,
adot withinacircle,crosshairs, and adot withinacircle
withcrosshairs. Toselect one of the reticules, rotatethe
ReticuleSelectorKnob until the desired reticuleis
displayed. Remembertoadjust the Brightness Switchto
ensurethat the reticuleisvisible.
SingleDot Dotwithin
Circle
Crosshairs Dot,Circle,
and
Crosshairs
Back Burgess Optical © June2005
The reticulesdo not haveafixed sizewhen viewed with
the starsasabackground. The apparent diameterof
the reticulevarieswiththe distancebetween youreye
and the finder, withthe reticulegetting largerasthe eye
movesfurtherawayfromthefinder.
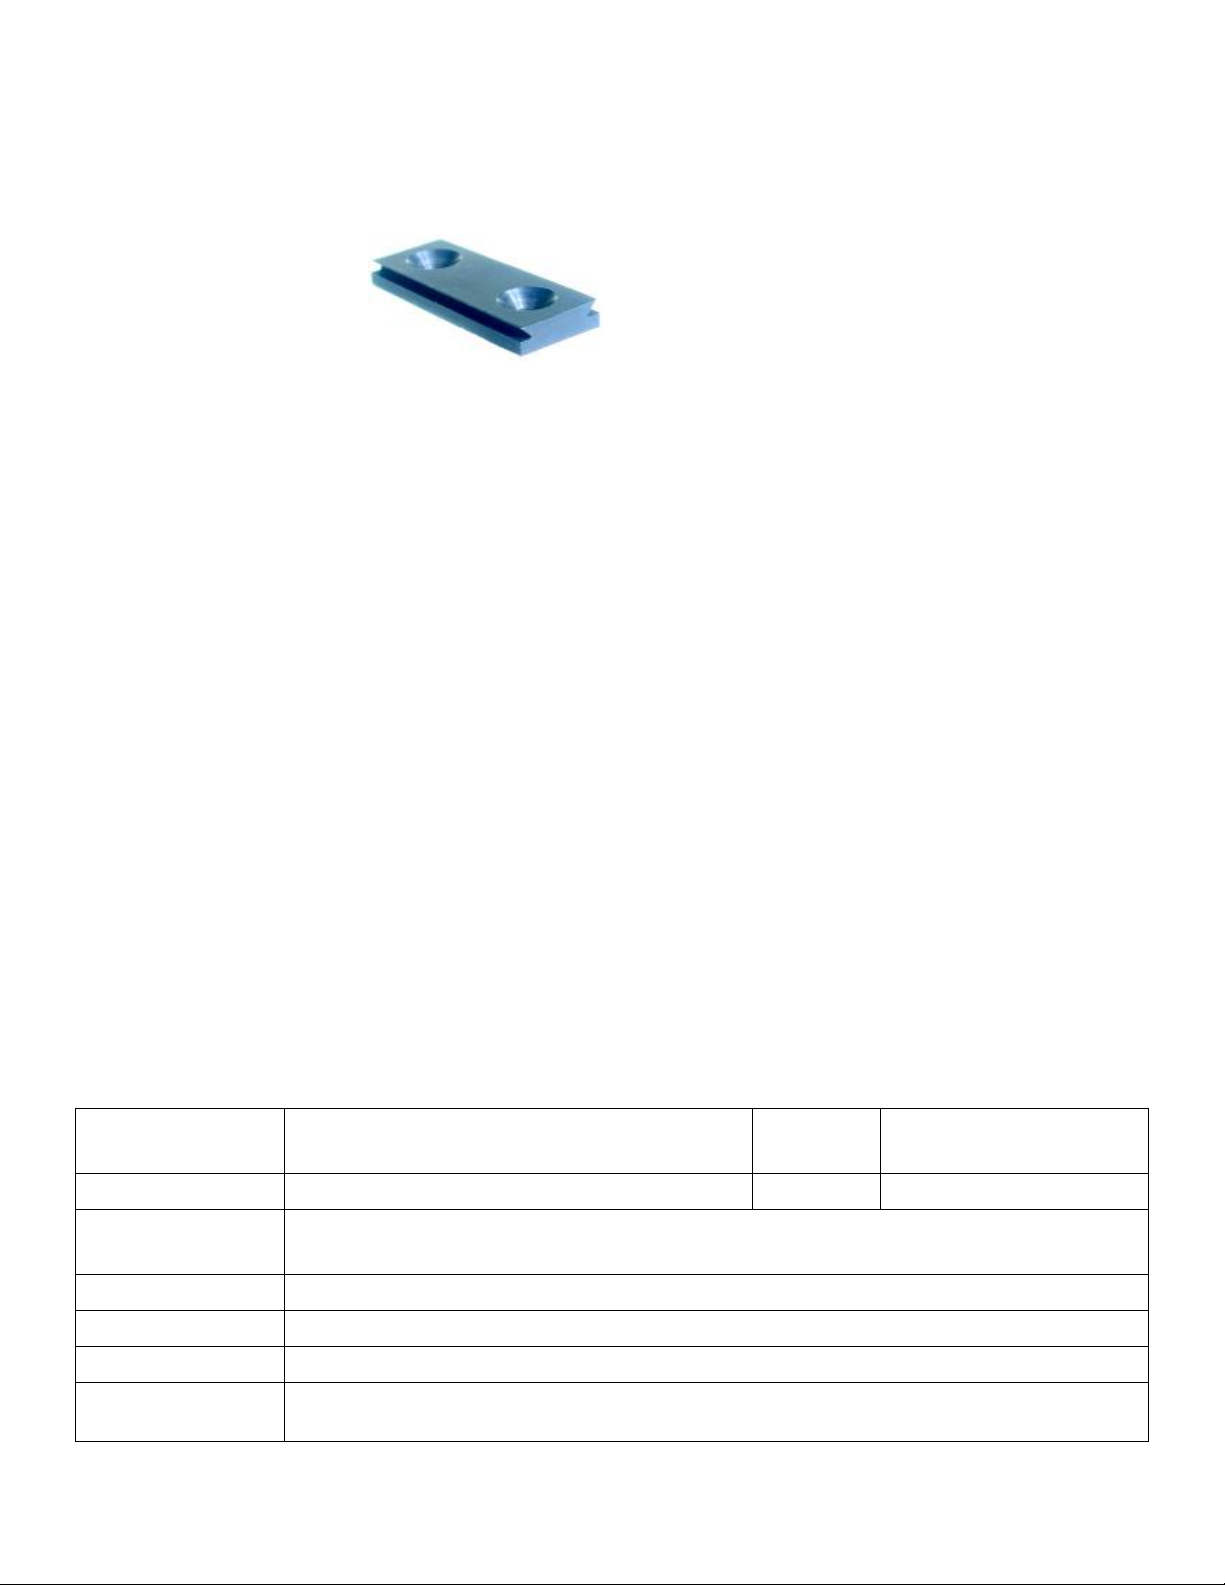
Mounting
The MRFTM findereasily
attachestoatelescope with
the included flat, dovetailmounting
base. The MRFTM finderhastwoClamp
Lock screwsthat, when loose, allowthe MRFTM finderto
slide ontothe dovetailmounting base. Afterthe MRFTM
finderispositioned on the mounting base, the Clamp
Lock screwsaretightened withthe supplied3mmhex
wrenchtolock the findertothe base.
Additionalmounting basescan be ordered. The
mounting basecan be attached toaflatsurfaceofthe
telescope inaconvenientlocation witheitherthe
included stripof double-sided tape orthe included flat-
head screws. The basecan be permanentlyattached by
using an adhesive, suchasan epoxy.
Refractorsoften havethe findermounted on the focuser,
although manyuserspreferthe finderforwardofthe
focuser.Toattachthe basetoan OTAmounting ring,
usethe double-sided tape on aflat surfaceof the ring.
Tomountthe MRFTM finderon apairofbinoculars,
attachthe mounting basewiththe included double-sided
tape. Alternatively,the basecan be screwed toa
BurgessZ-Bracket using the Z-Bracketscrews.
Toremovethe baseattached withdouble-sided tape,
stretchalengthofdentalfloss orfishing line tightand
slide it underthe basewithaslightsawing motion.The
baseshouldeasilyseparatefromthetelescope. Clean
anyadhesiveresidue fromthe telescope and base.
CAUTION: Exercisecarewhen using liquidsolvents
around optical equipment.
AligningtheMRFTM finder
The MRFTM finderhasan Up/DownAdjustment(Labeled
UPwithan arrow)and aLeft/RightAdjustment(labeled
Rwithan arrow). The Up/DownAdjustment movesthe
reticuleup and downand the Left/RightAdjustment
movesthe reticuleleft and right, when viewing the
reticulefrombehindthe finder.
Caution: Beforealigning theMRFTM finder, ensurethat
the AdjustmentLock isloosened. Usethe supplied
1.5mm hexwrenchtoloosen the setscrewon the right
side of the finder.Forastronomicaluse,the Adjustment
Lock isnot necessary, and the setscrewcan remain
loose, allowing the MRFTM findertobe freelyaligned.
Usethe supplied 3mm hexwrenchtomakeadjustments
tothe Up/DownAdjustment and tothe Left/Right
Adjustment. Bothadjustment screwshaveaclickstop
adjustment, witheachclickmoving thereticule
approximatelyone minuteof angle.
Toalign the finder, position abrightstarinthe centerof
the fieldofviewofan eyepieceinthe telescope. Along
focallengtheyepiecewithawide true fieldofviewis
usefulforarough alignment. Whilelooking through the
MRFTM finder,adjust theUp/DownAdjustmentand the
Left/Right Adjustment untilthe brightstarisoverlaidby
the red dotinthe reticule.Afterthe finderisroughly
aligned,the alignmentcan be fine tuned byusing a
highermagnificationeyepiece.Oncealigned,the MRFTM
finderdoesnot requirerealignment when reinstalling the
finderon the sametelescope.
Changing theBattery
Whenthe reticuleisno longervisibleoristoo dimtobe
useful,the battery must be replaced.Unscrewthe
Battery Coveron top of thePower/Brightness switch.
The batteryisa3VLithiumbutton cellthatisreadily
availableatdrug storesand otheroutlets.
CAUTION: Ensurethatthe batteryisinstalled withthe
+side of the battery facing the BatteryCover.
Specifications:
Dimensions 1-1/2”Wx3-1/8”Lx2-1/8”H
36mm Wx80mm Lx54mm H
Weight 4oz.
115 grams
Material Allmetal (aluminum)withplasticlenscap Battery
CR2032
Aperture
1-5/16”Wx7/8”H
33mm Wx20mm H
Controls Power/Brightness, ReticuleSelector, Up/DownAdjust, Left/Right Adjust, Adjustment Lock
Reticules Singledot,Dot withinacircle, Crosshairs, Circlewithcrosshairsand dot
Brightness
Adjustablewith7levels
Contents
MRFTM finder,lenscap,twohexwrenches: 1.5&3mm,battery,cleaning cloth,
flatbase, double-sided tape, twomounting screws

This manual suits for next models

1

Popular Camera Accessories manuals by other brands

Sentry Lithium Series manual

Sentry

Sentry Lithium Series manual

Kaiser Fototechnik Tiltall BS-38 operating instructions

Kaiser Fototechnik

Kaiser Fototechnik Tiltall BS-38 operating instructions

Perun AL C20 instructions

Perun

Perun AL C20 instructions

Manfrotto MDOLLYVR instructions

Manfrotto

Manfrotto MDOLLYVR instructions

Nauticam NA-A7 instruction manual

Nauticam

Nauticam NA-A7 instruction manual

Canon Extender EF 2x III instruction manual

Canon

Canon Extender EF 2x III instruction manual

Panasonic KX-HNP100C installation guide

Panasonic

Panasonic KX-HNP100C installation guide

Fantasea FL?22 Operator's manual

Fantasea

Fantasea FL?22 Operator's manual

Dragonfly Energy Battle Born BBGC2 installation guide

Dragonfly Energy

Dragonfly Energy Battle Born BBGC2 installation guide

Sony DMS-B9WD Operation manual

Sony

Sony DMS-B9WD Operation manual

Dometic BUTTNER MT LI 0085 Installation and operating manual

Dometic

Dometic BUTTNER MT LI 0085 Installation and operating manual

Panasonic WV-Q158C operating instructions

Panasonic

Panasonic WV-Q158C operating instructions

Nauticam N100 X1024-Z instruction manual

Nauticam

Nauticam N100 X1024-Z instruction manual

Elinchrom D-LiTE RX ONE quick guide

Elinchrom

Elinchrom D-LiTE RX ONE quick guide

PROAIM P-BPDP-19 Assembly manual

PROAIM

PROAIM P-BPDP-19 Assembly manual

GREMSY PIXY F user manual

GREMSY

GREMSY PIXY F user manual

Bioenno Power BLF-1220W user manual

Bioenno Power

Bioenno Power BLF-1220W user manual

PROAIM JB-FLMS-01 Assembly manual

PROAIM

PROAIM JB-FLMS-01 Assembly manual

manuals.online logo
manuals.online logoBrands
  • About & Mission
  • Contact us
  • Privacy Policy
  • Terms and Conditions

Copyright 2025 Manuals.Online. All Rights Reserved.