Bush LSBCHP User manual

Instruction manual
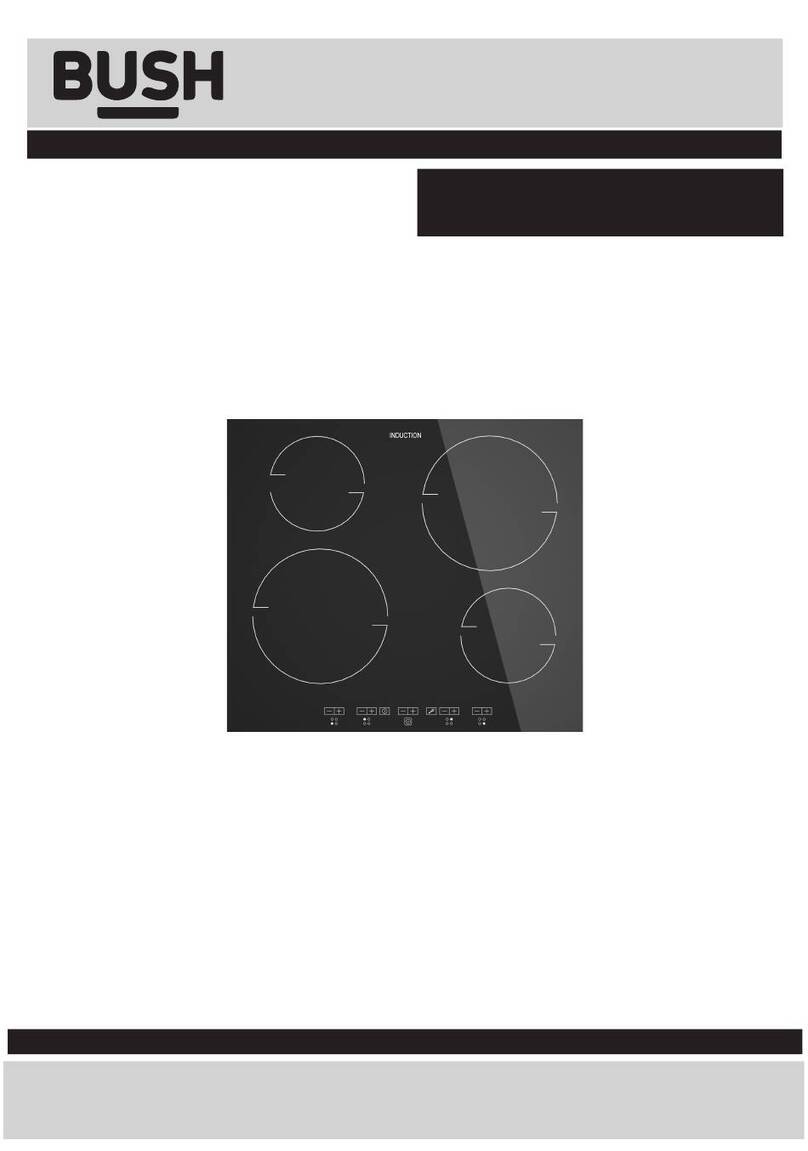
Ceramic Hob
LSBCHP

If you require any technical guidance or find that your product is not operating as intended, a simple solution can often be found in the Troubleshooting section of these instructions,
You’ll soon be enjoying your new Ceramic Hob
It all begins here, with your instructions. Don’t worry,
there’s nothing too technical coming up. Just simple,
step-by-step guidance to get you up and running
quickly. Sound good? Then let’s get started.
Help and Guidance
We’re here to help you get the most from your Ceramic Hob. Should you require
any guidance, a simple solution can often be found online at:
www.bush-support.com
If you still require further assistance, call one of our experts on 01759 487838.

3
or online at www.bush-support.com If you still require further assistance, call one of our experts on 01759 487838
Contents
Care and Maintenance
24
25
Cleaning
Technical specifications
28
29
30
30
Product support
Troubleshooting
Help and assistance
Declaration of conformance to
product standards
Disposal
Guarantee 31
5
6
Safety information
Safety information 6
Getting to know
your Hob
11Overview
Accessories 12
Installing your Hob
14
15
16
Installation requirements
Installation guide
Electrical connections
Using your Hob
18
19
Description of control
Use of the cooking hob
1
2
3
4
Timer 20
Cooking tips 21


1
Safety information

Safety information
Important - Please read these instructions fully before
installing or operating
Safety information
6
If you require any technical guidance or find that your product is not operating as intended, a simple solution can often be found in the Troubleshooting section of these instructions,
INSTALLATION WARNINGS
IMPORTANT: Prior to Installation ensure that the local
supply conditions (electricity voltage and frequency)
are compatible with the requirements of your Ceramic
hob.
IMPORTANT: Carefully unpack and examine the
appliance for any damage. If you think there is a
defect, do not use the appliance and contact BUSH
Product Support on 01759 487838. Packaging
materials should be collected together and disposed
of immediately as they may be harmful to children.
IMPORTANT: Keep the electrical cable of your
ceramic hob away from the hot areas of your
appliance, do not let the cable touch the appliance.
Keep the cable away from sharp edges and heated
surfaces.
IMPORTANT: Ensure that the electric supply cable is
not trapped or damaged during installation.
IMPORTANT: In the event that the cable connecting
your ceramic hob becomes damaged, it must be
replaced by a suitably qualified person. This cable
must not be replaced by an unauthorised person.
IMPORTANT: Protect your ceramic hob against
atmospheric effects. Do not expose your cooker
to effects such as sun, rain, snow etc.
IMPORTANT: The materials surrounding the
appliance (cabinets) must be able to withstand a
minimum temperature of 100°C.
IMPORTANT: When using your appliance for the first
time your ceramic hob may give off an unusual
odour from the heating elements. This is normal for
cooking appliances.
WARNING: Before obtaining access to terminals, all
supply circuits must be disconnected.
DURING USAGE
IMPORTANT: This appliance can be used by children
aged from 8 years and above and persons with
reduced physical, sensory or mental capabilities or
lack of experience and knowledge if they have been
given supervision or instruction concerning use of
the appliance in a safe way and understand the
hazards involved. Children shall not play with the
appliance. Cleaning and user maintenance shall not
be made by children without supervision.
WARNING: The appliance and its accessible parts
become hot during use. Care should be taken to
avoid touching heating elements. Children less than 8
years of age shall be kept away unless continuously
supervised.
WARNING: NEVER try to extinguish a cooking fire
with water. Instead switch off the appliance and
cover flame e.g. with a lid or a fire blanket.
CAUTION: Do not allow children in the kitchen
when cooking or after, as the parts may still be hot.
Many parts of the cooker will become hot and
present a considerable hazard to children.
CAUTION: When the hob is hot never touch the
surface by hand or with tools.
CAUTION: Before starting to use your appliance,
ensure curtains, paper or flammable items are kept
away from your appliance. Do not keep flammable
materials on or around your ceramic hob.

Safety information
Important - Please read these instructions fully before
installing or operating
Safety information
7
or online at www.bush-support.com If you still require further assistance, call one of our experts on 01759 487838
IMPORTANT: If you do not intend to use your hob
for a long period of time turn off the electric supply
to the cooker.
GENERAL SAFETY WARNINGS
IMPORTANT: This appliance has been designed for
non-professional, domestic use only. Do not use
this cooker for commercial use or any other
application e.g. room heating.
WARNING: Danger of fire: do not store flammable
items on or near the cooking surfaces of the
appliance.
IMPORTANT: Your appliance is produced in accordance
with all applicable local and international standards and
regulations.
IMPORTANT: Maintenance and repair work must only
be performed by authorised service technicians.
Installation and repair work that is carried out by
unauthorised technicians is dangerous and could
invalidate your guarantee.
IMPORTANT: Do not hang towels, dishcloths or
clothes from the Ceramic hob.
CLEANING AND MAINTENANCE
IMPORTANT: Always turn the appliance off before
operations such as cleaning or maintenance. You can
do this by switching the ceramic hob off using
cooker isolation switch.
WARNING: Do not use harsh abrasive cleaners or
sharp metal scrapers to clean the hob top since they
can scratch the surface.
TO MAINTAIN THE EFFICIENCY AND SAFETY OF
YOUR APPLIANCE, WE RECOMMEND YOU
ALWAYS USE OUR AUTHORISED SERVICE
AGENTS AND ORIGINAL SPARE PARTS.
FOR ASSISTANCE CALL BUSH PRODUCT
SUPPORT 01759 487838.


Getting to know your
Ceramic Hob 2

Getting to know your Ceramic Hob
10
If you require any technical guidance or find that your product is not operating as intended, a simple solution can often be found in the Troubleshooting section of these instructions,
Getting to know your Ceramic Hob
You’ll be up and running in no time
Ready? Let’s begin...
Please read these instructions carefully. They contain
important information which will help you get the best
from your ceramic Hob and ensure safe and
correct installation and operation.
If you require any further assistance, our technical
experts are happy to help. For full details, refer to
the product support section at the end of these
instructions.

Getting to know your Ceramic Hob
You’ll be up and running in no time
Getting to know your Ceramic Hob 11
or online at www.bush-support.com If you still require further assistance, call one of our experts on 01759 487838
A. Single cooking zone 1200W
B. Single cooking zone 1800W
C. Sensor touch control
C
Overview

Getting to know your Ceramic Hob
12
If you require any technical guidance or find t at your product is not operating as intended, a simple solution can often be found in the Troubleshooting section of these instructions,
Accessories
Getting to know your Ceramic Hob
You’ll be up and running in no time
1. Bracket*4
2. Screw*4
3. Seal*1
12
3

Installing your
Ceramic Hob 3

Installing your Ceramic Hob
Bringing it all together
Installing your Ceramic Hob
14
If you require any technical guidance or find t at your product is not operating as intended, a simple solution can often be found in the Troubleshooting section of these instructions,
RISK OF ELECTRIC SHOCK
DO NOT OPEN
CAUTION
CAUTION:
TO REDUCE THE RISK OF ELECTRIC
SHOCK, DO NOT REMOVE COVER
(OR BACK). NO USER-SERVICEABLE
PARTS INSIDE. REFER SERVICING TO
QUALIFIED SERVICE PERSONNEL.
RISK OF ELECTRIC SHOCK
DO NOT OPEN
CAUTION:
TO REDUCE THE RISK OF ELECTRIC SHOCK,
DO NOT REMOVE COVER (OR BACK).
NO USER-SERVICEABLE PARTS INSIDE.
REFER SERVICING TO QUALIFIED SERVICE
PERSONNEL.
INS TALLATION
Before installation
Installation and test must be carried out by professional technician. And the hob must be 150mm far away
from the wall or anything else. To avoid interference of taking the households when cooking, in the
place 300mm from the both sides of the hob must not be put any furniture or separate board. And the
both sides of the hob should 300mm at least far away from the wall. The thickness of the table used to
mounting the hob should be 30cm at least, and it should be heat resisting or be covered by a the heat
resisting material.
The rating plate
Make sure that the voltage and capacity of the power line conform to the data shown on the rating
plate. Do not remove this plate for any reason.
POSITIONING OF THE HOB

Installing your Ceramic Hob
Bringing it all together
15
or online at www.bush-support.com If you still require further assistance, call one of our experts on 01759 487838
The following operation requires building and/or carpentry work so must be carried out by a competent
tradesman.
Installation can be carried out on various materials such as masonry, metal, solid wood or plastic
laminated wood as long as they are heat resistant (T 90°C).
Create an opening with the dimensions shown in the paragraph 10.1 in the top surface of the counter,
keeping a minimum distance of 50 mm from the rear edge.
This appliance can be mounted against walls higher than the work surface on condition that a
certain distance be kept between the appliance and the wall as shown in the figure so as to avoid
damage from overheating.
Make sure there is a minimum of 750 mm between the hob and any shelf that may be installed directly
above them.
Mounting
This appliance must not be built-in above a dishwasher.
Installation of an oven without cooling fan underneath the hob is forbidden.
Pass the power supply cable through the back of the unit, taking care that it does not touch the
bottom casing of the hob or the oven (if any) installed underneath it.
IMPORTANT: when installing the appliance above
a cupboard, a dividing shelf, as shown above, must
be installed.
If installed above an under-bench oven, this is not
required.
Installation of an oven without cooking fan
underneath the hob is forbidden.
MAX
100mm
Min 20mm
The diagrams illustrate the cutting sizes and additional shaping required for the
installation hole if you decide to install the hob flush with the work-top surface. The
work-top hole and shaping dimensions are purely guideline; it is essential to refer to
your actual ceramic hob before making any cuts.
Installing your Ceramic Hob

Installing your Ceramic
Hob Bringing it all together
Installing your Ceramic Hob
16
If you require any technical guidance or find t at your product is not operating as intended, a simple solution can often be found in the Troubleshooting section of these instructions,
Electrical connection
It is obligatory for the electrical system to be grounded according to the methods required by safety
rules.
Before the appliance being connected with the mains, please do assemble one full polar breaker with
over 3mm opened on the mains, and the rated current of the breaker is strongly recommend over 40A.
Never unplug by pulling on the cable.
Immediately after installation carry out a brief inspection test of the hob, following the
instructions. If the hob fails to operate, after checking that you have carried out the instructions
correctly, disconnect the appliance from the electrical mains and contact your nearest service center.
Never attempt to repair the appliance.
If a plug and socket connection is being used make sure that the plug and socket are compatible. Avoid
use of adapters and shunts as these could cause overheating and risk of burns.
If a fixed connection is being used fit power line with an omnipolar circuit breaker with a contact
opening gap equal to or greater than 3mm in an easily accessible position in proximity to the hob.
If the appliance you have purchased is not fitted with a mains power lead a power lead resistant to a
temperature of at least 90°C must be used. Otherwise, the electrical safety of the appliance may be put
at risk.The manufacturer declines all responsibility for damage to persons or things caused by
non- observance of the above prescriptions or by interference with any part of the appliance.
Warning: close the cable clamp after making the
electrical connection. Close the terminal board cover by
twisting it down.
TERMINAL BOARD
The wires in the mains lead are coloured in accordance with the following code:
•Green and yellow: Earth
•Blue: Neutral
•Brown: Live
Earth
Live
Neutral

Using your Ceramic Hob 4

Using your Ceramic Hob
Getting the most from your appliance
Using your Ceramic Hob
18
If you require any technical guidance or find that your product is not operating as intended, a simple solution can often be found in the Troubleshooting section of these instructions,
3 5
26
4
1
Description of control
All the hob controls are grouped together on the front panel. The table below provides a description of the
symbols used.
1. Cooking level display zone
2. Upper/increase button
3. Lower/decrease button
4.Timer setting LED display
5. Timer setting button
6.Hob button control lock On/Off
7. Hob On/Off button
8.Rear left-hand cooking zone button
9.Front left-hand cooking zone button
10. Rear right-hand cooking zone button
11. Front right-hand cooking zone button
7
8
9
10
11
12
12.Cooing zone LED indicator-represents the activated cooking zone. It
displays only when the cooking zone is activated.
Rear left-hand indicator represents the rear left-hand cooking zone
Front left-hand indicator represents the front left-hand cooking zone
Rear right-hand indicator represents the rear right-hand cooking zone
Front right-hand indicator represents the front right-hand cooking zone

Using your Ceramic Hob
Getting the most from your appliance
When an icon is pressed the unit beeps to confirm.
To operate the panel of the hobs equipped with touch-controls, lightly press the icons printed on
its surface.
On first connection to the electrical mains, an operating check will be carried out automatically
and all the indicator lights will come on for a few seconds.
Switching on the hob
When not in use, all hob components will be switched off. Hold down the hob On/Off button for 2
seconds to switch the hob on; a LED will turn on above the hob on/off button to confirm that the
hob is lit. If no functions are used within 10 seconds of switching the hob on, it will automatically turn
itself off.
Cooking zones
After turning on the hob as described, press the cooking zone buttons to select the cooking zone,
four buttons represent 4 cooking zones, after cooking zone is selected, press the buttons “+” and” -“
to activate the cooking zone (display indicating 0) and adjust the power at which it should operate.
The power settings range from a minimum of 1 to a maximum of 9.
You must adjust the power within 10 seconds from when the cooking zone is activated, otherwise it
will automatically deactivate.
Press the “+” and “-” buttons in the following way to activate the cooking zone and adjust its power:
1. press the symbol “+” (0 appears on the display: this means that the cooking zone is activated);
2. by continuing to press the symbol “+”, you can adjust the power of the cooking zone up
to the maximum value of 9;
3. if you instead press the symbol “-”, you adjust the power of the cooking zone
down to the minimum value of 1.
Cooking zone lock-out
The cooking zone lock-out function is a user safety functions. It locks out the hob controls to prevent the
ceramic cooking zones being switched on accidentally.
If the cooking zone is working when using the lock out function, all the buttons will be locked, but the
cooking zone will still work as previous.
Hold down for 1 second to lock out the hob. The hob can be reactivated by holding down lock
button again for 1 second.
Use of the cooking hob
Preparation
Please ensure the sensor switch is off, than connected to the mains.
These diameters for professional pan have been suitable to the electrical hob.
Pan
diameter
mm
Hob
diameter
mm
140 160 200 240
120 140 180 220
19
or online at www.bush-support.com If you still require further assistance, call one of our experts on 01759 487838
Hobs with touch-control buttons
Using your Ceramic Hob

Using your Ceramic Hob
Getting the most from your appliance
Timer
The automatic operation minutes of the cooking zone can be increased or decreased by using the “+”
and “-” buttons beside.
After 5 seconds have gone by since the last time it is pressed, the timer will start and the cooking zone
will operate until the display above the timer setting button reaches 0. At this point the cooking zone
will automatically turn off.
When the timed cooking is actived on several cooking zones at the same time, the LED indicator
between the buttons “+” and “-” of the cooking zone will alternatively turn on and at the same
time the minutes display found on the timer setting button will show the time remaining for the
zone.
Modifying the data set
During timed cooking, to change the power of the cooking zone, you have to press the relevant cooking
To change the remaining time of a zone, you have to press timer setting button until the LED indicator in
the cooking zone turns on, then adjust the operating time by pressing the buttons “+” and “-”of the timer.
Residual heat
Each cooking zone is equipped with a residual heat warning device. After any zone is switched off, a
flashing “ ” may appear on the display. This warns that the cooking zone concerned is still very hot.
Cooking can be restarted while the is flashing;
Control circuit board thermal protection
If the cooking zones cause overheating of the internal electronic circuit board the heat will be switched
off automatically. This switches off power to the front zones, and the letters and flash alternately
on the power LED. If the circuit board does not cool down, power to all the cooking zones is switched
off, and the power LED display the text Cooking can be resumed once the temperature has
dropped below the safety threshold.
Operator Error
If the user makes a mistake when using the touch buttons, an appears on the power display; it will
remain there as long as the user continues to press the button being used incorrectly.
Switching off the cooking zones
The cooking zones are switched off when the operational power display indicates 0. The zone will
automatically deactivate 5 seconds after the display shows 0.
If the cooking zones are hot, the blinking residual heat “ ” will appear after they are switched off.
Using your Ceramic Hob
20
If you require any technical guidance or find that your product is not operating as intended, a simple solution can often be found in the Troubleshooting section of these instructions,
To use the timed cooking, the hob must be unlocked out (if it is locked out, no operation can be
done, press the button to enable the functions).
First set the power level by following the instructions given in paragraphs “Hobs with touch-control
buttons”, choosing the cooking zone in first place by pressing the relevant cooking zone button, then
set the power level by pressing “+”and“-” buttons.
Between the buttons “+”and“-” of the first active cooking zone, a LED indicator will turn on to
indicate that the minutes is ready to be set.
zone button, then press “+” and “-”buttons to increase or reduces the power.
It is also possible to use the timed cooking function on more than one cooking zone at the same time.
Once the timer is set on the first zone, press the relevant cooking zone button to active the second
desired zone, set its power level by pressing the “+” and “-” buttons, then set its cooking duration by
pressing the timer button first, and a LED dot between the buttons “+” and “-”of this zone will flash, at
this time, press the “+” and “-” buttons to set the minutes.
Table of contents
Other Bush Hob manuals

Bush
Bush BPIH60B Assembly Instructions

Bush
Bush LSBGHP User manual

Bush
Bush BPCH60B BLACK Assembly Instructions

Bush
Bush DHG60GNSS User manual

Bush
Bush A60CT Product guide

Bush
Bush BSH60BFCHI User manual

Bush
Bush BPGH60X Assembly Instructions

Bush
Bush AG60GNSS Product guide

Bush
Bush A60CK Product guide

Bush
Bush BSINDHB User manual
Popular Hob manuals by other brands

GUTMANN
GUTMANN 11T581I instruction manual

Creda
Creda S911E Instructions for installation and use

Siemens
Siemens EU BE Series user manual

AEG
AEG 75300K-MN Operating and installation instructions

ROSIERES
ROSIERES RGI 622 INSTRUCTIONS FOR USING AND INSTALLING

Franke
Franke FHM 604 4G User and installation instructions