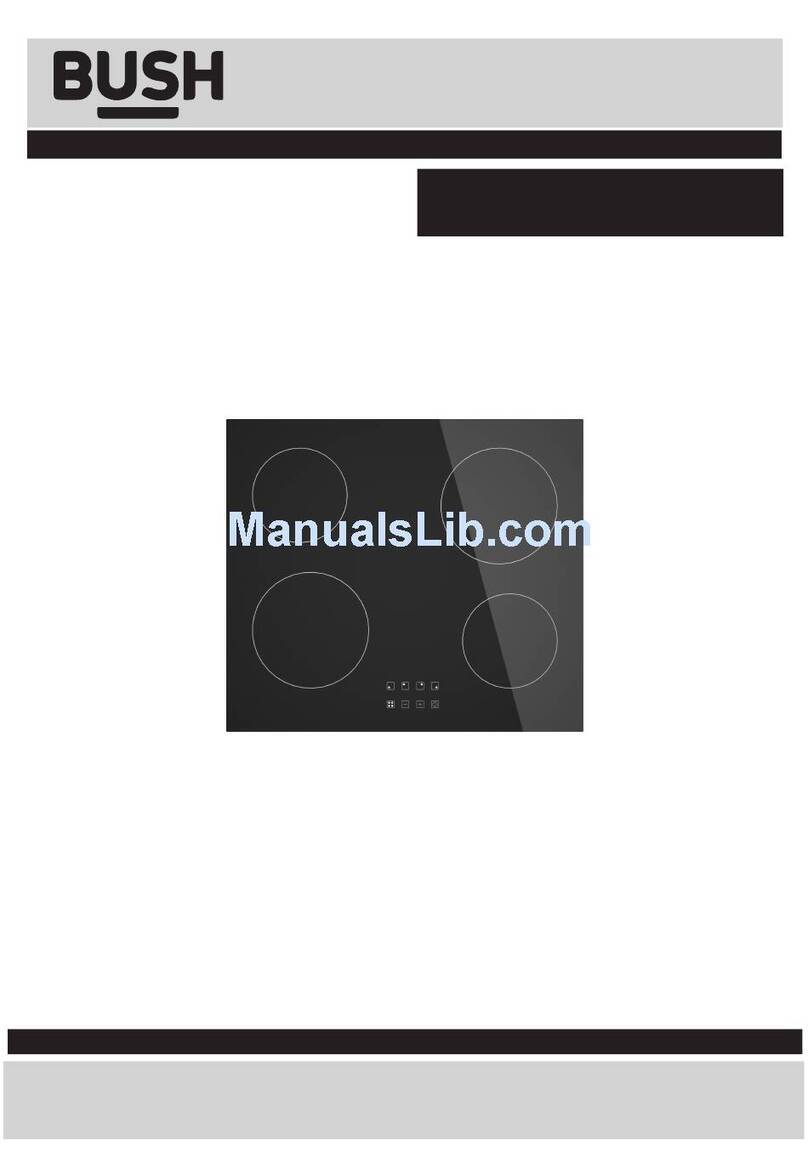
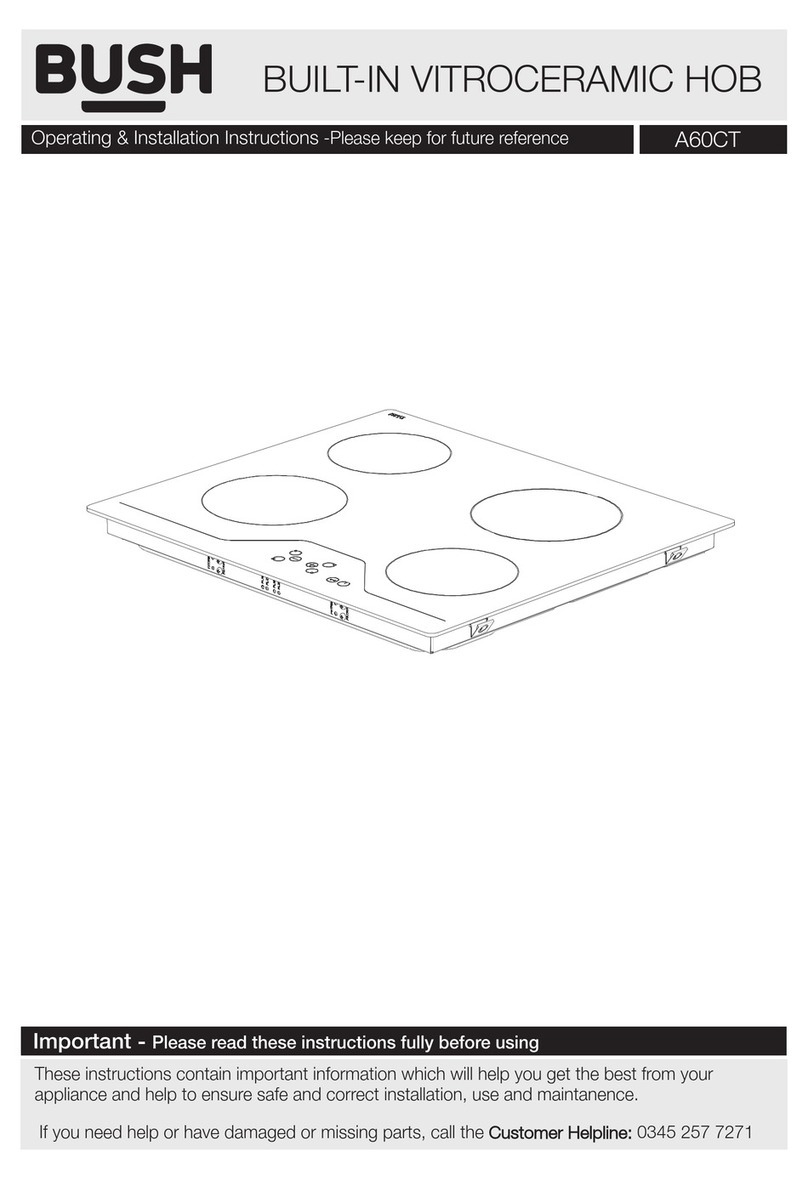
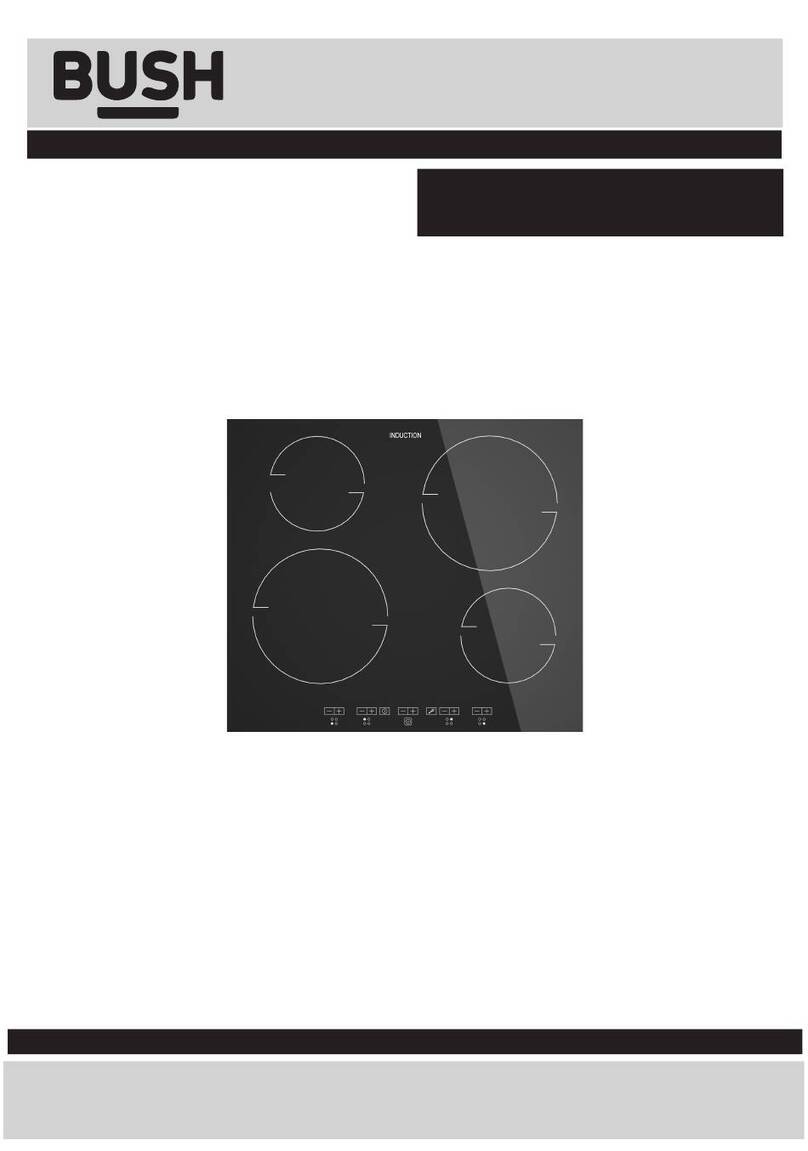
Bush BLSINDH60 User manual

Instruction manual
60cm Induction Hob
BLSINDH60

If you require any technical guidance or find that your product is not operating as intended, a simple solution can often be found in the Troubleshooting section of these instructions,
You’ll soon be enjoying your new Built-in Hob
It all begins here, with your instructions. Don’t worry,
there’s nothing too technical coming up. Just simple,
step-by-step guidance to get you up and running
quickly. Sound good? Then let’s get started.
Help and Guidance
We’re here to help you get the most from your Built-in Hob. Should you require any
guidance, a simple solution can often be found online at:
www.bush-support.com
If you still require further assistance, call one of our experts on 01759 487838.

3
or online at www.bush-support.comIf you still require further assistance, call one of our experts on 01759 487838
Contents
Care and Maintenance
27
28
Cleaning
Technical specifications
Product support
Troubleshooting 30
33
34
Help and assistance
Declaration of conformance to product
standards
Disposal 34
Guarantee 35
5
6
6
11
12
14
14
14
15
20
20
Safety information
Safety information
Getting to know your
Hob
Over view
Accessories
Installing your Hob
Installation requirements Data
Label
Unpacking
Product Cut out and dimensions
Connections
Using your Hob
Touch Controls
Utensils / Cookware
How to use your hob
Cooking Guide
1
2
3
4
22
18
24


1
Safety information

Safety information
Important - Please read these instructions fully before
installing or operating
Safety information6
If you require any technical guidance or find that your product is not operating as intended, a simple solution can often be found in the Troubleshooting section of these instructions,
INSTALLATION WARNINGS
IMPORTANT: Prior to Installation ensure
that the local supply conditions
(electricity voltage and frequency) are
compatible with the requirements of your
built-in hob.
IMPORTANT: Carefully unpack and
examine the appliance for any damage. If
you think there is a defect, do not use the
appliance and contact BUSH Product
Support on 01759 487838. Packaging
materials should be collected together
and disposed of immediately as they may
be harmful to children.
IMPORTANT: Keep the electrical cable of
your built-in hob away from the hot areas
of your appliance, do not let the cable
touch the appliance. Keep the cable away
from sharp edges and heated surfaces.
IMPORTANT: Ensure that the electric
supply cable is not trapped or damaged
during installation.
IMPORTANT: In the event that the cable
connecting your built-in hob becomes
damaged, it must be replaced by a
suitably qualified person. This cable must
not be replaced by an unauthorised
person. Failure to follow this advise may
result in electrical shock or death.
IMPORTANT: Protect your built-in hob
against atmospheric effects. Do not
expose your hob to effects such as sun,
rain, snow etc.
IMPORTANT: The materials surrounding
the appliance (cabinets) must be able to
withstand a minimum temperature of 100°
C.
IMPORTANT: When using your appliance
for the first time your built-in hob may
give off an unusual odour from the
heating elements. This is normal for
cooking appliances.
WARNING: Before obtaining access to
terminals, all supply circuits must be
disconnected.
IMPORTANT: Connection to a good earth
wiring system is essential and
mandatory.
IMPORTANT: This appliance should be
connected to a circuit which incorporates
as isolating switch providing full
disconnection from the power supply.
DURING USAGE
IMPORTANT: Do not cook on a broken or
cracked hob. If hob surface is broken or
cracked, switch appliance off at the
mains power supply and contact a
qualified technician.
IMPORTATNT: Never leave appliance
unattended when in use. Boil over
causes smoking and greasy spillovers
that may ignite.
IMPORTANT: This appliance can be used
by children aged from 8 years and above
and persons with reduced physical,
sensory or mental capabilities or lack of
experience and knowledge if they have
been given supervision or instruction
concerning use of the appliance in a safe
way and understand the hazards
involved. Children shall not play with the
appliance.

Safety information
Important - Please read these instructions fully before
installing or operating
Safety information 7
or online at www.bush-support.comIf you still require further assistance, call one of our experts on 01759 487838
IMPORTANT: Make sure the built-in hob
control are all off position when not in
use.
IMPORTANT: If you do not intend to use
your hob for a long period of time turn off
the electric supply to the cooker.
GENERAL SAFETY WARNINGS
IMPORTANT: This appliance has been
designed for non-professional, domestic
use only. Do not use this hob for
commercial use or any other application
e.g. room heating.
WARNING: Danger of fire: do
not store flammable items on or near
the cooking surfaces of the appliance.
IMPORTANT: Do not place or drop heavy
items on your Hob.
IMPORTANT: Do not stand on your hob.
IMPORTANT: Do not use pans with jagged
edges or drag pans across the glass
surface as this can scratch the glass
surface.
IMPORTANT: Your appliance is produced
in accordance with all applicable local
and international standards and
regulations.
IMPORTANT: Maintenance and repair
work must only be performed by
authorised service technicians.
Installation and repair work that is carried
out by unauthorised technicians is
dangerous and could invalidate your
guarantee.
WARNING: Cleaning and user
maintenance shall not be made by
children without supervision.
WARNING: The appliance and its
accessible parts become hot during use.
Care should be taken to avoid touching
heating elements. Children less than 8
years of age shall be kept away unless
continuously supervised.
WARNING: NEVER try to extinguish a
cooking fire with water. Instead switch off
the appliance and cover flame e.g. with a
lid or a fire blanket.
CAUTION: Do not allow children in the
kitchen when cooking or after, as the
parts may still be hot. Many parts of the
hob will become hot and present a
considerable hazard to children.
CAUTION: Children should never be left
unattended in the area the hob is in use.
CAUTION: When the hob is hot never
touch the cooking zones by hand or with
tools.
CAUTION: Before starting to use your
appliance, ensure curtains, paper or
flammable items are kept away from your
appliance. Do not keep flammable
materials on or around your built-in hob.
IMPORTANT: After Use always turn off
the cooking zones/hob as described in
User manual (i.e by using the touch
controls).

Safety information
Important - Please read these instructions fully before
installing or operating
Safety information
8
If you require any technical guidance or find that your product is not operating as intended, a simple solution can often be found in the Troubleshooting section of these instructions,
WARNING: DO not allow children to play
with appliance or sit, stand or climb on it.
IMPORTANT: Do not store items of
interest to children on cabinets above the
appliance. Children climbing on the hob
could be seriously injured.
WARNING: Children or persons with a
disability which limits their ability to use
the appliance should have a responsible
and competent person to instruct them in
its use. The instructor should be satisfied
that they can use the appliance without
danger to themselves or their
surroundings.
IMPORTATNT: Children less than 8 years
of age shall be kept away unless
continuously supervised.
IMPORTANT: Do not hang towels,
dishcloths or clothes from the built-in hob
or its control knobs.
CLEANING AND MAINTENANCE
IMPORTANT: Always turn the appliance
off before operations such as cleaning or
maintenance. You can do this by
switching the built-in hob off using
cooker isolation switch.
WARNING: Do not use harsh abrasive
cleaners or sharp metal scrapers to clean
the hob top since they can scratch the
surface.
WARNING: Do not use a steam cleaner to
clean your hob.
TO MAINTAIN THE EFFICIENCY AND
SAFETY OF YOUR APPLIANCE, WE
RECOMMEND YOU ALWAYS USE OUR
AUTHORISED SERVICE AGENTS AND
ORIGINAL SPARE PARTS.
FOR ASSISTANCE CALL BUSH
PRODUCT SUPPORT 01759 487838.

Getting to know your
Built-in Hob 2

Getting to know your Built-in Hob
10
If you require any technical guidance or find that your product is not operating as intended, a simple solution can often be found in the Troubleshooting section of these instructions,
Getting to know your Built-in Hob
You’ll be up and running in no time
Ready? Let’s begin...
Please read these instructions carefully. They contain
important information which will help you get the best
from your Built-in Hob and ensure safe and
correct installation and operation.
If you require any further assistance, our technical
experts are happy to help. For full details, refer to
the product support section at the end of these
instructions.

Getting to know your Built-in Hob
You’ll be up and running in no time
Getting to know your Built-in Hob 11
or online at www.bush-support.comIf you still require further assistance, call one of our expertson 01759 487838
1. max. 1800W zone
2. max. 1400 W zone
3. max. 1800 W zone
4. max. 1400 W zone
5. Control panel
The Control Panel
1. ON/OFF switch
2. Select power level
3. Child lock
4. Select heating zone

Getting to know your Built-in Hob
12
If you require any technical guidance or find that your product is not operating as intended, a simplesolution can often be foundin theTroubleshootingsection of these instructions,
"DDFTTPSJFT
Getting to know your Built-in Hob
You’ll be up and running in no time
1. 2.
3.
1. Bracket
2. Screws
3. Seal

Installing your
Built-in Hob 3

Installing your Built-in Hob
Bringing it all together
Installing your Built-in Hob
14
If you require any technical guidance or find that your product is not operating as intended, a simplesolution can often be foundin theTroubleshootingsection of these instructions,
Installation requirements
•IMPORTANT: CONTACT AN
AUTHORISED SERVICE AGENT FOR
INSTALLATION OF YOUR HOB!
Data Label
The Data Label is located on the bottom of the
appliance.
Unpacking
Carefully unpack and examine the appliance for any
damage. If you think there is a defect, do not use
the appliance and contact Product Support on
01759 487838.
Packaging materials should be collected together
and disposed of immediately as they may be
harmful to children.
RISK OF ELECTRIC SHOCK
DO NOT OPEN
CAUTION
CAUTION:
TO REDUCE THE RISK OF ELECTRIC
SHOCK, DO NOT REMOVE COVER
(OR BACK). NO USER-SERVICEABLE
PARTS INSIDE. REFER SERVICING TO
QUALIFIED SERVICE PERSONNEL.
RISK OF ELECTRIC SHOCK
DO NOT OPEN
CAUTION:
TO REDUCE THE RISK OF ELECTRIC SHOCK,
DO NOT REMOVE COVER (OR BACK).
NO USER-SERVICEABLE PARTS INSIDE.
REFER SERVICING TO QUALIFIED SERVICE
PERSONNEL.
Induction cooking is a safe, advanced,
efficient, and economical cooking
technology. It works by
electromagnetic vibrations generating
heat directly in the pan, rather than
indirectly through heating the glass
surface. The glass becomes hot only
because the pan eventually warms it
up.
Before using your New Hob:
• Read this guide, taking special note of the ‘Safety Warnings’ section.
•Remove any protective film that may still be on your Induction hob.
Iron Pot
magnetic Circuit
ceramic glass plate
induction coil
induced currents

Installing your Built-in Hob
Bringing it all together
• Cut out the work surface according to the sizes shown in the
drawing.
• For the purpose of installation and use, a minimum of 50mm
space shall be preserved around the hole
• Be sure the thickness of the work surface is at least 30mm. Please
select heat-resistant work surface material to avoid larger deformation
caused by the heat radiation from the hotplate. As shown below:
Warning: The work surface material must use the impregnated wood
or other insulation material.
Getting to know your Built-in Hob 15
or online at www.bush-support.comIf you still require further assistance, call one of our expertson 01759 487838
L(mm) W(mm) H(mm) D(mm) A(mm) B(mm) X(mm)
BLSINDH60 590 520 58 54 560 490 50 mini
NOTE: Make sure the hob is well ventilated and the air inlet and outlet are not blocked.
Ensure the hob is in good work state. As shown below Note: The safety distance between the
hotplate and the cupboard above the hotplate should be at least 760mm.

Installing your Built-in Hob
Bringing it all together
Installing your Built-in Hob
16
If you require any technical guidance or find that your product is not operating as intended, a simplesolution can often be foundin theTroubleshootingsection of these instructions,
A(mm) B(mm) C(mm) DE
760 50 mini Air Gap 20 mini Air intake Air exit 5mm
Before you install the hob, make sure that
•The work surface is square and level, and no structural members interfere with space requirements.
•The work surface is made of a heat-resistant material.
•If the hob is installed above an oven, the oven has a built-in cooling fan.
•The installation will comply with all clearance requirements and applicable standards and regulations.
•A suitable isolating switch providing full disconnection from the mains power supply is incorporated in
the permanent wiring, mounted and positioned to comply with the local wiring rules and regulations.
•The isolating switch must be of an approved type and provide a 3mm air gap contact separation in all
poles (or in all active [phase] conductors if the local wiring rules allow for this variation of the
requirements).
•The isolating switch will be easily accessible to the customer with the hob installed
•You consult local building authorities and by-laws if in doubt regarding installation
•You use heat-resistant and easy-to-clean finishes (such as ceramic tiles) for the wall surfaces
surrounding the hob.

Getting to know your Built-in Hob 17
or online at www.bush-support.comIf you still require further assistance, call one of our expertson 01759 487838
Installing your Built-in Hob
Bringing it all together
When you have installed the hob, make sure that
•The power supply cable is not accessible through cupboard doors or drawers.
•There is adequate flow of air from outside the cabinetry to the base of the hob.
• The isolating switch is easily accessible by the customer.
Before locating the fixing brackets
The unit should be placed on a stable, smooth surface (use the
packaging). Donot apply force onto the controls protruding from the
hob.
Locating the fixing brackets
•The unit should be placed on a stable, smooth surface (use the
packaging). Do not apply force onto the controls protruding from the hob.
•Fix the hob on the work surface by screw two brackets on the
bottom of hob (see picture) after installation.
• Adjust the bracket position to suit for different work surface’s thickness
•If the hob is installed above a drawer or cupboard space, a thermal
protection barrier is installed below the base of the hob.

Installing your Built-in Hob
Bringing it all together
Installing your Built-in Hob
18
If you require any technical guidance or find that your product is not operating as intended, a simplesolution can often be foundin theTroubleshootingsection of these instructions,
Cautions
The hob must be installed by qualified personnel or technician. We have
professionals at your service. Please never conduct the operation by yourself.
The hob shall not be mounted to cooling equipment, dishwashers and rotary dryers.
The hob shall be installed such that better heat radiation can be ensured to enhance
its reliability.
The wall and induced heating zone above the work surface shall withstand heat.
To avoid any damage, the sandwich layer and adhesive must be resistant to heat.
A steam cleaner is not to be used.
Connecting the hob to the mains power supply
The power supply should be connected in compliance with the relevant standard, or a
single-pole circuit breaker.
Warning: Connect the power cord to main power supply in accordance with the instruction
listed in the table below:
Wire cross-sectional area(mm2) L N E
Min 2.5 Min2.5 Min2.5
Before the appliance is connected with the mains, please do assemble one full polar
breaker with over 2.5mm opened on the mains, and the rated current of the breaker is
strongly recommend over 27A.
If the cable is damaged or needs replacing, this should be done by an service
technician using the proper tools, so as to avoid any accidents.
If the appliance is being connected directly to the mains supply, an omnipolar circuit
breaker must be installed with a minimum gap of 3mm between the contacts.
The installer must ensure that the correct electrical connection has been made and
that it complies with safety regulations.
The cable must not be bent or compressed.
The cable must be checked regularly and only replaced by a proper qualified person
Power cord is not accessible after installation.

Using your Built-in Hob 4

Using your Built-in Hob
Getting the most from your appliance
Using your Built-in Hob
20
If you require any technical guidance or find that your product is not operating as intended, a simple solution can often be found in the Troubleshooting section of these instructions,
Using the Touch Controls
•The controls respond to touch, so you don’t need to apply any pressure.
•Use the ball of your finger, not its tip.
•You will hear a beep each time a touch is registered.
•Make sure the controls are always clean, dry, and that there is no object (e.g. a utensil
or a cloth) covering them. Even a thin film of water may make the controls difficult to
operate.
Choosing the right Cookware
•Only use cookware with a base suitable for induction cooking. Look for the
induction symbol on the packaging or on the bottom of the pan.
•You can check whether your cookware is suitable by carrying out a magnet test.
Move a magnet towards the base of the pan. If it is attracted, the pan is suitable
for induction.
•If you do not have a magnet:
1. Put some water in the pan you want to check.
2. Follow the steps under ‘To start cooking’.
3. If does not flash in the display and the water is
heating, the pan is suitable.
•Cookware made by the following materials is not suitable:
pure stainless steel, aluminum or copper without a magnetic
base, glass, wood, porcelain, ceramic, and earthenware.
Size of burner (mm) The minimum cookware (diameter /mm)
160 120
180 140
Table of contents
Other Bush Hob manuals

Bush
Bush BSINDHB User manual

Bush
Bush BPGH60X Assembly Instructions

Bush
Bush RL60SPH User manual

Bush
Bush AG60GNSS Product guide

Bush
Bush DHG60GNSS User manual

Bush
Bush A70GCIS User manual

Bush
Bush A60CT Product guide

Bush
Bush BPCH60B BLACK Assembly Instructions

Bush
Bush LSBGHP User manual

Bush
Bush A60CK Product guide