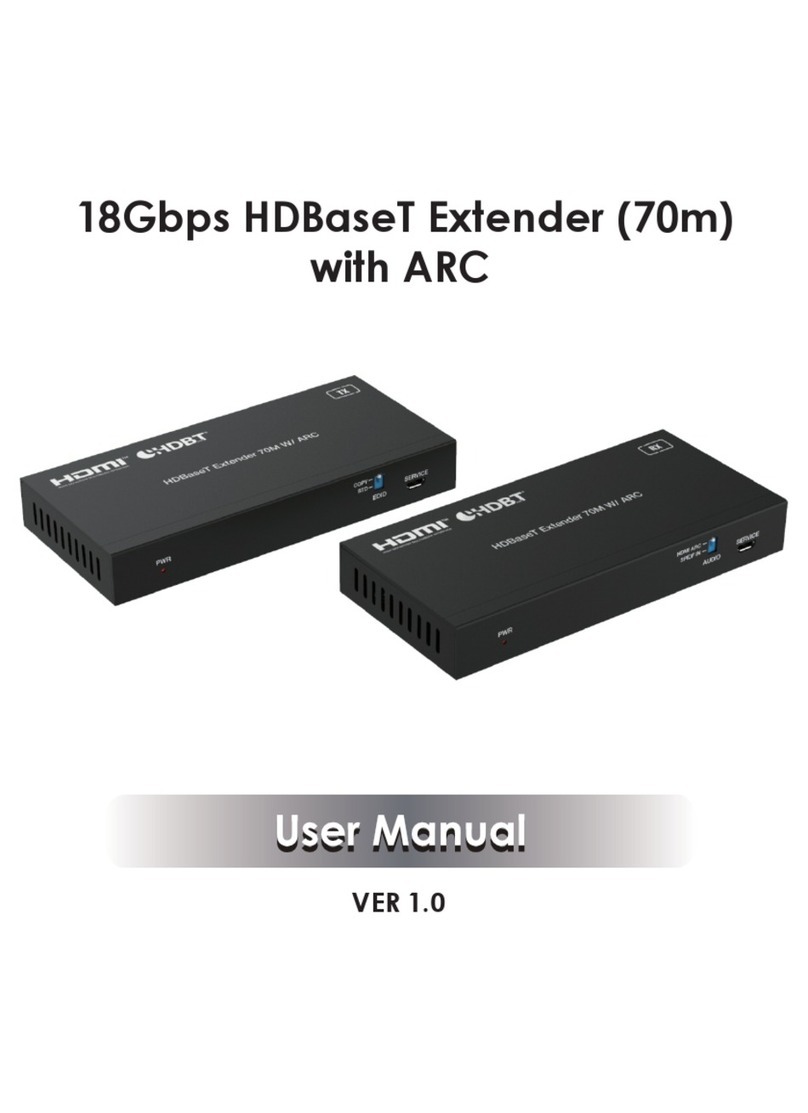
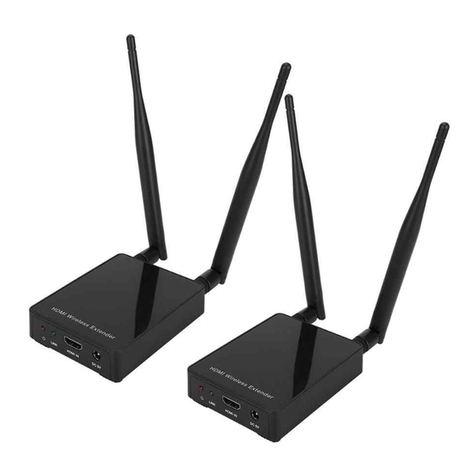
C4i HDV-E5100 User manual

VER 1.0
HDMI over IP Extender with
Loop out (100M)

Thank you for purchasing this product
For optimum performance and safety, please read these instructions carefully
before connecting, operating or adjusting this product. Please keep this manual
for future reference.
Surge protection device recommended
This product contains sensitive electrical components that may be damaged
by electrical spikes, surges, electric shock, lighting strikes, etc. Use of surge
protection systems is highly recommended in order to protect and extend the
life of your equipment.
Table of Contents
1. Introduction...........................................................................................
2. Features.................................................................................................
3. Package Contents...............................................................................
4. Specifications.......................................................................................
5. Operation Controls and Functions.....................................................
5.1 Encoder Panel................................................................................
5.2 Decoder Panel...............................................................................
6. The Computer plays Video Stream....................................................
6.1 Web GUI introduction...................................................................
6.2 VLC media player introduction.....................................................
7. Application Example...........................................................................
8. FAQ........................................................................................................
1
1
1
2
3
3
4
5
5
11
15
17

1. Introduction
2. Features
3. Package Contents
①1× HDMI over IP Encoder
②1× HDMI over IP Decoder
③1× Wideband IR Blaster cable
④ 1× Wideband IR Receiver cable
⑤ 2× 5V/1A Power Adapters
⑥ 1× User Manual
HDMI over IP Extender is based on AV over IP solution for distribution of one
HD content to one HD display device or to multiple HD display devices over a
standard 1G network switcher, and extends distance up to 100m/328ft between
encoder and decoder via Cat5e/6 cable. It offers configurable high quality,
low-bandwidth H.265 compression video. The resolution up to 1920x1200@
60Hz YCbCr 4:4:4. It also supports HDMI loop output.
HDMI over IP Extender includes two units: Encoder unit and Decoder unit.
Encoder unit is used to capture the HDMI input with IR blaster signal and
carries the signals via one effective Cat5e/6 cable, and Encoder unit can
also support HDMI loop output. The Decoder unit is responsible for outputing
HDMI signal from Encoder unit with IR receiver signal. The product offers
the most convenient solution for HDMI extension over a single Cat5e/6 and is
the perfect solution for any application.
1/17
☆HDMI 1.4b, HDCP 1.4 compliant
☆Supports 10.2Gbps bandwidth
☆Video resolution up to 1920×1200@60Hz YCbCr 4:4:4
☆Extend distance up to 100m/328ft between Encoder and Decoder via
Cat5e/6 cable
☆Support standard H.265 encoding / decoding
☆Support 1G standard IP swticher / router / hub
☆Support one-way IR control
☆Compact design for easy and flexible installation

4. Specifications
640x480@60Hz~1920x1200@60Hz
Human body model—±8kV (Air-gap discharge) &
±4kV (Contact discharge)
ESD Protection
Technical
Video Bandwidth 10.2Gbps
Encoder
Inputs: 1×HDMI Type A [19-pin female]
Outputs: 1×HDMI Type A [19-pin female]
1×IR OUT [3.5mm Stereo Mini-jack]
1×CAT OUT [RJ45 connector]
Video Resolution
HDMI Audio Formats LPCM 2.0CH,48KHz
Connections
HDMI Compliance HDMI 1.4b
HDCP Compliance HDCP 1.4
IR Frequency 20KHz ~ 60KHz
Compression
Technology H.265
Request for Switcher
/Router Support 1 GMP, Support DHCP
Color Space
Color Depth
RGB, YCbCr 4:4:4, YCbCr 4:2:2
8-bit
Operation
Temperature -10°C ~ 50°C / 14°F ~ 122°F
Decoder
Inputs: 1×IR IN [3.5mm Stereo Mini-jack]
1×CAT IN [RJ45 connector]
Outputs: 1×HDMI Type A [19-pin female]
88mm (W) × 61.2mm (D) × 16.5mm (H)
Power Supply
Dimensions
Weight Encoder: 155g, Decoder: 150g
Housing Metal Enclosure
Silkscreen Color Black
Power Consumption Encoder: 1.5W, Decoder: 1.25W
Mechanical
Input: AC100 - 240V 50/60Hz, Output: DC 5V/1A
(US/EU standards, CE/FCC/UL certified)
2/17

5. Operation Controls and Functions
HDMI Loopout port, connect to HDMI display device
such as TV or monitor with an HDMI cable.
Storage Temperature -20°C ~ 60°C / -4°F ~ 140°F
Relative Humidity 20~90% RH (non-condensing)
HDMI INHDMI OUT RESET IR OUT DC 5VCAT OUT
Number Name Function description
12 3 4 5 6 7 8
1 HDMI OUT
2 HDMI IN Connect to HDMI source device such as DVD player
or set-top box with an HDMI cable.
3 RESET button
Reset the product, including IP address, encoding
information and EDID. The EDID will recover default
status for 1920*1080@60Hz
4 CAT OUT
The CAT OUT port is connected CAT IN port in
Decoder or connected to switcher / router / hub with
CAT cable for sending signal to Decoder.
Notice: The CAT OUT is also a network port, it can
be connected directly PC (through corresponding
on-demand software such as VLC media player
software.) to output signal from HDMI IN port.
5 IR OUT Connect to wideband IR blaster cable. The IR blaster
signal is from IR IN at the Decoder.
6 LINK LED The LED will flash blue when Encoder is connected
Decoder or connected switcher / router / hub.
7 POWER LED The LED will illuminate blue when the Encoder is
powered on.
8 DC 5V Plug the DC 5V/1A power supply into the unit and
connect the adapter to an AC outlet.
5.1 Encoder Panel
3/17

5.2 Decoder Panel
HDMI OUT RESET IR IN DC 5VCAT IN
Connect to HDMI display device such as TV or
monitor with an HDMI cable.
Number Name Function description
1 HDMI OUT
1234567
2RESET button
▪Press the button briefly to reset the product, including
IP address, encoding information and EDID. The
EDID will recover default status for 1920*1080@60Hz.
▪ Press the button up to 3 seconds to copy EDID
from Decoder display device to Encoder’s HDMI
source device.
3 CAT IN
The CAT IN port is connected CAT OUT port at the
Encoder or connected switcher / router / hub with
CAT cable for receiving Encoder signal.
4 IR IN Connect to wideband IR receiver cable. The IR signal
is sent to IR OUT port at the Encoder.
5 LINK LED The LED will flash blue when Decoder is connected
Encoder or connected switcher / router / hub.
6POWER LED The LED will illuminate blue when the Decoder is
powered on.
7DC 5V Plug the DC 5V/1A power supply into the unit and
connect the adapter to an AC outlet.
4/17

6. The Computer plays Video Stream
The Encoder supports play video stream on computer through the correspo-
nding on-demand software such as VLC media player, and you can connect
the Web GUI of the product to control your on-demand software on the
computer. The default IP address is 192.168.10.10. The operation method is
shown as below:
Step 1: The CAT OUT port of the Encoder is connected directly the netport
of a Computer with an UTP cable. The HDMI IN port of the Encoder is connected
an source device such as DVD player with an HDMI cable. You can also
connect an HDMI display device in HDMI loopout port such as TV. The Encoder
is connected power supply. The connection diagram is shown as below.
HDMI INHDMI OUT RESET IR OUT DC 5VCAT OUT
LAN
LAN
PC
DVD or Blu-ray Player
TV
Power Supply
Figure 1: Video Stream connection diagram
Step 2: On the PC, go to Control Panel > Network and Internet > Network
Connections > Local Area Connections, right click on it, choose Propertiers.
6.1 Web GUI introduction
5/17
Encoder

Double click Internet Protocol Version 4 (TCP/IPv4).
6/17

Choose “Use the following IP address”, input 192.168.10.200 as IP address,
255.255.255.0 as Subnet mask, and then click on OK, click on OK again.
10
Notice: The IP address of the computer and Encoder should be in the
same network segment. As the Encoder’s IP address is 192.168.10.10, the
computer's IP should be 192.168.10.X (X contains 1~255 except 10).
Step 3: Input the Encoder’s IP address into your brower on the PC to enter
Web GUI page, These pages are shown as below.
7/17

Dectype: There is a drop-down frame when you click the blue arrow area.
You can choose H.264 or H265 code at MainStream or SubStream. Please
see below picture 1.
Picture 1
Resolution: There is a drop-down frame when you click the blue arrow area.
You can choose an output resolution. The MainStream resolution includes
1280*720 and 1920*1080, and the Substream resolution includes 352*288,
640*480, 720*576. Please see the below picture 2 and picture 3.
Picture 2 Picture 3
Bitrate: You can set bitrate at MainStream or SubStream, and then click “Set”
button to confirm this operation. The MainStream range is from 1024Kb/s to
20480Kb/s and the SubStream range is from 256Kb/s to 2048Kb/s.
Note: You can only use either MainStream or SubStream in VLC media player.
The MainStream has larger resolution and bitrate than the SubStream. So,
the MainStream picture is clearer than the SubStream.
Video page
8/17

Network page
Network Configuration
◆In DHCP open status:
DHCP switch: Obtian automatically the network configuration information,
including IP address, Subnet, Gateway.
◆In DHCP close status:
DHCP switch: If the DHCP switch has been closed, you can set IP, Subnet,
Gate address. You must pay attention to the Gate address and the IP address
in the same network segment. IP address and Gate address can not the same
in the last address. You don’t need to change the Subnet address. In this moment,
click the “Set” button to save current status information.
Note: If you have changed the Network Configuration and clicked the “Set”
button. You have changed the IP address, and you can continue use current
Web GUI function. But next time you connect Web GUI, you need to use the
IP address that you set before. The IP address will recover default 192.168.10.10
when the product is set factory reset.
Status button: Clicking this button will refresh currently network configuration
information to display in Status Log.
Status Log: Display the Net configuration information.
port: Set netport port value. The default value is 80.
9/17

Note: When you use the product alone, we suggest that you use the
default IP setting. If you can not obtain the IP information as HDCP
setting, you can press the “RESET” button of the Encoder to recover
default IP address. The default IP address is 192.168.10.10.
Update page
Firmware update port, open a bin. file and then click “Upgrade” button to
update firmware.
Note: When the update file is too large, the upgrade progress could stay a
long time in 99%.This is a normal phenomenon. Please do not turn off the
power or press the “RESET” button until the upgrade progress up to 100%.
10/17

6.2 VLC media player instruction
When you have connected the Web GUI, then you need to open the VLC
media player software on the computer. Double click the “VLC media player”
shortcut icon. Please see the icon at picture 4.
Picture 4
Step 1: Click “Media > Open Network Stream”
11/17

Step 2: At this time, you will see the following page. You need to enter a network
URL. If you want to enter MainStream, please input a MainStream network
URL. The MainStream is “rtsp://192.168.10.10/live/main/av_stream”. If you
want to enter SubStream, please input a SubStream network URL. The
SubStream is “rtsp://192.168.10.10/live/sub/av_stream”. Then click the
“Play” button. Please see the following page.
Note: ①If you enter a MainStream network URL, you can use the MainStream
to control the VLC media player on the Video page of Web GUI. If you enter
a SubStream network URL, you can use the SubStream to control the VLC
media player on the Video page of Web GUI.
②If the VLC media player is not work well, please check the IP address
(the IP address of the computer and product should be in the same network
segment.) and network connection status.
③If everything is OK, the product boot static IP need to a little time to
communication for router. Please try it more times.
12/17

Step 3: If you enter a MainStream network URL, you can use the MainStream
of the Web GUI to setting the Dectype, Resolution and Bitrate value of the
VLC media player.
At the same time, you can check the setting on VLC media player. Choose
“Tools>Codec information” to check current codec and resolution. Please see
the following picture.
13/17

Choose “Tools>Codec information>Statistics” to check current bitrate. Please
see the following picture.
Note: The bitrate is floating up and down when you check it. This is a normal
phenomenon.
14/17

7. Application Example
HDMI INHDMI OUT RESET
IR OUT DC 5VCAT OUT
HDMI OUT RESET
IR IN DC 5VCAT IN
Encoder Decoder
DVD or Blu-ray Player
TV TV
Power Supply
Power Supply
IR Extender
IR Blaster
Ethernet Cat5e/6
Figure 2: Encoder connects directly Decoder
15/17

HDMI INHDMI OUT RESET IR OUT DC 5VCAT OUT
HDMI OUT RESET IR IN DC 5VCAT IN
DVD or Blu-ray Player
TV
TV
TV
TV
SWITCHER
Encoder
Decoder
Decoder
Decoder
Ethernet Cat5e/6
Ethernet Cat5e/6
HDMI Cable HDMI Cable
HDMI Cable
HDMI Cable
HDMI Cable
HDMI Cable
Figure 3: Encoder connects Decoder via switcher
(one Encoder to multiple Decoders)
16/17

8. FAQ
Q: Does this product require an line length for the connection interface?
A: According to HDMI line length test, 1920×1200@60Hz YCbCr 4:4:4 is the
longest line length up to 15m/49.2ft. According to CAT line length test, using
CAT 5e/6 cable extends distance up to 100m/328ft between Encode and
Decode.
The use of “Premium High Speed HDMI” cable is highly recommended.
17/17
Table of contents
Other C4i Extender manuals
Popular Extender manuals by other brands

Accelerated Concepts
Accelerated Concepts 6200-FX user guide

weBoost
weBoost DRIVE 4G-X RV user manual

HiBoost
HiBoost F27-5S Quick install guide

Lightware
Lightware DVI-HDCP-TPS-TX95 quick start guide

Automated Logic
Automated Logic MX16160 Technical instructions

Avocent
Avocent LONGVIEW 1000 Quick installation guide