Cabletech URZ0299 User manual

PL
Instrukcja obsługi
EN
User's manual
URZ0299


Owner’s manual
EN
Owner’s manual
EN
2

Owner’s manual
EN
3
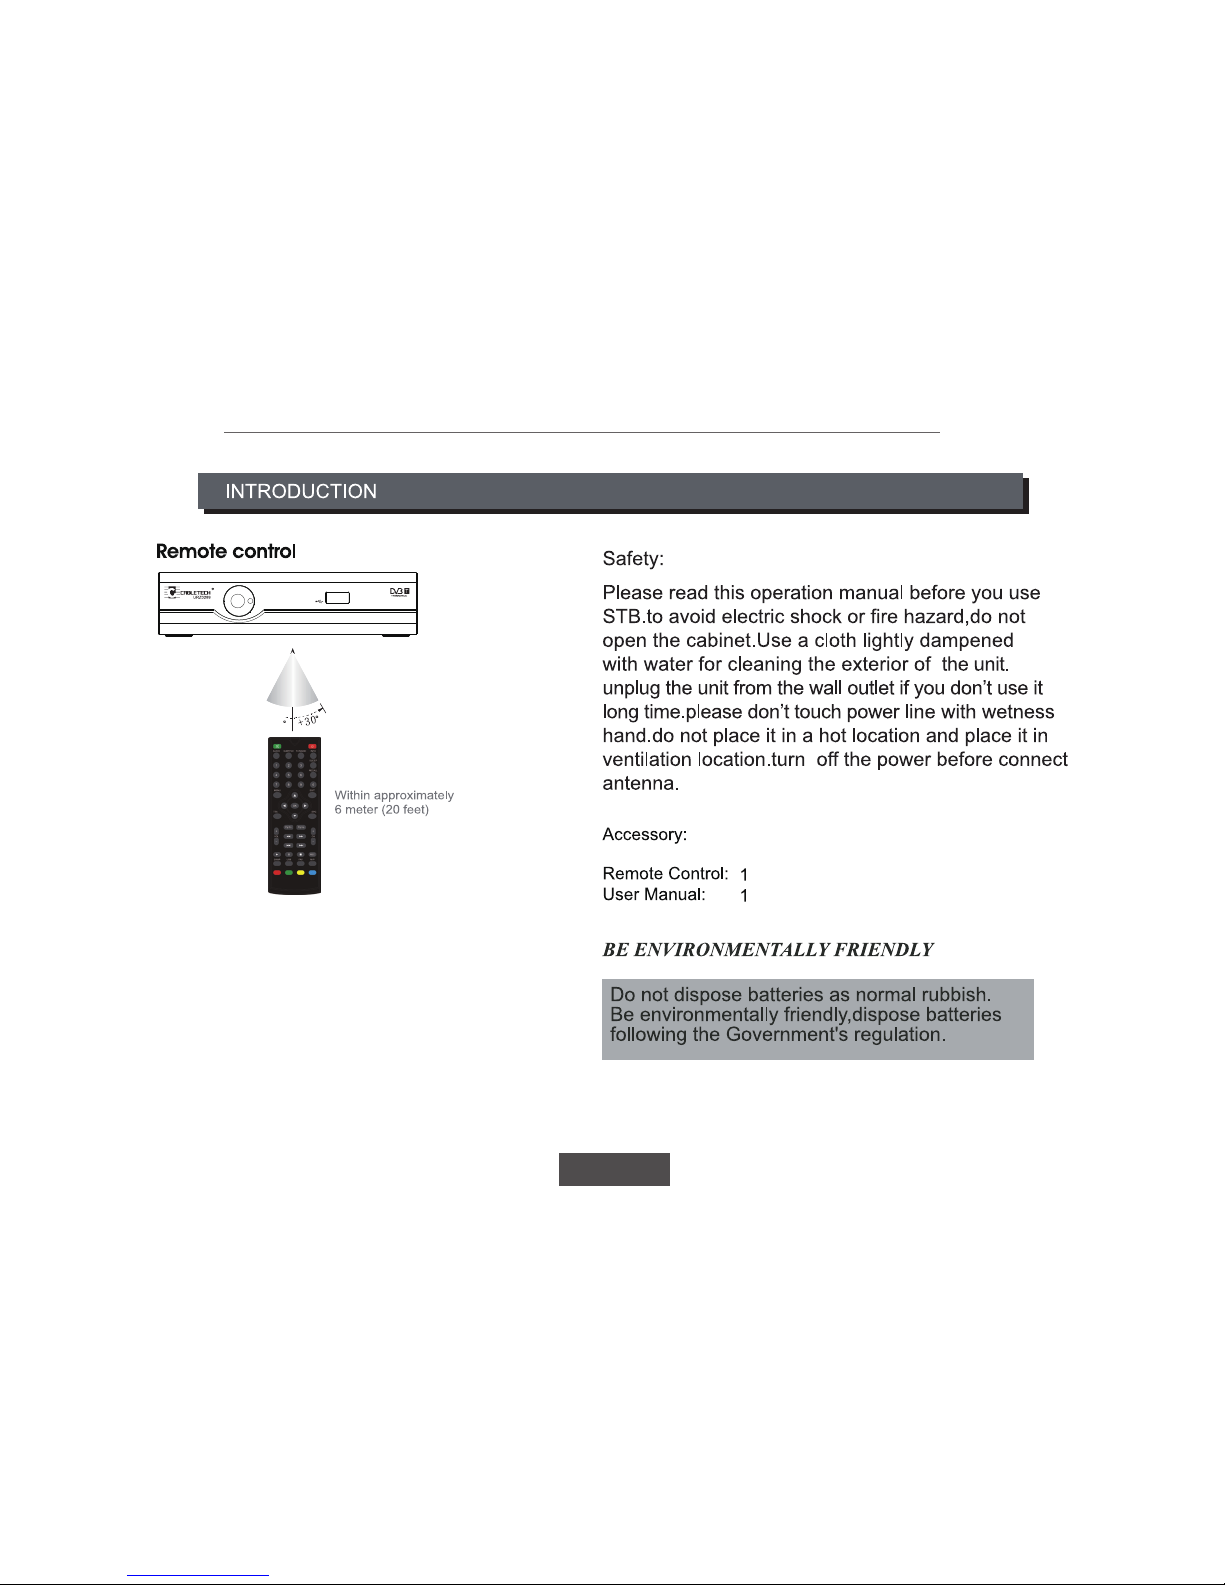
IR RECEIVER
USB

Owner’s manual
EN
1. MUTE: To navigate inside the menus.
2. AUDIO: Change the Audio language and Left/Right
modes.
3. SUBTITLE: Display subtitle options (availability depends
on the channel).
4. <0>-<9>: Numeric keys.
5. MENU: Display main menu on TV screen, and press
again to disappear menu.
6. OK: To confirm current setting, or display all
programs in no-menu mode.
7. TTX: Switch on Teletext, if current channel has this
option, and use EXIT key to quit Teletext.
8. PAGE+/PAGE -: To navigate inside the menus.
9. VOL-/ VOL+: To increase / decrease volume.
10. REV/FWD: Fastbackward/Fastforward.
11. PREV/NEXT: Skip backward/Fast forward.
12. PLAY
13. PAUSE
14. SWAP
15. USB
16. RED
17. GREEN
18. POWER: Switch the receiver in and out of Standby
mode.
19. INFO: Display information about the current channel.
20. TV/RADIO: Switch between Digital Radio and DVB-T/
DVB-T2 modes.
21. SLEEP
22. RECALL: Go back to the previous viewed channel.
23. EXIT: Use this key to quit current menu.
24. : Press to move the cursor
25. EPG: Shows the Electronic Program Guide.
26. CH-/CH+: Program changing keys.
27. REC: Record button.
28. STOP
29. M/P
30. FAV: Displays your favorite channels list. Press FAV
again to access to the other favorite lists.
31. BLUE
32. YELLOW
4

Owner’s manual
EN
System Connection
5
Owner’s manual
EN

Owner’s manual
EN
7
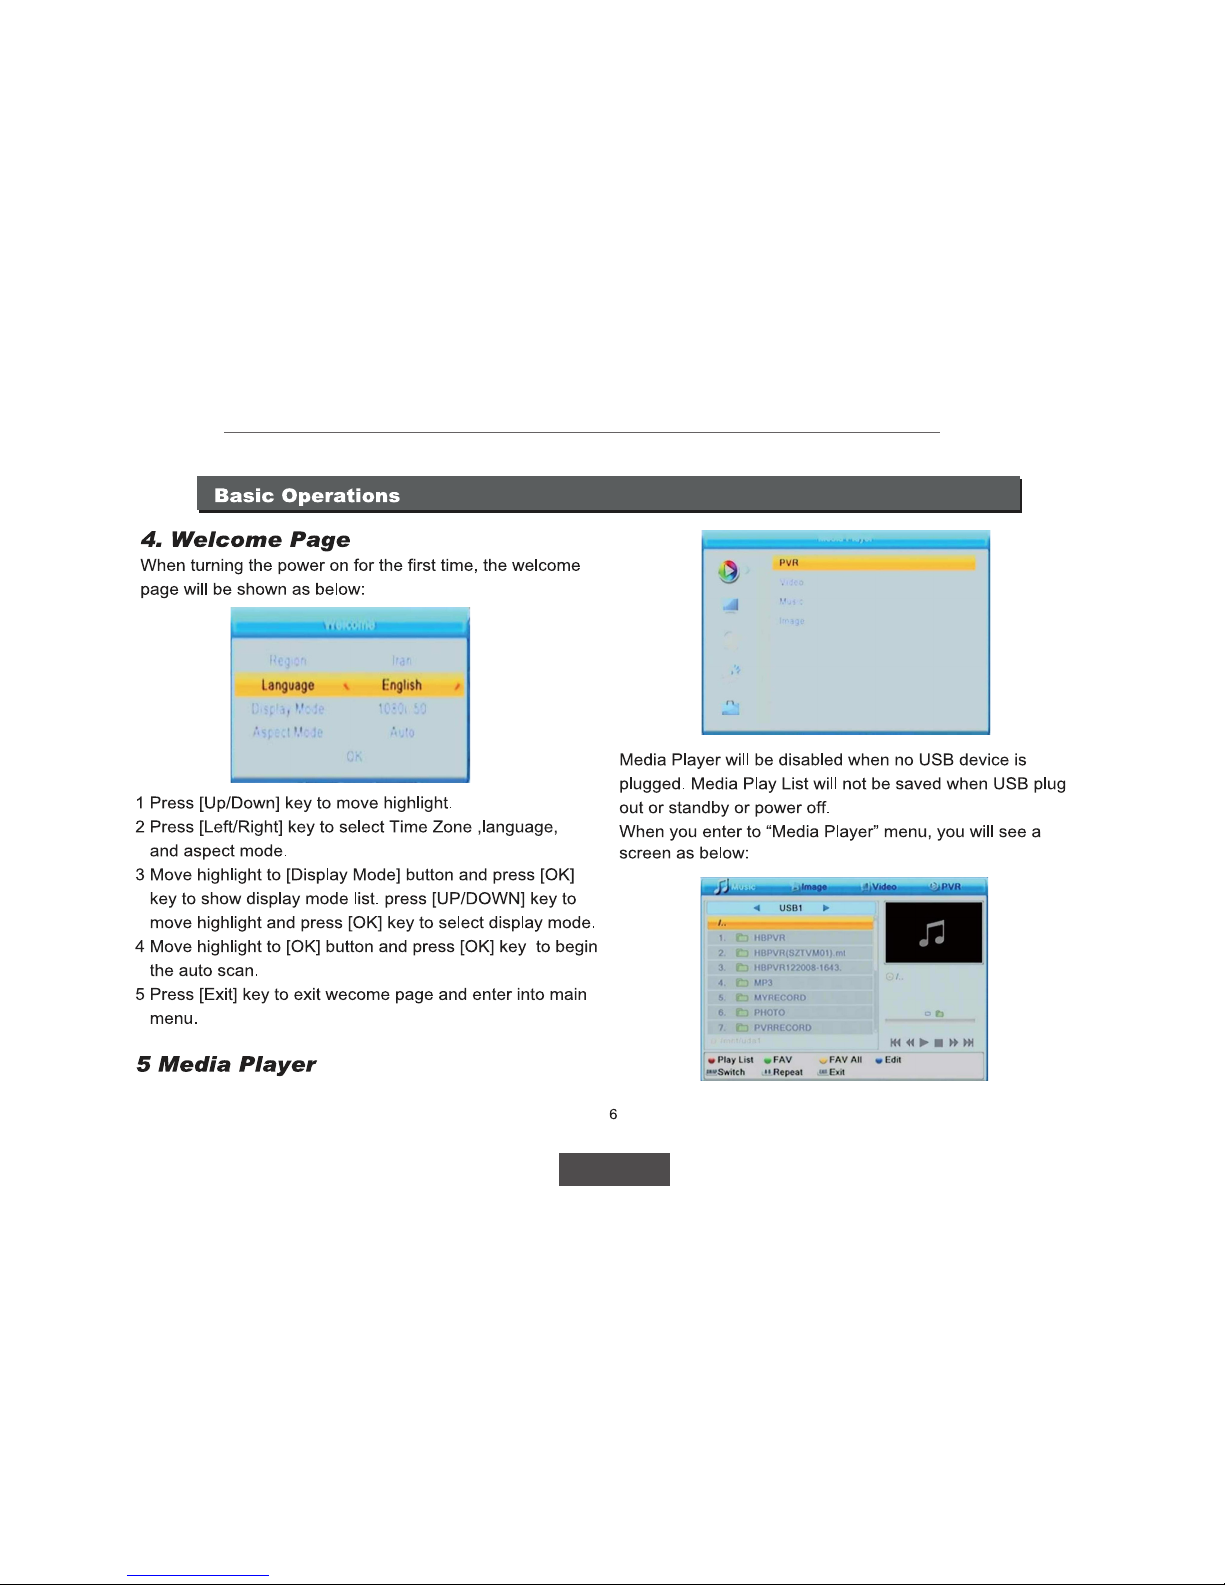
Basic Operations
First you enter media player window, the highlight is on the
USB/HDD device. Press [Down] key to move the highlight to
directory and file field.
If you want to switch the device, press the [SWAP] key to
highlight USB/HDD device and press [Left]/[Right] key to
select device. In this state press [SWAP] key again, you can
switch TAB between Music/Image/Video/Record.
5.1 Video
Pressing [SWAP] key twice can switch from “Image” TAB to
“Video” TAB.
[Exit] key: Return to parent directory.
[Menu] key: Exit
[OK] key: Press [OK] key to play video file.
[Left/Right] key: Press [Left/Right] key to volume+ or volume-.
[Page Up/Page Down] key: You can page up/down by
pressing [Page Up/Page Down] key.
the M/P button shows an AV Delay setting from -500ms to
+500ms!
-Press(M/P) button: to adjust +500ms/-500ms if the voice
of video is lingering when video player mode
The audio button shows available audio track info
-Press【Audio】button :shows and select available audio
track.
The Green button shows available subtitle info
-Press【Green 】button : shows and selects available
extrernal subtitle
The Red button: shows list of available video files
-Press 【Red】button: shows and list of available video
files
The Yellow button shows list of available chapters
-Press 【Yellow】button:shows list of available chapters
The Blue button shows subtitle settings (size, color,
background, position)
-Press 【Blue】button:shows subtitle settings:font size,
fg size,bg size,location;
-Press【Subtitle】button : shows and selects video own
subtitles.

Owner’s manual
EN
8
Basic Operations
1 Move the highlight by pressing [Channel Up/Channel Down]
key then press [OK] key to preview the current highlighted
program in the preview window.
2 By pressing [Page Up/Page Down] key to execute the Page
Up/Page down function.
3 By pressing the [Volume Up/Volume Down] key to switch to
different Program Group.
4 By pressing the [Menu] or [Exit] keys to go back to the “Edit
Channel” menu.
5 By pressing the color key to execute the corresponding
functions in “Channel List.
6. Edit Channel
When pressing the [Menu] key to enter the main menu,
which shows as below:
6.1 TV Channel List
When entering the “TV Channel List” menu, which
shows as below.
6.1.1 Favorite
1 By pressing the [FAV] key, and then pressing the [OK] key,
to open the “Favorite” window shown as above.
Table of contents
Languages:
Other Cabletech DVR manuals


