FOR WARRANTY ISSUES OR QUESTIONS, CONTACT CAHABA AT (866) 837-2550.
©2018 CAHABA. ALL RIGHTS RESERVED. 2
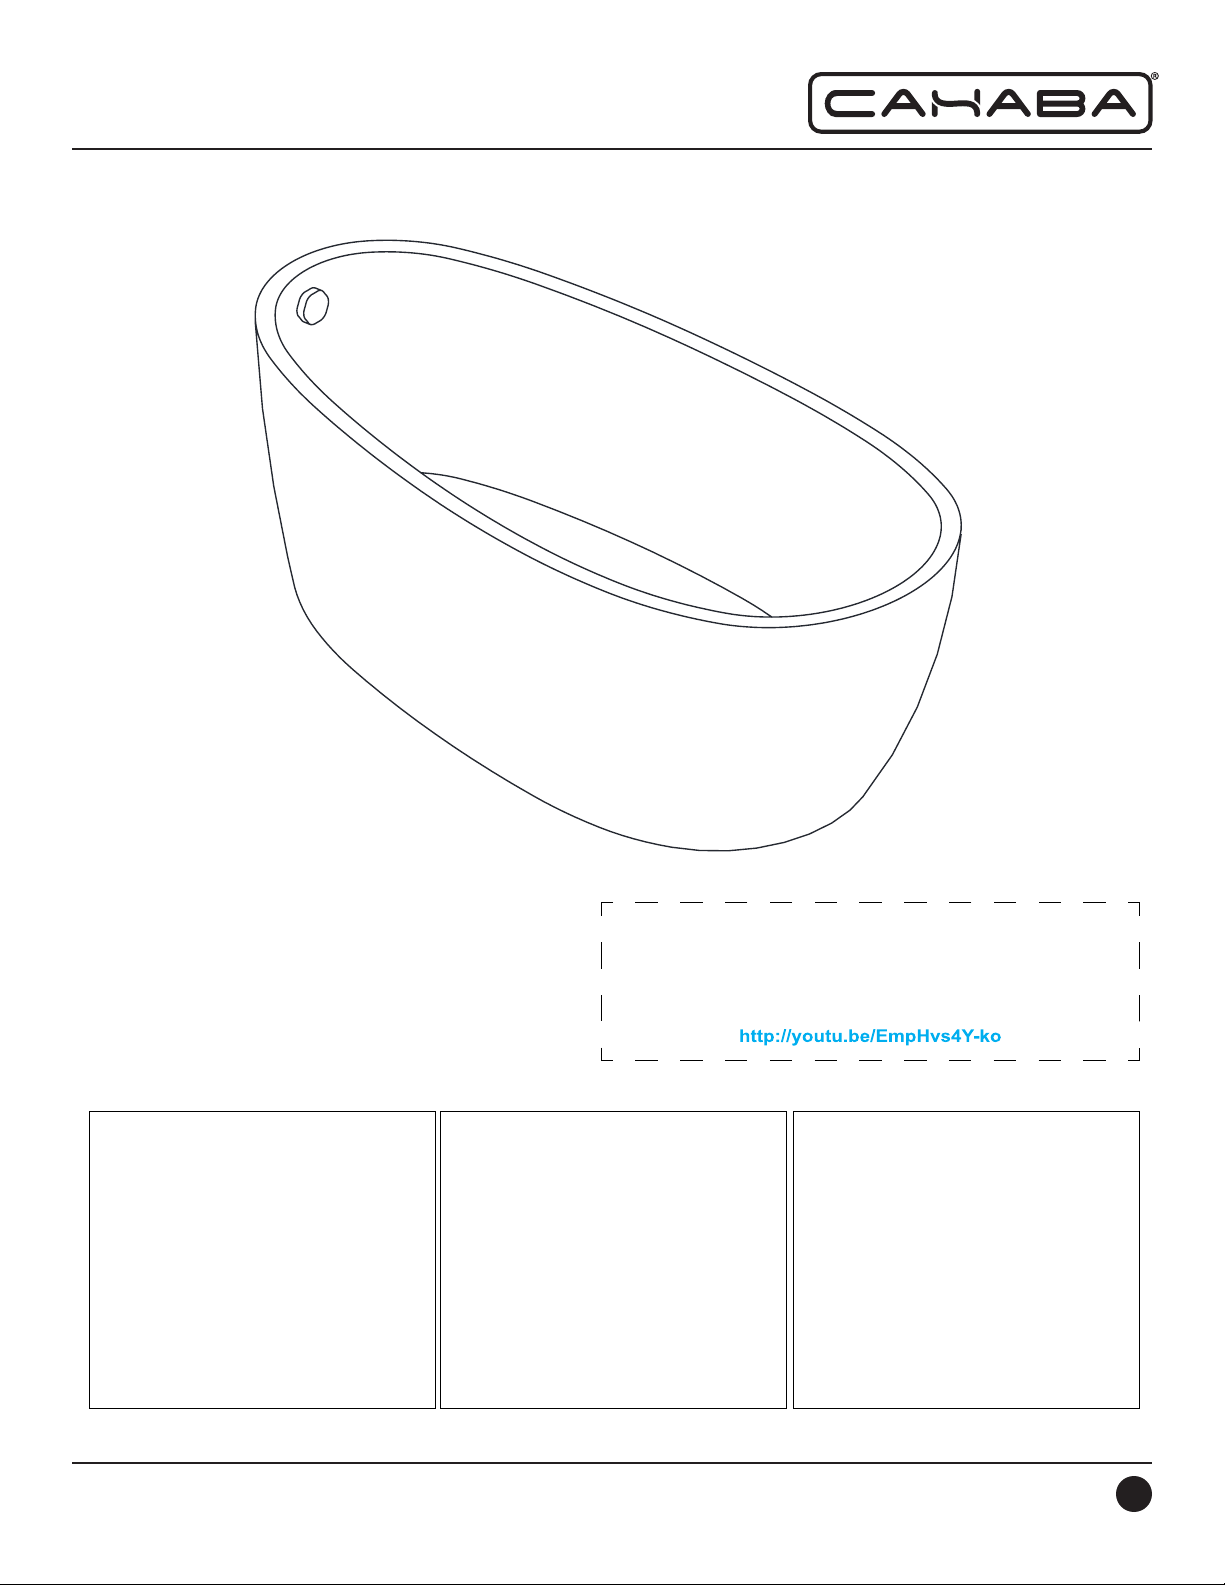
VIOLET 69” FREESTANDING ACRYLIC TUB
Installation
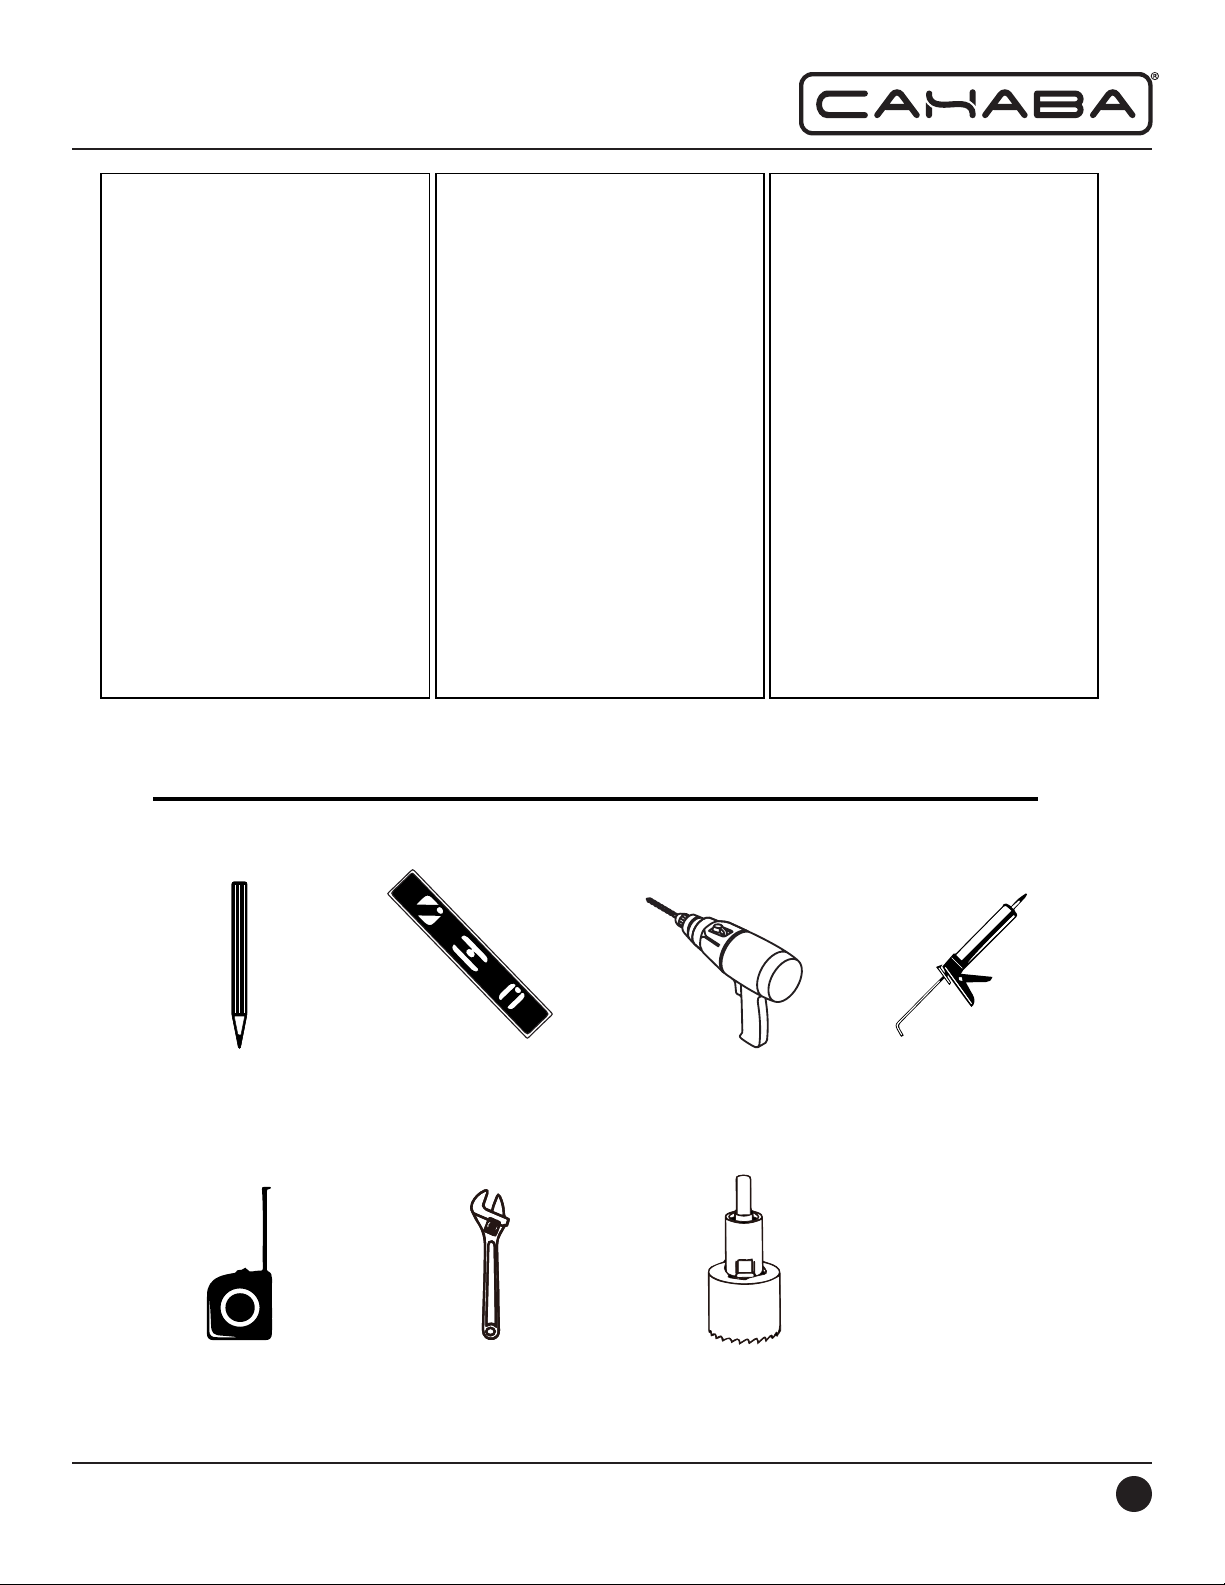
TOOLS REQUIRED / OUTILS REQUIS / HERRAMIENTAS NECESARIAS
CAUTION
You will need at least two people to
install this product properly.
In order to reduce the risks of personal
injuries, do not support or lift the
bathtub by the rim. Provide adequate
support under the feet.
The distributor is not responsible for any
damage to the unit or personal property
caused by improper installation. If you
disregard instructional warnings, you
will void your warranty and possibly
deal with water damage.
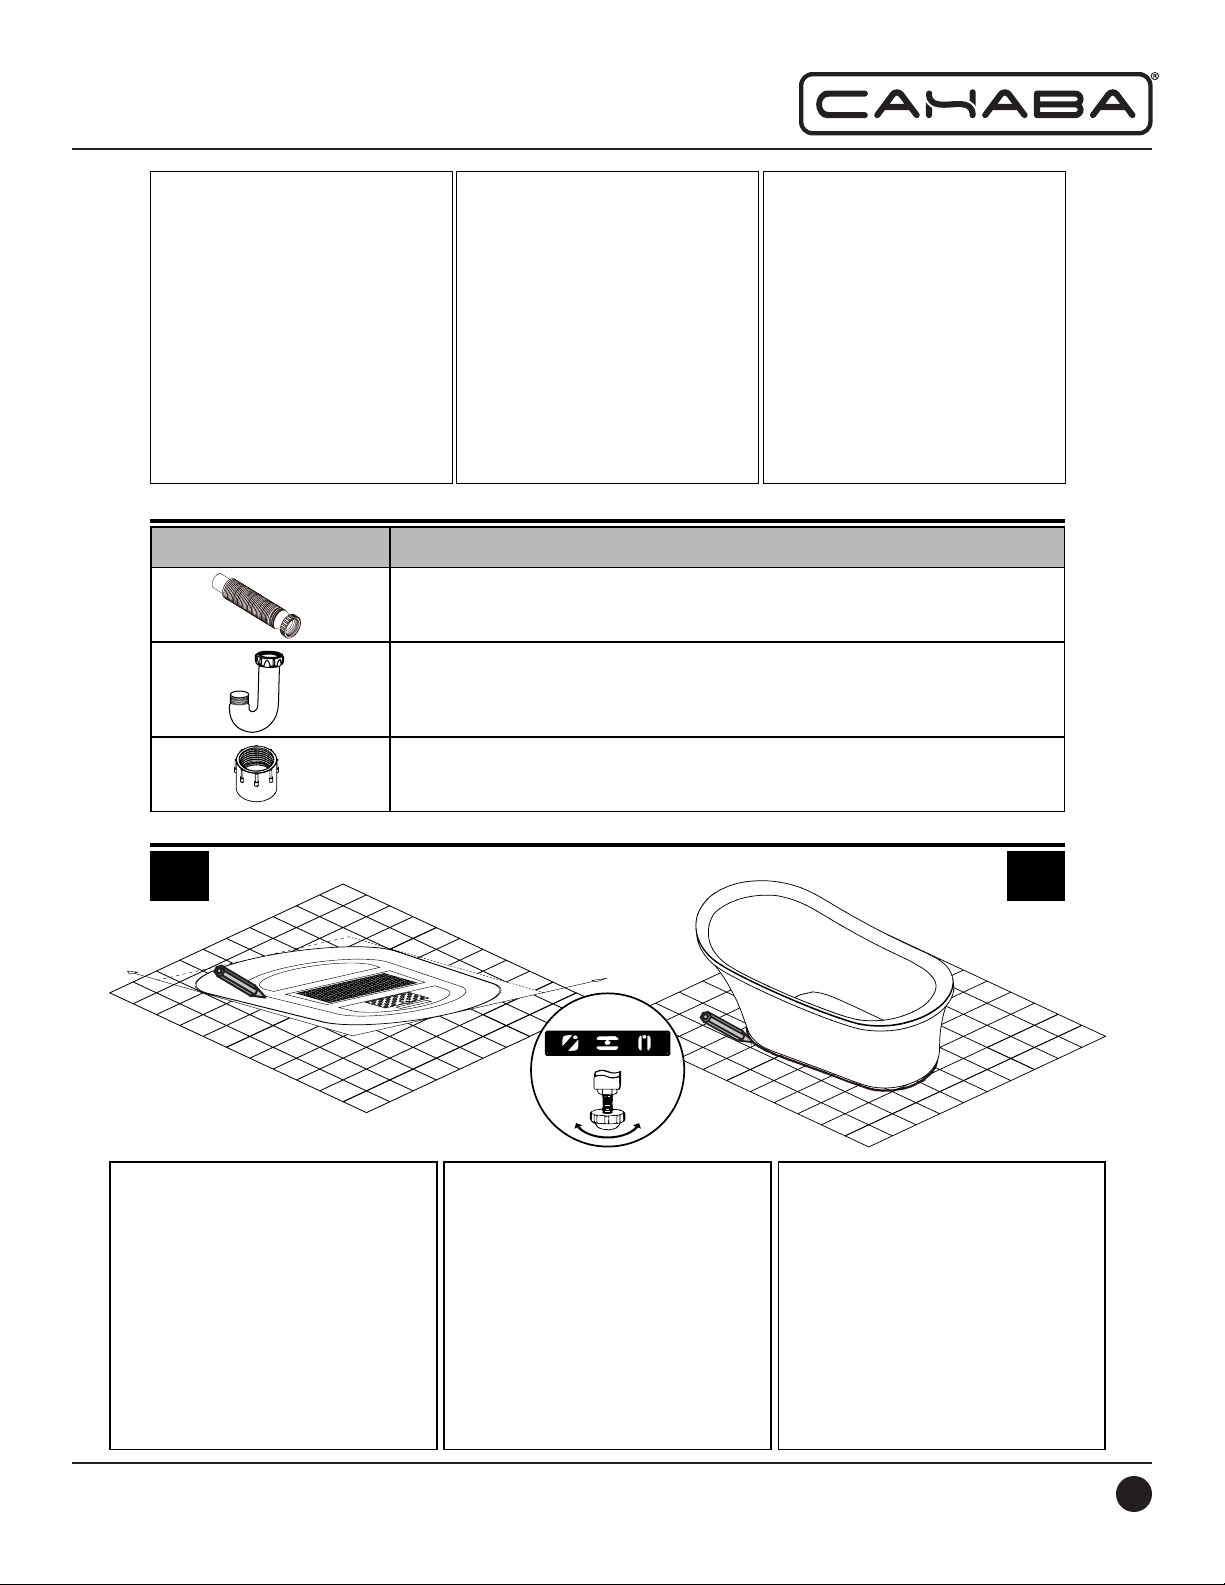
• Unpack and inspect the bathtub for
damage. Return the bathtub to the
carton until you are ready to install.
• Install the bathtub on an adequately
supported,leveloor.
• Before installation, ensure proper
access to the nal plumbing
connections.
ATENCIÓN
Se necesitan al menos dos personas para
instalar este producto correctamente.
Riesgo de lesiones personales. No
sostenga ni levante la bañera por el borde.
Coloque un soporte adecuado debajo de
los pies.
El distribuidor no se responsabiliza de
ningúndaño a la unidad ni a propiedades
personales causados por la instalación
inadecuada. Si usted ignora las
advertencias de instalación, perderá la
garantía y podría sufrir daños causados
por fuga de agua.
• Desempaque e inspeccione la bañera
para detectar cualquier daño. Vuelva a
colocar la bañera en el cartón hasta que
esté listo para instalarla.
• Instale la bañera sobre un piso con
soporte adecuado y nivelado.
• Antes de la instalación, asegúrese
de que tenga suciente acceso a las
conexionesnalesdeplomería.
ATTENTION
L’installation de ce produit requiert la
participation d’au moins deux personnes.
And’éviterlesrisquesdeblessures, ne
pas soulever la baignoire par les rebords.
Fournissez un support adéquat sous les
pieds du bain.
Le distributeur se dégage de toute
responsabilité pour tout dommage au
bain ou à la propriété résultant d’une
installation inadéquate. Si vous ignorez
les recommandations, votre garantie sera
nulle et vous pourriez subir des dégâts
d’eau.
• Déballez la baignoire et examinez-
la soigneusement pour déceler tout
dommage. Remettre la baignoire
dans son emballage de protection en
attendant de commencer l’installation.
• Cette baignoire doit avoir le support
nécessaire sur un sol mis à niveau.
• Avant l’installation, assurez-vous
d’avoirsufsammentd’accèspourtoute
laplomberienale.
Pencil
Crayon
Lápiz
Level
Niveau
Nivel
Silicone
Silicone
Silicona
Measuring Tape
Ruban à mesurer
Cinta medidora
Drill
Perceuse
Taladro
Adjustable key
Clé ajustable
Llaves ajustables
Hole saw
Scieemportepièce
Sierra perforadora
Plus:
Fabric cloth to protect the bath.
Plus :
Tissu pour protéger le bain.
Más:
Tela para proteger la bañera.