C&W Crate 24-12 User manual

Carry Your Beer with Confidence
Instruction booklet
for
C&W Crate
No. 24-12; No. 12-22 & No. 6-750
Assembly Instruction are the same
for all C&W Crate Case Sizes
Thank you for purchasing C&W Crate
cases for your beverage storage.
Assembly is required - you will
need a large flat head screwdriver.
In addition to this instruction sheet,
an assembly pdf can be viewed at
www.cwcrate.com/videos-and-support/
Prior to use, read all assembly instructions and
the important safety information and use
instructions on the back cover of this booklet.
Keep this booklet for reference.
www.cwcrate.com
Ph: 616-245-2728
Made in the U.S.A.
No. 24-12 Patent Pending
No. 12-22
No. 6-750

www.cwcrate.com
No. 24-12 Ph: 616-245-2728
No. 12-22 Made in the U.S.A.
No. 6-750 Patent Pending
Instructions for Care, Storage and Use
NOTICE: Freezing temperatures.
The case material (polypropylene) may become brittle and may
crack if exposed to sustained freezing temperatures
(at or below 32 degrees Fahrenheit or 0 degrees Celsius),
potentially resulting in damage to property and the box itself.
NOTICE: Cleaning your cases
Clean with mild soap and water when necessary. Some cleaning
agents and solvents, including (but not limited to) gasoline and
turpentine can cause permanent damage to the case material
(polypropylene) and should NOT be used.
No. 12-22 No. 24-12
No. 6-750

Confirm the following items are in the shipping carton
Folded brown polypropylene cases. Quantity dependent on quantity ordered.
Sheets of black polypropylene divider material—Quantity dependent on quantity ordered
This instruction sheet (pretty obvious on this one)
Plastic zip lock bags with fastener parts (see below) there will be (8) sets of fasteners for
each case ordered.
Step 1 - Sorting the screws
Warning! Screw heads and posts present a choking hazard.
Keep away from children
Very Useful Hint - Assembly Helper!
Use some masking tape to hold the screw posts in place during the
assembly process - this will prevent lost screw posts and also act as
an additional set of hands to hold the posts in place during assembly.
Each case requires eight (8) pair of screw
post sets.
We have included a few extra just in case!
See figure 1
Sort the content of the bag into screw post sets. Figure 1
(1) screw head + (1) Screw Post per set. (figure 2 & 3)
Figure 2 -Screw
Heads Figure 3 -Screw
Posts
Step 2 - Unfold the Cases
Unfold a flat case (figure 4) into a rectangle with the bottom
Facing up (figure 5)
Figure 4
Flat Case Figure 5
Unfolded
(Upside down)

Step 3 - Fold, loosen and assemble the
bottom Flaps
The bottom of the case is designed
so the larger panels fit on the outside of the
shorter panels—see figures 6 and 7
Figure 6
Showing the longer
bottom panels
(holes are at outer edge)
Figure 7
Showing the shorter bottom panels
(holes are at inner Folding edge)
Fold and unfold all of these panels repeatedly to make the material
easier to work with.
Insert (2) screw posts (the ones with the holes) into the holes at the bottom of
each of the shorter panels (figure 7) The flat end of the screw post will face
the inside of the case (figure 8)
Figure 8 - viewing box from inside

Step 3 continued
Place (4) screw heads and a large flat head
screwdriver close to the case.
Fold the end panels (both shorter panels)
into the case and hold in place with one arm
(see figure 9)
Figure 9
Fold short bottom
panels in first and
hold in place with
one arm
Next, fold one of the long panels over the shorter panels
(see figure 10 below) Grasp both the long and the short panel with
one hand and insert screw head into hole and align with screw posts
(see figure 11 below)
NOTE: THIS CAN BE A LITTLE DIFFICULT —THIS CASE HAS BEEN
MANUFACTURED TO PRECISE SPECIFICATIONS AND THE
TOLERANCES ARE VERY CLOSE.
Because of the nature of the plastic it will “push back” and resist
positioning. Be assured, this is normal and it will fit properly but may
take a little extra time and effort and maybe a beer break!
Figure 10 Figure 11
Figure 12
Repeat this procedure for all 4 of the bottom panel screws
Tighten all with the screwdriver just until you see the plastic start to give
inward—make certain they are snug but do not over tighten
(See figure 12 above)

Step 4 - Assemble the Lids
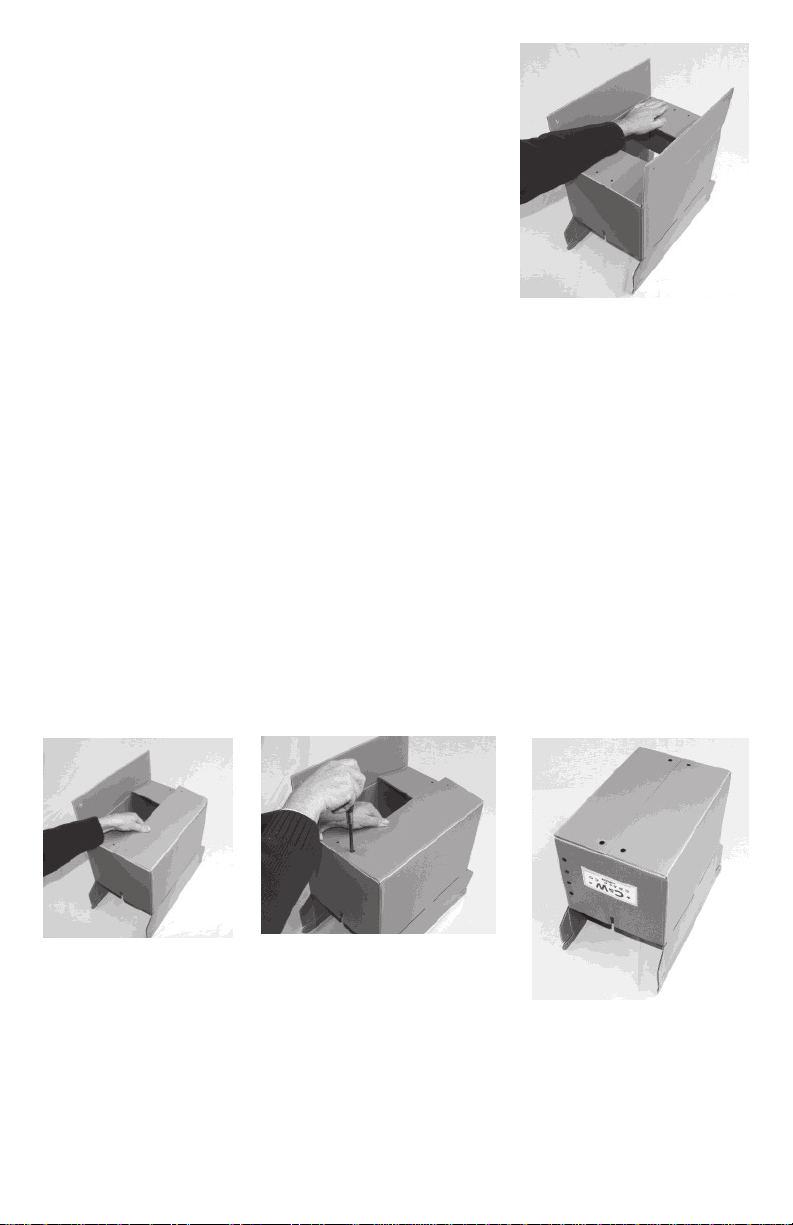
Rotate the case so the top is right side up. Grasp the short
1-1/2”flaps (long flap running along the top) on each lid and bend inward
several times —this helps make assembly easier.
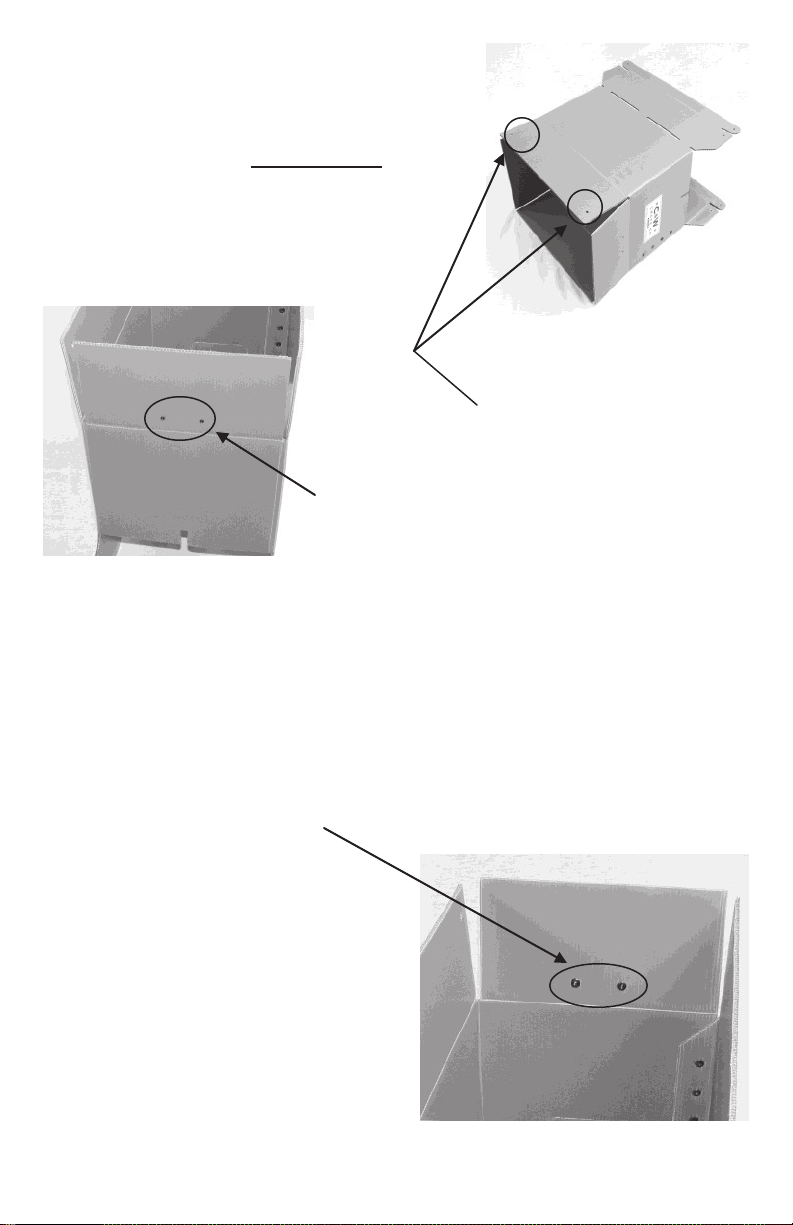
Insert the remaining 4 screw posts into the
lower holes of each of the corners of the lid.
Again, flat side of screw post toward the
inside of the box.
(see figure 13)
Figure 13
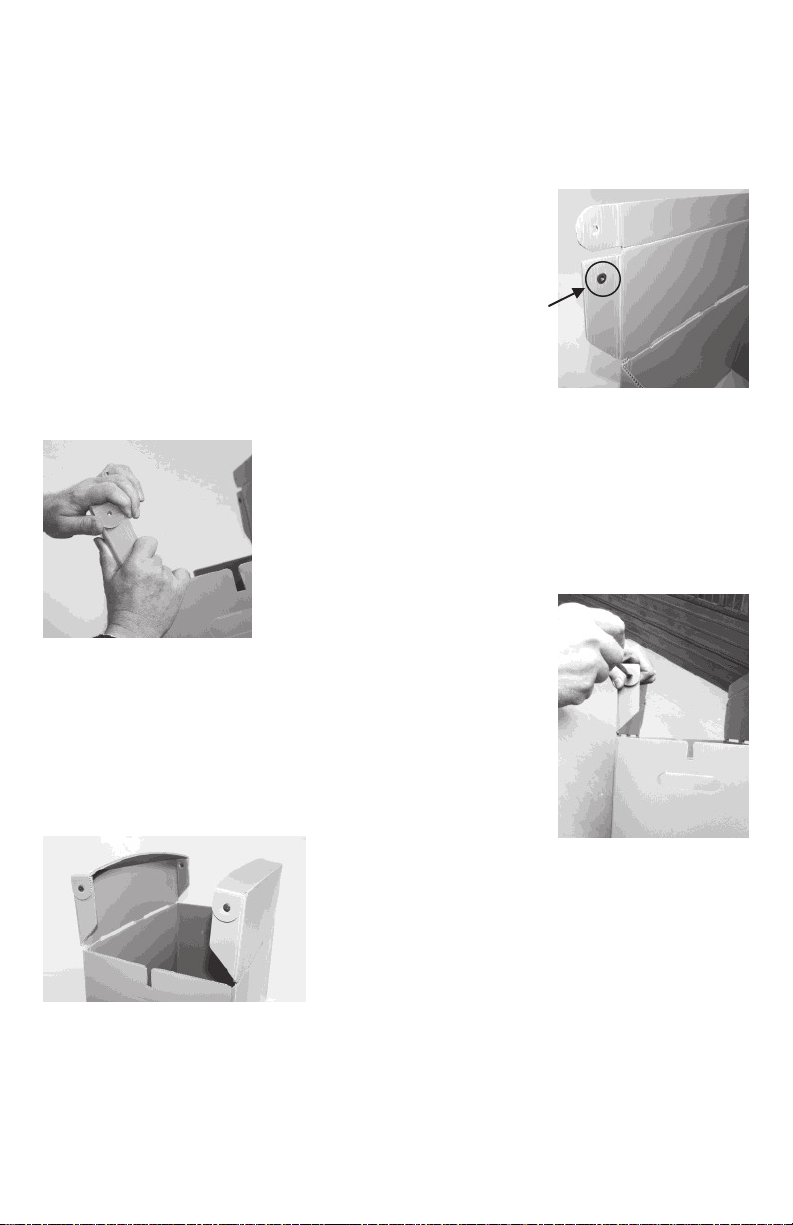
Fold the flap with the screw post into the case, then
fold the rounded end over the flap with the screw post,
align the holes and place a screw head in the holes
and tighten - again, don’t over tighten but make sure
the screws are snug
(see figure 14 and 15)
Repeat until all 4 corners
Are assembled (see figure 16)
Figure 14
Figure 15
When the lids are assembled correctly the long
outside flaps will be slightly bowed.
(see figure 16)
This is correct—it helps keep the lids closed.
Figure 16
Once the case is completely assembled you can close the lid —
you will have to work with the lid a little to get it to close due to the
nature of the material, however over time it will become easier as the
material breaks in.

Step 5 - Assemble the Dividers
The last step is to assemble the dividers
Each of the black sheets has the necessary parts for
(1) set of dividers for each of your cases.
Each sheet has (8) pieces; (5) short pieces and (3)
long pieces (figure 17) —punch them out (1) sheet at
a time and assemble as follows.
Note: all of the materials are recyclable
Polypropylene—the recycle number is 5 Figure 17
Next, take one long piece with slots
facing up and insert one short
piece as shown in figure 18
Figure 18
Insert the two remaining long
pieces into the short piece
as shown in figure 19.
Figure 19
Insert the remaining (4) short pieces
into the open slot of the long
pieces as shown in figure 20
Figure 20
Insert dividers into completed
cases, push in the handles and
your dividers will remain in the
case even if turned upside down.

www.cwcrate.com
Ph: 616-245-2728
Made in the U.S.A.
Patent Pending
No. 24-12
No. 12-22
No. 6-750
Important Safety Information
Stacked crates may create a toppling hazard, potentially
resulting in serious injury, death, and damage to property.
This crate product is not designed for the storage of
hazardous materials. Storage of hazardous materials may
result in serious injury, death, and damage to property.
This crate product may collapse or be damaged if stood or
sat upon or loaded with very heavy objects, potentially
resulting in serious injury, death, and damage to property.
This manual suits for next models
2
Table of contents