manuals.online logo
Brands
  1. Home
  2. •
  3. Brands
  4. •
  5. Canon
  6. •
  7. Projector
  8. •
  9. Canon REALiS SX80 Mark II D User manual

Canon REALiS SX80 Mark II D User manual

Other manuals for REALiS SX80 Mark II D

7

This manual suits for next models

1

Other Canon Projector manuals

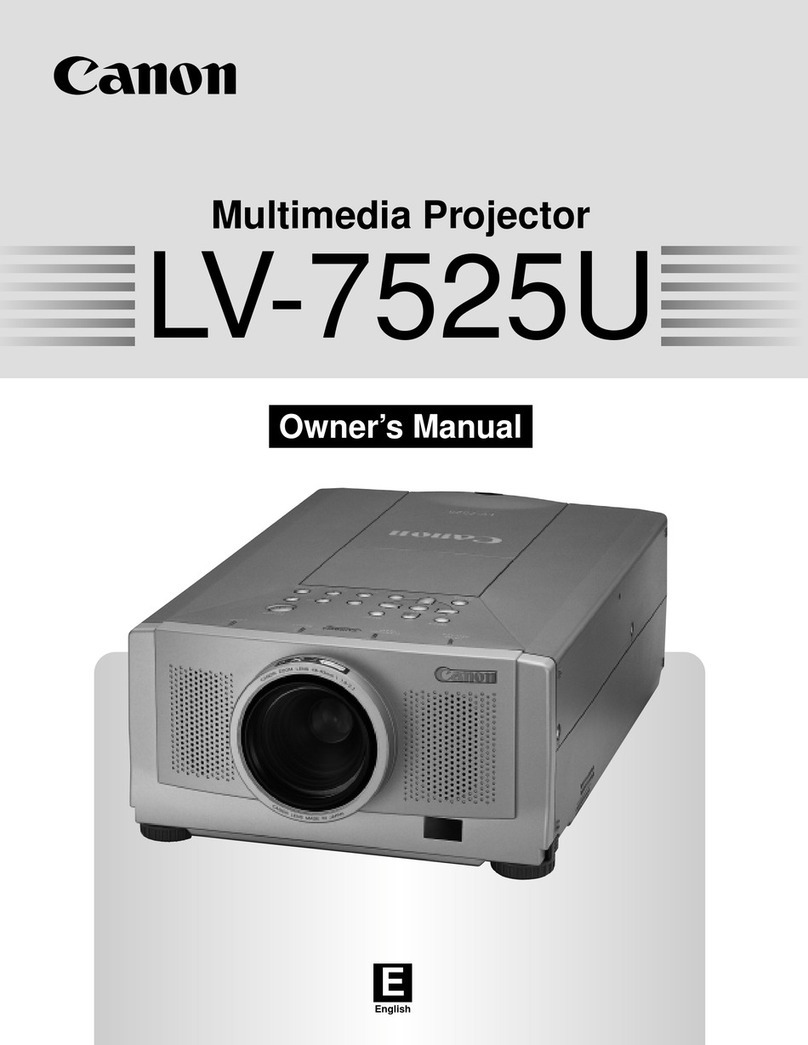
Canon RealIS SX6 User manual

Canon

Canon RealIS SX6 User manual

Canon WUX6000 Installation manual

Canon

Canon WUX6000 Installation manual

Canon LV-7265 User manual

Canon

Canon LV-7265 User manual

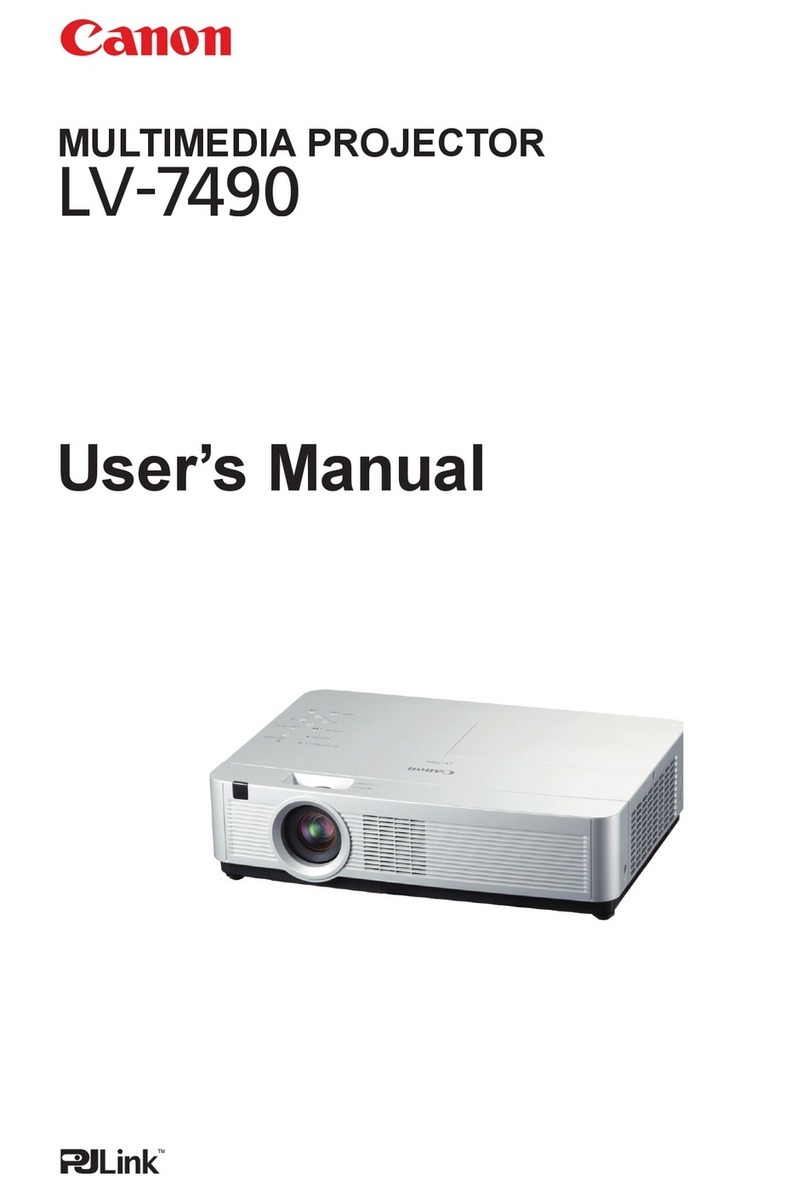
Canon LV 7490 User manual

Canon

Canon LV 7490 User manual

Canon LV-5210 User manual

Canon

Canon LV-5210 User manual

Canon REALiS WUX5000 Installation manual

Canon

Canon REALiS WUX5000 Installation manual

Canon PIXMA MP250 User manual

Canon

Canon PIXMA MP250 User manual

Canon LCOS Projectors User manual

Canon

Canon LCOS Projectors User manual

Canon LV-WX300 User manual

Canon

Canon LV-WX300 User manual

Canon RE-455X User manual

Canon

Canon RE-455X User manual

Canon LV-X2U/D78-5352 User manual

Canon

Canon LV-X2U/D78-5352 User manual

Canon T2000 User manual

Canon

Canon T2000 User manual

Canon LH-WU350UST User manual

Canon

Canon LH-WU350UST User manual

Canon LV-8235 UST User manual

Canon

Canon LV-8235 UST User manual

Canon REALiS SX80 Mark II D Installation and operation manual

Canon

Canon REALiS SX80 Mark II D Installation and operation manual

Canon WUX500ST User manual

Canon

Canon WUX500ST User manual

Canon LV-X310ST User manual

Canon

Canon LV-X310ST User manual

Canon RealIS SX6 User manual

Canon

Canon RealIS SX6 User manual

Canon REALiS WUX5000 User manual

Canon

Canon REALiS WUX5000 User manual

Canon SX7 MARKII User manual

Canon

Canon SX7 MARKII User manual

Canon LV-5100 Owner's manual

Canon

Canon LV-5100 Owner's manual

Canon LV-X4U User manual

Canon

Canon LV-X4U User manual

Canon LV-7320U User manual

Canon

Canon LV-7320U User manual

Canon LV-X1 User manual

Canon

Canon LV-X1 User manual

Popular Projector manuals by other brands

Eiki LC-X985 Specification sheet

Eiki

Eiki LC-X985 Specification sheet

InFocus LitePro 610 quick start

InFocus

InFocus LitePro 610 quick start

Epson EH-TW5900 datasheet

Epson

Epson EH-TW5900 datasheet

FOREVER MLP-100 manual

FOREVER

FOREVER MLP-100 manual

Toshiba TDP-MT8U Specifications

Toshiba

Toshiba TDP-MT8U Specifications

Mitsubishi XD500U specification

Mitsubishi

Mitsubishi XD500U specification

Kodak Ektapro 3020 Illustrated parts list

Kodak

Kodak Ektapro 3020 Illustrated parts list

Toshiba TDP-EW25U Specifications

Toshiba

Toshiba TDP-EW25U Specifications

Barco iQ PRO G500 supplementary guide

Barco

Barco iQ PRO G500 supplementary guide

NEC Showcase Series HT1100 user manual

NEC

NEC Showcase Series HT1100 user manual

Philips LC1341 user guide

Philips

Philips LC1341 user guide

Epson PowerLite 1266 user guide

Epson

Epson PowerLite 1266 user guide

MAGINON DLP 1400S user manual

MAGINON

MAGINON DLP 1400S user manual

Toshiba TLP-380 owner's manual

Toshiba

Toshiba TLP-380 owner's manual

Philips PicoPix PPX2480/EU user manual

Philips

Philips PicoPix PPX2480/EU user manual

Hitachi CP-X605 Series Specifications

Hitachi

Hitachi CP-X605 Series Specifications

Optoma TW1692 user manual

Optoma

Optoma TW1692 user manual

Kodak EKTAPRO instruction manual

Kodak

Kodak EKTAPRO instruction manual

manuals.online logo
manuals.online logoBrands
  • About & Mission
  • Contact us
  • Privacy Policy
  • Terms and Conditions

Copyright 2025 Manuals.Online. All Rights Reserved.

ENG
YT1-7384-000 ©CANON INC. 2009
Projecting an Image in the DICOM SIM Mode
In the DICOM simulation mode (hereinafter referred to as “DICOM SIM”), this projector can
project a monochrome medical image such as an X ray radiography, CT image, MRI image,
etc. in the tone similar to the DICOM (Digital Imaging and Communications in Medicine)
standard. Typically, to project the image according to the DICOM standard, it requires the
grayscale tone correction using a luminance meter according to the environment. In this
projector, there are 21 types of tone settings for various ambient lights. You can correct the
tone in a simplified manner by selecting an appropriate test chart.
It is suited to project an image in a medical lecture, academic conference, in-hospital con-
ference, etc.
■Switching the mode to the DICOM SIM Mode
Push the [IMAGE] button on the remote control until [DICOM SIM] is displayed or select
[DICOM SIM] from [Image mode] in the [Image adjustment] menu.
An Example of the Test Chart
Important: This projector is not the display monitor for a medical image. It cannot be used
for the radiological image reading or medical examination.
• It is recommended to check the tone everytime when using this projector since it does
not have the tone correction and calibration functions against the secular change.
• It may take approximately 30 minutes until the projection brightness of this projector
becomes stabled.
Projecting the Near DICOM
Standard Compatible Image
[Image mode]
* is only applicable to SX80 MarkII
You can project an image as if it is compat-
ible with the DICOM standard by selecting
a test chart suited for the projecting envi-
ronment.
Press [OK] to select [DICOM SIM] and
press the [MENU] button to exit from the
menu screen. To check a test chart, press
the [OK] button when no menu screen is
displayed.
Press the [<] / [>] button to change the
tone of the test chart. Make sure to select
the tone in which all patterns are displayed.
Press the [OK] button after the setting.
HDMI COMPONENT
DIGITAL PC
VIDEO/S-VIDEO
*
ANALOG PC USB*
Image mode
Image adjustment
DICOM SIM
[>] Press this button to brighten the chart.
Use this setting if no adequate contrast is
available.
[<] Press this button to darken the chart. Use
this setting if adequate contrast is avail-
able due to the low ambient light.
• Perform one of the followings to obtain
an appropriate projection if you can-
not project the test chart under any
settings:
- Darken the ambient light
- Reduce the image size
- Reduce the projection distance
• It is recommended to select [DIGITAL
PC] as the input signal.