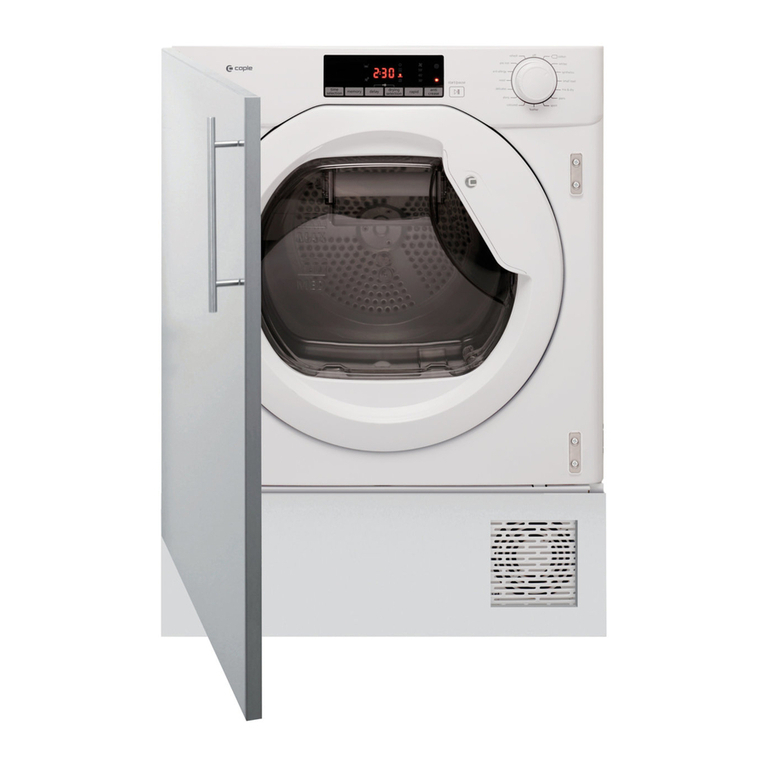
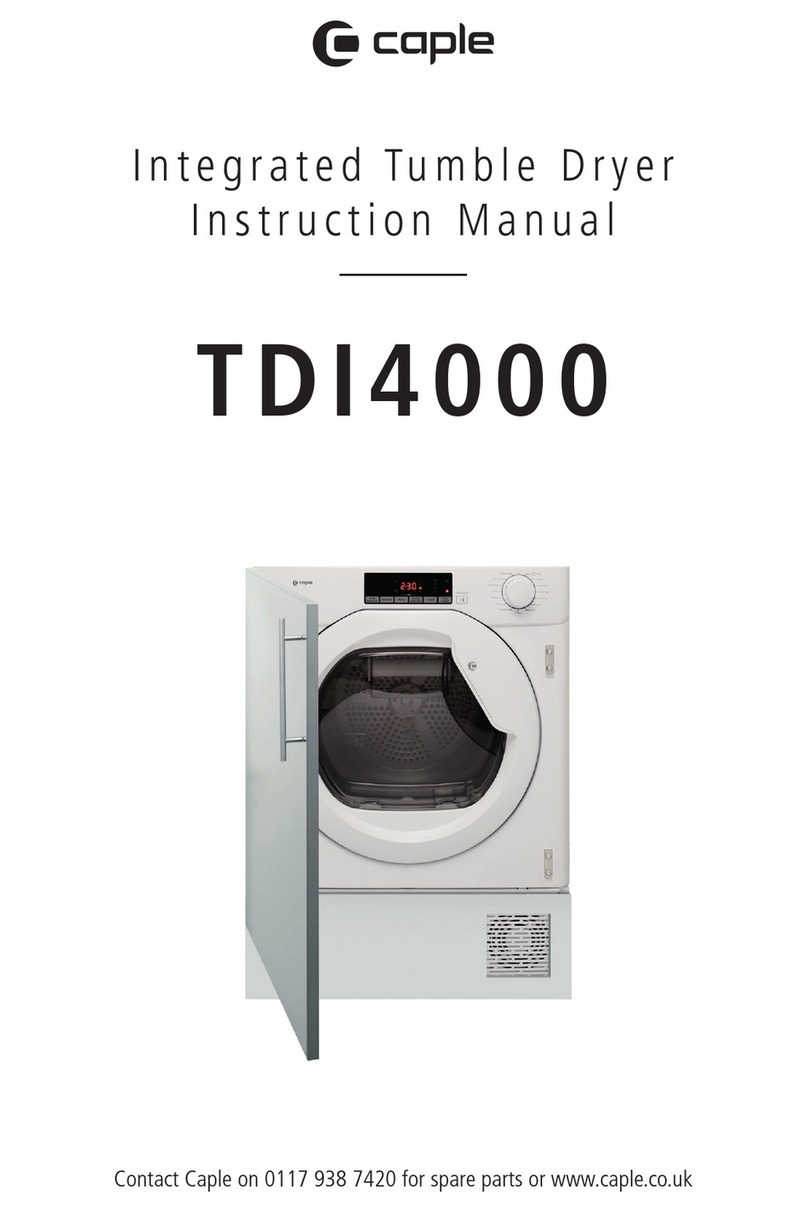
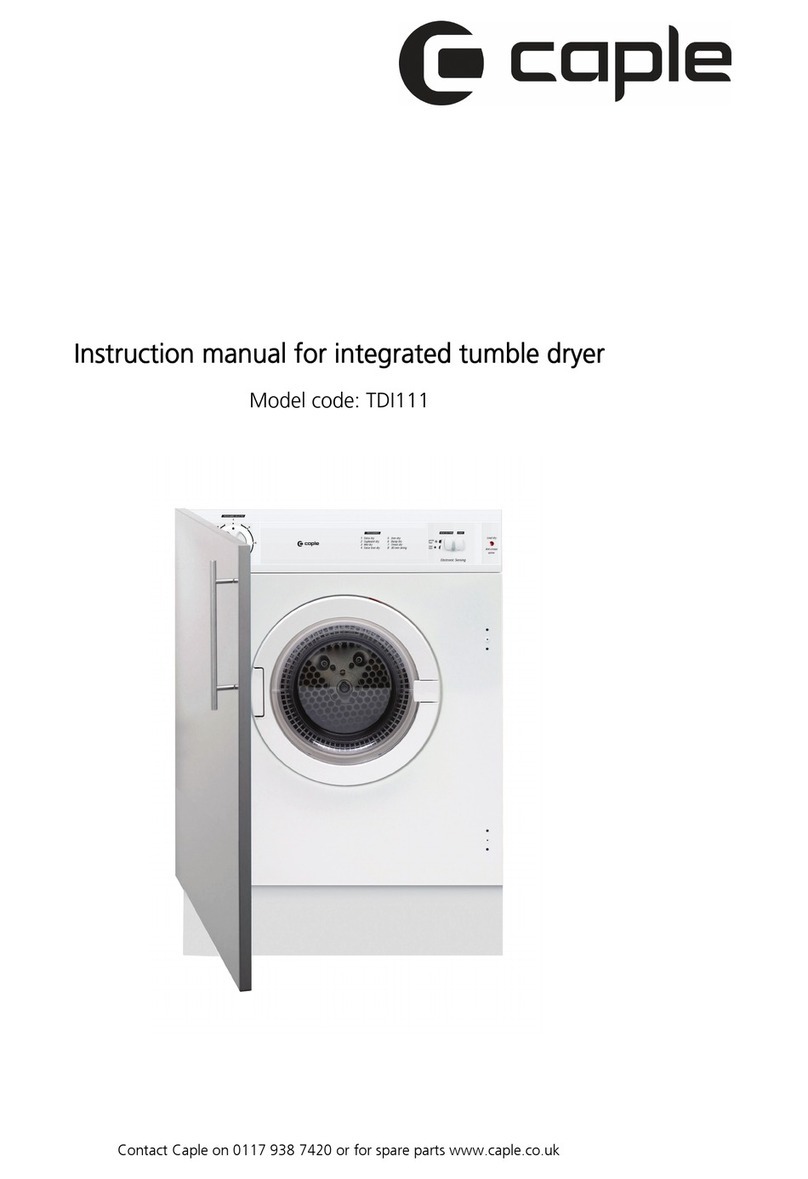
Caple TDI101 User manual

Contact Caple on 0117 938 7420 or for spare parts www.caple.co.uk
Integrated tumble dryer
instruction manual
TDI101

Instruction manual TDI101
Please keep this instruction manual for future reference
2
CONTENTS
USER INFORMATION 3
INSTALLATION 8
THE FILTER 9
CONTROL PANEL 10
OPERATION 11
DOOR REVERSAL 12
DECOR DOOR 13
TECHNICAL DATA 14
TROUBLESHOOTING 15
TECHNICAL FICHE 16

Instruction manual TDI101
Please keep this instruction manual for future reference
3
WARNINGS
-Keep these instructions for use with the appliance. If the
appliance should be sold or passed on to others, make
sure that the instructions are passed on with it. We
thank you for taking note of these suggestions before
installing and using the appliance. They have been
written for your personal safety and the safety of others.
-This appliance is not intended for use by persons
(including children) with reduced physical, sensory or
mental capabilities, or lack of experience and knowledge,
unless they have been given supervision or instruction
concerning use of the appliance by a person responsible
for their safety.
-This tumble dryer is intended for NORMAL
DOMESTIC USE ONLY
SAFETY WARNINGS
-This appliance can be used by children aged from 8
years and above and persons with reduced physical,
sensory or mental capabilities or lack of experience
and knowledge if they have been given supervision or
instruction concerning use of the appliance in a safe way
and understand the hazards involved. Children shall not
play with the appliance. Cleaning and user maintenance
shall not be made by children without supervision.
Children of less than 3 years should be kept away unless
continuously supervised.

Instruction manual TDI101
Please keep this instruction manual for future reference
4
-Adequate ventilation must be provided to avoid back
flow of gases into the room from appliances burning
other fuels, including open fires.
-Exhaust air must not be discharged into a flue which is
used for exhausting fumes from appliances burning gas
or other fuel.
-Please note it is not recommended that the dryer
is placed directly next to ovens or cookers as the
performance of the dryer may be affected.
-A carpet must not obstruct the ventilation openings in
the base of the dryer.
-Do not stack the tumble dryer on top of other appliances
without the correct stacking kit.
-Any electrical work required to install the appliance
should be carried out by a qualified person.
-It is important to clean the lint filter after each drying
cycle or the restrictions to airflow will extend drying
times and could cause the safety cut-out to trip.
-Under no circumstances should anything other than the
recommended articles be placed in the tumble dryer.
-The tumble dryer should be serviced by an appointed
service organisation and only genuine parts used.
-It is dangerous to alter or modify the product in any way
other than fitting authorized accessories.
-We recommend that the appliance is unplugged each
time after use. It should always be disconnected from the

Instruction manual TDI101
Please keep this instruction manual for future reference
5
electricity supply for long periods (i.e. weekends, if it is to
be left unattended for holidays etc.)
-The rear of the dryer gets quite hot during use. Position
the dryer so that the back is not accessible while in
operation, but ensure that the sides have a space
available to allow airflow.
-The special mains cable and plug assembly must only be
replaced with a genuine part by the manufacturer or his
service agents in order to avoid a hazard.
-It is important to clean fluff from the window of the
dryer and around the door seal after each drying cycle.
Failure to do so could result in water leaking.
-When installing, position the appliance so that that the
plug is accessible.
WARNINGS
-If you need to stop the tumble dryer before the end of
a drying cycle, ensure that the load and appliance are
cooled by utilizing the cooldown period denoted on the
control panel. Once the load is removed, all items need
to be quickly spread out so that any residual heat is
dissipated.
-Remove all objects from pockets such as lighters and
matches.
-DO NOT use a two-way adaptor, or extension lead.
The dryer must be connected to its own socket.
-DO NOT block the air inlets at the base and side of
your dryer.

Instruction manual TDI101
Please keep this instruction manual for future reference
6
-DO NOT allow fluff to accumulate around the tumble
dryer. Risk of fire
-DO NOT exceed the recommended maximum load.
-DO NOT dry unwashed items in the tumble dryer
-DO NOT place articles in the dryer if anything other
than a water solution has been used in the cleaning
process.
-DO NOT attempt to dry dripping wet articles.
-DO NOT use the tumble dryer if you suspect that it is
damaged in any way. Under no circumstances should you
attempt to repair the appliance yourself. Repairs carried
out by inexperienced persons may cause serious injury.
-Consult your local appointed service engineer and insist
on genuine spare parts.
WARNING:
-The appliance must not be supplied through an external
switching device, such as a timer, or connected to a
circuit that is regularly switched on and off by a utility.
NOT SUITABLE FOR USE WITH
CONDENSING BOXES

Instruction manual TDI101
Please keep this instruction manual for future reference
7
ENVIRONMENTAL PROTECTION
Waste electrical products should not be disposed of with household waste. Please
recycle where facilities exist. Check with your Local Authority or retailer for recycling
advice. This appliance is marked according to the European directive 2012/19/EU on
Waste Electrical and Electronic Equipment (WEEE).
By ensuring this product is disposed of correctly, you will help prevent potential
negative consequences for the environment and human health, which could
otherwise be caused by inappropriate waste handling of this product. The symbol
on the product indicates that this product may not be treated as household waste.
Instead it shall be handed over to the applicable collection point for the recycling of
electrical and electronic equipment. Disposal must be carried out in accordance with
local environmental regulations for waste disposal.
For more detailed information about treatment, recovery and recycling of this
product, please contact your local council, your household waste disposal service or
the retailer where you purchased the product
CE DECLARATIONS OF CONFORMITY
This appliance has been manufactured to the strictest standards and complies
with all applicable legislation, Low Voltage Directive (LVD) and Electromagnetic
Compatibility (EMC).

Instruction manual TDI101
Please keep this instruction manual for future reference
8
INSTALLATION
The tumble dryer is fully compatible with any 600mm deep kitchen units and
complies with stringent EEC regulations.
Your dryer is provided with a vent hose which will extend to approx 2.4m (8ft).
We strongly recommend that this is vented through the wall with the attachment
provided. The position of the hole (100mm diameter) for the vent directly behind
the tumble dryer is shown in the diagram.
If the through the wall vent is to be positioned other than behind the dryer, the
vent hose should be positioned at floor level and through adjacent side panel to a
relevant position. The plinth must be cut−out to accommodate the air vent grill at
the bottom front of the tumble dryer.
DO NOT use the tumble dryer if you suspect that it is
damaged in any way. Under no circumstances should you
attempt to repair the appliance yourself. Repairs carried
out by inexperienced persons may cause serious injury.
Consult your local appointed service engineer and insist on
genuine spare parts.
WARNING: The appliance must not be supplied through
an external switching device, such as a timer, or connected
to a circuit that is regularly switched on and off by a utility.
NOT SUITABLE FOR USE WITH CONDENSING
BOXES
INSTALLATION
The tumble dryer is fully compatible with any 600mm deep kitchen units and complies with
stringent EEC regulations.
Your dryer is provided with a vent hose which will extend to approx 2.4m (8ft). We strongly recom
mend that this is vented through the wall with the attachment provided. The position of the hole
(100mm diameter) for the vent directly behind the tumble dryer is shown in the diagram.
If the through the wall vent is to be positioned other than behind the dryer, the vent hose should be
positioned at floor level and through adjacent side panel to a relevant position. The plinth must be
cut−out to accommodate the air vent grill at the bottom front of the tumble dryer.

Instruction manual TDI101
Please keep this instruction manual for future reference
9
IMPORTANT
The air vent at the front of the appliance must never be covered or blocked in any
way as this will cause the dryer to overheat.
The dryer should not be placed directly next to ovens or cookers, as the
performance of the dryer may be affected.
ELECTRICAL CONNECTIONS: We strongly recommend that any electrical work
is carried out by a qualified person complying with the IEE 17th addition of the
electrical regulations.
IMPORTANT
Please remember that the tumble dryer must be capable of being switched off,
(disconnected from the supply), when fitted in position.
THE FILTER
The filter is found, as seen from the diagram, by opening the door and must always
be in position when drying items in the appliance. To allow the dryer to operate
efficiently it should be cleaned after each drying cycle. Do not be alarmed by the
amount of fluff deposited on the mesh. It is not due to excessive wear caused by
the dryer but more an indication of it’s efficient operation.
All fabric loses fluff when drying but it goes unnoticed into the air. In a tumble dryer
it simply collects in the filter.

Instruction manual TDI101
10
CONTROL PANEL GUIDE
1. The Timer
Select the drying time from the recommendations shown on the control panel (3).
Turn the timer knob to the required drying time.
2. Control Panel (see below)
3. Heat Setting
Select half or full heat as recommended on the control panel.
4. Start
Press the start button after selecting the required drying time.
drying heat time
standard cotton
programme full load 115 mins
polyester cotton 40-60 mins
acrylics 20-40 mins
standard cotton
programme half load 66 mins

Instruction manual TDI101
11
OPERATION
Sort out the clothes into groups of similar fabrics and colours. Check the care label
inside the garment. We suggest that a fabric conditioner be used to reduce static
electricity.
Delicate articles e.g. tights should be placed inside a pillowcase. It is better to dry
small and large articles together.
Open the door.
Load clothes loosely into the drum.
Load sheets first starting with one corner.
Close the door.
Dry your hands.
Check the timer is in the’0’ position.
Switch on the machine.
Select correct heat position (See programme chart on facia panel).
Set the timer to the correct position (See programme chart on facia panel).
The standard cotton programme is suitable to dry normal wet cotton laundry. It
is the most efficient programme in terms of energy consumption for drying wet
cotton laundry.
Your appliance is a reversing, small door opening; a full load will typically take 115
minutes and will use approximately 3.92kWh of electricity. A half load will typically
take 66 minutes and will use approximately 2.08 kWh of electricity.
The power consumption of the off−mode and the left−on mode is zero.
Press the start button.
The drum will now begin to rotate and stop when the timer automatically reaches
the `0’ position.
Should the clothes become dry before the cycle has finished the thermostat will
automatically switch off the heater and prevent overdrying and save energy although
the drum will still rotate.
When drying large items such as sheets, we suggest you stop the dryer to
redistribute the load.
To lengthen or shorten the programme, turn the timer knob.

Instruction manual TDI101
12
After removing the dried clothes clean the filter as follows:
Pull the filter upwards.
Remove any threat of fluff by hand or with a soft brush.
Slide the filter back.
Wash the filter occasionally in detergent solution and with a soft brush
remove small particles.
Switch off the electricity supply.
The final part of the drying cycle occurs without heat (cool down cycle) to ensure
that the items will not be damaged.
CARE LABELS YOU MAY FIND ON YOUR FABRICS
Tumble drying beneficial
Do not tumble dry
Dry flat
DOOR REVERSAL
APPLIANCE DOOR
The door on the dryer can be positioned either with the left or right hand hanging.
Please follow illustrations below to change the door position.
The power consumption of the off−mode and the left−on mode is zero.
Press the start button.
The drum will now begin to rotate and stop when the timer automatically reaches the `0’
position.
Should the clothes become dry before the cycle has finished the thermostat will automatically
switch off the heater and prevent overdrying and save energy although the drum will still
rotate.
When drying large items such as sheets, we suggest you stop the dryer to redistribute the
load.
To stop the machine during the middle of a programme simply open the door: the drum will stop
rotating automatically and reset when you close the door. To lengthen or shorten the
programme, turn the timer knob.
After removing the dried clothes clean the filter as follows:
Pull the filter upwards.
Remove any threat of fluff by hand or with a soft brush.
Slide the filter back.
Wash the filter occasionally in detergent solution and with a soft brush remove small
particles.
Switch off the electricity supply.
The final part of the drying cycle occurs without heat (cool down cycle) to ensure that the
items will not be damaged.
CARE LABELS YOU
MAY FIND ON YOUR FABRICS
DOOR REVERSAL
APPLIANCE DOOR
The door on the dryer can be positioned either with the left or right hand hanging.
Please follow illustrations below to change the door position.

Instruction manual TDI101
Please keep this instruction manual for future reference
13
THE DECOR DOOR
The hinges can be fastened through the pre−drilled holes on either the left or right
hand with the door stops being fitted on the other side.
THE DECOR DOOR
The hinges can be fastened through the pre−drilled holes on either the left or right hand with the
door stops being fitted on the other side.
TECHNICAL DATA
Overall dimensions : height 86.5 ˘ 89cm width 59.5cm depth 53cm
Maximum dry weight of cotton, linen 6.0kg synthetics 6.0kg.
For electrical ratings see plate on rear of machine.
This product is manufactured to comply with the radio interference requirements of the
Council directive 89/336/EEC, 2004/108/EC.
Fuse rating: 13amp.
DON’TS’.
Do not ˘ Overload the dryer.
Do not ˘ Dry articles singly as they tend to roll up and so increase drying time.
Do not ˘ Dry woolen or wool mixture articles unless the article is labeled as suitable. This
should avoid shrinkage.
Do not ˘ Allow venting hose (where applicable) or filter to become blocked.
Do not ˘ Allow fluff to accumulate around the tumble dryer.
NEVER SWITCH THE DRYER OFF AND LEAVE A HOT LOAD IN THE DRUM ˘ RISK OF FIRE.
WARNING: Never stop a tumble dryer before the end of a drying cycle unless all items are quickly
removed and spread out so the heat is dissipated.
ANY PROBLEMS
If the clothes are not dry after normal drying time:
− Check that the filter is clean.
− Check that you used the correct heat setting.
− Check that the venting hose is not blocked (sometimes a strong wind may cause a back
pressure).
− Check that you have not set the timer within a cool down period.

Instruction manual TDI101
Please keep this instruction manual for future reference
14
TECHNICAL DATA
- Overall dimensions : height 86.5 - 89cm width 59.5cm depth 53cm
- Maximum dry weight of cotton, linen 6.0kg synthetics 6.0kg.
- For electrical ratings see plate on rear of machine.
- This product is manufactured to comply with the radio interference requirements
of the EMC directive 2014/30/EU.
- Fuse rating: 13amp.
DON’TS’
DO NOT - Overload the dryer.
DO NOT - Dry articles singly as they tend to roll up and so increase drying time.
DO NOT - Dry woolen or wool mixture articles unless the article is labeled as
suitable. This should avoid shrinkage.
DO NOT - Allow venting hose (where applicable) or filter to become blocked.
DO NOT - Allow fluff to accumulate around the tumble dryer.
NEVER SWITCH THE DRYER OFF AND LEAVE A HOT LOAD IN THE DRUM -
RISK OF FIRE.

Instruction manual TDI101
Please keep this instruction manual for future reference
15
TROUBLESHOOTING
If the clothes are not dry after normal drying time:
- Check that the filter is clean.
- Check that you used the correct heat setting.
- Check that the venting hose is not blocked (sometimes a strong wind may cause a
back pressure).
- Check that you have not set the timer within a cool down period.
If your machine does not work, check the following points before contacting the
Free - phone service number.
- Check that there is a supply of electricity.
- Check that the machine is switched on and the door properly closed.
- Some machines are fitted with a resetable cut−out. Check this has not operated. If
your dryer has a red button on the right hand side at the back if your dryer, press
it. If it has operated the sharp ˆclick˜ will be heard. This cut−out only operates if
the airflow is severely restricted so make sure the filter is clean and that all other
restrictions are removed before restarting.
- Check the fuse in the moulded plug.

Instruction manual TDI101
Please keep this instruction manual for future reference
16
LAV SDO Rev
Suppliers name or trade mark CAPLE
Model identifier TDi101
Rated capacity at full load 6kg
Appliance type Air Vented
Energy efficiency class C
Energy consumption of the appliance* 459kWh
The figures above is based on 160 drying cycles of the standard cotton
programme at full and partial load and the consumption of the low-power modes.
Actual energy consumption per cycle will depend on how the appliance is used.
Automatic/non-automatic Non-automatic
EU Ecolabel N/A
Edry 3.92kWh
Edry½ 2.08kWh
Egdry N/A
Egdry½ N/A
Egdry,a N/A
Egdry½,a N/A
Off mode power (Po) 0W
Left on mode power (Pl) 0W
Duration of left-on mode N/A
The standard cotton programme used at full and partial load is the standard
drying programme to which the information in the label and the fiche relates.
This programme is suitable for drying normal wet cotton laundry. It is the most
efficient programme in terms of energy consumption for cotton.
TECHNICAL FICHE

Instruction manual TDI101
Please keep this instruction manual for future reference
17
LAV SDO Rev
Suppliers name or trade mark CAPLE
Model identifier TDi101
Rated capacity at full load 6kg
Appliance type Air Vented
Energy efficiency class C
Energy consumption of the appliance* 459kWh
The figures above is based on 160 drying cycles of the standard cotton
programme at full and partial load and the consumption of the low-power modes.
Actual energy consumption per cycle will depend on how the appliance is used.
Automatic/non-automatic Non-automatic
EU Ecolabel N/A
Edry 3.92kWh
Edry½ 2.08kWh
Egdry N/A
Egdry½ N/A
Egdry,a N/A
Egdry½,a N/A
Off mode power (Po) 0W
Left on mode power (Pl) 0W
Duration of left-on mode N/A
The standard cotton programme used at full and partial load is the standard
drying programme to which the information in the label and the fiche relates.
This programme is suitable for drying normal wet cotton laundry. It is the most
efficient programme in terms of energy consumption for cotton.
Tt 86mins
Tdry 115mins
Tdry½ 66mins
Ct N/A
Cdry N/A
Cdry½ N/A
Sound power level 62dBA
Built in/not built in Built-in

Instruction manual TDI101
Please keep this instruction manual for future reference
18
Notes:

Instruction manual TDI101
Please keep this instruction manual for future reference
19
Notes:

Instruction manual TDI101
Please keep this instruction manual for future reference
20
Caple Service
Fourth Way
Avonmouth
Bristol
BS11 8DW
t: 0117 938 7420
www.caple.co.uk Version 2
Table of contents
Other Caple Dryer manuals
Popular Dryer manuals by other brands

Sharp
Sharp KD-HHH7S8GW3-PL user manual

Heinner
Heinner HCD-V8T1CHB manual

AEG
AEG LAVATHERM 6DBG72P user manual

GE
GE DuraDrum GTDX200GM Dimensions and installation information

Electrolux
Electrolux T4290 Programming manual

Alliance Laundry Systems
Alliance Laundry Systems Dryer Tumblers Installation & operation manual