CariFree CariScreen User manual

Operators Manual
Version 1.4
www.carifree.com
CariScreen is a trademark of Oral BioTech and CariFree is a registered trademark of Oral BioTech in the United States.
Printed and distributed by Oral BioTech Albany, Oregon 97321 USA, 866-928-4445.
25056 PDF 6.16
Caries
Susceptibility
Testing Meter
CAM-25056_CSMeterManual_Cover.indd 1 6/9/16 8:26 AM

i
VERSION 1.4
MARCH 2016
The CariScreen Caries Susceptibility Testing Meter
is manufactured for Oral BioTech.
Patent pending.
All rights reserved. No part of this manual may be reproduced,
stored in a retrieval system, or transmitted, by any means or in
any form, without the prior permission of Oral BioTech.
The information contained in this manual is subject to change
without notice. Oral BioTech assumes no responsibility for errors
that may appear in this document.
CariScreen is a trademark of Oral BioTech. CariFree is a registered trademark of Oral BioTech in the
United States. Printed and distributed by Oral BioTech Albany, Oregon 97321 USA 866.928.4445.
OPERATORS MANUAL
CariScreen
Caries Susceptibility
Testing Meter
CAM-25056_CariFreeMeterManual_Interior2.indd 1 6/9/16 8:30 AM

ii
The following symbol is used in this manual:
The precautions to be observed relate to the transportation and
use of all types of solid state electrical/electronic instrumentation
and to the handling of the CariScreen Swab devices.
These precautions are outlined on the next page:
Description: CAUTION / WARNING
OPERATING PRECAUTIONS AND LIMITATIONS
IMPORTANT: Oral BioTech products are designed and constructed
to be safe and without risk to health when properly used (in
accordance with the supplied documentation, etc.) and when the
operating precautions outlined in this document are fully observed.
IMPORTANT
IT IS ESSENTIAL THAT THE USER OF THIS MANUAL IS
AWARE OF THE POTENTIAL HAZARDS ASSOCIATED WITH
THE UNIT AND ITS ACCESSORIES.
ALL OPERATIONS SHOULD BE FAMILIAR WITH THE SAFETY
PRECAUTIONS AND WARNINGS GIVEN IN THIS SECTION
PRIOR TO ATTEMPTING TO OPERATE THE UNIT.
IF THE UNIT IS USED IN A MANNER NOT SPECIFIED BY
THE MANUFACTURER, THE PROTECTION PROVIDED BY
THE EQUIPMENT MAY BE IMPAIRED.
CAM-25056_CariFreeMeterManual_Interior2.indd 2 6/9/16 8:30 AM

iii
WARNING: Do not use the unit in any area which has
been or is thought to have been exposed to explosive
or ammable gases or vapors.
CAUTION: Do not expose the unit to extremes of
temperature (see section 9), and minimize any exposure
to electrostatic charges.
CAUTION: Care should be taken not to drop the unit
or subject it to rough physical handling.
WARNING: Use only non-rechargeable alkaline
batteries, or rechargeable NiMH or NiCD batteries,
of types specied in section 9.
WARNING: Do not use batteries with individual cell
voltages greater than 1.65V, as this will cause permanent
damage to the unit.
CAUTION: Old batteries should be disposed of in
accordance with your local regulations.
BATTERIES
UNIT HANDLING
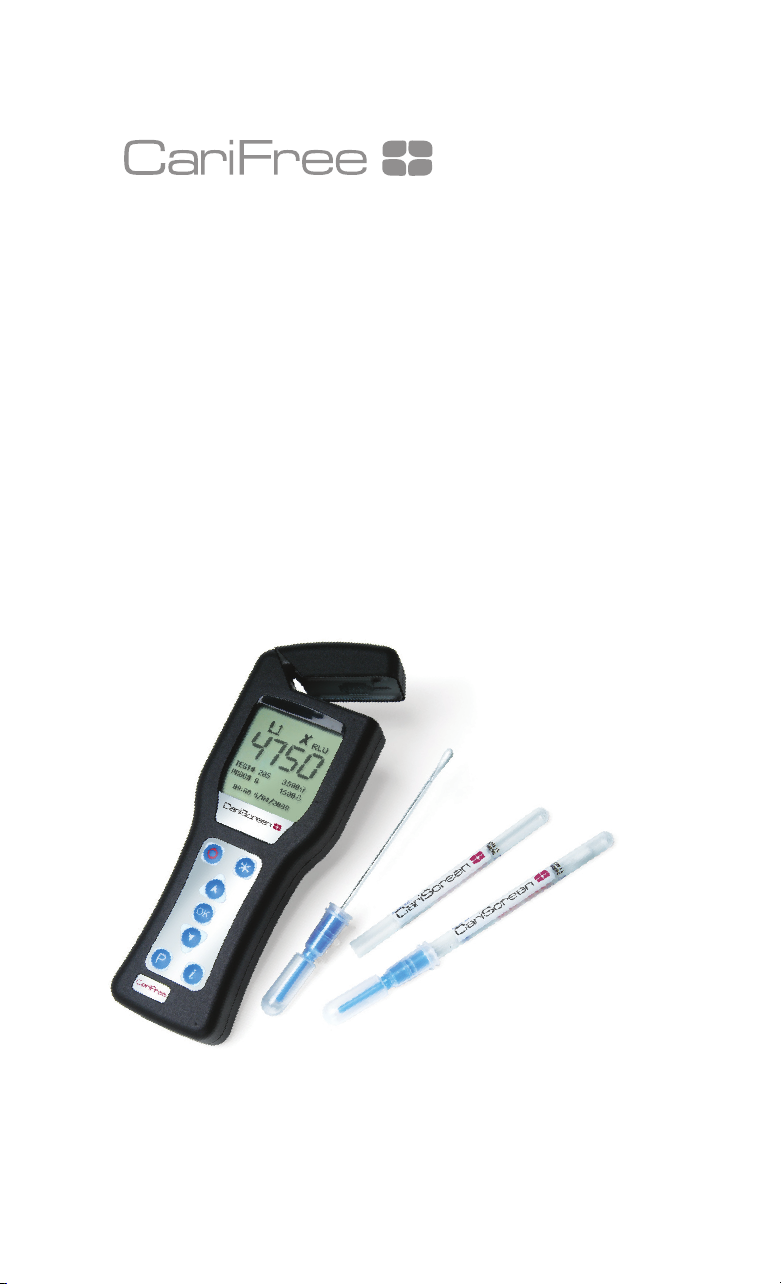
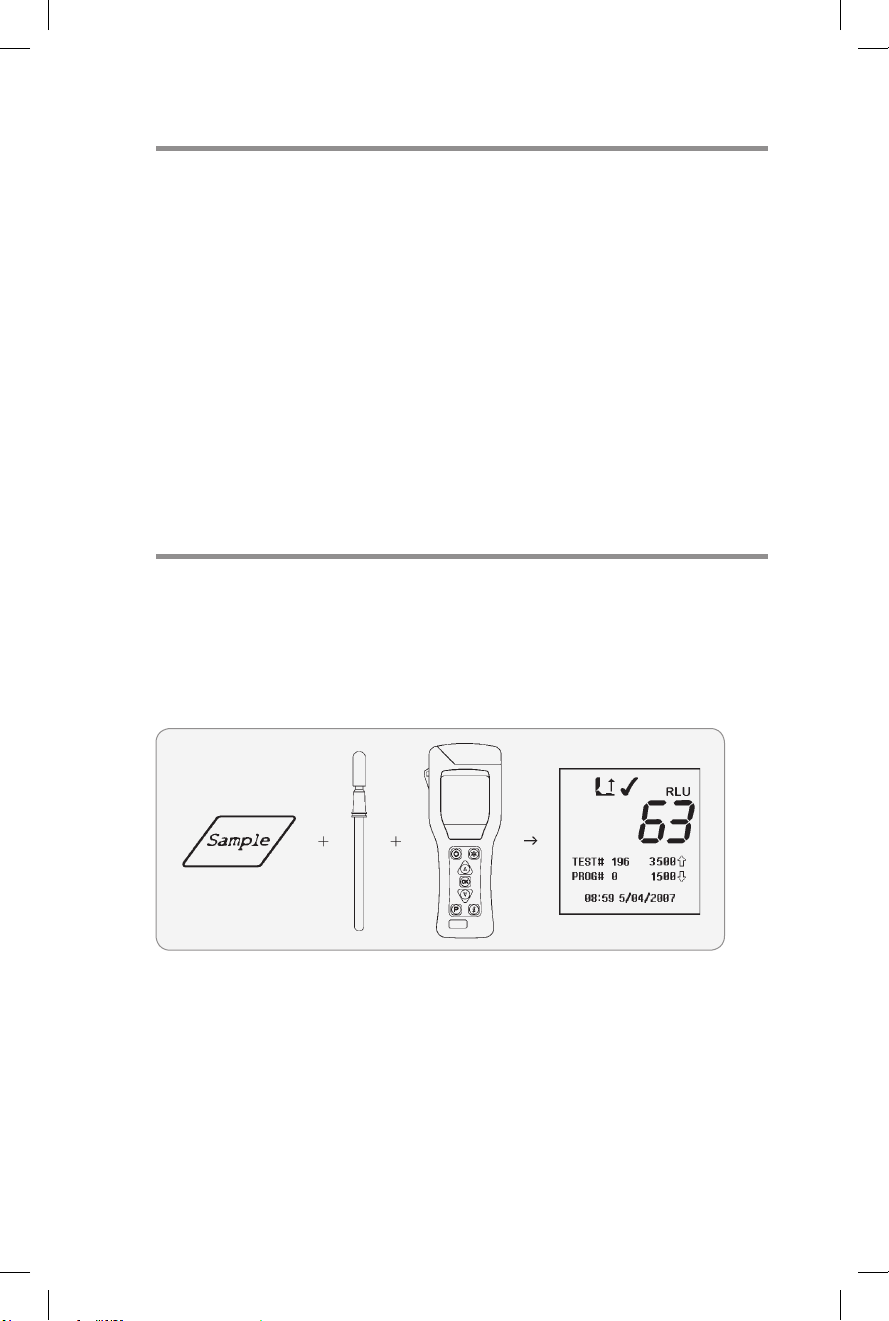
USE AND INSERTION OF CARISCREEN SWAB DEVICES
OPERATING ENVIRONMENT AND ELECTROSTATIC
PRECAUTIONS
CAUTION: Refer to the CariScreen Swab data sheet and
kit insert for details before using the device, and observe
all federal, state and local environmental regulations.
CAUTION: Do not force CariScreen Swab devices into
the unit. Do not attempt to insert any object other than
an approved CariScreen Swab device into the unit.
CAM-25056_CariFreeMeterManual_Interior2.indd 3 6/9/16 8:30 AM

iv
REGULATORY LIMITATIONS OF USE
The CariScreen Caries Susceptibility Testing Meter has been designed
to meet the following general, safety and EMC requirements:
The CariScreen Caries Susceptibility Testing Meter is manufactured
under ISO 9001 controls.
DECLARATION OF CONFORMITY
The CariScreen Caries Susceptibility Testing Meter has been designed
in accordance with, and satises the requirements of, article 11 of
the Low Voltage Directive 73/23/EEC as realigned by 93/68/EEC
on the harmonization of the laws of the Member States relating to
electrical equipment designed for use within certain voltage limits, to
the essential requirements of BS EN 61010-1:2001.
CAUTION: Do not use excessive force when pressing
any of the buttons on the unit’s keypad.
WARNING: There are no Operator serviceable parts
inside the unit. Removal or opening of the unit’s casework
will void the warranty.
• Low Voltage Directive 73/23/EEC
• EMC Directive 89/336/EEC
• BS EN 61010-1:2001, IEC 61010-1:2001
• UL 61010B-1
• CAN/CSA C22.2 1010.1-92
• EN 55022:1998
• EN 61000-4-2:1995
• EN 61000-4-3:1995
• FCC Class A - Sub Part J
GENERAL
SAFETY
EMC
CAUTION: Ensure that the CariScreen Swab device is
clean and dry before inserting it into the unit.
UNIT CASEWORK
KEYPAD BUTTONS
CAM-25056_CariFreeMeterManual_Interior2.indd 4 6/9/16 8:30 AM

v
The CariScreen Caries Susceptibility Testing Meter has been type
tested by EMC Projects Limited (a UKAS and CAA approved test
facility and UK appointed Notied Body), and issued a Certicate of
Compliance No. 5569/03 to the following EMC standard:
EN61326 : 1997
Covering:
Radiated Emissions (EN 55022 : 1998)
Electrostatic Discharge (EN 61000-4-2 : 1995)
Radiated Immunity (EN 61000-4-3 : 1995)
Satisfying the EMC Directive(s) 89/336/EEC and 92/31/EEC as
realigned by 93/69/EEC.
CAM-25056_CariFreeMeterManual_Interior2.indd 5 6/9/16 8:30 AM

vi
1Introduction ..................................1
1.1 Principle of Operation ..........................1
2Basic Unit Operation.............................2
2.1 Unit Description ..............................2
2.2 Keypad Symbols..............................3
2.3 Display Layout and Icons........................ 4
2.4 Fitting the Batteries ...........................5
2.5 Turning On the Unit ...........................6
2.6 Low Battery Indicator ..........................6
2.7 Internal Self-Calibration ........................7
2.8 Ready for Use ...............................8
2.9 Turning the Unit Off ...........................8
2.10 Power Saving Standby Mode ....................9
3Sample Measurements and Test Results .............9
3.1 Turning On the Unit ...........................9
3.2 Internal Self-Calibration ........................9
4Setup Menu Options ............................11
4.1 Result Thresholds ............................ 11
4.2 Viewing Stored Test Results ..................... 12
4.3 Erasing the Test Results Memory ................. 12
4.4 Viewing Statistics and At Risk Readings............. 13
4.5 Setting the Clock Time and Date ................. 14
4.6 Adjusting the LCD Contrast ..................... 15
TABLE OF CONTENTS
CAM-25056_CariFreeMeterManual_Interior2.indd 6 6/9/16 8:30 AM

vii
5Operator Maintenance ..........................15
5.1 Cleaning the Casework ....................... 15
5.2 Replacing the Batteries ....................... 16
5.3 Cleaning and Replacing the Protective Pocket ........ 16
6 Troubleshooting ...............................18
6.1 Unit Beeps ................................ 18
6.2 Troubleshooting Tips ......................... 19
6.3 Unit Error Codes ............................ 21
7Warranty And Returns ..........................23
7.1 Warranty Duration .......................... 23
7.2 Particular Exclusion .......................... 23
8Glossary of Terms and Abbreviations...............24
9Technical Specications .........................25
CAM-25056_CariFreeMeterManual_Interior2.indd 7 6/9/16 8:30 AM

CAM-25056_CariFreeMeterManual_Interior2.indd 8 6/9/16 8:30 AM

1
INTRODUCTION
The CariScreen system is intended to provide a fast, easy
screening test for dental caries via the use of an ATP
bioluminescence test.
The CariScreen system consists of two elements: the CariScreen
hand-held Caries Susceptibility Testing Meter and the disposable
CariScreen Caries Susceptibility Testing Swab.
This Operator’s Manual provides a detailed description of how to
use the CariScreen Meter, and how to handle maintenance and
troubleshooting.
For full details on the CariScreen Swab device, please refer to the
CariScreen Swab kit insert.
1
.1 PRINCIPLE OF OPERATION
The CariScreen Swab device uses bioluminescent chemistry
technology to convert an invisible concentration of ATP (present in
the swabbed sample) into a visible light output.
The low-level light output is measured by the CariScreen Meter to
produce both a quantitative and qualitative result.
The quantitative result is a number in the range 0 to 9999,
expressed in terms of Relative Light Units – RLUs.
Although Relative Light Units are not a tangible unit of light
measurement (such as lux), they do provide a real measure of the
amount of light output by the ATP bioluminescent test.
In this application, 1 RLU is roughly equivalent to 1 fmol of ATP.
1
CAM-25056_CariFreeMeterManual_Interior2.indd 1 6/9/16 8:30 AM

2
The quantitative RLU reading is further compared against user
programmable thresholds to provide an overall qualitative low
risk ()or high risk ( ) ( ) result.
The CariScreen Meter is a highly sensitive measurement device
and, as such, should be treated with respect at all times.
2BASIC UNIT OPERATION
IMPORTANT: Please ensure that you have read and understood
all the “Operating Precautions and Limitations of Use” section at
the beginning of the manual before continuing any further.
2.1 UNIT DESCRIPTION
The unit has the following external front and rear features:
CAM-25056_CariFreeMeterManual_Interior2.indd 2 6/9/16 8:30 AM

3
2.2 KEYPAD SYMBOLS
The keypad is arranged with the following buttons:
Opening the lid reveals the following internal features:
The function of the buttons is explained in more detail in the
following sections.
CAM-25056_CariFreeMeterManual_Interior2.indd 3 6/9/16 8:30 AM

4
The upper half of the display contains the status icons and the
large RLU result digits:
TIP: Holding down the or button will make it automatically
repeat. The longer you hold it down, the faster it will go.
2.3 DISPLAY LAYOUT AND ICONS
The liquid crystal display has the following layout:
Low battery icon
Sample measurement reading in Relative Light
Units (RLUs)
Result “Low Risk”
Result “At Risk”
Lid icon – ashes when the lid needs to be closed
Result “At Risk”
Insert icon – arrow ashes when the CariScreen
Swab device should be inserted
Remove icon – arrow ashes when a CariScreen
Swab device needs to be removed
CAM-25056_CariFreeMeterManual_Interior2.indd 4 6/9/16 8:30 AM

5
CAUTION: Be careful not to insert the batteries backwards, as
this may cause permanent damage to the unit’s electronics.
When the batteries are inserted correctly, the unit automatically
WARNING: Never mix batteries of different types, and never
use recharged alkaline batteries as these are prone to leaking and
overcharging and will cause permanent unit damage.
The unit requires two batteries of the size AA, LR6 or E91.
The batteries are tted by unclipping the battery compartment
cover on the back of the unit and inserting two batteries with the
positive ends ( ) towards the top of the unit:
2.4 FITTING THE BATTERIES
The unit is designed to operate from both non-rechargeable
alkaline batteries and rechargeable Nickel Metal Hydride (NiMH) or
Nickel Cadmium (NiCD) batteries:
CAM-25056_CariFreeMeterManual_Interior2.indd 5 6/9/16 8:30 AM

6
2
.5 TURNING ON THE UNIT
To turn the unit on, press the button. The unit will beep once
and display the power-up self-check display:
Following this, the unit will perform its internal self-calibration
routine (see section 2.7).
NOTE: If the clock is not set, the unit will enter the time and
date set-up mode rst (see section 4.5) and then perform its self-
calibration when the clock is set.
NOTE: If the batteries are dead, the unit may not turn on at all;
or may turn on, ash the icon and beep three times, and then
turn off again. If this happens, change the batteries.
2
.6 LOW BATTERY INDICATOR
The icon indicates the state of the batteries:
turns on and enters the clock set-up mode. Refer to section 4 on
how to set the time and date.
TIP: For best results, use a quality brand of alkaline batteries and
replace them as soon as they become low (see section 2.6).
When the batteries are dead, the unit will ash the icon, beep
three times, and then automatically turn off.
CAM-25056_CariFreeMeterManual_Interior2.indd 6 6/9/16 8:30 AM

7
2
.7 INTERNAL SELF-CALIBRATION
When the unit is turned on (see section 2.5), it performs an
internal self-calibration check, with the display counting down from
60 to 0 seconds:
NOTE: If the batteries are too low, the unit will not turn on at all.
TIP: Store the unit in a cool dry place when not in use, as elevated
temperatures will shorten the battery life.
NOTE: During self-calibration, there must be no CariScreen Swab
device in the unit and the lid must remain closed. If the icon
is shown with the arrow ashing, open the lid and remove the
CariScreen Swab device from the unit. If the icon is ashing,
close the lid.
The unit will automatically perform a zeroing cycle under the
following circumstances;
a) When the instrument is in continuous operation for a
prolonged period of time (typically >30 minutes), and
b) When the instrument is used in an environment where the
temperature changes signicantly (typically >5oC).
c) The user presses and holds the button for 1 second.
When self-calibration is complete, the unit is ready to perform a
measurement.
CAM-25056_CariFreeMeterManual_Interior2.indd 7 6/9/16 8:30 AM

8
At this point several keypad options are available, all of which are
explained in more detail in the following sections:
2.8 READY FOR USE
Once the unit has successfully performed its self-calibration, it is
ready to perform a measurement:
Not used*
Insert sample icon
Program location Lower threshold
Upper threshold
Ready for new test
NOTE: The button performs different functions depending on
the unit mode – see individual sections for specic details.
2
.9 TURNING THE UNIT OFF
To turn the unit off, press the button. The unit will beep once
and the display will go blank.
NOTE: To avoid accidental turn off, the button is disabled while
the unit is performing a sample measurement.
*Not used oncurrent protocol; may be used in the future.
CAM-25056_CariFreeMeterManual_Interior2.indd 8 6/9/16 8:30 AM

9
2
.10 POWER SAVING STANDBY MODE
If the unit is turned on, but has not been used for more than 10
minutes, it will automatically enter a power saving standby mode.
To turn the unit back on, simply press the button, as per section 2.5.
3 SAMPLE MEASUREMENTS AND TEST RESULTS
IMPORTANT: Please refer to the CariScreen Swab data sheet
and Kit Insert for full details on how to use the CariScreen Caries
Susceptibility Testing Swab device.
3.1 TAKING A MEASUREMENT
With the unit turned on, and having performed its internal self-
calibration checks, it is then ready to perform a new sample
measurement:
The display shows the PROG number, the program upper ( ) and
lower ( ) thresholds, and the total number of test results stored
in the memory (e.g. 47).
To perform a sample measurement, follow the steps below:
Insert sample icon
Program location Lower threshold
Upper threshold
Ready for new test
• Activate the CariScreen Swab device
(see Kit Insert)
• Ensure that the outside of the CariScreen
Swab device is clean & dry
• Open the unit lid, insert the CariScreen
Swab device into the unit, and close the lid
• Press the button and wait 15 seconds
for the result to be displayed
CAM-25056_CariFreeMeterManual_Interior2.indd 9 6/9/16 8:30 AM

10
While the measurement is being performed, the display shows the
new test number while the timer counts down to zero:
NOTE: For consistent results, always keep the unit upright and
steady while it is performing a measurement to ensure that the
liquid in the CariScreen Swab device is at the bottom of the tube.
When the measurement is complete, the new test reading and low
risk/at risk result (see section 4.1) are displayed:
TIP: For best results, and to prevent dust and dirt build–up,
always keep the unit lid closed when not inserting or removing a
CariScreen Swab device.
WARNING: Always ensure that the exterior of the CariScreen
Swab device is clean and dry before inserting it into the unit.
Never insert anything other than a CariScreen Swab device into
the unit. Never insert a device when the protective pocket has
been removed for cleaning (refer to section 5.3).
Low risk/at risk
Test time
Lower threshold
Upper threshold
RLU result
Test number
Test date
CAM-25056_CariFreeMeterManual_Interior2.indd 10 6/9/16 8:30 AM

11
4SETUP MENU OPTIONS
With the unit turned on, the Set-up Menu can be accessed by
pressing the button.
The following seven menu options are then available:
View stored test results
View statistical data
Set clock time and date
Adjust LCD contrast
Use the and buttons to scroll through the menu list, and
then press the button to select the required menu option, or
the button the exit the menu.
Not used*
Not used*
Not used*
*Not used oncurrent protocol;
may be used in the future.
CAM-25056_CariFreeMeterManual_Interior2.indd 11 6/9/16 8:30 AM
Table of contents
Popular Measuring Instrument manuals by other brands

Keller
Keller CellaTemp PA 4 Series quick start guide

Vega
Vega ALT-5 operating manual

Levenhuk
Levenhuk wezzer Air PRO DM10 user manual

Xylem
Xylem SonTek River Surveyor S5 System manual

Arbiter Systems
Arbiter Systems Portable Power Sentinel 933A Operation manual

Troxler
Troxler 4640-B Operation and instruction manual