Carimali Calflex MYCALFLEXMUSIC User manual

INSTALLAZIONE –INSTALLATION
MONTAGE –EINBAU
SISTEMA AUDIO “MYCALFLEXMUSIC®”
“MYCALFLEXMUSIC®” AUDIO SYSTEM
SYSTEME AUDIO "MYCALFLEXMUSIC®"
AUDIO SYSTEM "MYCALFLEXMUSIC®"
Art. 0A002

2
AVVERTENZE:
L’impianto deve essere effettuato da personale autorizzato, certificato secondo le vigenti normative dello
stato in cui avviene l’installazione.
Tutto il materiale utilizzato deve essere conforme ai requisiti di sicurezza previsti per il tipo di
applicazione, secondo le vigenti normative dello stato in cui avviene l’installazione.
Tutti gli allacciamenti (idrico ed elettrico) devono essere perfettamente isolati gli uni dagli altri e fissati in
maniera stabile.
WARNINGS:
The plant must be made by an authorised staff and must be certified at the norms in use in the country
where the installation is made.
All the material used must be conformed to the safety requirements forecast for this type of installation, as
per the norms which are effective in the country where the installation is made.
All (hydraulic and electric) connections must be perfectly isolated one from the other and stably fixed.
AVERTISSEMENTS:
L'implant doit être effectué par un personnel autorisé, certifié selon les normes en vigueur du pays dans
lequel a lieu l'installation.
Tout le matériel utilisé doit être conforme aux requis de sécurité prévus pour ce type d'application, selon
les normes en vigueur du pays où a lieu l'installation.
Tous les branchements (hydrique et électrique) doivent être parfaitement isolés les uns des autres et
fixés de façon stable.
HINWEISE:
Die Anlage muss von qualifizierten Personal installiert werden.
Das gesamte, verwendete Material muss den Sicherheitsanforderungen entsprechen, welche für diese
Art der Anwendung vorgesehen sind, entsprechend der Rechtsvorschriften, welche in dem Land gelten, in
dem die Installation vorgenommen werden soll.
Alle Anschlüsse (Wasser- und Elektroanschlüsse) müssen perfekt voneinander isoliert sein und auf
beständige Art und Weise geprueft sein.

3
PRE-INSTALLAZIONE –PRE-INSTALLATION –PRE-INSTALLATION –VORMONTAGE
SOFFIONE (ove previsto)
CIEL DE PLUIE (s'il est prévu)
/
/
SHOWER HEAD (when provided)
DUSCHKOPF (wenn vorhanden)
CONTROSOFFITTATURA
FAUX PLAFOND
/
/
FALSE CEILING
DOPPELTE ZWISCHENDECKE
ALTOPARLANTE
BOITIERS
/
/
LOUDSPEAKER
LAUTSPRECHER
PULSANTIERA
BOUTON
/
/
SWITCH CONTROL
DRUCKKNOPF
CENTRALINA DI CONTROLLO
CENTRALE CONTRÔLE
/
/
CONTROL UNIT
ÜBERPRÜFUNG-STEUERUNG
COLLEGAMENTO ELETTRICO (in dotazione)
BRANCHEMENT ÉLECTRIQUE (fourni)
/
/
ELECTRICAL CONNECTION (supplied)
ELEKTRISCHE VERBINDUNG (ausgestattet)
COLLEGAMENTO ELETTRICO (non in
dotazione)
BRANCHEMENT ÉLECTRIQUE (pas fourni)
/
/
ELECTRICAL CONNECTION (not supplied)
ELEKTRISCHE VERBINDUNG (nicht ausgestattet)
INTERRUTTORE ON/OFF
(non obbligatorio, non in dotazione)
INTERRUPTEUR ON/OFF
(pas obligatoire, pas fourni)
/
/
SWITCH ON/OFF
(not required, not supplied)
AN/ZU SHALTER
(nicht obligatorisch, nicht ausgestattet)

4
ATTENZIONE:
Per il corretto funzionamento del sistema occorre inoltre acquistare la centralina per aromaterapia/musica e una
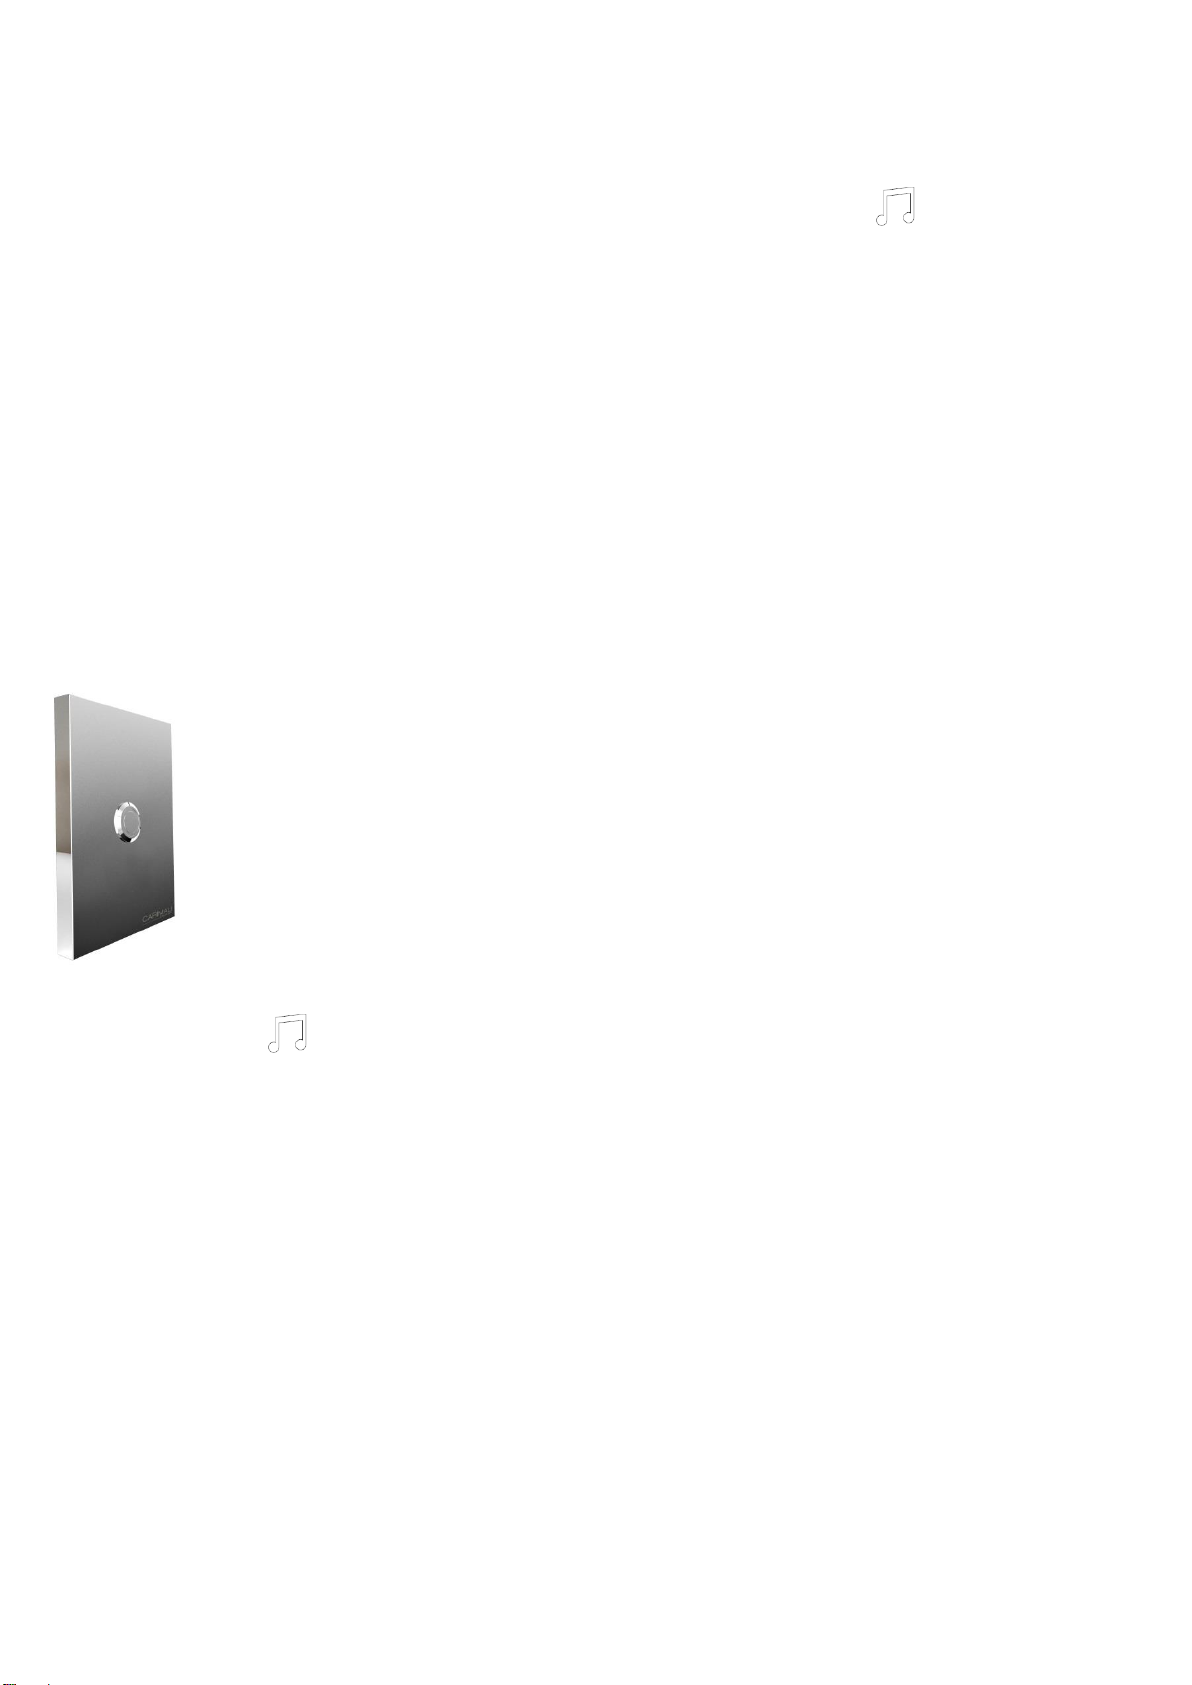
pulsantiera: si raccomanda di scegliere la pulsantiera adeguata (1, 2 o 3 tasti) in base alle funzioni richieste
(cromoterapia, aromaterapia, musica).
Predisporre una scatola incasso 503E portafrutti da 3 moduli all’interno della zona 3 o al di fuori di essa (no zona 0, 1,
2) in prossimità della futura sede dell’altoparlante.
Predisporre per il contenimento della centralina all’interno della zona 3 o al di fuori di essa (no zona 0, 1, 2) una
cassetta di derivazione da incasso avente le seguenti misure minime 290x150x70 o un’intercapedine nel cartongesso
del controsoffitto o della parete.
Predisporre tra la futura sede della centralina (nel cartongesso o nell’apposita cassetta di derivazione) e la futura
sede dell’altoparlante una canalina Ø25 mm.
Assicurarsi che non vi sia corrente in tutte le fasi d’installazione e/o manutenzione.
È inoltre necessario seguire scrupolosamente le istruzioni di montaggio al fine di installare il prodotto in maniera
corretta; a tale proposito il produttore non risponde nel caso di un utilizzo o d’installazioni errate.
WARNING:
For the correct use of the system, buy also a control unit for aromatherapy/music experience and a switch control: it is
recommended to choose the adequate switch control (1, 2 or 3 buttons) according to the functions needed
(chromotherapy, aromatherapy and music experience).
Prepare a 503E 3 module mounting box inside/outside zone 3 (not in zones 0,1,2) near the future home of the
loudspeaker.
To contain the unit, prepare a built-in junction box inside/outside the zone 3 (not in zones 0,1,2) or a cavity into the
plasterboard of the false ceiling or of the wall. Minimum dimension of the built-in box to contain the unit: 290x150x70
mm.
To realize the electric plant, prepare a Ø25 mm cable duct between the future home of the control unit (into the
plasterboard or into the junction box) and the future home of the loudspeaker.
Make sure that the electricity is switch out during all the installation and maintenance phases.
It is also necessary to respect scrupulously the assembling instruction in order to install the product correctly; the
producer is not responsible in case of wrong use or incorrect installation.
ATTENTION:
Pour un correct fonctionnement du système il faut également acheter une centrale contrôle pour
aromathérapie/musique et un bouton de contrôle: il est recommandé de choisir le bouton de contrôle adéquat (1, 2 ou
3 boutons) selon les fonctions requises (chromothérapie, aromathérapie et musique).
Prédisposer une boîte d’encastrement 503E pour 3 modules à l’intérieur/extérieur de la zone 3 (pas dans les zones
0,1,2) près de le cavité où sera placé le haut-parleur.
Pour placer la centrale contrôle, prédisposer une boîte de dérivation encastrée à l’intérieur/extérieur de la zone 3 (pas
dans les zones 0,1,2) ou préparer une cavité dans le placoplâtre du faux plafond ou du mur. Dimension minimum de
la boîte encastrée pour contenir la centrale: 290x150x70 mm.
Pour la réalisation de l’implantation électrique utiliser des conduits Ø25 mm. Préparer un caniveau de câbles entre le
lieu où sera placée la centrale contrôle et le lieu où sera placé le haut-parleur.
S'assurer que le courant est coupé durant les phases de montage et durant celles de manutention.
Il est en outre nécessaire de respecter scrupuleusement les instructions de montage pour installer le produit de façon
correcte. Le producteur à ce propos décline toute responsabilité en cas d'emploi inapproprié et d'incorrecte
installation.
ACHTUNG:
Für die korrekte Nutzung des Systems, kaufen Sie eine Steuereinheit für die Aromatherapie / Music Experience und
einen Schaltersteuer: bitte die richtige Schaltersteuer (1, 2 oder 3 -Tasten) wählen nach den benötigten Funktionen
(Farbtherapie, Aromatherapie und Musik).
Bereiten Sie eine 503E Modul 3 Einbaudose innerhalb / außerhalb der Zone 3 ( keine Zone 0,1,2) in der Nähe der
zukünftigen Höhlung des Lautsprechers.
Um das Gerät enthalten, bereiten Sie eine integrierte Anschlussdose innerhalb / außerhalb der Zone 3 (kein Zone
0,1,2) oder einen Hohlraum in die Gipskartonplatten der Zwischendecke oder der Wand. Die Mindestabmessungen
der Einbaukasten, um das Gerät zu enthalten: 290x150x70 mm .
Um das Kraftwerk zu realisieren, bereiten Sie eine Ø25 mm Kabelkanal zwischen der künftigen Höhlung der
Steuereinheit (in den Gipskarton oder in der Anschlussdose) und die Zukunft der Heimat der Lautsprecher.
Stellen Sie sicher, dass der Strom während der Installations-und Wartungsphasen gelöscht ist.
Es ist auch notwendig, um die Montage genauestens einhalten Anweisung, um das Produkt richtig zu installieren; der
Hersteller nicht bei falschem Gebrauch oder falsche Installation verantwortlich.

5
INSTALLAZIONE –INSTALLATION –MONTAGE –EINBAU
Eseguire uno scasso nel muro grezzo in prossimità della futura sede dell’altoparlante, avente dimensioni adatte per una
scatola incasso 503E portafrutti da 3 moduli e per una canalina Ø25 mm di collegamento tra centralina e altoparlante.
Make a hole in the rough wall near the future home of the loudspeaker. The hole dimensions have to be fit for a 503E 3
module mounting box and for a Ø25 mm cable duct connecting the electronic control unit and the loudspeaker.
Préparer un trou dans le mur brut près de la cavité où sera placé le haut-parleur. Les dimensions du trou doivent être
appropriées à celles d’une boîte d’encastrement 503E pour 3 modules et à les dimensions d’un caniveau de câble de Ø25
mm qui connecte la centrale contrôle et le haut-parleur.
Machen Sie ein Loch in der rauen Wand in der Nähe der zukünftigen Heimat des Lautsprechers. Die Lochabmessungen
müssen für eine 503E Modul 3 Einbaukasten und für eine Ø 25 mm Kabelkanal Anschluss der elektronischen Steuereinheit
und den Lautsprecher angepasst werden.
Posizionare la scatola incasso 503E portafrutti da 3 moduli nello scasso, rifinire l’intonaco e applicare il rivestimento.
ATTENZIONE: profondità massima ammissibile tra fondo scatola e rivestimento finito 65 mm.
Position the 503E 3 module mounting box into the hole, finish the plaster and apply the covering.
WARNING: Make sure that the mounting box bottom is recessed max. 65 mm from the finished wall surface.
Placer la boîte d’encastrement 503E pour 3 modules dans le trou, finir l’enduit et appliquer le revêtement.
ATTENTION : S’assurer que le fond de la boîte d’encastrement soit placé 65 mm au maximum de la surface du mur fini.
Positionieren Sie den 503E Modul 3 Einbaudose in das Loch, beenden Sie den Putz und wenden Sie die Abdeckung.
WARNUNG: Stellen Sie sicher, dass die Montagekastenboden max. 65 mm von der fertigen Wandfläche eingelassen ist.

6
Mettere in bolla il supporto portafrutti e fissarlo a parete e utilizzando un cacciavite a stella.
Put in the correct bubble position the mounting box and fix it to the wall using a Philips screwdriver.
Mettre à niveau la boîte d’encastrement et la fixer au mur avec l’aide d’un tournevis cruciforme.
Setzen Sie in der richtigen Position Blase Montagedose und befestigen Sie es an der Wand mit einem Kreuzschlitz-
Schraubendreher.
Collegare l’altoparlante al cavo proveniente dalla centralina.
Connect the loudspeaker to the cable coming from the electronic control unit.
Connecter le haut-parleur au câble provenant de la centrale contrôle.
Der Lautsprecher mit dem Kabel aus der elektronischen Steuereinheit zusammenfügen.

7
Inserire l’altoparlante nel supporto portafrutti fino a filo del supporto stesso.
Insert the loudspeaker into the mounting box support at the same level as the support itself.
Insérer le haut-parleur dans le support de la boîte d’encastrement à niveau avec le même.
Legen Sie die Lautsprecher in die Montage Box-Unterstützung auf dem gleichen Niveau wie der Träger selbst.
Inserire la placca estetica sul supporto portafrutti.
ATTENZIONE: verificare che i ganci siano posizionati in linea coi punti di aggancio e che la placca sia agganciata
correttamente fino a udire 2 click (uno per aggancio).
Fix the aesthetic plate to the mounting box support.
WARNING: verify that the hooks are positioned in line with the attaching points and that the plate is accurately hooked. You
should hear 2 clicks (one for each hook).
Fixer la plaque esthetique sur le support de la boîte d’encastrement.
ATTENTION : vérifier que les crochets soient placés en ligne avec les points d’ancrage et que la plaque soit accrochée
correctement. Il faut entendre 2 clicks (un pour chaque crochet).
Fix die ästhetische Platte an der Dose Unterstützung.
WARNUNG: überprüfen, ob die Haken sind im Einklang mit den Befestigungspunkten und dass die Platte genau
angeschlossen positioniert ist. Sie sollten 2 Klicks (eine für jeden Haken) zu hören.

8
FUNZIONAMENTO –FUNCTIONING –FONCTIONNEMENT –BEDIENUNG
PRIMA SINCRONIZZAZIONE
Attivare la modalità Bluetooth del prodotto premendo il tasto della pulsantiera indicato da (il tasto si
accende).
Ad attivazione avvenuta, l’altoparlante emetterà un doppio bip di conferma.
Ora è possibile connettere manualmente il proprio dispositivo (smartphone o tablet) al prodotto
selezionando “Calflex” nel menu Bluetooth del dispositivo.
L’avvenuta sincronizzazione tra dispositivo e prodotto sarà segnalata da un ulteriore bip di conferma.
Da tale momento è possibile attivare la riproduzione della musica sul proprio dispositivo.
ATTENZIONE: Questo prodotto è compatibile con le versioni Bluetooth® 3.0, 2.1+EDR, 1.2 e 1.1 e impiega
la tecnologia Secure Simple Pairing (SSP) che oltre a migliorare l’esperienza di sincronizzazione, aumenta
la sicurezza di connessione.
Per connettersi al dispositivo non è necessario nessun codice PIN; nel caso in cui questo fosse richiesto
(può accadere con telefoni obsoleti), sarà sufficiente digitare sul telefono il seguente codice: 1234.
Il dispositivo è stato progettato per ottenere una completa compatibilità con la maggior parte dei dispositivi
Bluetooth e può essere utilizzato con la maggior parte dei recenti smartphones e tablets.
Tuttavia, vista la grande varietà di dispositivi mobile disponibili sul mercato, modelli nuovi e più obsoleti, in
casi molto sporadici la connessione automatica potrebbe non funzionare a causa di aspetti difficilmente
prevedibili (ad esempio aggiornamenti hardware e software dello smartphone).
In tale situazione, occorrerà spegnere il prodotto, attendere un minuto e poi riaccenderlo.
Se anche dopo questa procedura il prodotto risultasse ancora disconnesso, bisognerà procedere con una
connessione manuale dal dispositivo (consultare il manuale di istruzioni del proprio smartphone/tablet).
FIRST CONNECTION
Turn on the product Bluetooth mode by pushing the button on the switch control with the icon (the
button lights up).
When the device is active, the loudspeaker will beep twice to confirm.
It is now possible to connect the device (smartphone or tablet) to the product manually by selecting “Calflex”
in the Bluetooth menu of your device.
When the connection between the product and the device is active, the loudspeaker will beep again to
confirm.
From then, it is possible to play music on your device.
WARNING: This product is compatible with Bluetooth® version 3.0, 2.1+EDR, 1.2 and 1.1 and exploits the
Secure Simple Pairing technology that improves the pairing experience in addition to increasing the
strength of the connection security.
No pin code is required to connect to the product. If the device prompts for a pin code (this could happen on
old phones), please enter: 1234.
The device has been designed to achieve a complete compatibility with most Bluetooth devices and it can
be used with most of the recent smartphones and tablets.
However, there is a huge variety of mobile devices available on the market, newer and older models. So, in
very sporadic cases the automatic connection could fail due to effects which are not predictable in advance
(i.e. hardware and software specification update of the smartphone).
In this case, please turn off the product, hold one minute then turn on it again.
If after this procedure the product is not still connected, proceed with a manual connection from the device
(please refer to your smartphone/tablet operating manual).

9
PREMIERE CONNEXION
Activer la modalité Bluetooth en pressant le bouton avec le symbole suivant (le bouton s’allume).
Quand le dispositif est active, le haut-parleur fera un double signal de confirmation.
Maintenant, il est possible de connecter manuellement votre dispositif (smartphones ou tablets) au produit
en choisissant « Calflex » dans le menu Bluetooth de votre dispositif. Quand les deux dispositifs seront
connectés, le haut-parleur fera un deuxième signal de confirmation.
A partir de ce moment-là, on peut reproduire la musique sur le dispositif.
ATTENTION : Le produit est compatible avec tout version Bluetooth® 3.0, 2.1+EDR, 1.2 et 1.1 et utilise la
technologie Secure Simple Pairing (SSP) qui améliore l’expérience de synchronisation et augmente la
sécurité de connexion.
Il ne faut pas utiliser un code PIN pour se connecter au dispositif ; s’il faut un code (il peut arriver avec les
smartphones ou tablets obsolètes), il suffira de insérer sur votre téléphone: 1234.
Le dispositif a été projeté pour offrir une complète compatibilité avec la plupart des dispositifs Bluetooth et il
peut être utilisé avec la plupart des smartphones et tablets récentes.
Il y a toutefois une grande variété de dispositifs mobiles disponibles sur le marché, modèles nouveaux et
obsolètes, et donc il est possible que la connexion automatique puisse avoir des problèmes de
fonctionnement dus à des aspects difficilement prévisables (par exemple la mise à jour du matériel et du
logiciel des smartphones).
Dans ce cas, il faudra arrêter le produit, attendre une minute et puis le rallumer.
Si le produit est encore déconnecté, il faudra le connecter manuellement du dispositif (consulter le mode
d’emploi de votre smartphone/tablet).
ERSTE VERBINDUNG
Schalten Sie das Gerät Bluetooth-Modus durch Drücken der Taste auf dem Switch -Steuerung mit dem
Symbol (die Taste leuchtet). Wenn das Gerät aktiv ist, wird der Lautsprecher zwei Signaltöne
bestätigen.
Es ist nun möglich, das Gerät ( Smartphone oder Tablet ) zum Produkt manuell durch Auswahl von "
Calflex " im Bluetooth Menü des Geräts verbinden.
Wenn die Verbindung zwischen dem Produkt und dem Gerät aktiv ist, wird der Lautsprecher wieder piepten
zur Bestätigung. Ab dann ist es möglich, Musik auf Ihrem Gerät spielen.
WARNUNG: Dieses Produkt ist mit Bluetooth ® Version 3.0 , 2.1 + EDR , 1.2 und 1.1 kompatibel und nutzt
das Secure Simple Pairing Technologie, die die Paarung Erfahrung zusätzlich zur Erhöhung der Festigkeit
der Verbindungssicherheit verbessert .
Keine PIN-Code erforderlich ist, um zu dem Produkt zu verbinden. Wenn das Gerät zur Eingabe eines PIN-
Codes fragen (dies könnte auf alten Handys geschehen ), geben Sie bitte : 1234 .
Das Gerät wurde entwickelt, um eine vollständige Kompatibilität mit den meisten Bluetooth-Geräte zu
erreichen , und es kann mit den meisten der jüngsten Smartphones und Tablets genutzt werden.
Allerdings gibt es eine große Vielzahl von mobilen Geräten auf dem Markt erhältlich , neuere und ältere
Modelle. Also, in sehr sporadischen Fällen die automatische Verbindung konnte aufgrund von
Nebenwirkungen , die nicht vorhersehbar sind im Voraus (z.B. Hardware-und Software-Spezifikation
Aktualisierung der Smartphone) scheitern.
In diesem Fall , schalten Sie das Produkt , halten Sie eine Minute, dann darauf wieder ein.
Wenn nach dieser Prozedur wird das Produkt immer noch nicht angeschlossen ist, fahren Sie mit einer
manuellen Verbindung vom Gerät (siehe auf Ihr Smartphone / Tablet-Betriebsanleitung).

10
SPEGNIMENTO
Per disattivare la modalità Bluetooth del prodotto occorre premere il tasto della pulsantiera indicato da .
L’avvenuto spegnimento sarà indicato dal pulsante non illuminato.
ATTENZIONE: Qualora non si proceda con lo spegnimento manuale del prodotto (pressione del tasto della
pulsantiera), esso si spegnerà automaticamente dopo 4 ore dall’accensione.
TURNING OFF
Turn off the product Bluetooth mode by pushing the button on the switch control with the icon .
When the device is turned off, the light of the button will switched off.
WARNING: If you do not manually turn off the product (by pushing the button of the switch control), after 4
hours from powering the device will turn off automatically.
EXTINCTION
Désactiver la modalité Bluetooth en pressant le bouton avec le symbole suivant .
Lorsque l’appareil est éteint, le bouton sera éteint.
ATTENTION : Si vous ne tournez pas manuellement le produit (en pressant le bouton sur la plaque), après
4 heures de l’allumage le dispositif s’éteindra automatiquement.
AUSSCHALTEN
Schalten Sie das Gerät Bluetooth-Modus durch Drücken der Taste auf dem Switch-Steuerung mit dem
Symbol .
Wenn das Gerät ausgeschaltet ist, wird das Licht von der Taste ausgeschaltet.
WARNUNG: Wenn Sie nicht manuell schalten Sie das Produkt (durch Drücken der Taste des Schalters
Kontrolle), nach 4 Stunden aus dem Einschalten wird das Gerät automatisch ab.

11
SUCCESSIVE SINCRONIZZAZIONI
Attivare la modalità Bluetooth del prodotto premendo il tasto della pulsantiera indicato da .
Ad attivazione avvenuta, l’altoparlante emetterà un doppio bip di conferma.
A seguito della prima sincronizzazione e connessione, tutte le connessioni successive si avvieranno
automaticamente (non occorre eseguire la connessione manuale).
ATTENZIONE: Per una migliore esperienza dell’utente, è fortemente raccomandato attendere almeno un
minuto dallo spegnimento del dispositivo prima di accenderlo nuovamente.
Dopo lo spegnimento, infatti, rimane un lasso di tempo durante il quale il prodotto può essere visualizzato
come ancora connesso allo smartphone, tuttavia dopo alcuni secondi apparirà correttamente disconnesso.
LATER CONNECTIONS
Turn on the product Bluetooth mode by pushing the button on the switch control with the icon .
When the device is active, the loudspeaker will bleep twice to confirm.
Once paired and connected for the first time, the following connections will be automatic (a manual
connection is not needed).
WARNING: For a best user experience, it is strongly recommended –after powering off the product –to
hold at least one minute before powering it on again.
After the turning off, there is a time lapse during which the product can be seen as still connected on the
smartphone; after some seconds the device will appear properly disconnected.
CONNEXIONS SUIVANTES
Activer la modalité Bluetooth en pressant le bouton avec le symbole suivant .
Quand le dispositif est active, le haut-parleur fera un double signal de confirmation.
Après la première synchronisation et connexion, tous les connexions suivantes seront automatiques (il ne
faudra pas effectuer la connexion manuellement).
ATTENTION : Afin d’assurer une meilleure expérience pour l’utilisateur, il est fortement recommandé
d’attendre au moins une minute de l’extinction du dispositif avant le rallumage.
Après avoir désactivé le produit, il y a un laps de temps durant lequel le produit peut sembler encore
connecté au smartphone. Toutefois, après quelques seconds le dispositif sera correctement déconnecté.
SPÄTER CONNECTIONS
Schalten Sie das Gerät Bluetooth-Modus durch Drücken der Taste auf dem Switch-Steuerung mit dem
Symbol .
Wenn das Gerät aktiv ist, wird der Lautsprecher piept zweimal, um zu bestätigen.
Einmal gekoppelt, und zum ersten Mal angeschlossen, werden die folgenden Verbindungen automatisch
(eine manuelle Verbindung ist nicht erforderlich).
ACHTUNG: Für eine optimale Benutzerfreundlichkeit, ist es dringend empfohlen - nach dem Ausschalten
das Produkt - um mindestens eine Minute, bevor es sie wieder zu halten.
Nach dem Ausschalten besteht ein Zeitablauf während der das Produkt kann gesehen werden, wie noch
auf dem Smartphone verbunden ist; Nach einigen Sekunden ist das Gerät ordnungsgemäß getrennt
erscheinen.

12
Per una politica di continuo miglioramento, CALFLEX S.r.l. si riserva la
possibilità di applicare modifiche tecniche sui suoi articoli senza nessun
preavviso.
For a continuous improvement policy, CALFLEX S.r.l. reserves the right to
modify the technical features of its articles at any time without notice.
Pour une politique d'amélioration continue, CALFLEX S.r.l. se réserve le droit
d'effectuer des modifications techniques de ses articles sans préavis.
Um einen kontinuierlichen Verbesserungsprozess zu verbürgen, CALFLEX
S.r.l. behält sich das Recht vor, die geltende technische Zeichnungen zu
ändern, ohne vorherige Ankündigung zu geben.
This manual suits for next models
1
Table of contents