Cartek OBD2 User manual

INSTALLATION GUIDE
For off-road use only Made in UK
GEAR INDICATOR (OBD2)
For the very latest information and extra
installation advice go to:
www.cartekmotorsport.com/downloads

MOTORSPORT IS DANGEROUS.
THIS PRODUCT IS DESIGNED FOR MOTORSPORT USE ONLY AND SHOULD NOT
BE USED ON ROAD/STREET VEHICLES OR ON PUBLIC HIGHWAYS.
NO WARRANTY IS MADE OR IMPLIED REGARDING ANY CARTEK PRODUCTS TO
PROTECT USERS FROM INJURY OR DEATH.
USER ASSUMES ALL RISKS.

The GEAR INDICATOR from CARTEK is a dashboard mounted device that is designed to indicate to a driver
the current selected transmission gear and also incorporates a gear shift-light display which can indicate to a
driver the optimum time to shift up a gear. The selected gear is indicated by a large, multi-coloured, 7 segment
numerical display while the shift-light function is displayed at the upper part of the unit by 8 multi-coloured
LEDs. These 8 LEDs form a display sequence that will commence at an engine speed prior to optimum and
complete at precisely the optimum speed thereby giving the driver early indication to shift up before the rev
limiter is reached or engine damage occurs.
Gear Indicator (OBD2)
This version of the CARTEK Gear Indicator can be plugged directly into the OBD2 port on any production
car so no additional wiring is necessary. Once the Gear Indicator is connected it will then automatically search
for the vehicle’s OBD Protocol. This will be displayed by lighting up the individual LED/colours as listed below:
Note: On some cars it may be necessary to start the engine for the Protocol search to be successful.
GEAR INDICATOR INTRODUCTION
1
Once the correct OBD Protocol is found, the Gear Indicator will then store this to memory. When the engine
is switched off, the Gear Indicator will enter sleep mode to minimise battery consumption and will
automatically wake up when the engine is restarted. It will not perform another Protocol search unless
disconnected.
The OBD Interface supplied with the Gear Indicator has 3 status LEDs: One LED for power and two LEDs for
communications. The red Power LED will be permanently illuminated when receiving power through the OBD
Port. When the Gear Indicator is running, the two Comms LED’s will be flashing. If the two Comms LEDs are
not flashing then this will indicate the Gear indicator has gone into Sleep Mode or there is a problem with
the vehicle’s OBD system.
LEDs Displayed Colour OBD2 Protocol
1) 1 1x Red LED SAE J1850 PWM (41.6 kBaud)
2) 2 2x Red LEDs SAE J1850 VPW (10.4 kBaud)
3) 3 3x Red LEDs ISO 9141-2 (5 baud init, 10.4 kBaud)
4) 4 4x Red LEDs ISO 14230-4 KWP (5 baud init, 10.4 kBaud)
5) 5 5x Red LEDs ISO 14230-4 KWP (fast init, 10.4 kBaud)
6) 6 6x Red LEDs ISO 15765-4 CAN (11 bit ID, 500 kBaud)
7) 7 7x Red LEDs ISO 15765-4 CAN (29 bit ID, 500 kBaud)
8) 8 8x Red LEDs ISO 15765-4 CAN (11 bit ID, 250 kBaud)
9) 1 1x Green LED ISO 15765-4 CAN (29 bit ID, 250 kBaud)
10) 2 2x Green LEDs SAE J1939 CAN (29 bit ID, 250 kBaud)

After installing the Gear Indicator, and with the ignition switched ON, Configuration Mode can then be
entered where various settings can be checked or adjusted.
Configuration Mode is entered by pressing and holding the pushbutton on the rear of the unit. After 2
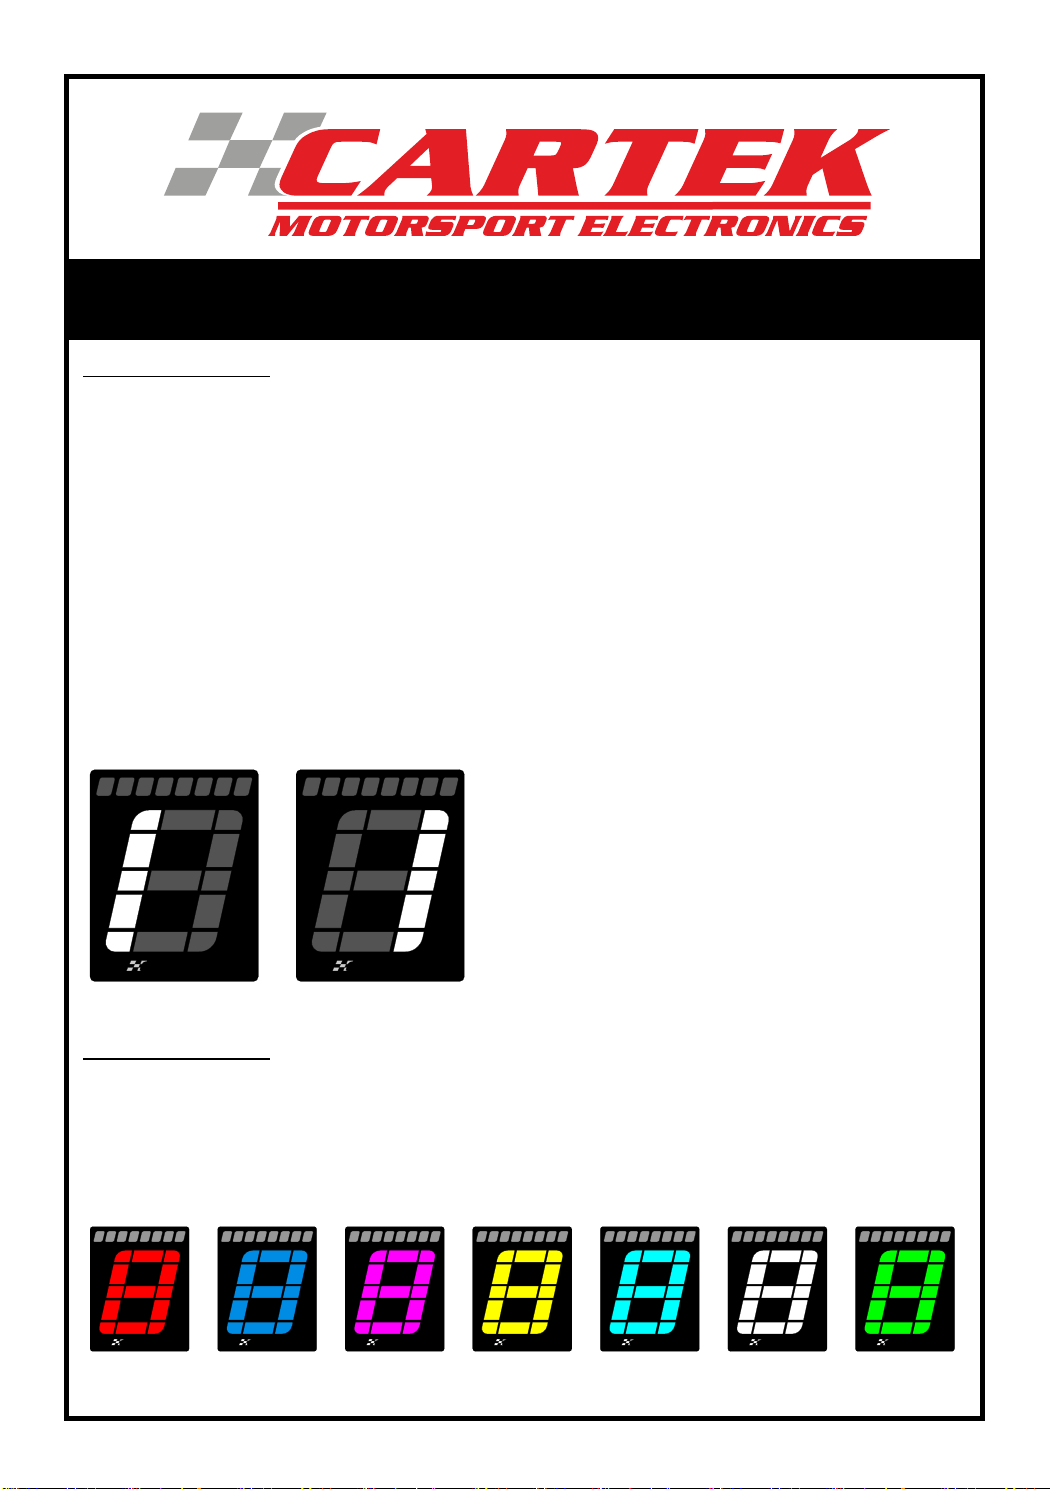
seconds the gear display will begin flashing ‘G’. Releasing the pushbutton at this point will select the
Gear-Indicator configuration menus. However, if you wish to enter the Shift-Light configuration menus then
continue to hold the pushbutton until the upper Shift-Light LEDs begin to flash and then release it.
GEAR-INDICATOR CONFIGURATION MENUS
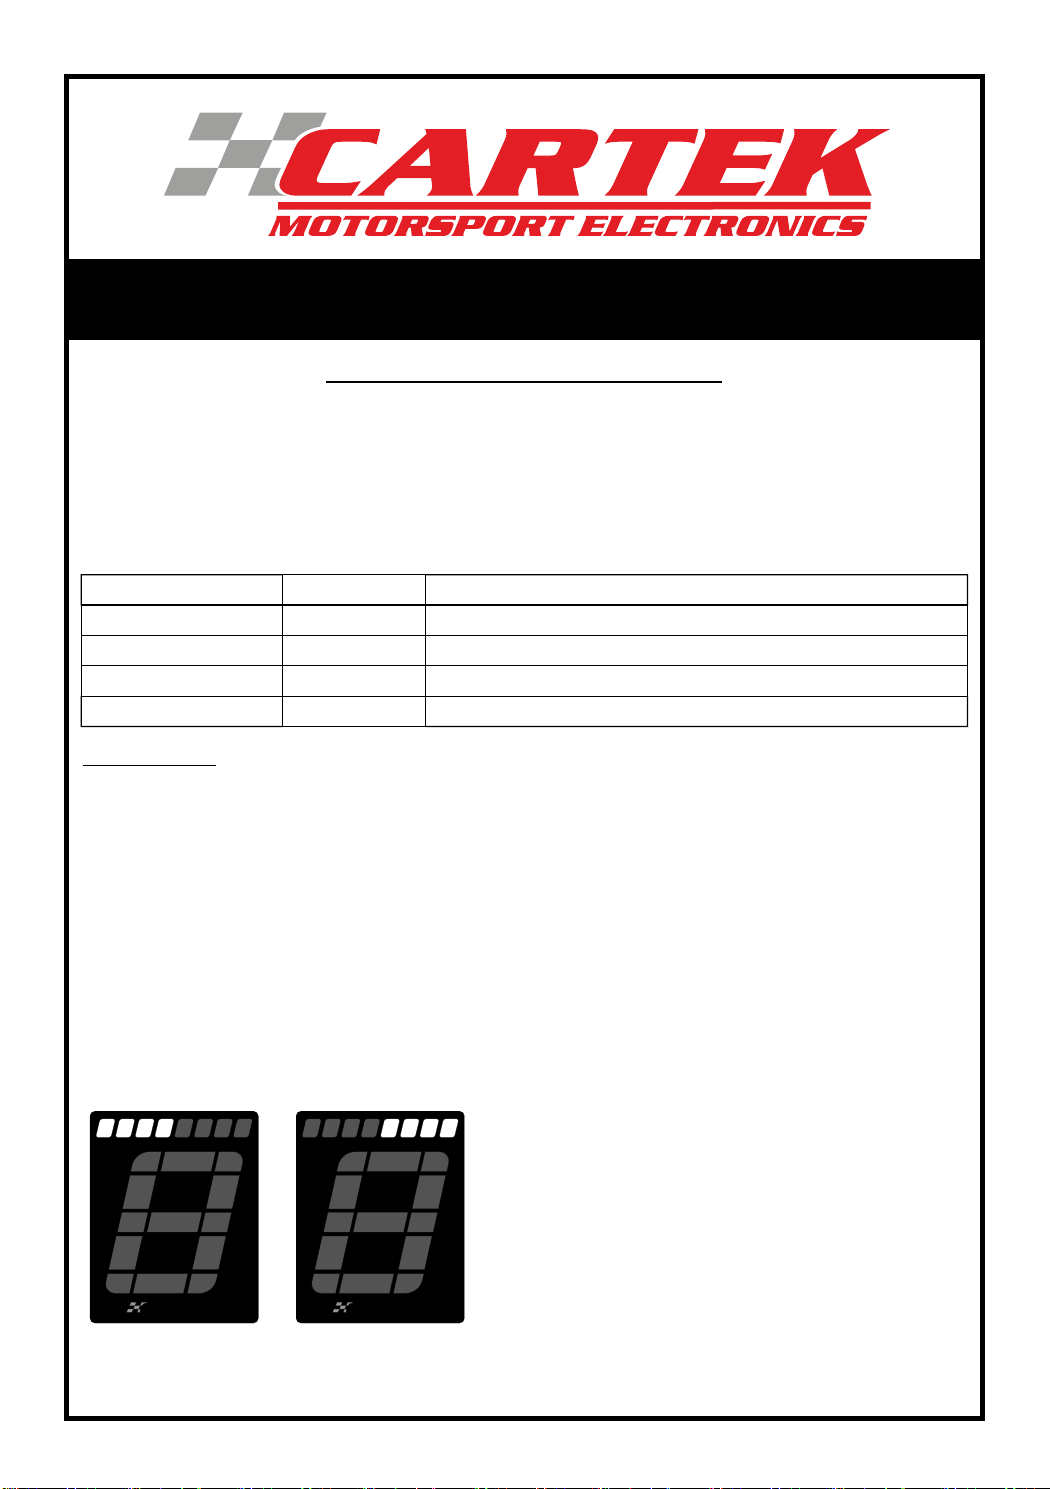
The Gear-Indicator Configuration Menus are entered when the pushbutton is released while ‘G’ is flashing on
the gear display. There are 4 Gear-Indicator settings that can be adjusted. To select the required Gear-
Indicator Configuration Menu press and hold the pushbutton again. The display will now cycle through the
digits 1-4 indicating menus 1-4. When the required menu is displayed then release the pushbutton.
Here are the 4 Gear-Indicator configurations that can be adjusted:
CONFIGURATION GEAR INDICATOR OBD2
Configuration Menu Digit Displayed Description
1 1 Gear Indicator Digit Brightness Levels
2 2 Gear Indicator Digit Display Colour
3 3 Number of Forward Gears
4 4 Enter Gear Ratio Learning mode
2
Each Configuration is described in more detail later. Any changes to a configuration are saved immediately
and will be retained even if the Gear Indicator is disconnected or the car battery removed.
Configuration Menu Exit:
There are 3 ways to exit any Configuration Menu:
1. Un-plug the OBD connection. Any adjustments made will be saved for use next time it is plugged back in.
2. Whilst in a configuration menu, press and hold the pushbutton for 2 seconds. Doing this will result in any
new setting being saved and the Gear Indicator exiting Configuration Mode and ready for normal use.
3. Whilst in a configuration menu, press and hold the pushbutton for 4 seconds. Doing this will result in any
new setting being saved and Configuration Mode moving onto the next available Configuration Menu.
Factory Reset
If you wish to return to the factory/default settings then a 'Factory Reset' can to be performed. To do this,
unplug the OBD cable then, while pressing and holding the pushbutton, re-connect the OBD cable. The outer
LEDs will display Blue. Continue to hold the pushbutton until the outer LEDs begin flashing which will indicate
that the default settings have been restored. The pushbutton can now be released.
Factory/default settings
LED Brightness Levels: Day Brightness = Maximum, Night Brightness = Minimum
Gear Display Colour: Red
Number of Forward Gears: 6
LED Shift Light Pattern: Blue / Red Linear display (Pattern 1)
Shift Light engine speed: 2,200 RPM - 8,200 RPM

CONFIGURATION GEAR INDICATOR OBD2
3
Configuration Menu 1 - Gear-Indicator Digit Brightness:
Note: This configuration is for the Gear-Indicator digit only. Shift-Light display brightness is separate and
described later.
There are two adjustable brightness levels, Day brightness level or Night brightness level. During normal
operation (not in configuration mode) a simple press of the rear button will switch between the two
brightness levels. To adjust the Gear-Indicator Day or Night brightness levels, select Gear-Indicator
Configuration menu 1, as described previously.
On selecting Configuration Menu 1 the left column of LEDs will illuminate at the current brightness for Day
use. Quick presses of the pushbutton will then display each of the 10 brightness levels available. When the
preferred brightness level is displayed then press and hold the pushbutton for 2 seconds to save the setting
and exit Configuration Mode. Or, press and hold the pushbutton for 4 seconds to save the setting and move
on to adjusting Night brightness. Night brightness level will be indicated by the right column of LEDs and is
adjusted in the same way as Day brightness level. When the preferred brightness level is displayed then press
and hold the pushbutton for 2 seconds to save the setting and exit Configuration Mode. Or, press and hold
the pushbutton for 4 seconds to save the setting and move on to the next menu.
CARTEK CARTEK
Day brightness Night brightness
Configuration Menu 2 - Gear-Indicator Digit Colour:
To adjust the colour of the Gear-Indicator Digit, select Configuration Menu 2 as described previously.
On selecting Menu 2 the digit ‘8’ will be displayed in the current selected colour. Quick presses of the
pushbutton will then display each of the 7 colours available. When the preferred colour is displayed then
press and hold the pushbutton for 2 seconds to save the setting and exit Configuration Mode. Or, press and
hold the pushbutton for 4 seconds to save the setting and move on to the next menu.
CARTEK CARTEK CARTEK CARTEK CARTEK CARTEK CARTEK
Red Blue Purple Yellow Cyan White Green

CONFIGURATION GEAR INDICATOR OBD2
4
Configuration Menu 3 - Gear-Indicator Number of Forward Gears:
Before the Gear Indicator can learn the gear ratios from the car’s transmission, it needs to know how many
forward gears the transmission has. To adjust the Number of Forward Gears, select Configuration Menu 3 as
described previously.
On selecting Configuration Menu 3 the current Number of Forward Gears will be displayed. Quick presses of
the pushbutton will then increment the Number of Forward Gears between 2-8. When the correct Number
of Forward Gears is displayed then press and hold the pushbutton for 2 seconds to save the setting and exit
Configuration Mode. Or, press and hold the pushbutton for 4 seconds to save the setting and move on to the
next menu.
Configuration Menu 4 - Gear-Indicator Ratio Learning Mode:
For the Gear-Indicator to display the current selected gear it needs to learn the ratio between engine speed
and road speed for each of the transmission’s gear ratios. Engine speed and road speed are both obtained
through the car’s OBD system.
For the Gear-Indicator to learn these ratios it is necessary to drive the car steadily in each gear therefore
consideration should be given to where the car can be driven safely in all gears.
On selecting Configuration Menu 4 ‘L’ will be displayed to indicate that you are about to enter Learning Mode.
If you do not wish to perform the Learning Mode then press and hold the pushbutton for 2 seconds to exit.
When you are ready to begin driving then press the pushbutton again whereupon ‘0’ will begin flashing to
indicate it is waiting for the car to begin moving. Note: If ‘0’ does not appear then this indicates the engine is
not running or engine RPM data is not being received.
Once the Gear-Indicator detects the car is moving then the display will begin flashing ‘1’ in red. At this point
the driver should drive at a steady speed in Gear 1 until the ‘1’ goes green. After briefly displaying green the
Gear Indicator will save the gear ratio before then incrementing to the next gear, Gear 2. At this point the
driver should shift up to the next gear and again drive at a steady speed until the digit turns green again. When
the final gear ratio is learnt then the Gear Indicator will automatically exit Configuration Mode and will now
display each gear every time a gear shift occurs. Note: If the display shows only ‘0’ when the car is moving
then this indicates that road speed data is not being received.
Note:
When in Learning Mode and driving the car in each requested gear, it does not matter if you need to shift back
down a gear, or even stop. Learning Mode will continue to wait for the next higher gear and will not
over-write lower gears once they have been learnt and saved.
If installed on a car with automatic transmission then set the the transmission to manual mode so that you
have full control over the gear selection and only shift up when the Gear Indicator requests it.

SHIFT-LIGHT CONFIGURATION MENUS
Configuration Mode is entered by pressing and holding the pushbutton on the rear of the unit. After 2
seconds the gear display will begin flashing ‘G’. To enter the Shift-Light configuration menus, continue to hold
the pushbutton until the upper Shift-Light LEDs begin to flash and then release it.
To select the required Shift-Light Configuration Menu press and hold the pushbutton again. The display will
now cycle through the upper LEDs 1-4 indicating Configuration Menus 1-4. When the required menu is
displayed then release the pushbutton.
Here are the 4 Shift-Light configurations that can be adjusted:
Configuration Menu LEDs Displayed Description
1 1 Shift-Light LED Brightness Levels
2 2 Shift-Light LED Pattern
3 3 Shift-Light Pattern Start RPM
4 4 Shift-Light Pattern End RPM
5
Configuration 1 - Shift-Light Brightness:
Note: This configuration is for the Shift-Light display only. Gear-Indicator digit brightness is described earlier.
There are two adjustable brightness levels, Day brightness or Night brightness . During normal operation (not
in Configuration mode) a simple press of the rear button will switch between Day and Night brightness levels.
To adjust the Shift-Light , Day or Night, brightness levels select Shift-Light Configuration Menu 1.
On selecting Menu 1, the four leftmost Shift-Light LEDs will illuminate at the current brightness for Day use.
Quick presses of the pushbutton will then display each of the 10 brightness levels available. When the
preferred brightness level is displayed then press and hold the pushbutton for 2 seconds to save the setting
and exit Configuration Mode. Or, press and hold the pushbutton for 4 seconds to save the setting and move
on to adjusting Night brightness. Night brightness level will be indicated by the four rightmost Shift-Light LEDs
and is adjusted in the same way as Day brightness level. When the preferred brightness level is displayed then
press and hold the pushbutton for 2 seconds to save the setting and exit Configuration Mode. Or, press and
hold the pushbutton for 4 seconds to save the setting and move on to the next menu.
CARTEK CARTEK
Day brightness Night brightness
CONFIGURATION GEAR INDICATOR OBD2

6
Configuration 2 - Shift-Light Pattern:
On entering Configuration Menu 2, the upper LEDs will demonstrate the current selected Shift-Light pattern.
Subsequent quick presses of the pushbutton will cycle through each of the 6 available Shift-Light patterns
shown below:
CONFIGURATION GEAR INDICATOR OBD2
CARTEK
Pattern 1 - Linear
CARTEK
Pattern 2 - Linear
CARTEK
Pattern 3 - Linear
CARTEK
Pattern 4 - Linear
CARTEK
Pattern 5 - Converging
CARTEK
Pattern 6 - Converging
When the preferred pattern is displayed then press and hold the pushbutton for 2 seconds to save the setting
and exit Configuration Mode. Or, press and hold the pushbutton for 4 seconds to save the setting and move
on to the next menu.

Configuration 3 - Shift Light Pattern START RPM:
There are two methods available for setting the Shift-Light Pattern START RPM. This can be done by using the
pushbutton to enter an exact required RPM value, or running the engine at half the required engine speed.
3.1) Shift Light Pattern START RPM using the pushbutton (Engine must be stationary)
Firstly, consider the actual engine speed (RPM) that you wish the display to start. This RPM value will be
entered as separate numbers, i.e. 10,000, 1,000, 100 and 10. Any RPM value can be entered up to 19,990 RPM
in steps of 10 RPM. Perhaps write the required speed onto a piece of paper, e.g. 5,500 RPM = 0 5 5 0.
On entering Configuration Menu 3 when the engine is stationary, the display will show one Red LED followed
by 3 Green LEDs on the left side of the display. This will be displaying the current 10,000RPM setting. Static,
(no flashing) will represent 0x 10,000, 1 flash will represent 1x 10,000, etc. Quick presses of the pushbutton
will allow the value to be adjusted, however, only two values are available, 0x 10,000 and 1x 10,000.
Pressing and holding the pushbutton for a minimum of 4 seconds will cause the configuration to move onto
the next RPM factor, 1,000RPM. This value can be adjusted with quick presses of the pushbutton which will
result in the value incrementing, e.g. static, (no flashing) will represent 0x 1,000, 9 flashes will represent 9x
1,000 (9,000).
Pressing and holding the pushbutton again for a minimum of 4 seconds will cause the configuration to move
onto the next RPM factor, 100RPM. This value can also be adjusted with quick presses of the pushbutton
which will result in the value incrementing.
Pressing and holding the pushbutton again for a minimum of 4 seconds will cause the configuration to move
onto the last RPM factor, 10RPM. This value can also be adjusted with quick presses of the pushbutton which
will result in the value incrementing.
If only the Lower RPM value is to be adjusted then press and hold the pushbutton for 2 seconds to save the
Start RPM value and exit Configuration Mode. Or, press and hold the pushbutton for 4 seconds to save the
Start RPM value and move on to Configuration Menu 4 to set the End RPM value.
7
CONFIGURATION GEAR INDICATOR OBD2
1
0
0
0
0
R
P
M
1
0
0
0
R
P
M
1
0
0
R
P
M
1
0
R
P
M
Configuration:
Start of sequence RPM
Example:
Start of sequence = 06450 RPM
0 Flashes
6 Flashes
4 Flashes
5 Flashes

8
CONFIGURATION GEAR INDICATOR OBD2
3.2) Shift-Light Pattern START RPM using tachometer (Engine must be running)
This method of setting the display sequence START RPM will require the engine to be run at half the preferred
speed. This means the engine does not need to be driven at high RPM but make sure the engine is up to
normal running temperature before commencing this procedure.
To indicate that the Shift-Light is waiting to measure the engine speed for the pattern START RPM, the four
LEDs on the left side will flash Green. At this point the driver needs to hold the engine speed at half the required
RPM. When the driver is satisfied that the engine is running at half of the required speed, the pushbutton
should then be pressed. The Shift Light will then measure the engine speed, double it, and store it in memory
as the Shift-Light Pattern START RPM value. This will be acknowledged by the four LEDs changing to Red.
If only the START RPM value is to be adjusted then press and hold the pushbutton for 2 seconds to save the
START RPM value and exit Configuration Mode. Or, press and hold the pushbutton for 4 seconds to save the
START RPM value and move on to Configuration Menu (4) to set the Upper RPM value.
Note: If the Shift Light fails to enter Shift-Light Pattern START RPM using tachometer menu but enters Shift
Light Pattern START RPM using the pushbutton instead, then this would indicate that it is not receiving a
suitable RPM signal on the Blue wire.
Configuration 4 - Shift Light Pattern END RPM:
As with Configuration Menu 3, the same two methods are available for setting the Shift Light Pattern END
RPM: Entering the specific engine speed value using the rear pushbutton, or running the engine at half the
required engine speed.
4.1) Shift Light Pattern END RPM using the pushbutton (Engine must be stationary)
This procedure is identical to Configuration Menu 3.1 but the LEDs are now displayed on the right side of the
Shift Light. Follow the same instructions as Configuration Menu 3.1 to check or adjust the END RPM value.
1
0
R
P
M
1
0
0
0
0
R
P
M
1
0
0
0
R
P
M
1
0
0
R
P
M
Example:
End of sequence = 10,500 RPM
1 Flashes
0 Flashes
5 Flashes
0 Flashes
Configuration:
End of sequence RPM
4.2) Shift Light Pattern END RPM using tachometer (Engine must be running)
This procedure is identical to Configuration Menu 3.2 but the LEDs are now displayed on the right side of the
Shift Light. Follow the same instructions as Configuration Menu 3.2 to set the END RPM value by running the
engine at half the preferred speed.

9
INSTALLATION GEAR INDICATOR OBD2
The Gear Indicator unit should be mounted securely on the dashboard where the display can be clearly seen
by the driver. Mounting can be by two M3 screws from the underside or two M3 screws from the rear of the
unit. If mounting using M3 screws from the underside then please note the maximum thread depth is 8mm.
49.6mm
62.0mm
7.5mm
16.0mm
7.5mm
16.0mm
22.4mm
13.9mm
11.0mm
14.5mm
26.0mm
8.5mm
4.3mm
22.5mm
8.00mm
REAR VIEW
BOTTOM VIEW
Pushbutton M3 threaded holes
OBD Cable Connector
M3 threaded holes

Table of contents
Popular Measuring Instrument manuals by other brands

Twilight
Twilight TENMARS TN-TM206 user manual

Rocks
Rocks OK-03.0030 user manual

Kobold
Kobold DRS 0 Series Operating instruction

Tintometer
Tintometer Lovibond MD100 instruction manual

Airsecure
Airsecure TPK20 Functional description and operating instructions

TSI Instruments
TSI Instruments Alnor Airflow AXD610 Operation and service manual

PIETRO FIORENTINI
PIETRO FIORENTINI SSM-AQUO Use and maintenance manual

Growatt
Growatt TPM-CT-C-EU quick guide

Bosch
Bosch DLE 70 Professional Original instructions

Nikon
Nikon RifleHunter 550 instruction manual

Pfeiffer Vacuum
Pfeiffer Vacuum IKR 261 operating instructions

Anritsu
Anritsu VectorStar MS4640A Series Maintenance manual