TE-1500/TK-1550 PAX Setup
In order to interface the PAX SP-30 terminal to the TE-1500/TK-1550 a new IPL,
SE2000_XXXX_IPL.RAC IPL file (XXXX=IPL version), must be loaded. There
are two (2) ways to upgrade the IPL in the TE-1500/TK-1550 via the RAC 12B
card or the PC using the RAC TOOL software.
Using the RAC TOOL software it requires the PC connected to COM #1 on the
ECR, a RAC-12B card inserted in the ECR and the SE2000_XXXX_IPL.RAC IPL
file (XXXX=IPL version). The sequence of events is the RAC TOOL software
sends the IPL through the machine to the RAC 12B card. Then the IPL is
uploaded from the card through a key sequence on the ECR (discussed below).
This operation takes approximately 45 minutes.
Once the IPL is on the card or a card then it can be loaded into a machine
through a key sequence discussed afterwards.
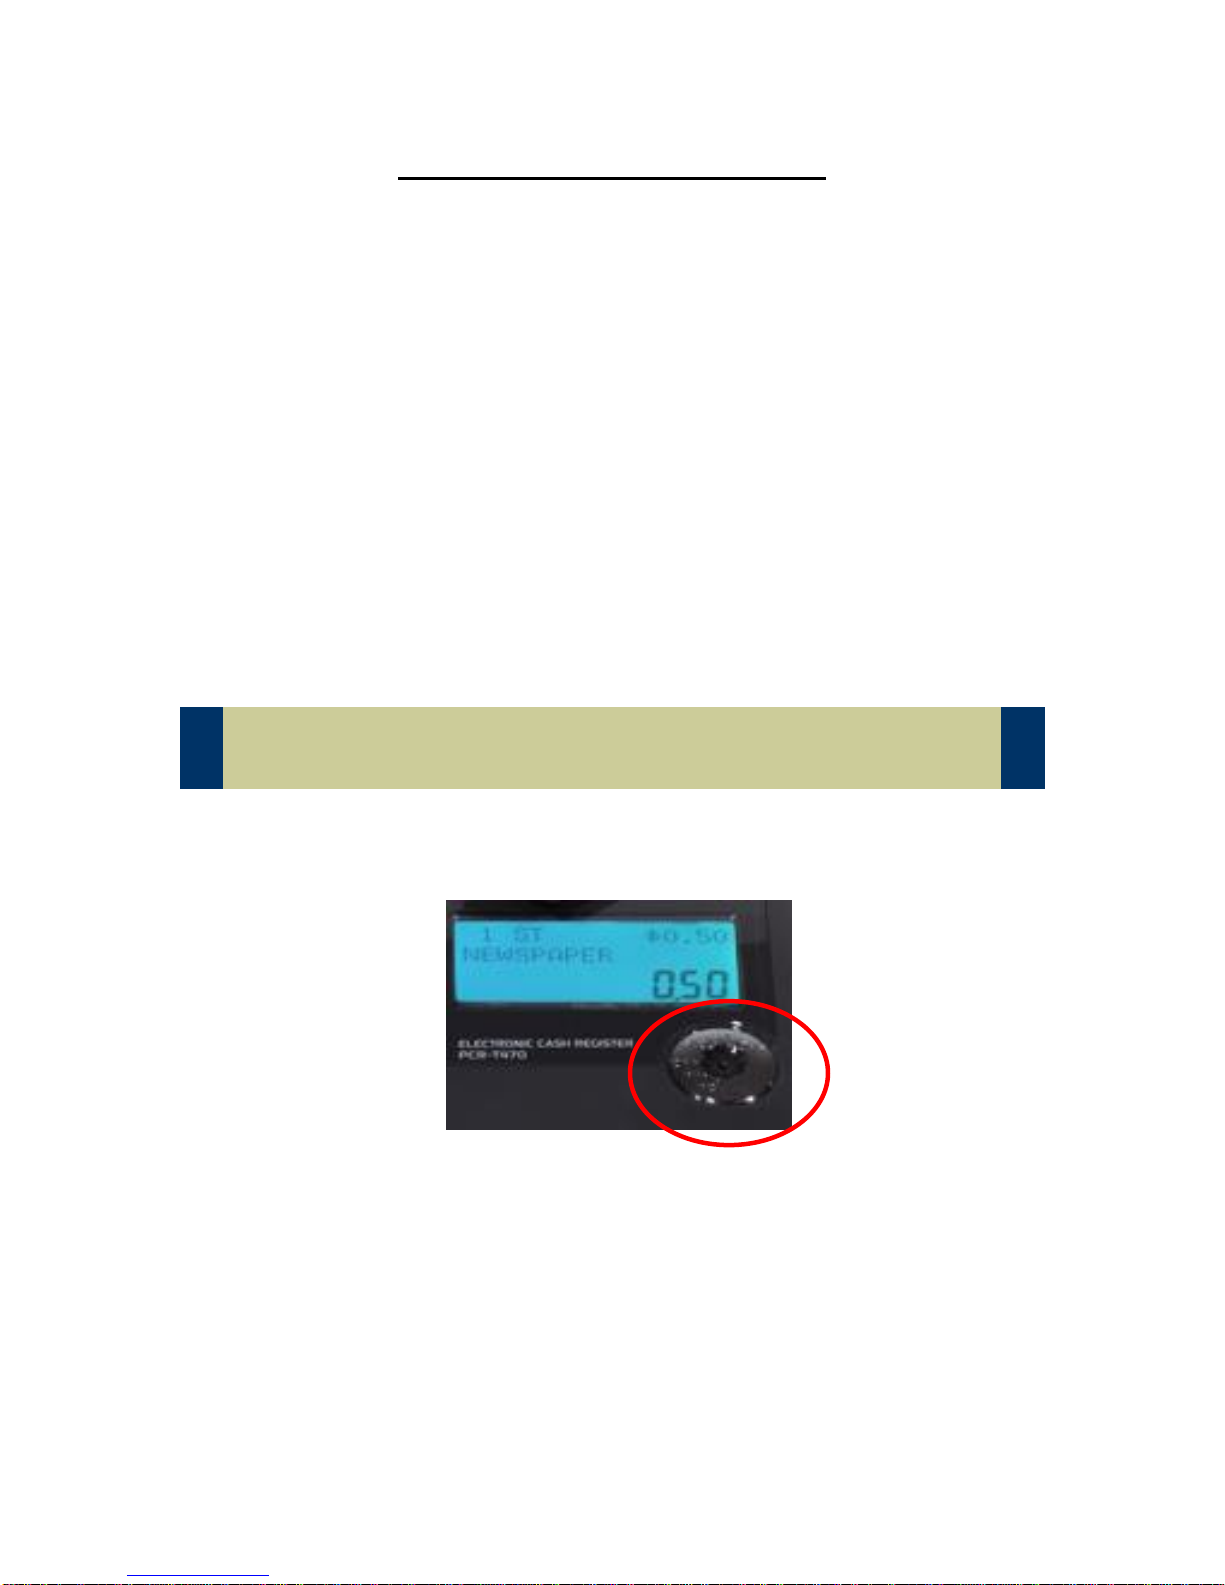
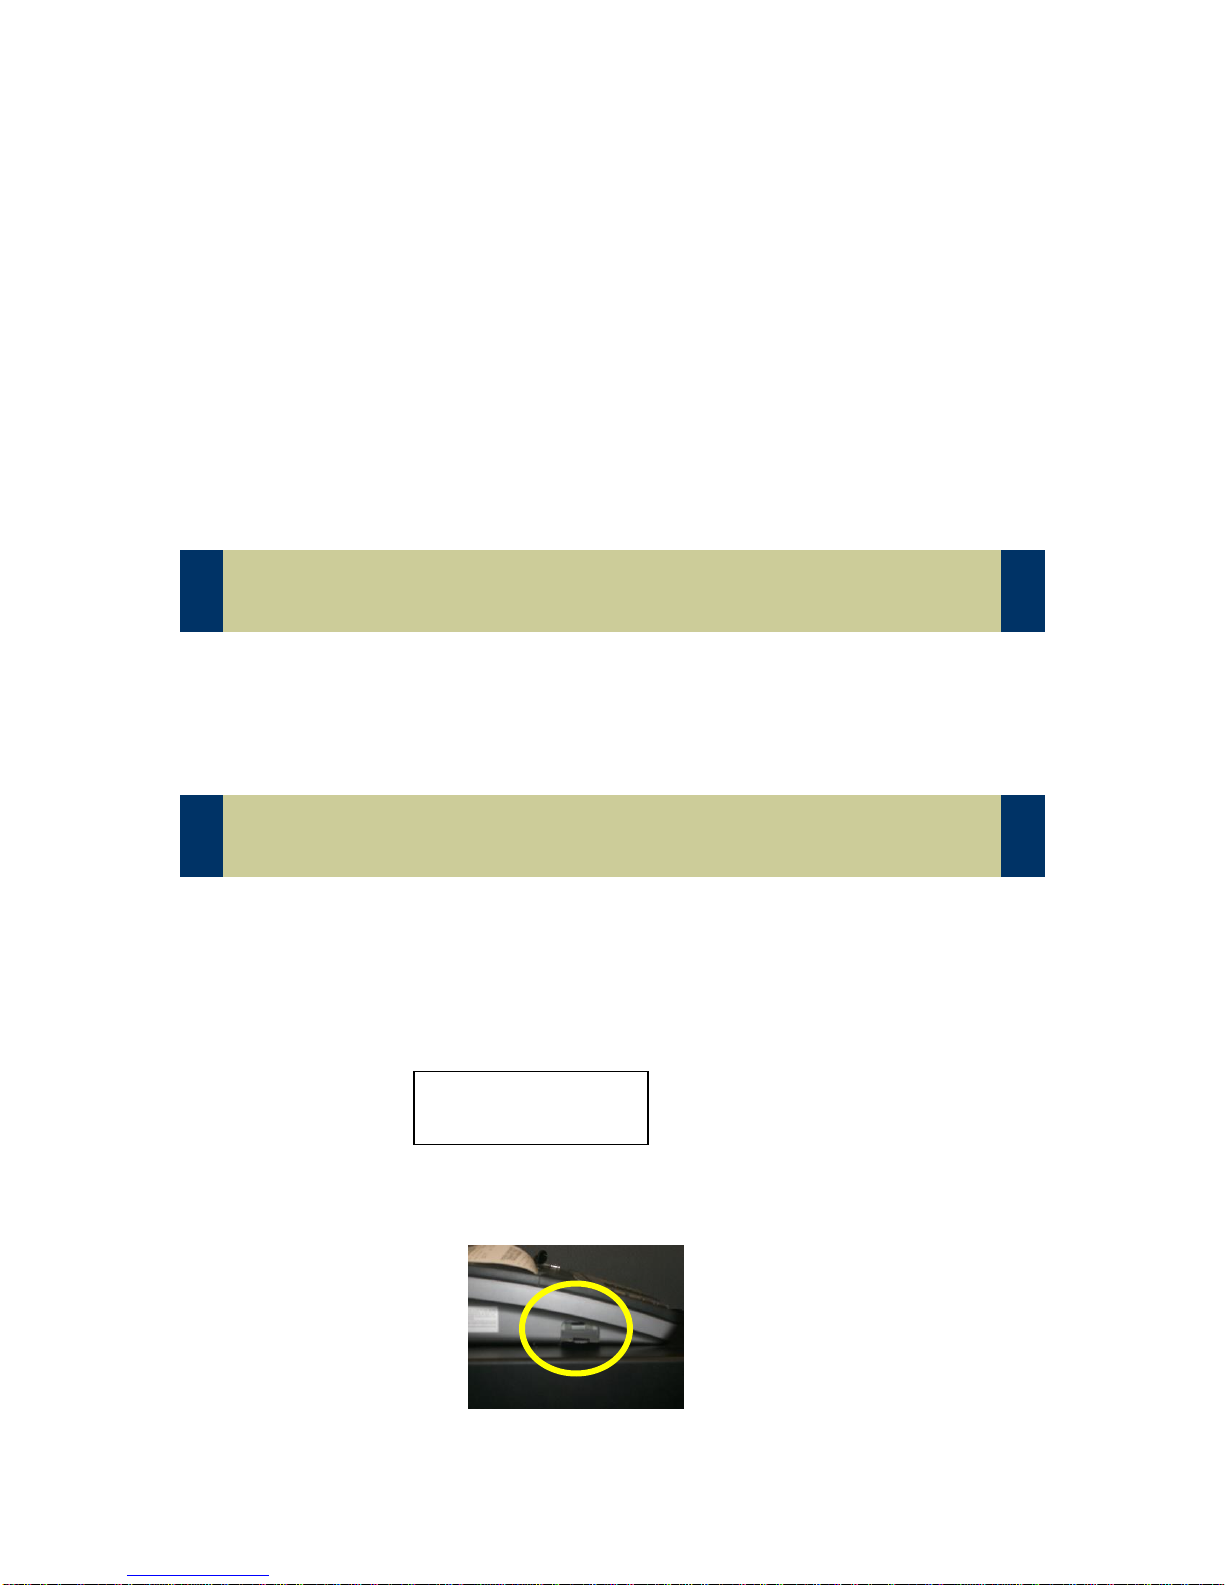
The Casio cash register has a seven (7) position mode lock switch located below
the operator display as shown below:
There are two different types of keys, operator (grey) and a program key (black).
The program key will turn to any position in the mode lock. The operator key will
only go to OFF, REG and X positions. The steps discussed in this manual will
require the program (black) key and the key to be in the PGM position. Starting
from the OFF position turn the program key counter clock wise down to PGM.
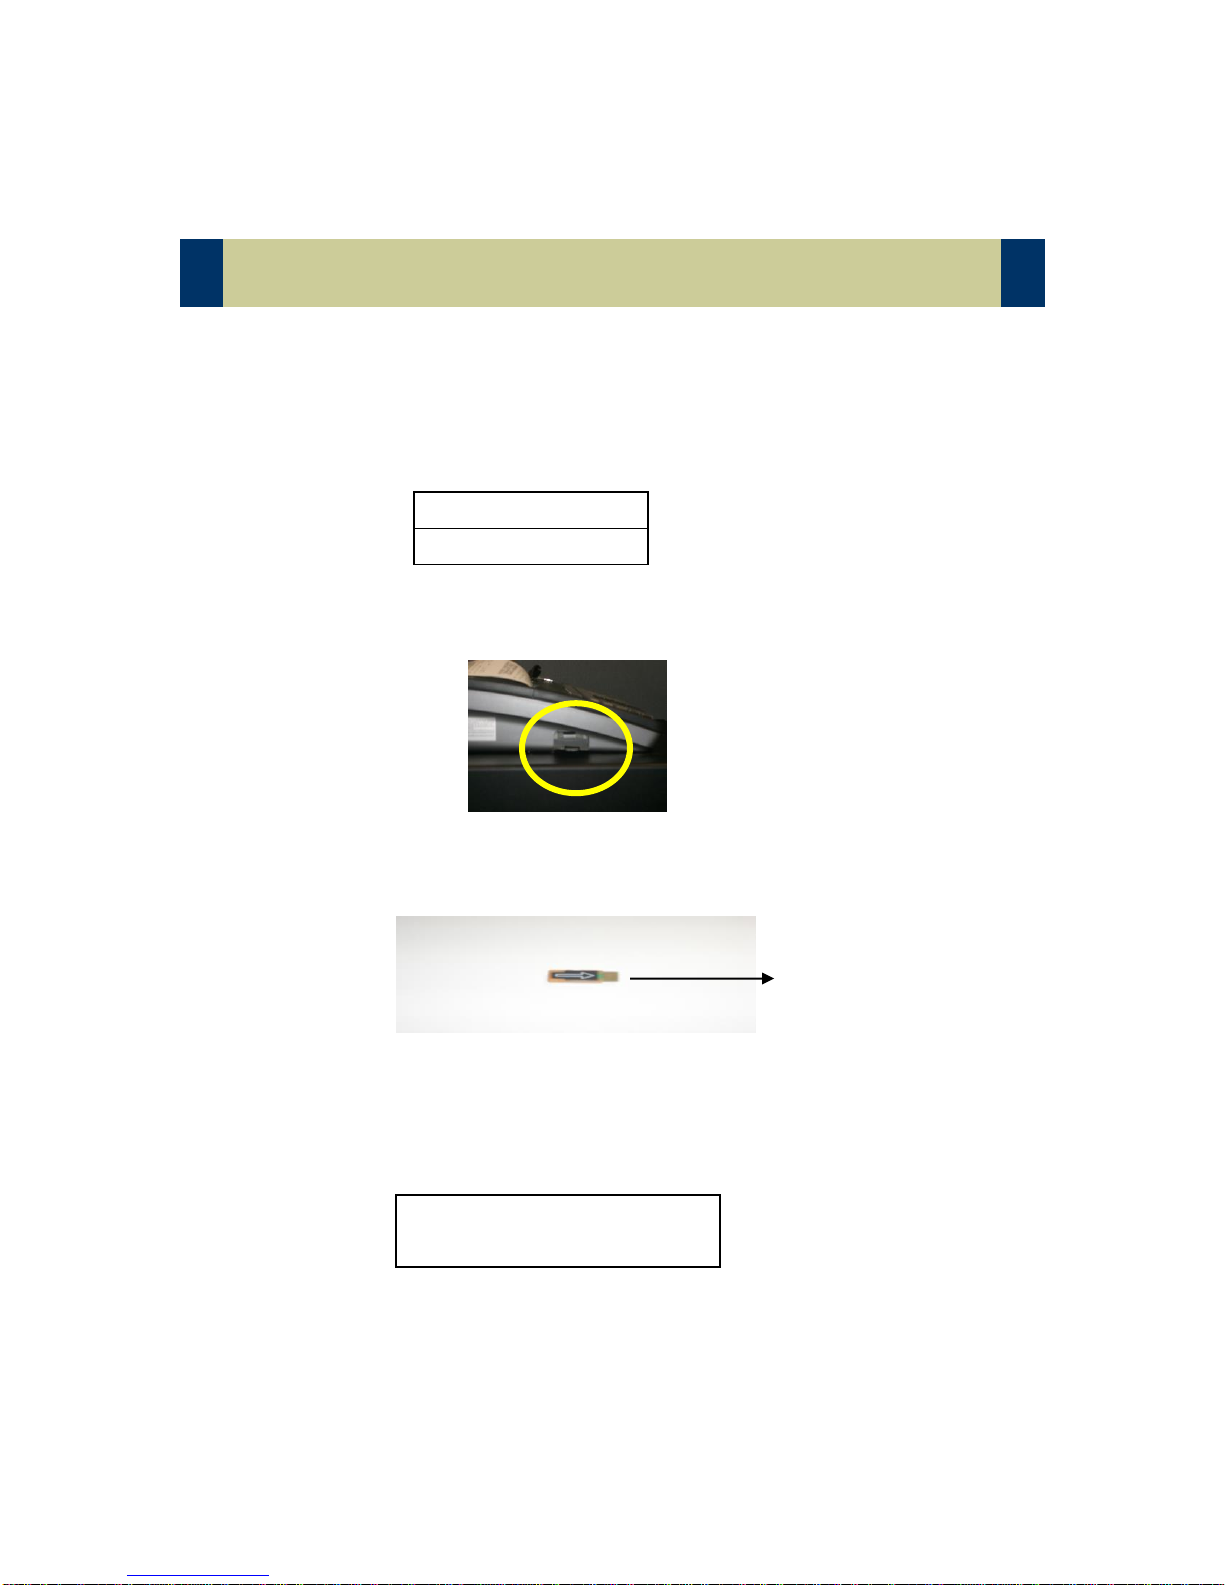
The following section will outline the use of the Casio RAC-12B card for
upgrading the cash register’s software (which is called an IPL- Initial Program
Load) and backing up/loading customer programs.