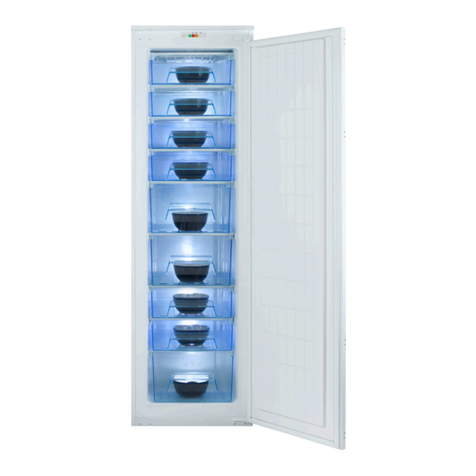
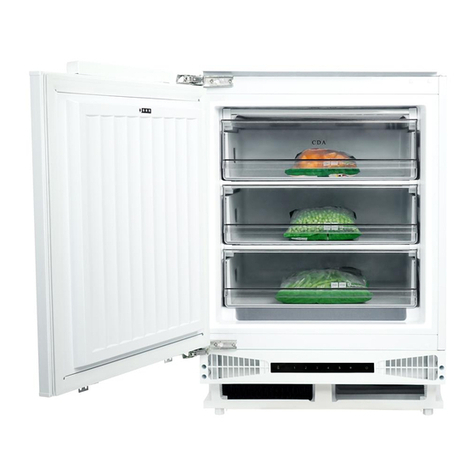
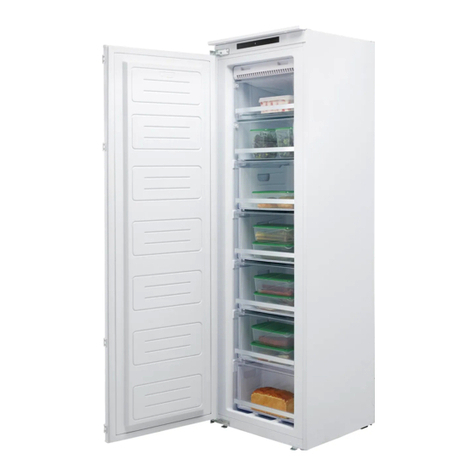
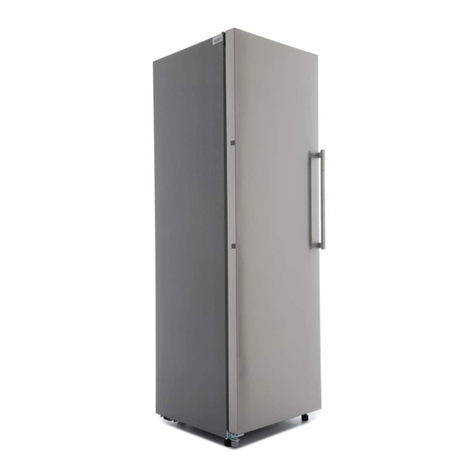
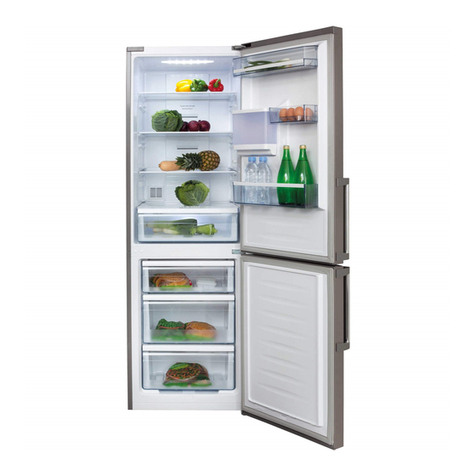
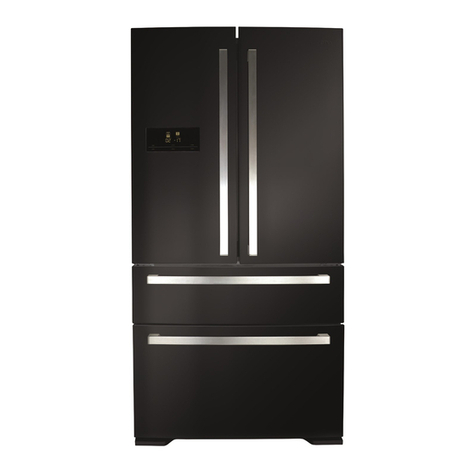
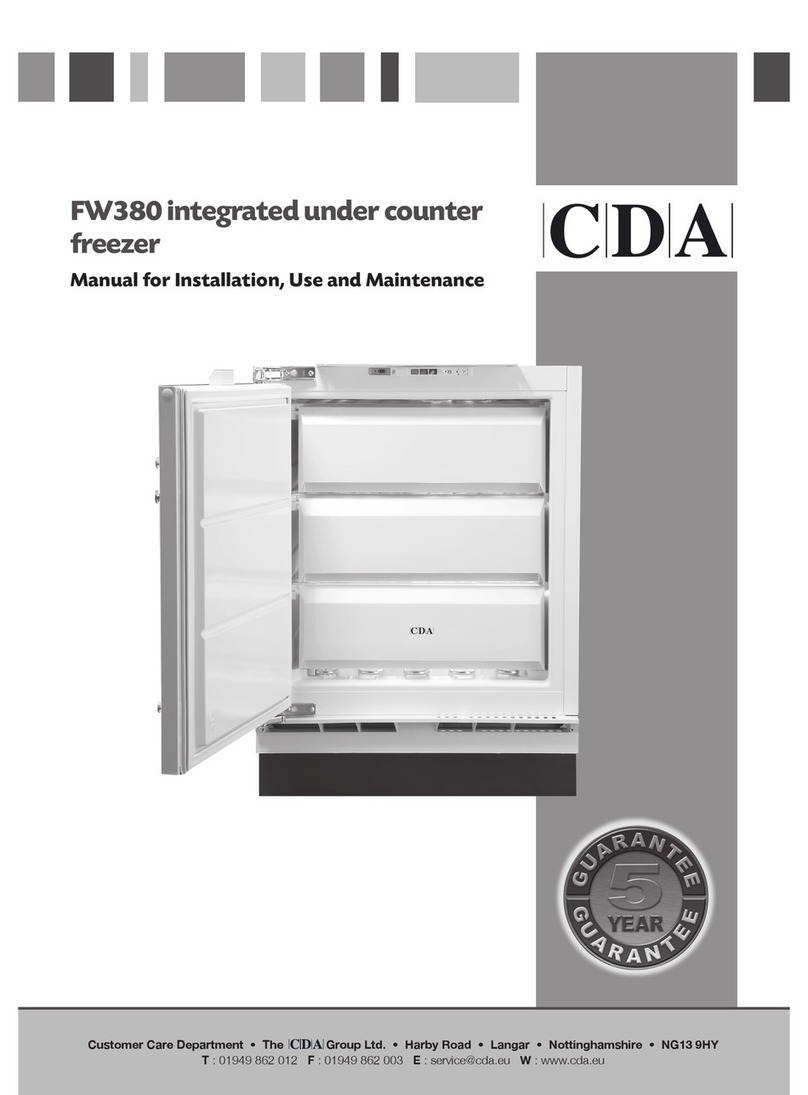
CDA FW582 Quick start guide

FW582
Integrated freezer
Installation, use and maintenance

2
Important
The manufacturer cannot be held responsible for injuries or losses
caused by incorrect use or installation of this product. Please note
that we reserve the right to invalidate the guarantee supplied with this
product following incorrect installation or misuse of the appliance.
This appliance is not designed to be used by people (including
children) with reduced physical, sensorial or mental capacity, or
who lack experience or knowledge about it, unless they have had
supervision or instructions on how to use the appliance by someone
who is responsible for their safety.
Under no circumstances should any external covers be removed for
servicing or maintenance except by suitably qualified personnel.
Appliance information:
Please enter the details on the appliance rating plate below for
reference, to assist CDA Customer Care in the event of a fault with
your appliance and to register your appliance for guarantee purposes.
Appliance Model
Serial Number
EU Declarations of Conformity:
This appliance has been designed, constructed and marketed in
compliance with safety requirements of EU Directive 2014/35/EU (Low
voltage) and requirements of EU Directive 2014/30/EU (EMC).

3
This appliance has been manufactured to the strictest standards and
complies with all applicable legislation, including Electrical safety (LVD)
and Electromagnetic interference compatibility (EMC). Parts intended
to come into contact with food conform to 1935/2004/EC.
This refrigeration appliance is intended for use as a built-in appliance
IMPORTANT INFORMATION FOR CORRECT DISPOSAL OF THE
PRODUCT IN ACCORDANCE WITH EC DIRECTIVE 2012/19/EU.
At the end of its working life, the product must not be disposed of as
urban waste. The refrigeration system contains insulating gases and
refrigerants, which require specialised waste disposal. The valuable
materials contained in this appliance can be recycle. It must be taken
to a special local authority dierentiated waste collection centre or to
a dealer providing this service.
Before disposing of an old appliance, remove the door seals, latch or
bolt lock to avoid the risk of child entrapment.
Disposing of a household appliance separately avoids possible
negative consequences for the environment and health deriving from
inappropriate disposal and enables the constituent materials to be
recovered to obtain significant savings in energy and resources. As a
reminder of the need to dispose of household appliances separately,
the product is marked with a crossed-out wheeled dustbin.

4
Important
Never store inflammable or explosive items and strong corrosive
acids or alkalis in the appliance.
This is a household appliance, which is produced in accordance with
the national standard. It is intended for food storage only, not for
storage of blood, medicine and biological products.
To prevent risk of fire, keep the appliance away from petrol or any
other inflammables.
To prevent risk of electromagnetic interference or other accidents, do
not place a microwave oven on top of the freezer or use any electric
appliance inside the freezer.
Do not allow children to play with or near the appliance.
The internal surface of the freezer compartment is very cold when the
appliance is running. Do not touch the surface especially when hands
are wet.
Do not splash water onto the appliance. Keep it away from places of
high humidity that may have adverse eect on the electric insulation
performance.
This appliance is designed to be used in ambient temperatures
between 10 and 32˚C. Use outside of this range may cause the
appliance to fail.

5
Before first use
You must allow the freezer to settle for at least twenty four hours
prior to switching the power on.
It is recommended that you clean the interior of the appliance prior to
first use, using a solution of bicarbonate of soda and warm water and
then thoroughly drying the interior.
The freezer may have an odour to it at first use. This will disappear as
the appliance cools.
When first switching the appliance on it is advisable to set the freezer
to setting 3 on the thermostat dial and leaving the freezer to settle for
24 hours before adusting the temperature to the preferred setting.
Please note:
The appliance will work continuously until it comes down to the
correct temperature.
If the appliance is switched o, you should allow five minutes
before switching it on again to prevent unnecessary damage to the
compressor.
Never store inflammable or explosive items and strong corrosive
acids or alkalis in the appliance.
The presence of frosting within the compartments is not a malfunction
of the freezer.

6
Use
Freezer
• The freezer compartments are designed to store only frozen food.
• Never put hot or warm foods in the freezer, allow them to cool fully
before putting them into the freezer.
• Follow the instructions on the food packaging for storage of frozen
food. If no information is provided, foods should not be stored for
more than three months after the purchase date.
• Store food in small packages (ideally less than 2.5kg). This reduces
the freezing time and improves the quality of the food after thawing.
• Wrap food before putting into the freezer. To stop the wrapping
sticking together, ensure it is dry.
• Label the food before freezing with information including type of
food and dates of storage and expiry.
• Once food is thawed, it must not be refrozen unless it has been
completely cooked. Only defrost as much food as is required, to
prevent wastage.
• Bottled or canned drinks should not be stored in the freezer
compartments as they could explode.
• Check the rating plate to confirm the maximum amount of fresh food
that can be frozen within a 24 hour period.
• Do not attempt to freeze more than the maximum amount.
• To freeze fresh food more quickly, switch the dial to setting 5 a few
hours prior to placing the food in the freezer.
Note: If the appliance does not have a freezer compartment ( ) it
is not suitable for freezing foodstus.
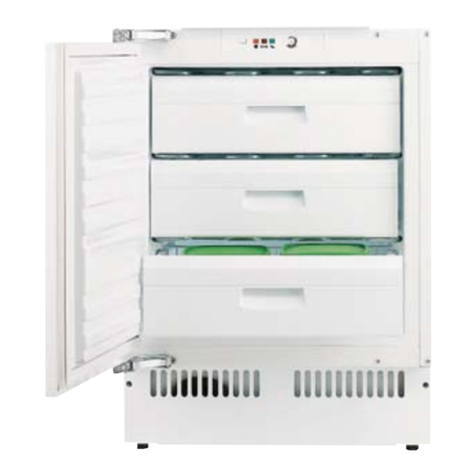
7
Storage and use
This freezer is suitable for storing deep frozen food (food which has
already been frozen before being added to the freezer), for storing
fresh food for a short period (2-3 weeks) by freezing it and for making
ice and ice cream.
Always remember to observe and adhere to the recommended
expiration date of food.
Fresh food, and food which needs to be
stored for a long period, should be kept
at a temperature of -18°c or below. For
this, we recommend using setting 4 or 5.
If food only needs to be stored for a
short period then a setting of 2 or 3 will
suce.
Please remember: Ice cream or ice for
drinks should be allowed to sit at room
temperature for several minutes before
being used as they can still be cold enough to cause damage to skin
and lips.
Please note: The freezer should be defrosted regularly. If you are
unsure of when then it is advisable to do so when and if the ice layer
reaches 5mm thickness.
Fig. 1

8
Controls
1. Thermostat dial
The temperature is regulated by the thermostat dial, located
on the freezer control panel. To change the temperature, turn
the dial anti-clockwise from 1 (highest temperature) to 5 (coldest
temperature). We recommend you start with the appliance set to
position 3.
2. Super freeze switch
This freezer is equipped with a super freeze function. This allows
the freezer compressor to run continuously and freezes food
quicker. To select this function, push the switch across until the
indictor light (5) illuminates. To switch the function o simply push
the switch back to its original position.
3. Power indicator light
This green light will illuminate when the appliance is on
4. Over temperature indicator light
This red light will illuminate when the temperature inside the
freezer is too high. This may illuminate if the door has been
opened or when fresh food is added and should switch o again
once the temperature has stabilised
5. Super freeze indicator light
This yellow light will illuminate when the super freeze function has
been activated
12
3
4 5
1 3 4 5 2
S S
Fig. 2

9
Care and cleaning
Always disconnect the appliance from the power supply before
any cleaning or maintenance.
The freezer should be cleaned using a solution of bicarbonate
of soda and lukewarm water. Do not use abrasive products or
detergents. After washing, rinse and dry thoroughly.
Clean the drawers separately by hand with a mild solution of washing
up liquid and water. Do not put them in the dishwasher.
If the appliance is not to be used for prolonged periods of time,
unplug and clean the appliance. The doors should be left slightly
ajar to prevent the formation of mildew and unpleasant odours. It
is important however that you ensure that no child or person could
become trapped in the appliance.
Defrosting the freezer
Do not use heaters or defrosting sprays in this appliance.
Never use any metallic or sharp objects such as knives or forks to
remove the ice as this could damage the lining.
The freezer compartment should be defrosted regularly to ensure the
most ecient running of the freezer.
Once the ice is more than 5mm thick, the freezer should be defrosted.

10
• 24 hours before defrosting the freezer, turn the thermostat dial to
setting 5 to ensure the frozen food is fully frozen.
• Before switching o the freezer, wrap the the frozen food in sheets
of paper and store it in a cool place.
• Switch the appliance o at the thermostat dial and the mains and
then remove the freezer drawers.
• To speed up the defrosting process, place a bowl of warm water in
the base of the freezer compartment.
• The freezer should be cleaned using a solution of bicarbonate
of soda and lukewarm water. Do not use abrasive products or
detergents. After washing, rinse and dry thoroughly.
• Clean the drawers separately by hand with a mild solution of
washing up liquid and water. Do not put them in the dishwasher.
• Once cleaning is complete, reconnect the power.
Practical tips
To achieve the most eective food preservation for the longest pos-
sible time and to avoid wasting any food, position the products as
shown in Fig. 1. In addition this figure illustrates the layout of drawers,
and shelves, which allows the most ecient use of energy.
Optimal temperature and storage conditions will extend product shelf
life and optimise electricity consumption. Optimal storage temperature
range should be stated on the food packaging.

11
Troubleshooting
If you have any problems with your appliance, you should check
the troubleshooting prior to calling CDA Customer Care to prevent
unnecessary service calls and potential cost.
If the appliance is not working, check the following:
• There is power to the appliance and the green power light is on.
• The house fuses are intact and the fuse in the plug has not blown.
• The on/o switch is not set to o.
• The plug socket is functioning fine. To check this, plug another
electrical appliance in to see if the socket is faulty.
If the appliance is working, but not very well, check the following:
• The appliance is not overloaded.
• The thermostat is set to an appropriate temperature.
• The doors are closing properly.
• The cooling system at the rear of the appliance is clean and free of
dust, and not touching the rear wall.
• There is enough ventilation at the side and rear walls.
If the appliance is noisy, check the following:
• The appliance is level and stable.
• The side and rear walls are clear, and there is nothing resting on the
appliance.
• Note: The cooling gas in the refrigerator may make a slight bubbling
or gurgling noise, even when the compressor is not running.

12
If there is water in the freezer, check the following:
• The appliance has power and the green power light is on.
• There are no items touching the rear wall of the appliance. If there
are, adjust their position so that they no longer touch it.
• That there is some resistance when opening the door of the
appliance. If it opens at the slightest touch it may mean that the door
seal needs to be replaced.
• Inspect the door seal for any kinks, debris or damage. If you notice
any, and are unable to resolve the issue yourself, contact CDA
Customer Care so that the seal can be replaced.
If excessive ice or frost has formed in the freezer:
• It is normal for some ice and frost to form in the freezer. This does
not constitute a fault with the appliance. If the ice layer is thicker
than 5mm, try defrosting the appliance.
• Ensure that the thermostat is at the position you intend for it to be
and hasn’t been accidentally set to the highest setting. If the freezer
is set to the maximum, try lowering the setting.
• Check that there is some resistance when opening the door of the
appliance. If it opens at the slightest touch it may mean that the door
seal needs to be replaced.
• Check the door seal for any kinks, debris or damage. If you notice
any, and are unable to resolve the issue yourself, contact CDA
Customer Care so that the seal can be replaced.
If the temperature warning light (
!
) is on:
• It may mean that your door seal is defective. Carry out the above
two door seal checks. If the door has been reversed recently, check
page 19. If the problem persists, contact CDA Customer Care.

13
= Airflow
Installation and Ventilation
This appliance must never be installed close to heat sources, e.g.
heating elements, cookers or in damp places.
• To ensure the appliance is level, you should use the height
adjustable feet at the front of the appliance.
• The cooling system at the rear of the appliance must not touch the
rear wall or cabinet.
• The appliance must be
installed with adequate
ventilation. Ensure that
there is clearance above
the appliance to allow air
to escape and that there is
space between the rear of
the appliance and the wall.
Fig. 5 shows the ventilation
requirements for your
appliance. Failure to provide
adequate ventilation can
lead to increased running
costs, premature failure and
may invalidate the warranty
provided with the appliance.
Further information regarding
ventilation is supplied on page
14.
Fig. 5

14
Ventilation
The main consideration when installing any refrigeration unit into
a fitted kitchen is ventilation. The heat removed from the cooling
compartment needs to be dissipated into the atmosphere. Incorrect
ventilation can lead to premature compressor failure, excessive power
consumption and total system failure. For products intended to be
installed into a housing unit, the following requirements need to be
met:
Important
Please follow the instructions to install this unit.
plan view of rear ventilation gap
The top of the cabinet needs to be
vented into the room
Recommended size of vent opening:
500 x 30mm
If the furniture does not allow free air
into the room then a plinth vent, or other
means of ventilation needs to be pro-
vided to ensure a natural flow of air
There should be space at the rear of the
cabinet to allow cool air to be drawn over
the condenser.
Recommended:
500 x 35mm
An air intake
should be provided
somewhere in
the cabinet run to
allow free air in.
In this example, a
plinth vent is shown
underneath the
refrigerator .
A cutout should be
made in the plinth
below the fridge/
freezer and this
finished neatly using
the air vent grille
supplied.
Alternatively, a thin
section of the plinth
can be removed
to allow air into the
unit (recommended
600mm x 10mm).
Refrigerator
outline
Min 30mm
Fig. 6

15
The open channel at the rear is clearly shown. For the correct
operation of the appliance it is important that the top of the housing
unit is not blocked o. A channel depth of 40-50mm is normal with
most units.
A ventilation hole is required in the plinth of the unit; this allows air to
be drawn over the compressor & heat exchange. A decorative grille
is supplied with the appliance to finish this vent neatly. Alternatively
the required air flow can be achieved by removal of a thin section of
plinth (recommended 600mm x 10mm minimum).
As a rule, the more air that can get in to the furniture cabinet, the
better and more ecient the operation of the product.

16
Mounting the fascia doors
2
1
fig. 10
Fig. 8 - Fitting the decor door bracket
Remove the white decorative cover (Fig. 7) by lifting it upwards.
Obtain the below measurements:
Dimension B= Measure from the
underside surface of kitchen unit
to the bottom of fixing bracket.
Dimension C= Measure from the
underside surface of kitchen unit
to the top of next unit door.
Unscrew and remove the nuts
and washers from the top of the
appliance door to remove the bracket.
Fig. 9 - Fitting the decor door bracket
Subtract C from B and put the
fixing bracket (2) in place using this
measurement for vertical position and
place to the centre for horizontal position.
Secure the fixing bracket (2) using
screws(1).
Fig. 10 - Fitting the decor door
Place the decor door onto the appliance
door by inserting adjustment bolts into
the slots on the fixing bracket. Locate
the washers and screw the nuts onto the
adjustment bolts.
fig. 8
fig. 9
fig. 7

17
Fig. 11 - Aligning the decor door
Close the door and check the
alignment with the other unit doors.
Adjust the decor door by screwing or
unscrewing the adjustment bolts for
vertical adjustment and by the help of
the slots on the fixing bracket for other
directions. Lock the screws into place
as shown in Fig. 11.
Fitting the decor door base fixings
With the appliance door open, locate the metal decor door base fixing
brackets and screw the fixings to the decor door. You may need to
remove and re-fit these brackets depending upon the decor door
used.
Fitting the decorative cover
Re-fit the decorative cover, that you removed in the first step, on to
the decor door fixing bracket.
Check that the whole door assembly operates smoothly and that the
door seal of the freezer is still creating a seal.
fig. 11
10
10
8

18
Reversing the freezer door
We recommend you seek the help of another individual to support the
doors whilst performing this operation.
1. Open the door.
2.Carefully prise o the white cover
caps for the side that you wish to
switch the hinges to.
3. Loosen the screws that hold the
hinges to the freezer cabinet and
remove the door.
4. Remove the screws that secure the
hinge to the door.
5. Place the door somewhere
safe where it will not cause or
receive damage.
6. Relocate the hinges to their
opposing corners as shown in Fig.
12.
7. Refit the door to the hinges.
Do not turn the door upside down.
8. Insert the cover caps (3) on the
opposite side in the exposed holes.
9. Ensure that the door seal is correct,
as per page 19.
fig. 12

19
Ensuring the door seals correctly:
It is normal for the seal to be compressed after the door has been
reversed.
With the door closed, use a hair dryer to expand the seal and fill the
gap between the door and the body of the appliance.
Take care not to use the hair dryer too close to the appliance, which
could damage the seal. A distance of approximately 10cm should be
adequate.
When completed, allow the seal and door to cool before touching them.
Once done, the seal will remain in position.
Climate range
The information about the climate range of the appliance is provided
on the rating plate. It indicates at which ambient temperature (that is
room temperature in which the appliance is working) is optimal for the
operation of the appliance.
Climate class Allowable ambient temperature
SN Extended Temperate This refrigeration appliance is intended for
use at an ambient temperature ranging
between 10°C and 32°C
N Temperate This refrigeration appliance is intended for
use at an ambient temperature ranging
between 16°C and 32°C
ST Sub Tropical This refrigeration appliance is intended for
use at an ambient temperature ranging
between 16°C and 38°C
T Tropical This refrigeration appliance is intended for
use at an ambient temperature ranging
between 16°C and 43°C

20
Electrical Information
Warning! This appliance must be earthed.
The mains lead of this appliance has been fitted with a BS 1363A
13Amp fused plug. To change a fuse in this type of plug, follow the
steps below:
1. Remove the fuse cover and fuse.
2. Fit replacement 13A fuse, ASTA approved to BS 1362 type, into the
fuse cover.
3. Replace fuse cover.
Important: Do not use the appliance without the fuse cover in
position.
How to connect an alternative plug
If the fitted plug is not suitable for your socket outlet, then it should
be cut o and disposed of safely to avoid possible shock hazard. A
suitable alternative plug of at least 13 Amp rating to BS 1363 should be
used.
As the colours of the wires in the mains lead of this appliance may not
Blue to Neutral
Cord Clamp
13A Fuse
Brown to live
Green and yellow to earth
13 A
A
B
Fig. 12
Table of contents
Other CDA Freezer manuals

CDA
CDA FW927 Installation and operating instructions

CDA
CDA FF881 User guide

CDA
CDA FW952 Quick start guide

CDA
CDA PC84 Quick start guide

CDA
CDA FF660 Quick start guide

CDA
CDA FW281 Reference manual

CDA
CDA FW482 Safety guide

CDA
CDA PC900 Quick start guide

CDA
CDA NANCY Service manual

CDA
CDA FW880 Reference manual