9
CDL Maple Sugaring Equipment Inc.
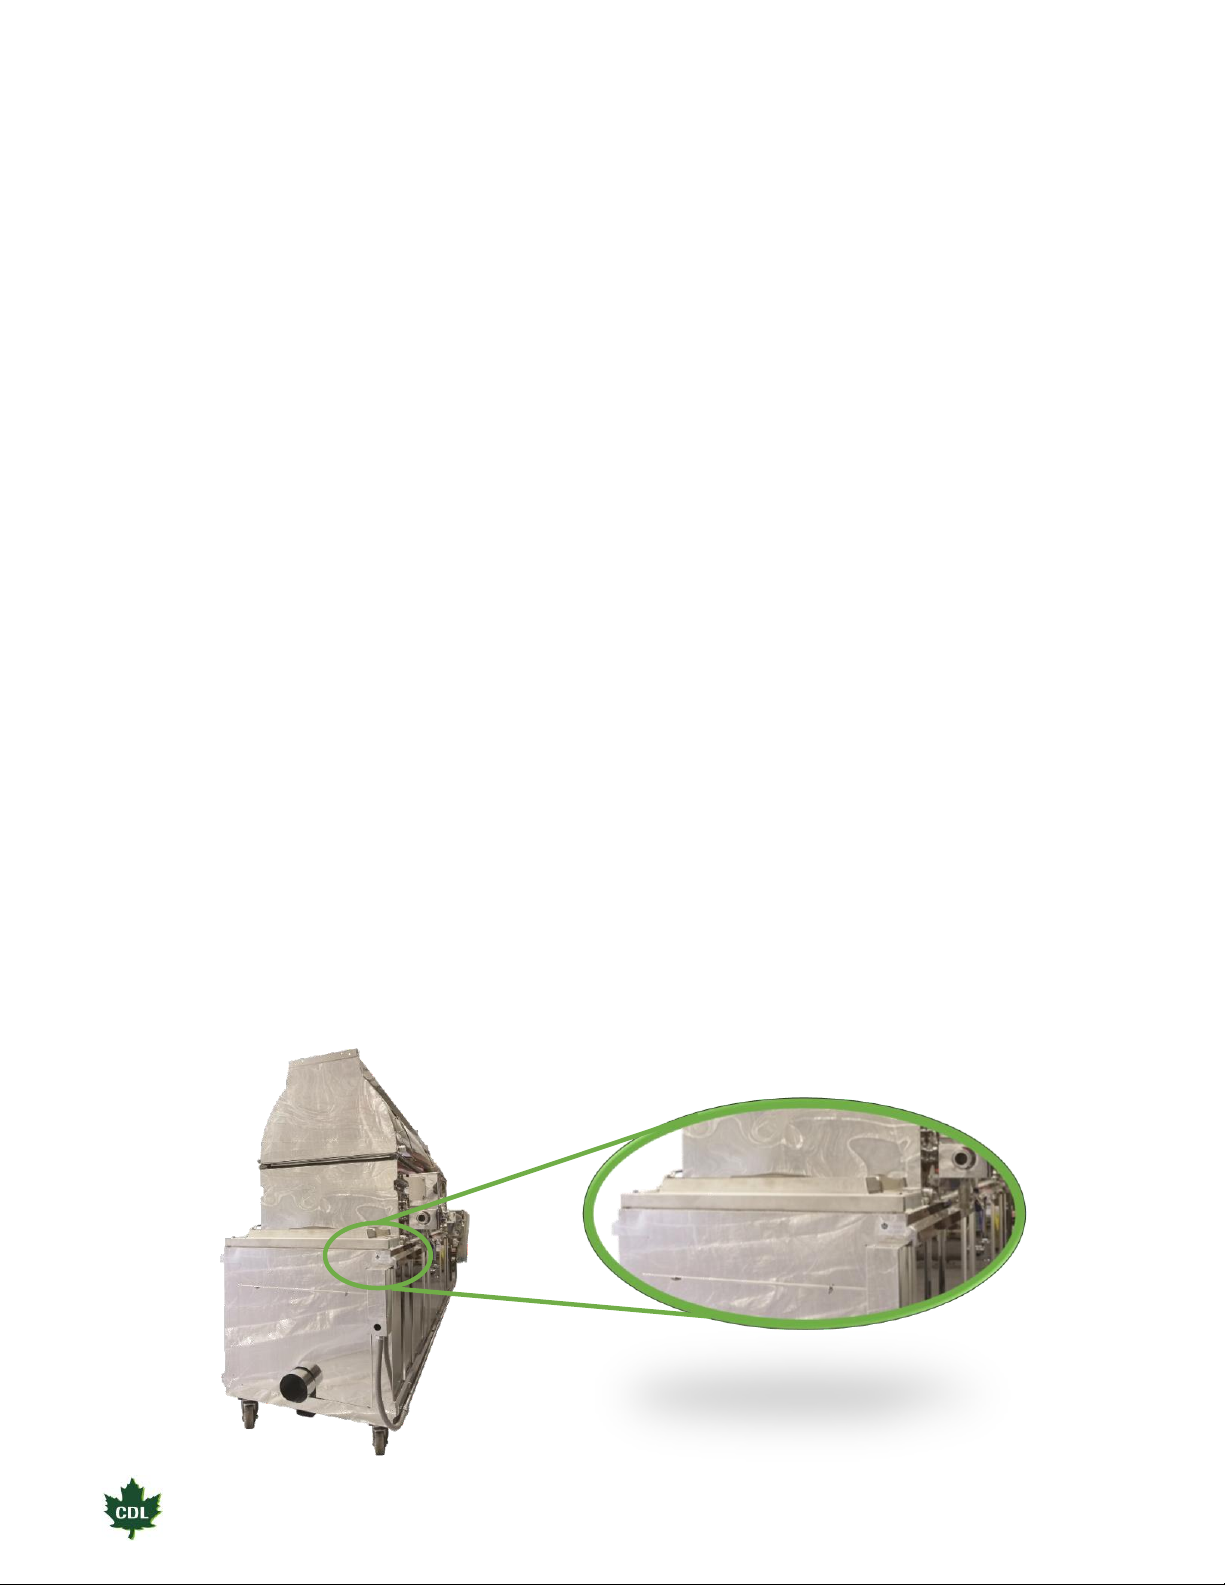
ASSEMBLY
Now that your arch has been bricked and insulated, you can assemble the pans, jacks, and
collars.
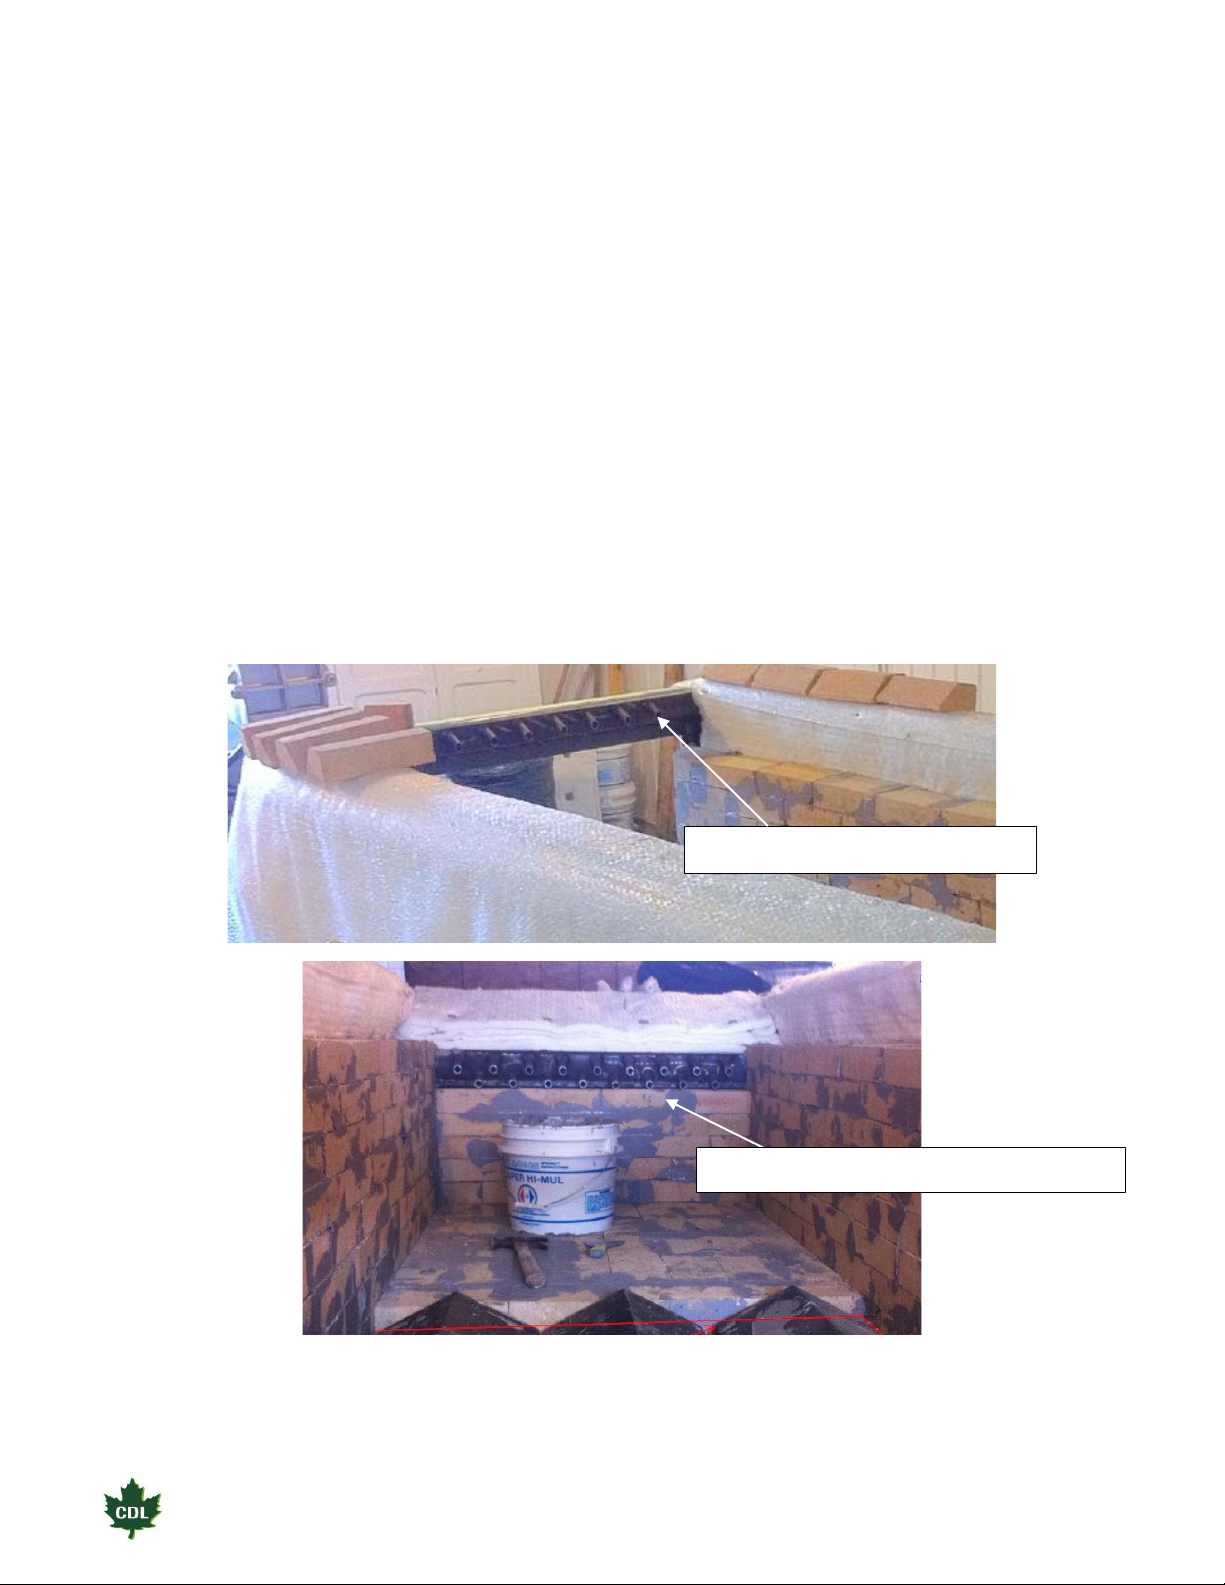
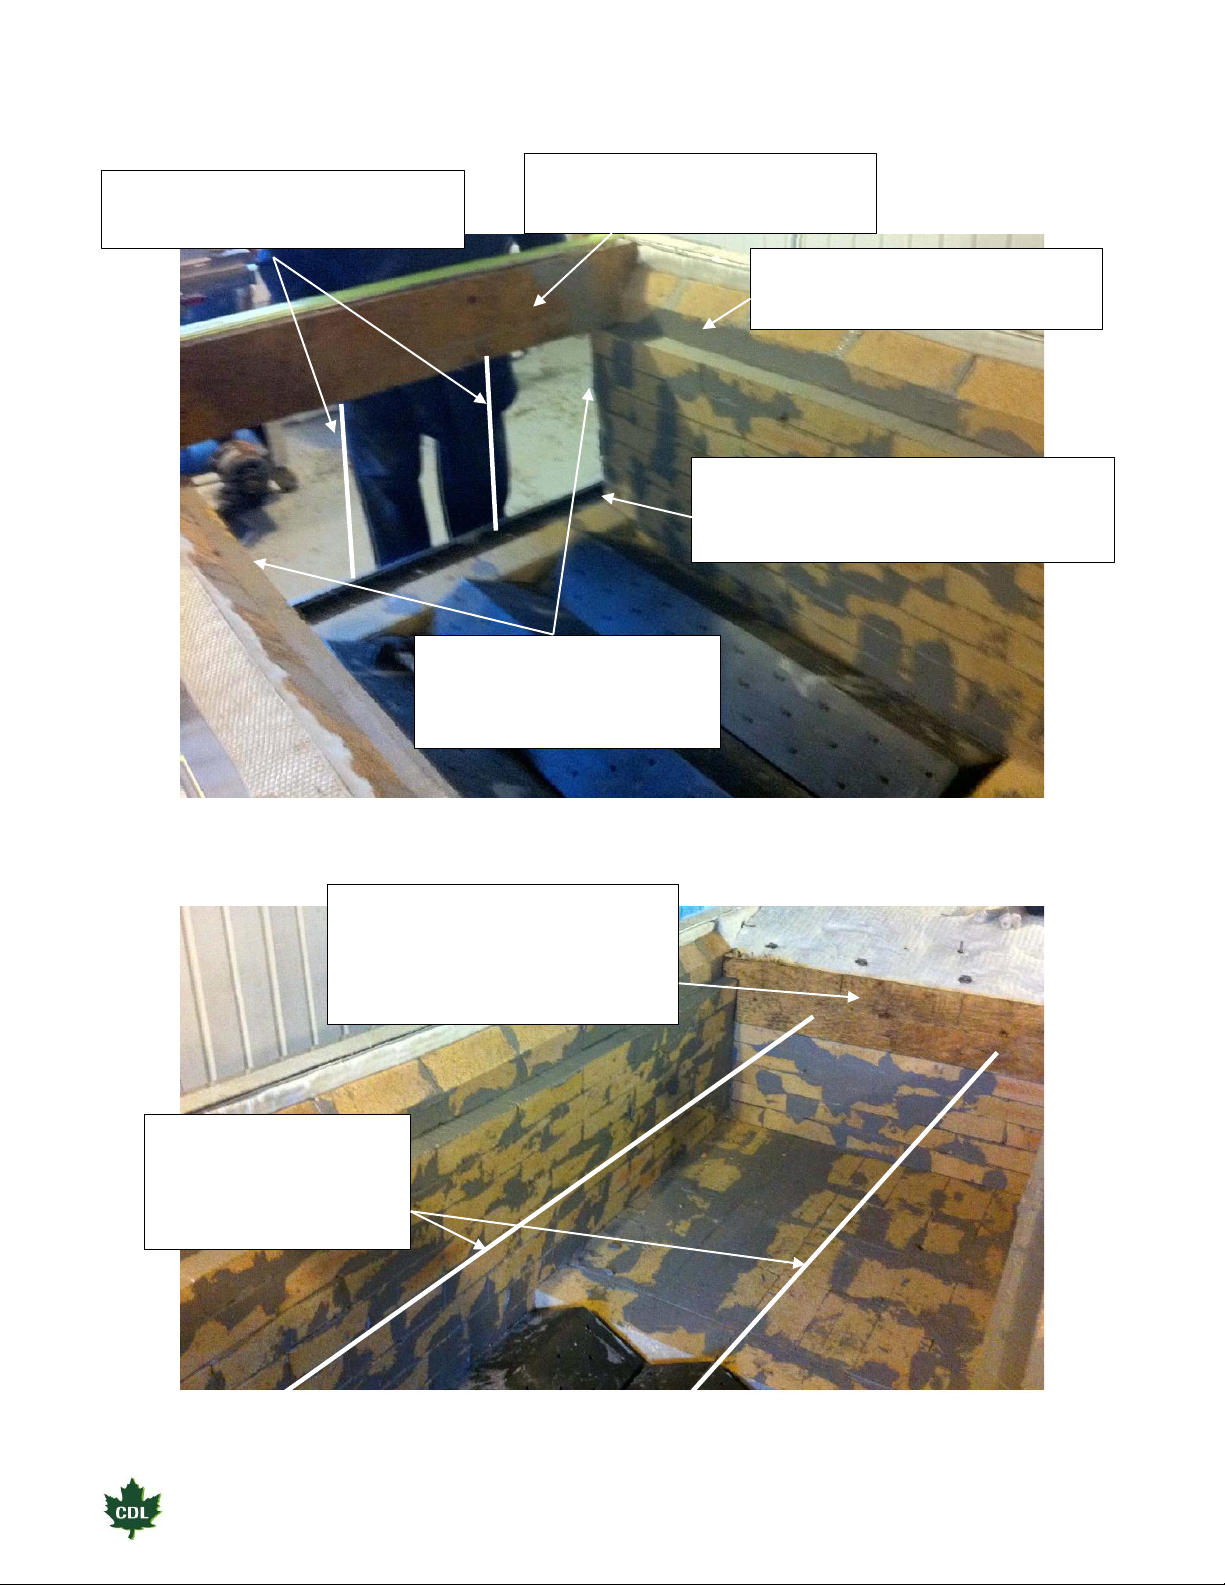
1. Install the pans on the base, starting with the rear spacer and the flue pan (the largest).
Do not forget to install the pan spacers. Next, install the syrup pans in the front. You must
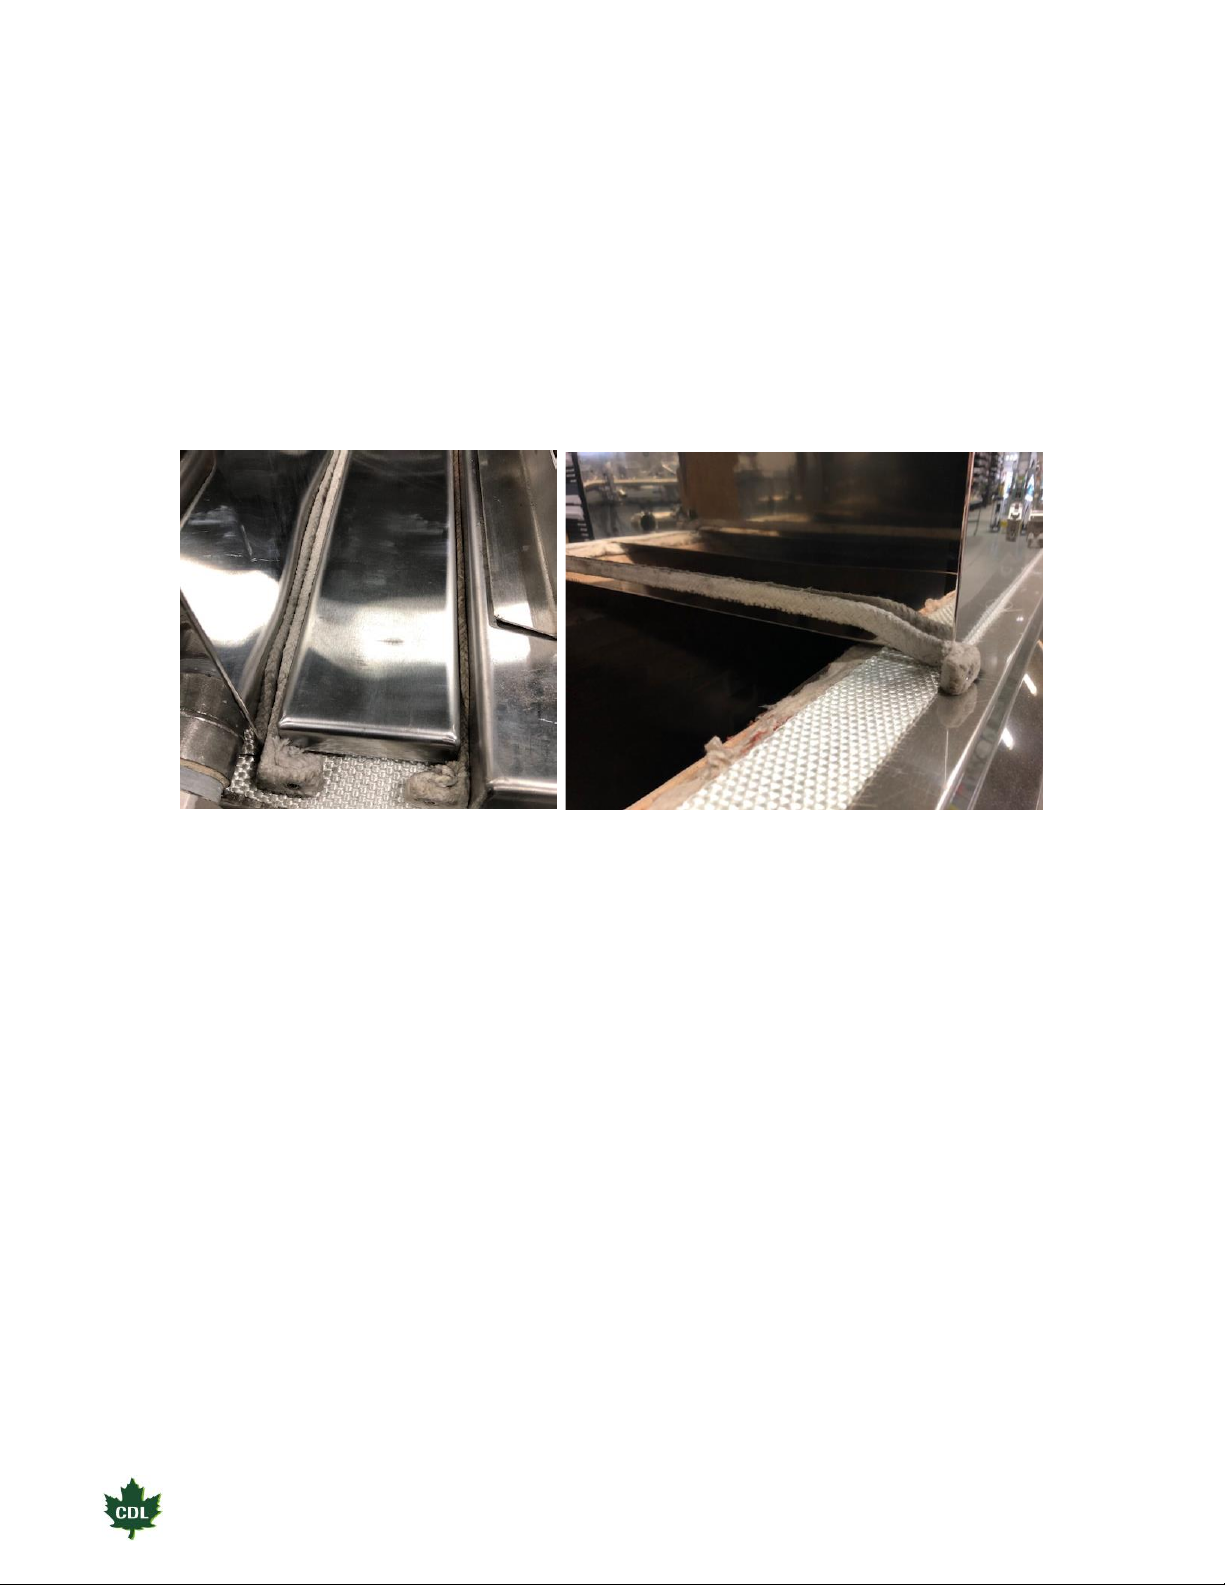
have an insulating pan spacer at each joint; make sure to install them with the curved
edge facing up (see photos). Check that the pans are level and clamp them properly
together using the front pan clamp.
2. Install the jack(s) on the roof; each jack must be perfectly aligned with the stacks on
the evaporator. Make sure the joint is tightly sealed to prevent leakage. (In order to
avoid complications with potential claims, we suggest you check with your insurance
company to find out the required clearance for the smoke stack as each insurance
company has its own rules.)
4. Using rivets or self-piercing screws, install the entire provided smoke stack, starting
with the base and including the strip of insulating wool at the base of the stack. Install
all pipes supplied with the evaporator; the pipes must be at least twice as tall as the
length of the evaporator. The pipes must extend 2 feet beyond the pinion.
5. Install the steam stacks (if applicable) following the same procedure.
6. Place the collars, then install the China cap and/or stack covers on the outside of the
building. Hinged stack covers will require you to run a cable for opening and closing
the cap from inside the building. (Note: Hinged stack covers should always be installed
in a way that prevailing winds can close the cap.)
7. Attach steel cables to the pipes to keep them attached and in place. Do not tighten the
cables too much, as the stack expands as it heats up.
8. Remove the protective plastic film from the stainless steel finish on all evaporator
parts. (Note: The film can be very difficult to remove in cold weather.)