manuals.online logo
Brands
  1. Home
  2. •
  3. Brands
  4. •
  5. CDP
  6. •
  7. Rack & Stand
  8. •
  9. CDP Mailbox Protector User manual

CDP Mailbox Protector User manual

All of us at Custom Design Products would like to sincerely thank you for your purchase of the Mailbox
Protector. Our goal is to create products that are designed to add value to and protect your largest
investment- your home. Our number one priority is quality and we are proud to say that our products are
100% designed and manufactured in Kalamazoo, Michigan.
We want to hear what you think of the Mailbox Protector! Your opinion is important to us as we want to
continue to improve our products and serve our customers. Please email us at
sales@customdesignproductsusa.com, by phone at (269) 323-7864 (M-F 8:00-4:00 EST), or by visiting our
website at www.customdesignproductsusa.com.
Sincerely,
Custom Design Products Team
What’s Required
(Not Included)
What’s Included
1 5/8” X 6’ Chain Link
Fence Post Pipe
(Preferred) OR 5’ T-
Post(2 Req.)
x1
x4
x1
x7
x2
Accessory Slot
D
C
A
B
E
We offer PROFESSIONAL INSTALLATION throughout West Michigan.
Contact us at (269) 323-7864 (M-F 8:00-4:00 EST) or email us at
sales@customdesignproductsusa.com for more information. You can
also find out more at www.customdesignproductsusa.com
Post Driver
Level
Phillips
Screwdriver
(#6)
Tape Measure
www.customdesignproductsusa.com
Always follow local rules and regulations. Verify underground utilities prior to installation by calling an underground
utility locating service at 811.
Step # 1
Drive first pole/post
into the ground using
post driver. Use level
to ensure
straightness. 48”
should be left above
ground level.
Step # 2
Use panel to
establish spacing for
second pole/post.
Distance between
pole/post is 19” on
center. Drive second
pole/post to the same
depth of 48”.
A
Step # 3
Snap together (3)
pieces for each
pole/post.
Slide assemblies on
each pole/post.
Note: (1) extra
piece provided for
uneven ground.
B
B
Step # 4
Slide (4) panel
onto leg assemblies,
snapping each panel
into place by pushing
down firmly in center.
A
Step # 5
Slide panel onto
assembly with
accessory slot facing
AWAY from street.
This slot to be used
for CDP Mailbox
Protector Accessories.
If you desire, now is
the time to install the
included flag bracket.
Accessory Slot
C
Step # 6
Place on top of
assembly. Using the
two outside
counterbored holes,
fasten with
screws (2) using a #6
Phillips screw driver.
D
E
www.customdesignproductsusa.com
Note: The 2 inner
holes are to mount
the optional
(included) address
plaque.

Popular Rack & Stand manuals by other brands

SUSPENZ Double SUP Cart 22-9934 quick start guide

SUSPENZ

SUSPENZ Double SUP Cart 22-9934 quick start guide

Handicare LinidoSolutions LI2608.000 Series manual

Handicare

Handicare LinidoSolutions LI2608.000 Series manual

Star Progetti Giraffa Assembly instructions

Star Progetti

Star Progetti Giraffa Assembly instructions

Vicoustic VicFix Frame 3x1 Installation procedures

Vicoustic

Vicoustic VicFix Frame 3x1 Installation procedures

Alice's Garden PEDIBUS PUBASE45GY manual

Alice's Garden

Alice's Garden PEDIBUS PUBASE45GY manual

dellonda DH24 manual

dellonda

dellonda DH24 manual

BELIMED WD 750 manual

BELIMED

BELIMED WD 750 manual

Elkay MPW200 instructions

Elkay

Elkay MPW200 instructions

Steelcase Nurture Sharelink 8 manual

Steelcase

Steelcase Nurture Sharelink 8 manual

Crestron TS-70 Series quick start

Crestron

Crestron TS-70 Series quick start

Scanstrut PTM-R1-S40 installation instructions

Scanstrut

Scanstrut PTM-R1-S40 installation instructions

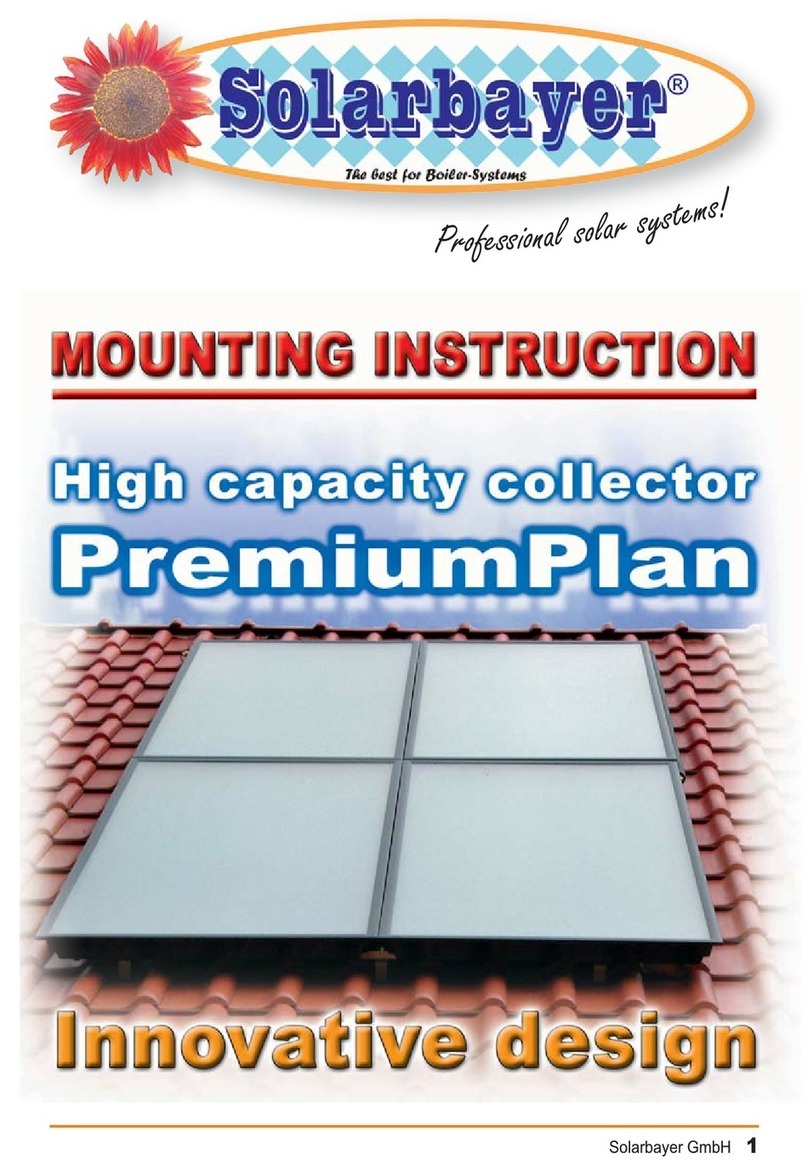
Solarbayer PremiumPlan Mounting instruction

Solarbayer

Solarbayer PremiumPlan Mounting instruction

Neumann.Berlin LH 61 Mounting manual

Neumann.Berlin

Neumann.Berlin LH 61 Mounting manual

Hathaway DELUXE FLOOR CUE RACK BG2565 Assembly instructions

Hathaway

Hathaway DELUXE FLOOR CUE RACK BG2565 Assembly instructions

andover Model-One product manual

andover

andover Model-One product manual

ricoo S2522 quick start guide

ricoo

ricoo S2522 quick start guide

Monster SUPERTHIN Installation manual and warranty

Monster

Monster SUPERTHIN Installation manual and warranty

peerless-AV dvLED Series installation instructions

peerless-AV

peerless-AV dvLED Series installation instructions

manuals.online logo
manuals.online logoBrands
  • About & Mission
  • Contact us
  • Privacy Policy
  • Terms and Conditions

Copyright 2025 Manuals.Online. All Rights Reserved.