Important Notes 1.0
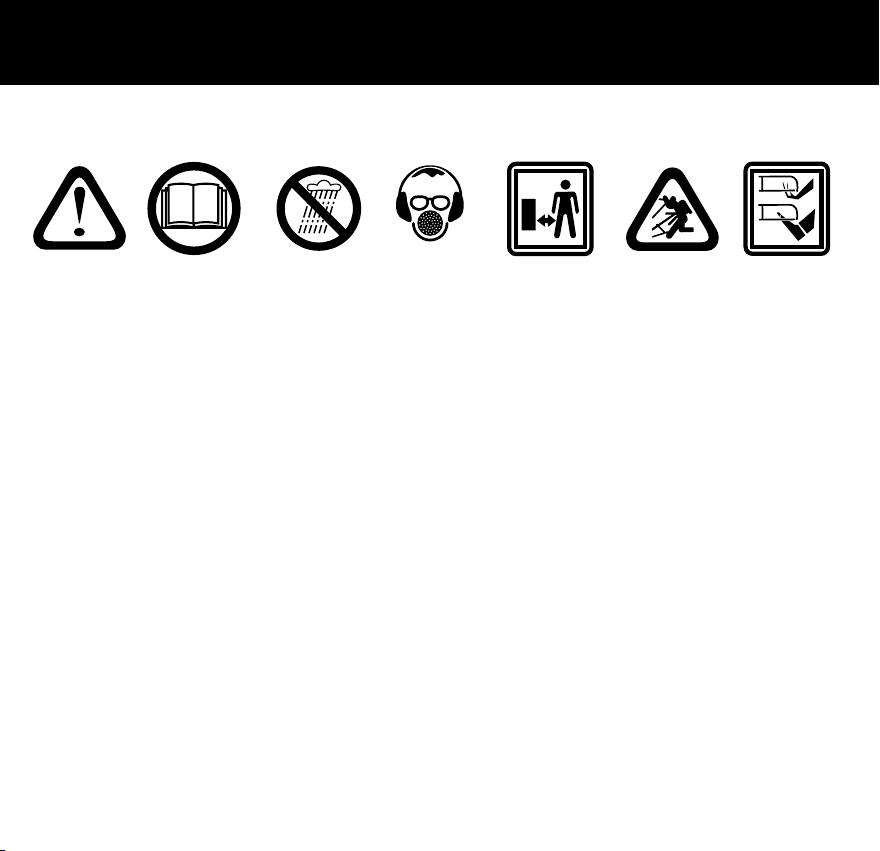
Breathing protection should be worn when cutting some plants.
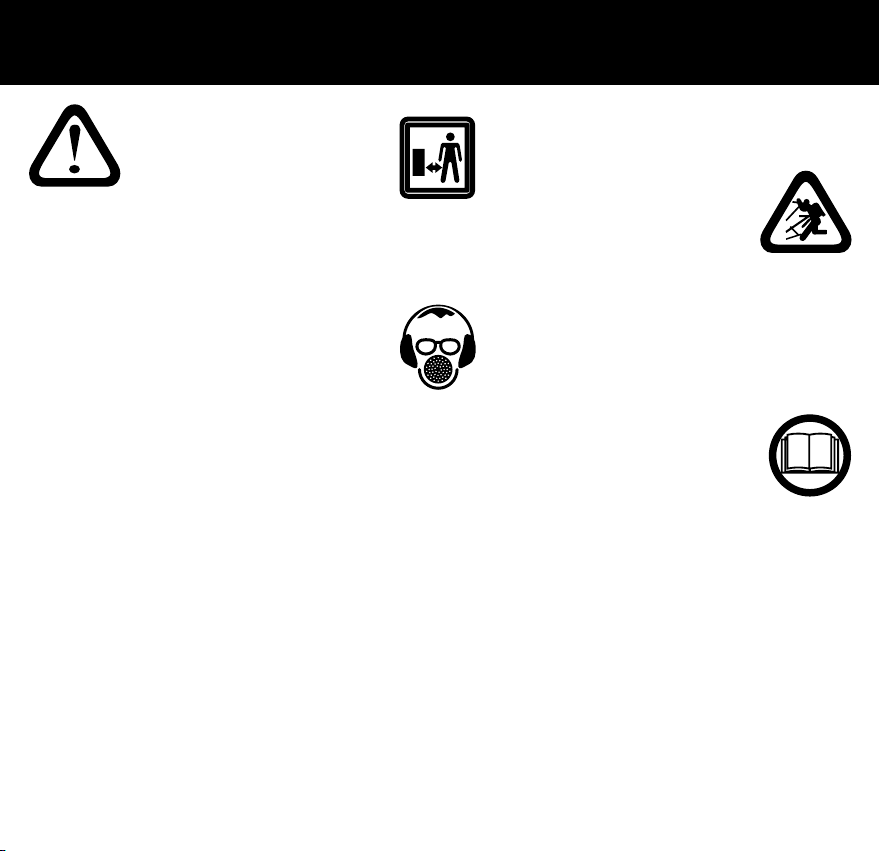
Use at adistance of at least 5m from other people.
Conforms to relevant standards for electromagnetic compatibility.
Safety instructions
To use this tool properly,you must observe the safety limitations,the assembly instructions and the operating instructions to be found in this
Manual.All persons who use and service this machine must be acquainted with this Manual and must be informed about it'spotential
hazards.Children and infirm people must not use this tool.Children should be supervised at all times if they are in the area in which the tool
is being used.It is also imperative that you observe the accident prevention regulations in force in your area.The same applies for general
rules of occupational health and safety.
The manufacturer shall not be liable for any changes made to the tool nor for any damage resulting from such changes.
Even when the tool is used as prescribed it is not possible to eliminate all residual risk factors.The following hazards may arise in
connection with the tool'sconstruction and design:
Contact with the blade.
Kickback.
Blade fracture.
Catapulting of blade pieces.
Damage to eyes if effective safety glasses or shield are not worm.
Damage to ears if effective ear defenders are not worn.
Injury or illness caused by inhalation of cuttings if breathing protection is not sufficient.
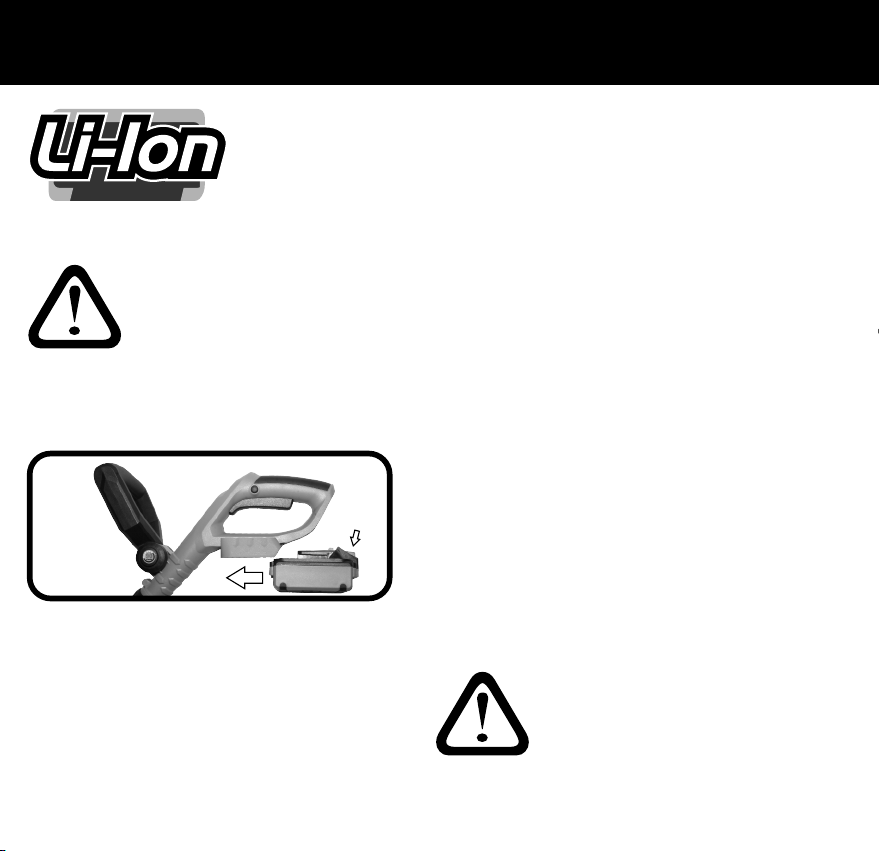
Always remove the battery from the tool before making any adjustments or performing maintenance.
Store tools safely.When not in use,tools should be stored in adry,high place or locked up out of reach.
Do not force the tool.The tool will do the job better and safer working at the rate for which it was designed.
Use the correct tool for the job.Do not force small tools or attachments to do the job best handled by aheavier duty tool.Never use atool for
apurpose other than that for which it was intended.
Dress correctly.Do not wear loose clothing or jewellery.They can be caught in moving parts.
Rubber gloves and non‑slip footwear are recommended while working outdoors.If you have long hair,wear aprotective hair covering.
Use safety accessories.Safety glasses and ear muffs should always be worn.
Do not overreach.Keep your footing secure and balanced at all times.
Important Notes 1.0
Look after your tools.Keep tools clean and sharp for better and safer performance.Follow the instructions regarding lubrication and
accessory changes.Keep tool handles dry,clean and free from oil and grease.
Disable idle tools.
Remove the battery from the tool before servicing and when the tool is not in use.
Avoid unintentional starting.Make sure that the switches are in the OFF position before attaching the battery.
Stay alert Watch what you are doing,use common sense.Do not operate apower tool when you are tired.
Check for damaged parts.
Before using atool,check that there are no damaged parts.If apart is slightly damaged,carefully determine it will operate property and
perform its intended function.Check for alignment of moving parts,binding of moving parts,breakage of parts,proper mounting and any
other conditions that may affect the operation of the tool.Aguard or other part that is damaged should be properly repaired or replaced by
an authorized service facility,unless otherwise indicated in the is Instruction Manual.
Defective switches must be replaced by an authorised service facility.Do not use atool if the switch does not turn the tool on and off
correctly.
Guard against electric shock.Prevent contact with grounded objects such as water pipes.
Use only approved parts.When servicing,use only identical replacement parts.Use an authorised service facility to fit replacement parts.
Do not let tool run unattended.
Always wait until your power tool has come to acomplete stop and remove the battery before leaving it.
WARNING.The use of an accessory or attachment,other than those recommended in this Instruction Manual,may present arisk of
personal injury.
The tool must be used only for its prescribed purpose.Any use other than those mentioned in this Manual will be considered acase of
misuse.The user and not the manufacturer shall be liable for any damage or injury resulting from such cases at misuse.
Additional safety rules for line trimmers
Do not use the trimmer in the rain or in a damp area.
Keep hands and fingers well away from the cutting area.
Wear work gloves,eye, ear and breathing protection,solid shoes and trousers while using this trimmer.
Always grasp both handles when operating the unit, only operate the machine in its intended orientation.
Remove the battery when you have finished cutting,before cleaning or if you have been interrupted.
This trimmer has been designed to cut soft,new growth and should not be used on branches,hard wood or other forms of cutting.
Do not attempt to free adebris or check the cutting line before first switching off the machine and removing the battery.
Check the area to be cut for stones and anything that may be flung by the tool. Remove wire and string as it may damage the trimmer.
Do not cut against hard object, this may damage the tool and cause injury.
Never use the machine without the safety devices properly fitted and undamaged
WARNING, the guard is for the safety of the operator and bystanders, never remove it while operating the machine.
Never touch or go near the cutting area while the motor is still turning, the tool may take a few seconds to slow down after the trigger is
released.
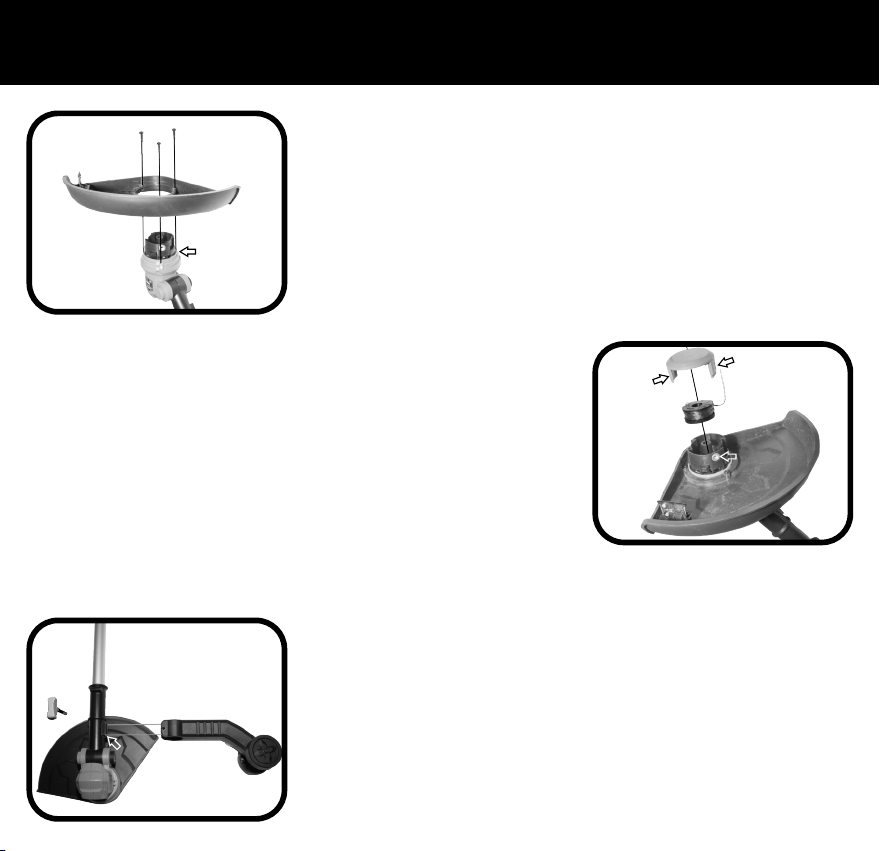
Only use nylon string as supplied or identical replacements designed specifically for this tool.
Only cut if lighting levels are adequate.
Do not activate the tool if there is debris in the vents or otherwise obstructing operation.
Release trigger when moving between work areas, gravel paths can create flying debris danger.
If the machine appears to have any fault or makes any unusual sounds please consult the manual a service centre or your retailer.
If you are interrupted while operating the trimmer,complete the process and switch off before looking up.
Never allow untrained users or children to use the trimmer.
Wear goggles,Wear ear muffs,Wear breathing protection,
Wear work boots, Wear protective clothing.
Description of symbols
The rating plate on your tool may show symbols.These represent important information about the
product or instructions on its use.
Sharp
Blades
Flying
Debris
Keep
Bystanders
Away
Protect
Eyes, Ears,
Lungs
Keep DryRead
Instructions
General
Hazard