manuals.online logo
Brands
  1. Home
  2. •
  3. Brands
  4. •
  5. Celebrations Home
  6. •
  7. Artificial Pine Tree
  8. •
  9. Celebrations Home 9044177 User manual

Celebrations Home 9044177 User manual

9044177
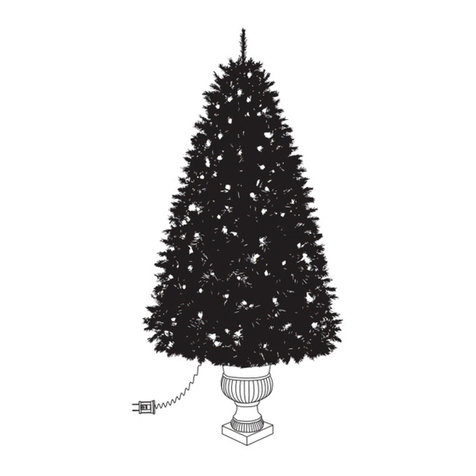
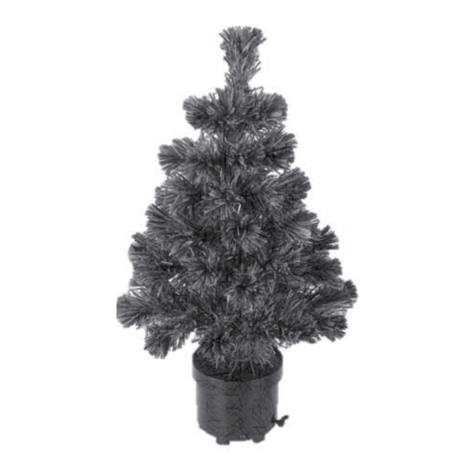
4.5 ft SMITHTOWN PRE-LIT FISHBONE
TIP TREE
A
B
TREE - TOP
TREE - CENTER
1
1
PART DESCRIPTION QUANITY
C
D
TREE STAND
SPARE PARTS PACKET
1
1
PART DESCRIPTION QUANITY
Please check to make sure you have the following parts
Before You Begin
When using electrical products, basic precautions should always be
followed, including the following:
• Do not use seasonal products outdoors unless marked suitable for
indoor and outdoor use. When products are used in outdoor
applications, connect the product to a Ground Fault Circuit Interrupting
(GFCI) outlet. If one is not provided, contact a qualified electrician for
proper installation.
• This seasonal product is not intended for permanent installation or use.
• Do not mount or place the product near gas or electric heaters,
fireplaces, candles, or other similar sources of heat.
• Do not secure the wiring of the product with staples or nails, or place on
sharp hooks or nails.
• Do not let lamps rest on the supply cord or on any wire.
• Unplug the product when leaving the house, when retiring for the night,
or if left unattended.
• This is an electric product-not a toy! To avoid risk of fire, burns, personal
injury and electric shock it should not be played with or placed where
small children can reach it.
• Do not use this product for other than its intended use.
* Do not hang ornaments or other objects from cord, wire, or light string.
• Do not close doors or windows on the product or extensions cords as
this may damage the wire insulation.
• Do not cover the product with cloth, paper, or any material that is not a
part of the product when in use.
• This product is equipped with push-in type lamps. Do not twist lamps.
• This product employs overload protection (fuse). A blown fuse indicates
an overload or short-circuit situation. If the fuse blows, unplug the
product from the outlet. Also unplug any additional strings or products
that may be attached to the product. Replace the fuse as per the user
servicing instructions (follow product marking for proper fuse rating) and
check the product.If the replacement fuse blows, a short-circuit may be
present and the product should be discarded.
Read and follow all instructions that are on the product or provided with
the product. SAVE THESE INSTRUCTIONS.
FCC NOTICES:
WARNING: Changes or modifications to this unit not expressly approved
by the party responsible for compliance could void the user’s authority to
operate the equipment.
NOTE: This equipment has been tested and found to comply with the limits
for a Class B digital device, pursuant to Part 15 of the FCC Rules. These
limits are designed to provide reasonable protection against harmful
interference in a residential installation. This equipment generates, uses
and can radiate radio frequency energy and, if not installed and used in
accordance with the instructions, may cause harmful interference to radio
communications. However, there is no guarantee that interference will not
occur in a particular installation. If this equipment does cause harmful
interference to radio or television reception, which can be determined by
turning the equipment off and on, the user is encouraged to try to correct
the interference by one or more of the following measures:
• Reorient or relocate the receiving antenna.
• Increase the separation between the equipment and receiver.
• Connect the equipment into an outlet on a circuit different from that to
which the receiver is connected.
• Consult the dealer or an experienced radio/TV technician for help.
This device complies with Part 15 of the FCC Rules. Operation is subject
to the following two conditions:
1. this device may not cause harmful interference, and
2. this device must accept any interference received, including interference
that may cause undesired operation.
IMPORTANT SAFETY INSTRUCTIONS - READ AND FOLLOW ALL SAFETY INSTRUCTIONS.
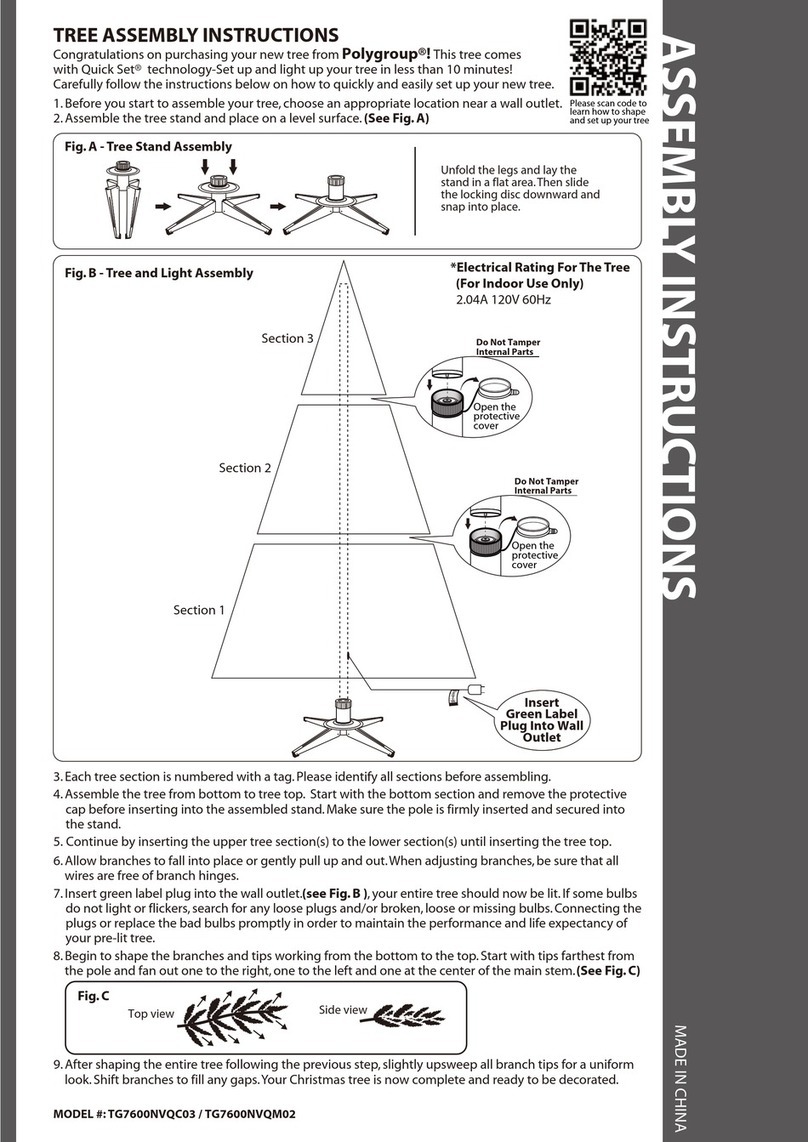
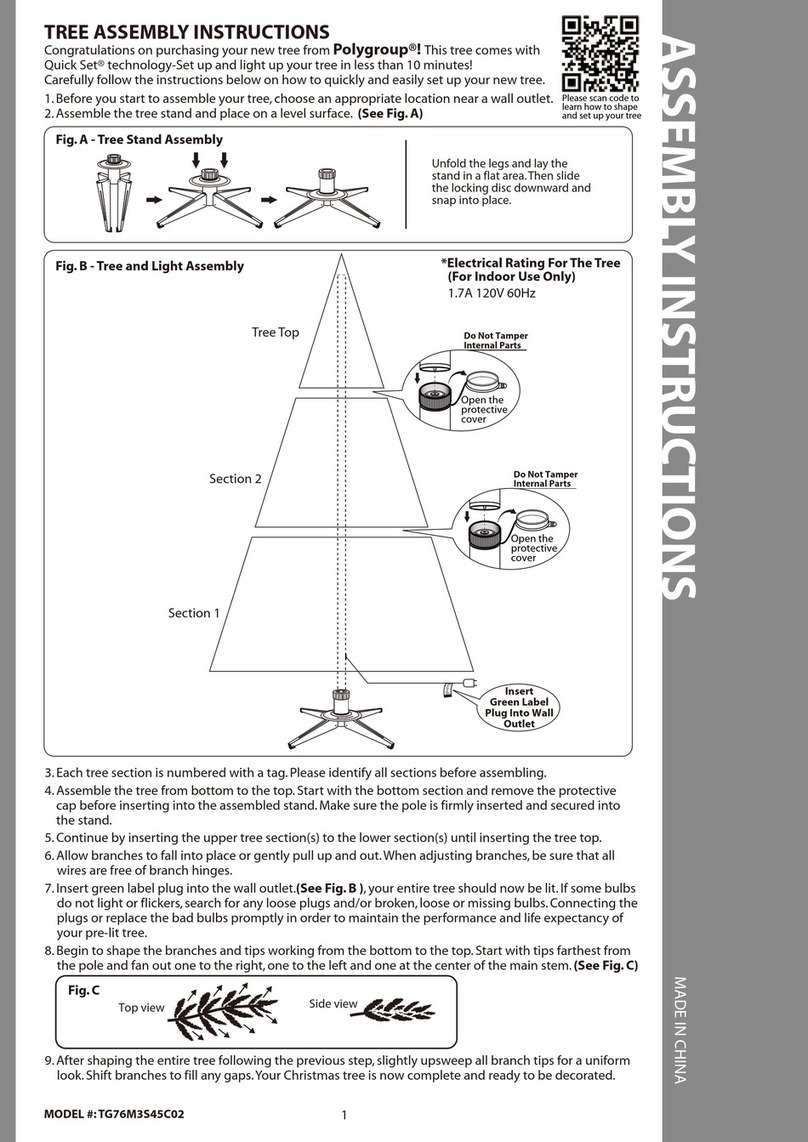
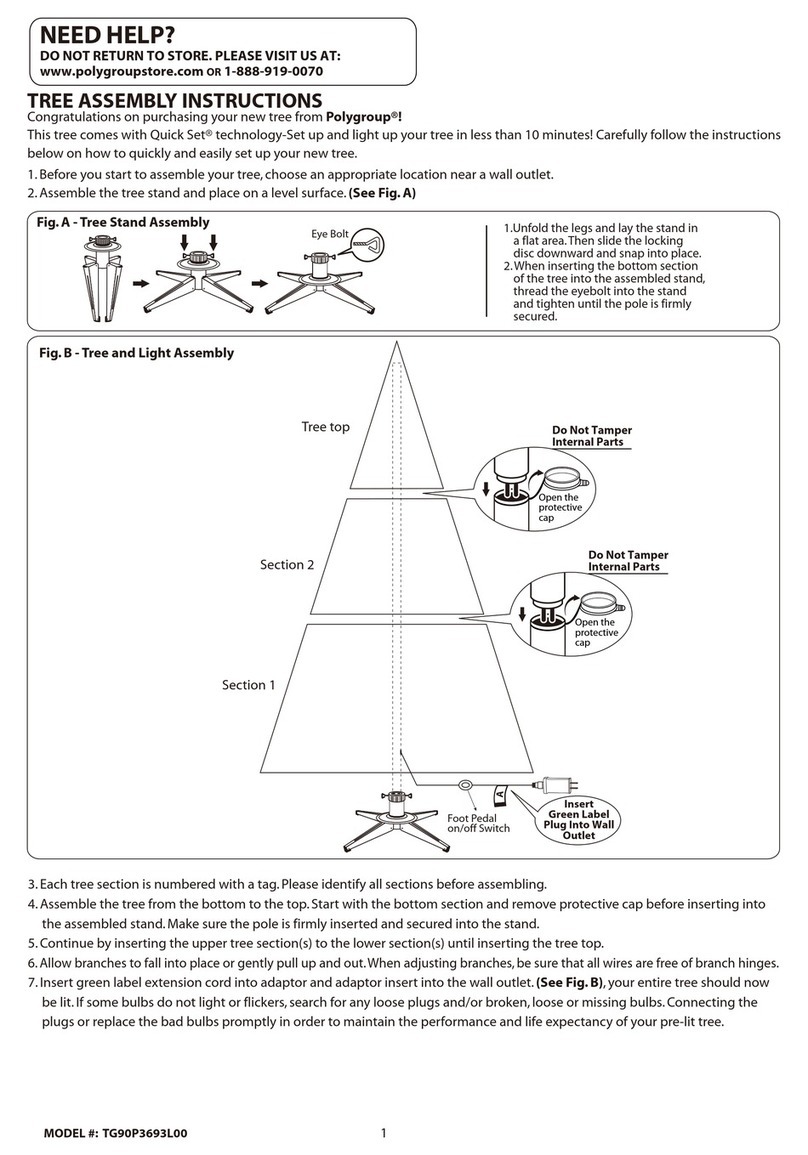
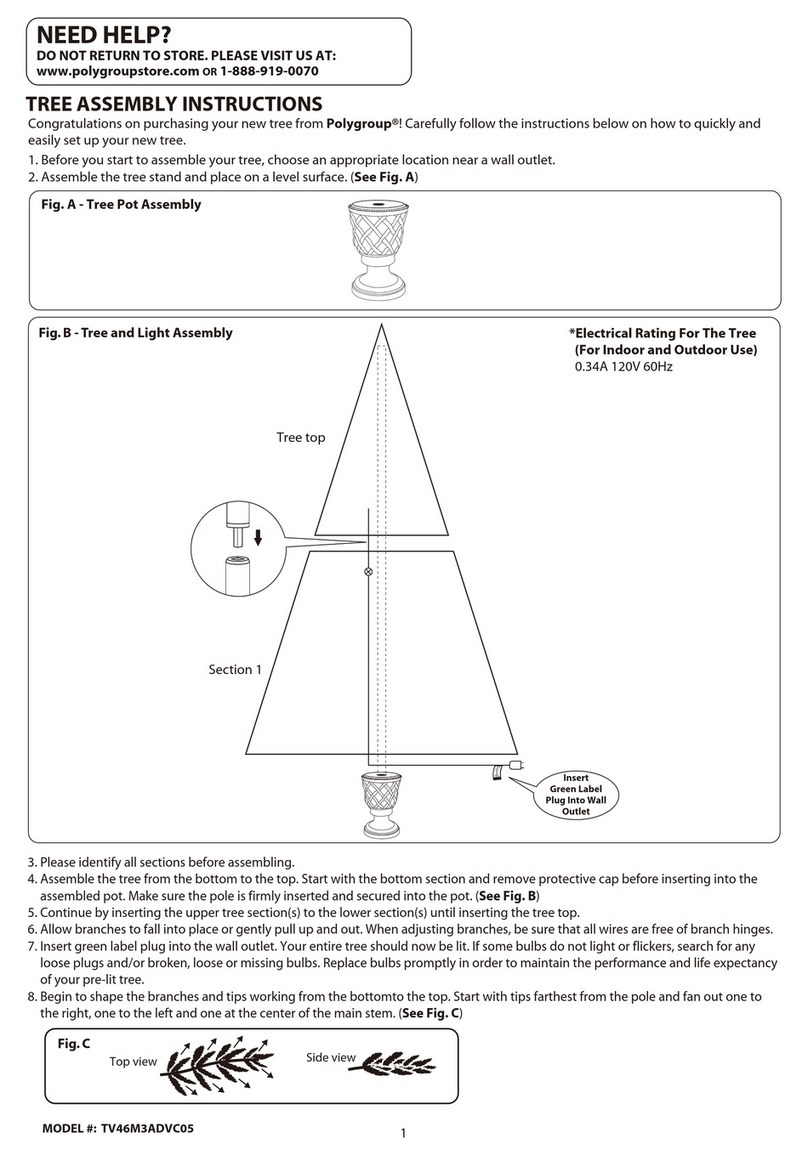
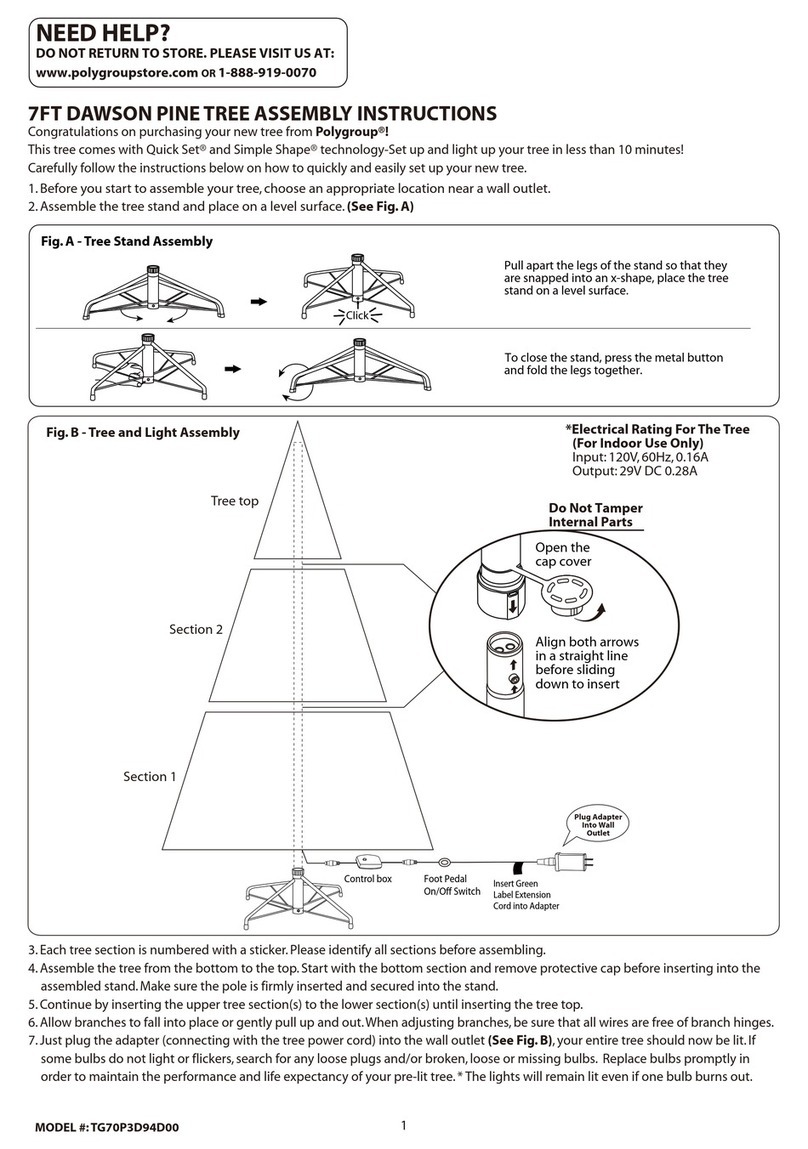
ASSEMBLING THE TREE
Step 1. Remove the protective caps from the tree bottom and insert the pole
into the tree stand.
Step 2. Continue by inserting the upper tree section(s) to the lower section(s)
until inserting the tree top.
Step 3. Shape the branches to your preference by working from the bottom to
the top. When adjusting branches, ensure that all wires are free of
branch hinges.
Step 4. Plug the extension cord into the wall outlet. All your lights should now
be lit.
Step 5. Shape the tree from the bottom to the top. Start with the branches
farthest from the pole – fan out in a star shape, and continue until the
entire tree is shaped.
Step 6. Just slightly upsweep and shift branches to fill in any gaps for a fuller,
uniform look. Your Christmas tree is now ready to be decorated.
Assembly / Operation Instructions
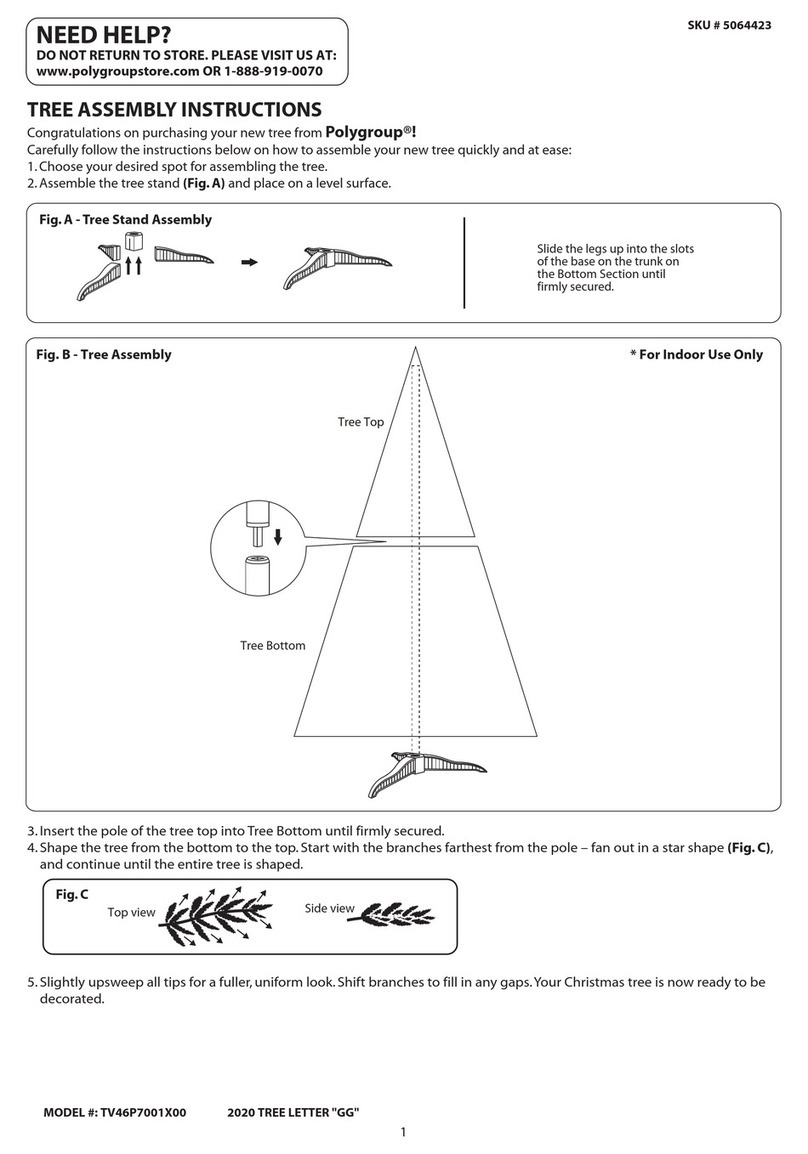
ASSEMBLING THE TREE STAND
Step 1. Choose a location near a wall outlet.
Step 2. Unfold the legs of the tree stand (C) and lay the stand on the floor.
Step 3. To close the stand (C), press the metal button and fold the legs together.
Top view Side view
* Electrical Rating For The Tree
(For Indoor Use Only)
120V, 60Hz, 0.48A
Click
MAINTENANCE
SPARE PARTS: This tree package includes hinge pins, washers, bulbs for any replacement or repair that you need to perform on your tree.
If extra parts are needed, contact the Customer Service Team at 1-888-919-0070 between the hours of 8 am and 5 pm MST, Monday through Friday.
REPAIRING LOOSE HINGES
Step 1. Place the branch into the slot of the bracket.
Step 2. Insert a new hinge pin through the holes of the bracket and secure with a washer.
LAMP REPLACEMENT
Step 1. Grasp the power adapter or power cord plug, and then unplug from the power outlet.
Do not pull the power cord.
Step 2. Lift up lamp lock tab, then pull the lamp and plastic lamp base straight out of the lamp-holder.
Step 3. Replace with a new lamp provided with products.
TROUBLESHOOTING TIPS
FOR PRE-LIT TREES, IF THE TREE DOES NOT ILLUMINATE
1. Please check to make sure that all connectors are properly connected and the power adapter cord is plugged into the wall outlet.
2. Check for loose connection between light string plugs and extension cords.
3. Please check for loose, broken or missing light bulbs and replace as needed.
Reference figure only
Troubleshooting / Storage / Maintenance Instructions
Tree Top
Section 1
Insert
Green Label
Plug Into Wall
Outlet
Assemble
Red Labels
Together

Other Celebrations Home Artificial Pine Tree manuals

Celebrations Home 9016939 User manual

Celebrations Home

Celebrations Home 9016939 User manual

Celebrations Home 9016941 User manual

Celebrations Home

Celebrations Home 9016941 User manual

Celebrations Home 9016668 User manual

Celebrations Home

Celebrations Home 9016668 User manual

Celebrations Home JACKSON TG66EH148X07 User manual

Celebrations Home

Celebrations Home JACKSON TG66EH148X07 User manual

Celebrations Home 9465824 User manual

Celebrations Home

Celebrations Home 9465824 User manual

Celebrations Home 9016940 User manual

Celebrations Home

Celebrations Home 9016940 User manual

Celebrations Home 9015834 User manual

Celebrations Home

Celebrations Home 9015834 User manual

Celebrations Home 9044180 User manual

Celebrations Home

Celebrations Home 9044180 User manual

Celebrations Home 9043893 User manual

Celebrations Home

Celebrations Home 9043893 User manual

Popular Artificial Pine Tree manuals by other brands

Home Accents Holiday TG500N041P10 quick start guide

Home Accents Holiday

Home Accents Holiday TG500N041P10 quick start guide

Home Accents Holiday TG90P4C15D01 Assembly instructions

Home Accents Holiday

Home Accents Holiday TG90P4C15D01 Assembly instructions

Home Accents Holiday TY751-1614-0 Use and care guide

Home Accents Holiday

Home Accents Holiday TY751-1614-0 Use and care guide

Home Accents Holiday TG90M3P07C01 Assembly instructions

Home Accents Holiday

Home Accents Holiday TG90M3P07C01 Assembly instructions

Home Accents Holiday TG90P2900D04 manual

Home Accents Holiday

Home Accents Holiday TG90P2900D04 manual

Home Accents Holiday TV46M2L46L04 quick start guide

Home Accents Holiday

Home Accents Holiday TV46M2L46L04 quick start guide

Polygroup TG76P4617P05 Assembly instructions

Polygroup

Polygroup TG76P4617P05 Assembly instructions

Costway CM23974 user manual

Costway

Costway CM23974 user manual

Williams-Sonoma TG46P4368L01 Assembly instructions

Williams-Sonoma

Williams-Sonoma TG46P4368L01 Assembly instructions

Polygroup Evergreen Classics TG76P4A73D06 quick start guide

Polygroup

Polygroup Evergreen Classics TG76P4A73D06 quick start guide

Polygroup TG76M3P51C01 Assembly instructions

Polygroup

Polygroup TG76M3P51C01 Assembly instructions

Home Accents Holiday TV76M3C03L08 quick start guide

Home Accents Holiday

Home Accents Holiday TV76M3C03L08 quick start guide

Polygroup F38 Assembly instructions

Polygroup

Polygroup F38 Assembly instructions

Home Accents Holiday TG66M3W89D15 manual

Home Accents Holiday

Home Accents Holiday TG66M3W89D15 manual

Polygroup TG76M2I41L01 Assembly instructions

Polygroup

Polygroup TG76M2I41L01 Assembly instructions

Home Accents Holiday TG66M3W89D16 quick start guide

Home Accents Holiday

Home Accents Holiday TG66M3W89D16 quick start guide

Trim a Home 0-03431420-3 owner's manual

Trim a Home

Trim a Home 0-03431420-3 owner's manual

Polygroup TG66M3545X06 Assembly instructions

Polygroup

Polygroup TG66M3545X06 Assembly instructions

manuals.online logo
manuals.online logoBrands
  • About & Mission
  • Contact us
  • Privacy Policy
  • Terms and Conditions

Copyright 2025 Manuals.Online. All Rights Reserved.