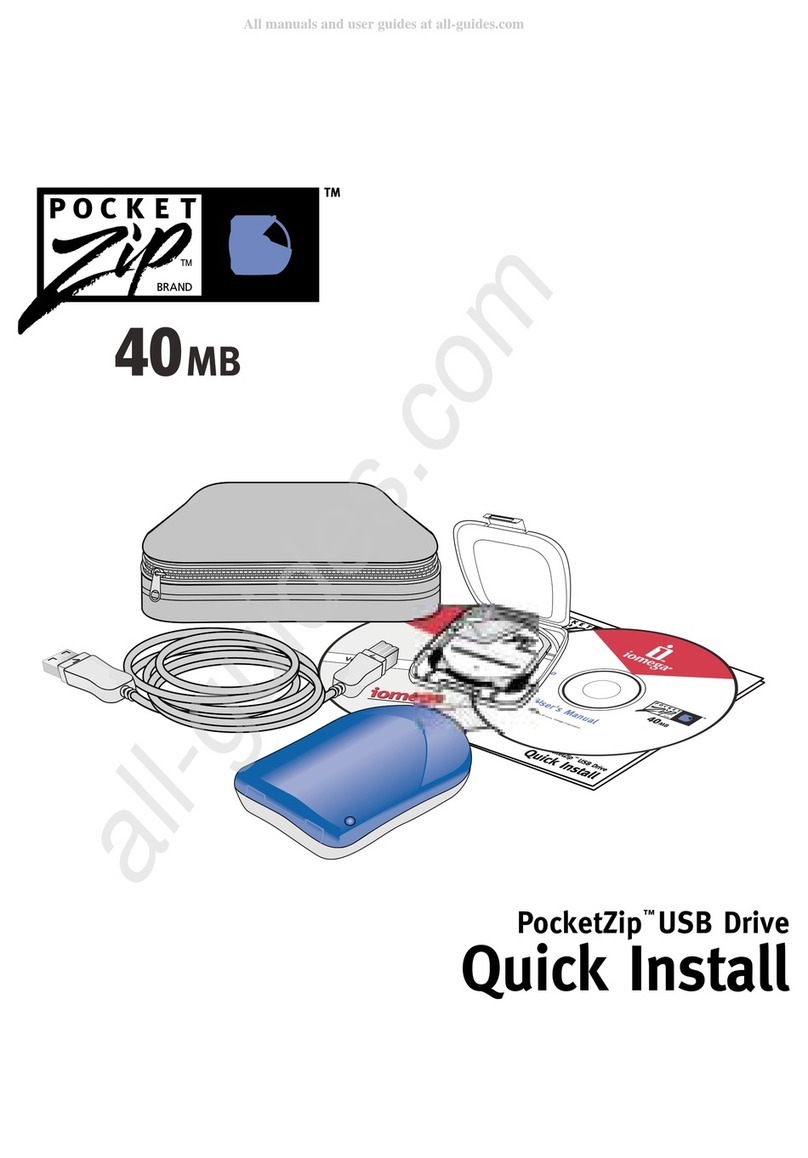
Items you may need for installation:
You will need a standard flat-bladed screwdriver and a Phillips screwdriver to install the tape drive in your computer.
This tape drive must be attached to a secondary IDE port. If your computer has only a single IDE port, you will need
to purchase a new ATAPI host adapter that provides a secondary IDE port for the tape drive. You will also need a
second 40-pin IDE interface cable for your tape drive. If your computer has two IDE ports, but the secondary port is
not being used, you may need to obtain a 40-pin IDE interface cable for your tape drive.
1. Install the Yosemite TapeWare backup software
Install the backup software before you install your tape drive:
a) Place the software CD in your CD-ROM drive. If Windows is configured for autoplay, the setup program will run
automatically. If not, from the Start menu, select Run. Then type d:\setup, where d is the drive letter for your
CD-ROM, and press ENTER. Follow the online instructions.
b) After installing the backup software, shut down your computer, turn off the power, and remove the cover.
2. Set the master/slave jumpers
• If a compatible ATAPI device, such as a CD-ROM, is already attached to your secondary IDE port, make sure that
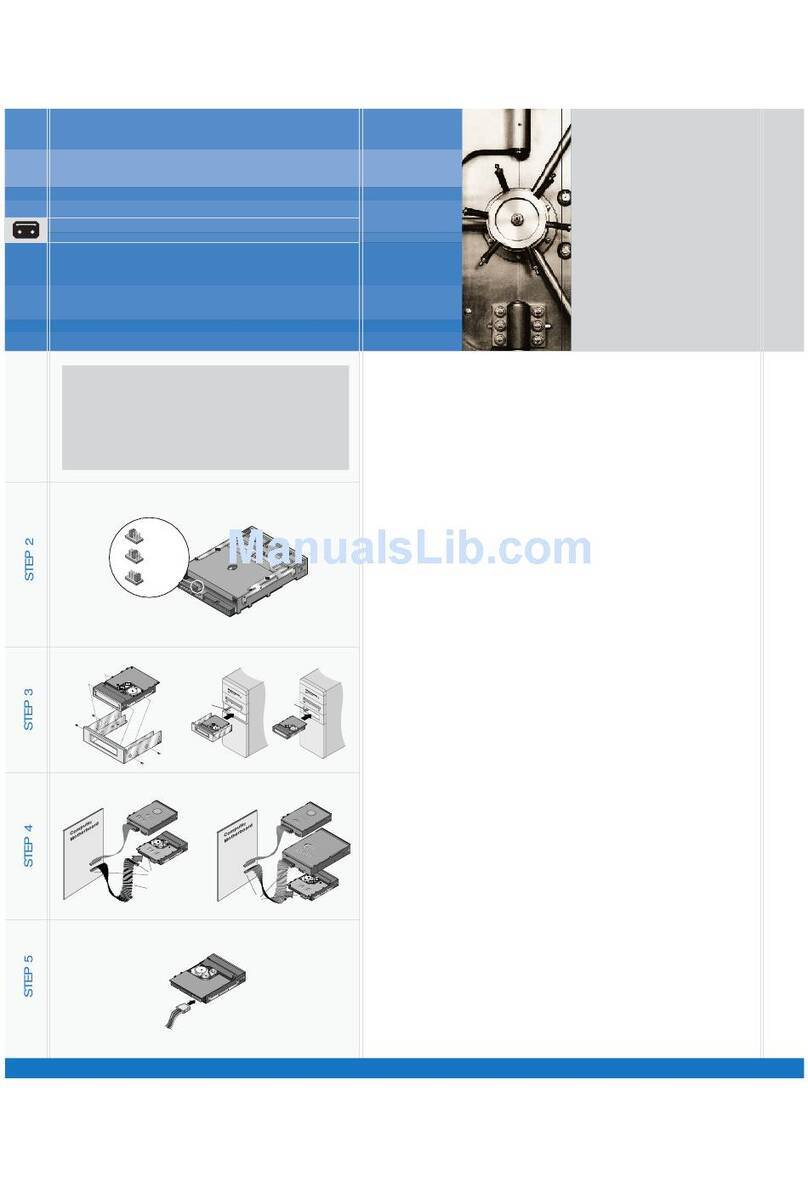
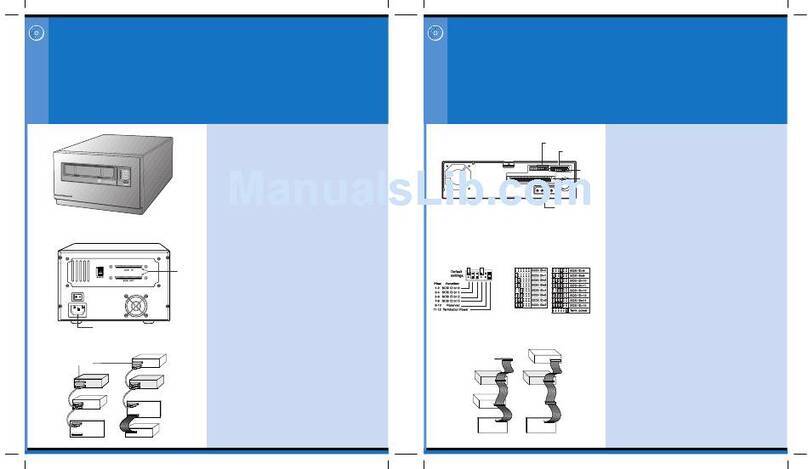
this existing device is configured as a “master.” Configure the tape drive as a “slave,” as shown in Figure 1.
Note. Do not attach your tape drive to an IDE port that is being used by a hard disc or a sound card.
• If your tape drive will be the only device on the IDE cable, configure your tape drive as a “master,” as
shown in Figure 1.
3. Mount the drive
a) If you are mounting the drive in a 5.25-inch drive bay and your drive did not come with mounting brackets
already attached, you must attach brackets to each side of the drive, as shown in Figure 2a. If you are mounting
the tape drive in a 3.5-inch drive bay, you may need to remove the mounting brackets from each
side of the drive.
b) Slide the drive into an unused drive bay until the bezel is flush with the front of the computer. The Drive-activity
light/Eject button should be on the upper left, as shown in Figure 2b. Secure the drive using four mounting
screws. Do not overtighten the screws.
4. Attach your tape drive to the secondary IDE port
•If you already have a CD-ROM or other device attached to your secondary IDE port, attach the tape drive to the
middle connector on the IDE cable, as shown in Figure 3a.
Note. Do not attach your tape drive to a cable that is already being used by a hard disc or a sound card.
• If no other devices are attached to your secondary IDE port, use a new 40-pin IDE cable to attach the tape drive
to the secondary IDE port, as shown in Figure 3b.
In either case, make sure that pin 1 on the tape drive (located next to the power connector) is connected to pin 1 on
the IDE cable and on the IDE port connector. Pin 1 on the IDE cable is indicated by a stripe on the edge of the cable.
5. Connect the power cable
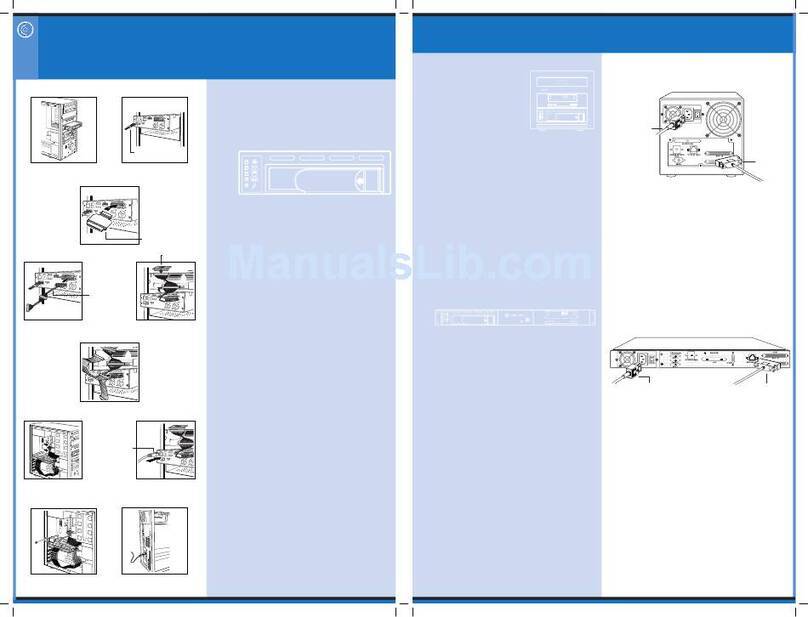
Connect a 4-pin power cable to the back of the tape drive (see Figure 4). If all the power cables in your computer are
being used by other devices, you can purchase a Y-shaped power-cable splitter from your computer dealer.
6. Complete the installation
a) Check all cables,including those of adjacent devices, to make sure that none have loosened during the installa-
tion. Make sure that all cables are routed so that they will not bind or become crimped when you replace the
cover of your computer.
b) Reinstall your computer cover.
c) Run Yosemite TapeWare and do a test backup to make sure that your tape drive and software are
working properly.
Note. For detailed installation instructions,operating instructions and troubleshooting tips, see the TapeStor 40GB
User Guide on the Tape Resource CD.
TAPES
TOR
®
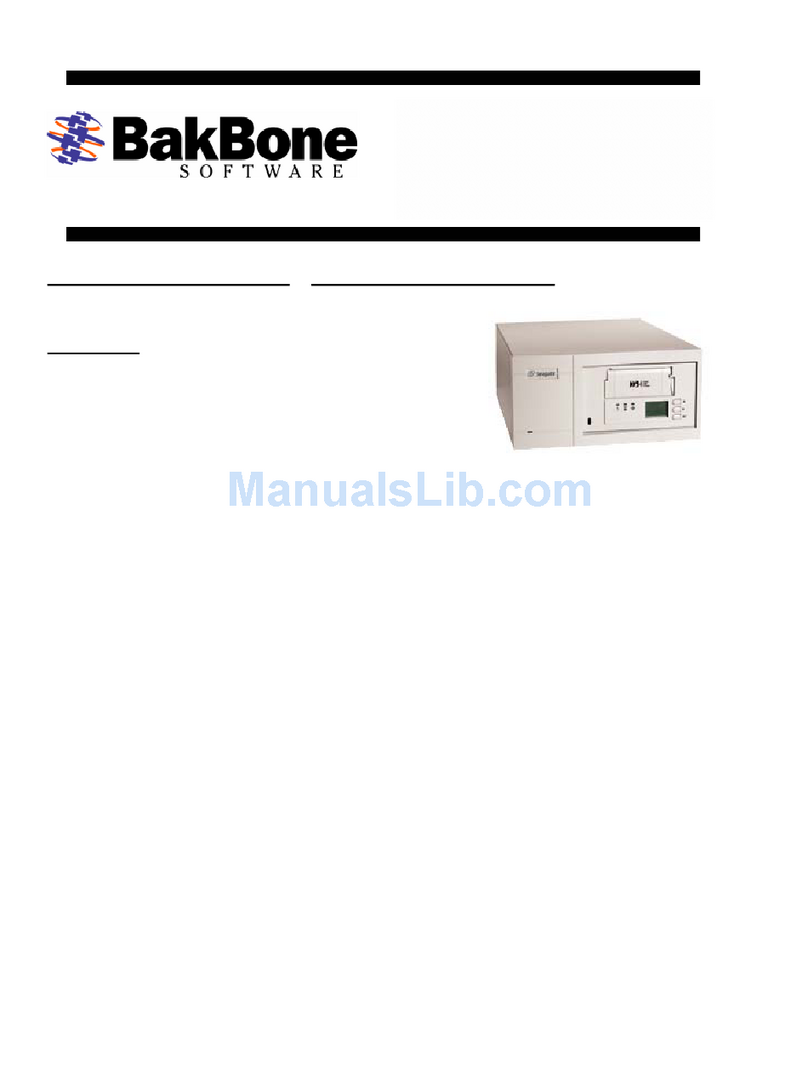
TRAVAN 40GB TAPE DRIVE
EASY INSTALLATION SHEET
GETTING STARTED
To install your new TapeStor Travan 40GB tape drive,
follow the simple steps listed below. For detailed
installation instructions and trouble-shooting tips,
see the online manual on the Tape Resource CD.
Before installing the drive, check to make sure
your TapeStor 40GB box contains the
following items:
• Internal ATAPI Tape Drive (40-Gbyte capacity)
• Mounting brackets to adapt the drive to a
5.25-inch drive bay.
• Mounting screws
• CD with Yosemite TapeWare backup software
•ACertance Tape Resource CD (contains the
Online Installation Manual and much more)
• This Easy Installation Sheet
FIGURE 1
FIGURE 2
FIGURE 3
Master/slave
jumpers Power
connector
40-pin IDE Interface
connector
pin 1
Tape drive set as "slave"
Tape drive set as "master"
Tape drive set for "Cable Select"
(tape drive is master or slave depending
on its location on the interface cable)
Master/slavejumper settings:
View of back of drive:
Drive-activity light /
Eject button
IMPORTANT PRECAUTIONS
•To protect your computer and drive from static electricity, install the drive in an
uncarpeted area and ground yourself frequently on a grounded metal object (such
as the frame of your computer) before opening the antistatic bag or touching any
components within your computer.
•Turn off your computer and any peripheral devices before installing the drive.
