Channel Master CM-7002 User manual

CM-7002
User Guide
Antenna
Set Top Box

Antenna Set Top Box
Important Safety Instructions
1 Read these instructions.
2 Keep these instructions.
3 Heed all warnings.
4 Follow all instructions.
5 Do not use the apparatus near water.
6 Clean only with a dry cloth.
7 Do not block any ventilation openings.
Install in accordance with the
manufacturer’s instructions.
8 Do not install near any heat sources such
as radiators, heat registers, stoves, or
other apparatuses (including ampliers)
that produce heat.
9 Do not defeat the safety purpose of
the polarized or grounding-type plug. A
polarized plug has two blades with one
wider than the other. A grounding-type
plug has two blades and a third grounding
prong. The wide blade or the third
prong are provided for your safety. If the
provided plug does not t into your outlet,
consult an electrician for replacement of
the obsolete outlet.
10 Protect the power cord from being walked
on or pinched, particularly at plugs,
convenience receptacles, and the point
where they exit from the apparatus.
11 Only use attachments/accessories
specied by the manufacturer.
12 Unplug the apparatus during lightning
Warning and Attention Symbols
You must be aware of safety when you install and use this system. This User Guide provides
various procedures. If you do some of these procedures carelessly, you could injure or kill
yourself or damage equipment or property. Some other procedures require special attention.
The Class II equipment symbol means that the equipment has additional insulation and does not
need to be grounded.
ForYourSafety
Warning: To reduce the risk of re
or electric shock, do not expose this
appliance to rain or moisture.
Alternating Current (AC)
Direct Current (DC)
Indoor Use only
USB Connector

i
User Guide
Important Safety Instructions, continued
storms or when unused for long periods of time.
13 Refer all servicing to qualied service personnel. Servicing is required when the apparatus
has been damaged in any way, such as the power supply cord or plug is damaged, liquid
has been spilled or objects have fallen into it, the apparatus has been exposed to rain or
moisture, does not operate normally, or has been dropped.
14 WARNING: To reduce the risk of re or electric shock, do not expose this apparatus to rain,
moisture, dripping or splashing.
15 The power adapter must remain easy to unplug from the power socket once the equipment
is installed.
16 DO NOT expose the remote control batteries to excessive heat such as re or sunshine.
17 Safety-related markings can be found on the underside of the receiver.
Installation
• Ground the installation in accordance with NEC® or other applicable codes.
• Locate the power adapter and receiver indoors in an open, well-ventilated area. Do not
place them in an enclosure (such as a cabinet) without proper ventilation.
• Place the receiver on its feet on a rm, stable, horizontal surface.
• Unplug the power adapter from the power socket during installation and follow all
connection instructions.
• Only connect the original power adapter to the receiver. Other power adapters may damage
the circuitry and cause a re risk.
• DO NOT place heavy objects on the receiver or power adapter.
• Keep plastic packaging and small parts away from babies and children.
ProtectfromWater
• DO NOT place objects lled with liquids, such as vases or drinks, on or near the power
adapter or receiver.
GeneralPrecautions
• DO NOT remove the power adapter cover due to risk of electric shock from live parts inside.
• DO NOT allow objects to drop or be pushed inside the receiver, for example by children.
• DO NOT place naked ames such as lighted candles on or near the receiver or power
adapter.
EquipmentCare
• Unplug the power adapter from the power socket before cleaning.
• If the power adapter or receiver is damaged, unplug it from the power socket and have it
checked by qualied personnel before operating it any further.

STBTV
INPUT CCZOOM AUDIO
FAVHDMIMEDIA MENU
GUIDE INFO
BACK EXIT
OK
VOL CH
SET
MUTE
RECORD
USB
ANT IN HDMIOUT
TO TV DC 12V
HDMIIN
From
Streaming Device
CM-7002
User Guide
Antenna
Set Top Box
ii Antenna Set Top Box
7002SetTopBox PowerAdapter RemoteControl
+2AAABatteries
UserGuide
For additional information, visit ChannelMaster.com.
USB2.0Port
Connects USB for Software
update/future use
IRSensor PowerButton
(onrightside)
Clock
HDMI®Output
Provides high-denition digital
audio and video to the TV
HDMI®Input
Provides gateway between
Streaming Device and the TV
AntennaIn
Connects over-the-air
antenna
Power
DC IN Provides
power to the device
What’s Included
Front Panel Controls
Rear Panel Connections

USB
ANT IN HDMIOUT
TO TV DC 12V
HDMIIN
From
Streaming Device
1
User Guide
Make sure your device is connected properly as shown below.
13
Note: Only use high-quality
HDMI and USB cables from
major manufacturers.
HDMI® Output
Provides high-denition digital
audio and video to the TV
Connections and Setup
2
HDMI to
TV
4
HDMI IN from
Streaming
Device
Antenna In
Connects over-the-air
antenna

STBTV
INPUT CCZOOM AUDIO
FAVHDMIMEDIA MENU
GUIDE INFO
BACK EXIT
OK
VOL CH
SET
MUTE
RECORD
2Antenna Set Top Box
Using the Remote Control
TV
Turns the TV on or off
ColoredButtons
Future use
Input
Selects the TV input
Zoom
Reformats screen ratio
Media
Future use
HDMI
Change between antenna
channels and your
streaming device
Rev/Fwd
Future use
Guide
Displays channel and
program information
Navigation
Choose options in menus,
guide, settings and info
bar
Back
Return to previous menu
or channel
Volume
TV Increase/decrease
Record
Future use
Mute
TV Silence audio output
Period
For channel change
STB
Turns the device on or off
Audio
Displays audio options
CC
Displays closed captioning
Menu
View main menu for
advanced options and
settings
Fav
Display the favorite
channels list
Stop
Future use
Play/Pause
Future use
Info
Displays channel and
program information
OK
Conrm
Exit
Close menu/guide and
return to viewing
Channel+/-
View previous/next
channel
NumericKeypad
Select channel directly by
number
Set
Use for programming the
remote to TV

STBTV
INPUT CCZOOM AUDIO
FAVHDMIMEDIA MENU
GUIDE INFO
BACK EXIT
OK
VOL CH
SET
MUTE
RECORD
STBTV
INPUT CCZOOM AUDIO
FAVHDMIMEDIA MENU
GUIDE INFO
BACK EXIT
OK
VOL CH
SET
MUTE
RECORD
STBTV
INPUT CCZOOM AUDIO
FAVHDMIMEDIA MENU
GUIDE INFO
BACK EXIT
OK
VOL CH
SET
MUTE
RECORD
SET
SET
VOL
VOL
INPUT
INPUT
3
User Guide
Programming the Remote Control
1
2
3
4
5
6
Face the TV remote and CM-7002 remote controls
head-on.
Press SET for 3 seconds on the CM-7002 remote
control. The Red LED will glow rst and then stay
lit.
Press the desired button on the CM-7002 remote
control within 10 seconds. The POWER button will
start ashing.
Note: Program one button at a time. You will need to run
through each step for each desired button.
Then press the desired button on the TV remote
control within 3 seconds. The red LED will ash 3
times and then stay bright.
Now press SET to conrm.
Repeat steps above for each key on the remote
you want to learn.
Program your CM-7002 remote to learn the TV’s POWER, MUTE, INPUT and
VOLUME functions.
TV
POWER
MUTE
MUTE

4Antenna Set Top Box
Getting Started
Setup Wizard
Highlight and select your Language, Country and if you are using over the air
antenna or cable. Press OK on Scan Antenna Channels or press OK on Scan
Cable Channels, depending on the source you are using.
Channel Search
A Channel Scan will begin automatically. After it is complete it will place you into
the rst available channel.
After the channel scan is complete you can begin enjoying live TV.

USB
ANT IN HDMIOUT
TO TV DC 12V
HDMIIN
From
Streaming Device
5
User Guide
Connect your streaming device (Apple TV, Roku, Amazon Fire TV stick etc.)
into the HDMI in port. Then connect a separate HDMI cable into the HDMI
out port and connect that to your TV as shown below. Please note that each
streaming device requires its own external power supply. The CM-7002 will not
power the streaming device.
Once that is connected and you are watching live over the air TV
through the CM-7002, take the CM-7002 remote control and press
the HDMI button.
Once you have pressed the HDMI button on the CM-7002 remote, the CM-
7002 will switch from Live TV to your streaming device. Be sure to have your
streaming device remote handy. Now you can begin to watch and stream your
favorite content alongside your favorite over the air broadcasts. To switch back
to live TV, press the HDMI button on your CM-7002 remote control.
Connecting a Streaming Device
HDMI OUT
to TV
HDMI IN
from Streaming
Device

6Antenna Set Top Box
Menu
Press the MENU key to display the main menu. It consists of 3 items as
follows:
• Channel Guide: View the guide or make edits to the lineup.
• System Settings: Set your user preferences.
• Advanced Settings: Make advanced edits to the settings.
NOTE: In any page of the menu, you can use the EXIT key to return to
previous menu page, or press the MENU key to switch to Main Menu.
Guide
Channel Guide
Selecting Channel Guide from the Main Menu or pressing the GUIDE button
on your remote control displays the Program Guide of the receiver. From the
Guide, you will be able to view other channels available and tune to those
channels. You can also see three future programs on each channel.

7
User Guide
Menu
Edit Lineup
Selecting Edit Lineup in the Menu will allow you to Skip, Move, Lock, Rename,
Delete or Favorite a channel from the lineup.
System Settings
Language
Channel
Audio Video
Closed Caption
Time
Language
Selecting Language from the System Settings menu will allow you to select
your preferred language.
8Antenna Set Top Box
Menu
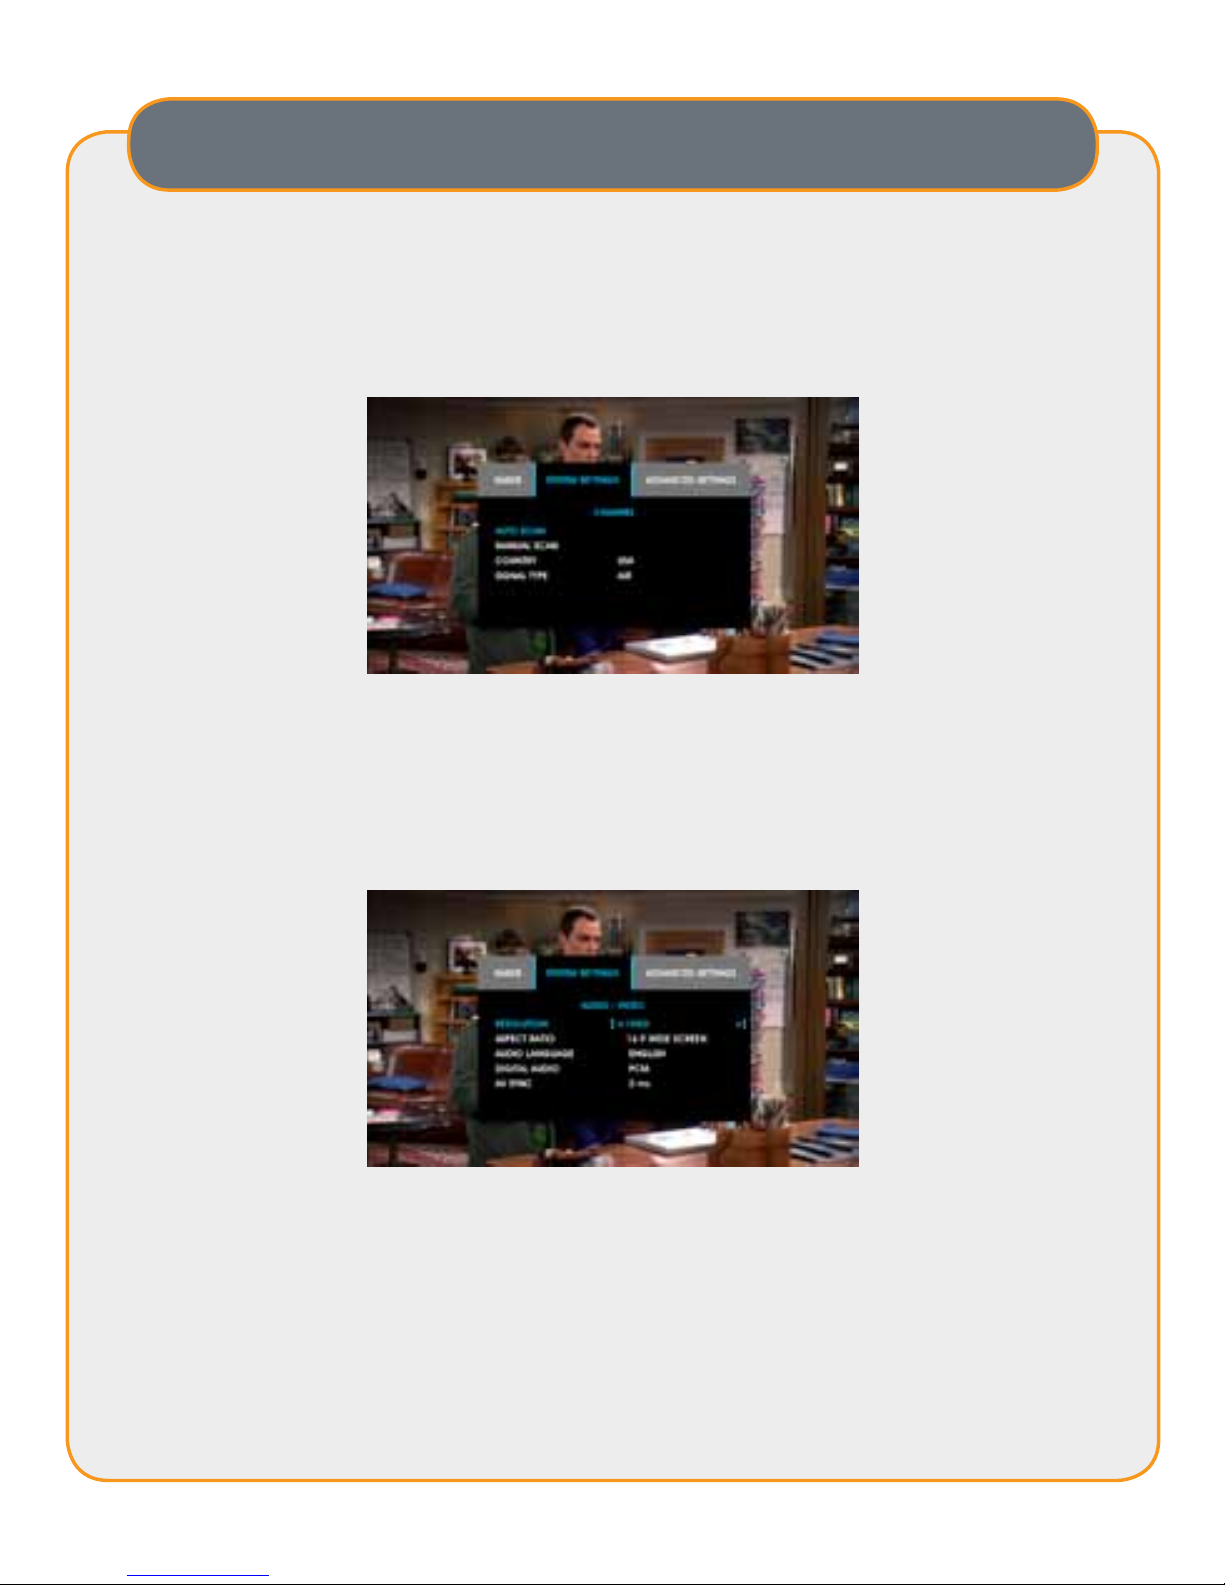
Channel
Selecting Channel from the System Settings menu allows you to run a new
channel scan through the auto scan feature, manual scan channels, select a
country, and select either Antenna or Cable as a signal type.
Audio/Video
Selecting Audio/Video from this menu allows you to select the Resolution,
Aspect Ratio, Audio Language, Digital Audio and the AV SYNC.

9
User Guide
Menu
Closed Caption
Selecting Closed Caption from the menu allows you to turn closed captioning
on or off and select the position of the closed captioning on the screen. This
menu also allows you to select the font size, text color, background color and
the transparency of the closed captions.
Time
Selecting Time in the menu allows you to select auto or manual time setting.
You can also edit Country, Time Zone, and select Daylight Saving.
10 Antenna Set Top Box
Menu
Advanced Settings
Parental Guidance
Set Password
Factory Reset
Information
Software Update
Other
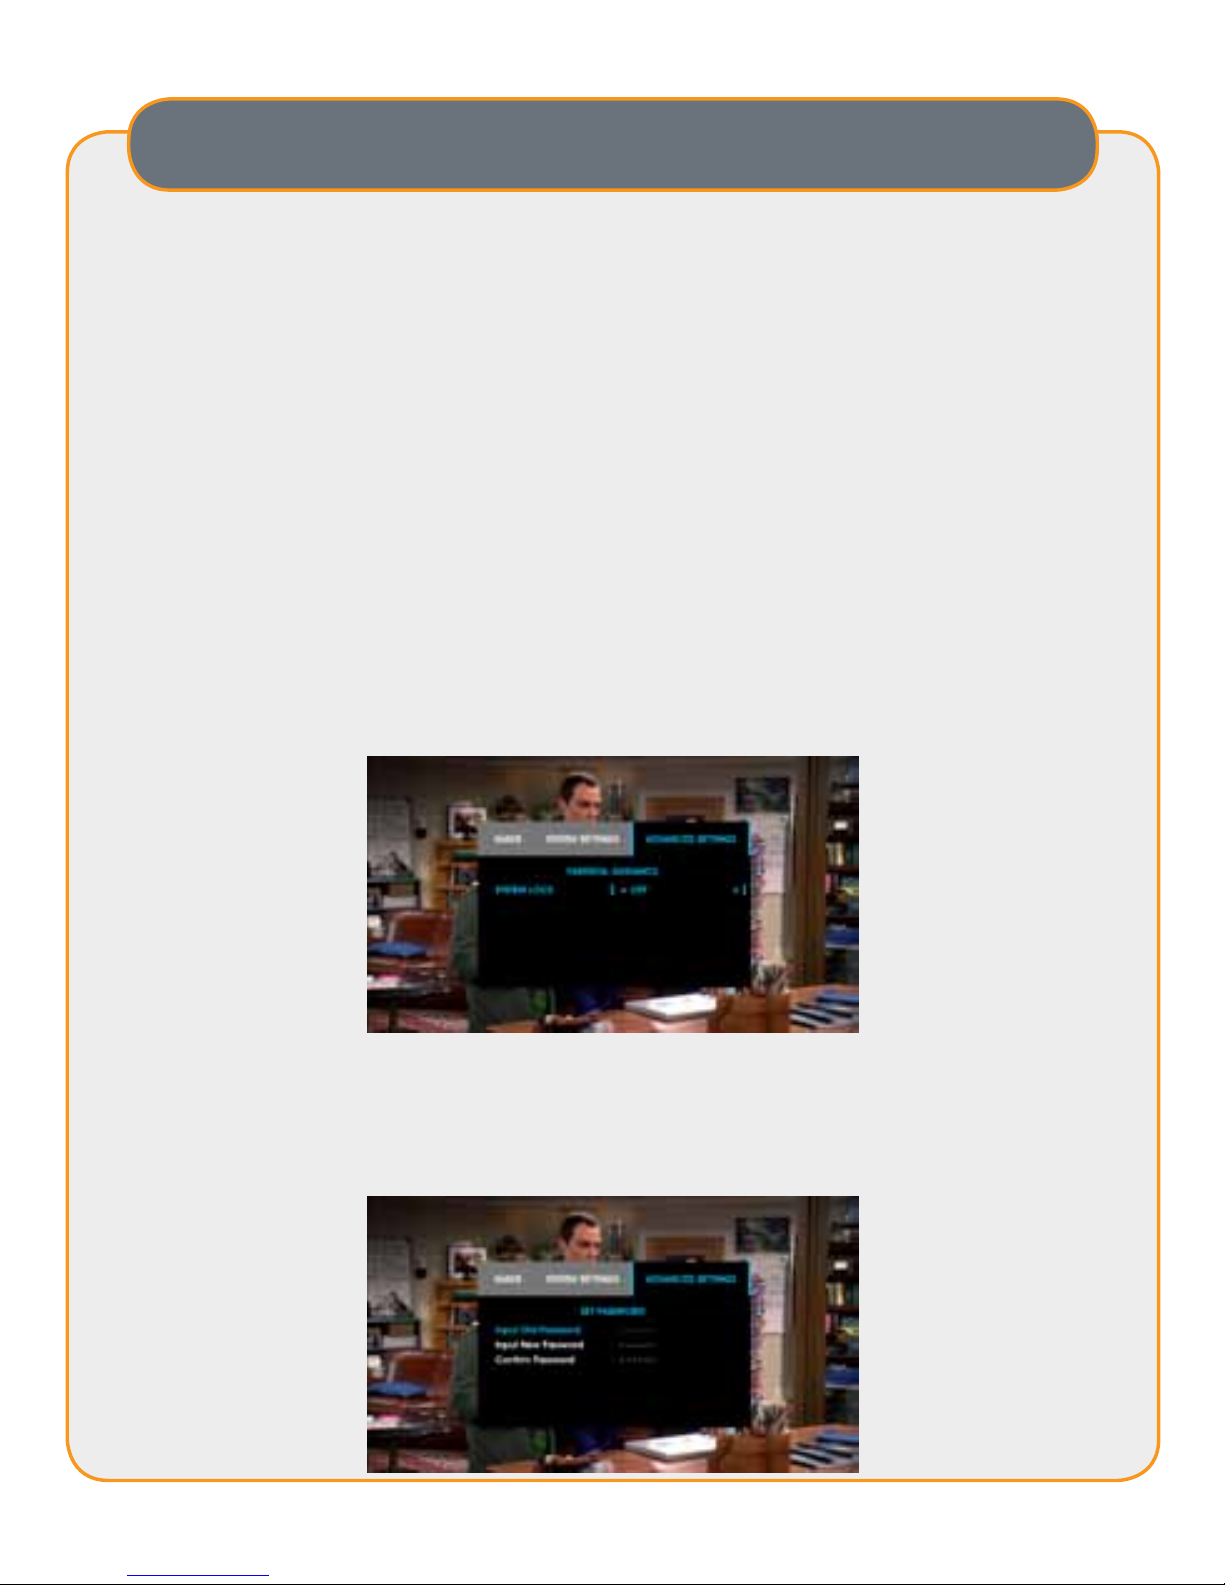
Parental Guidance
Selecting Parental Guidance from the menu allows you to set the System Lock
to on or off. When System Lock is set to on, the device will ask you to enter a
password to make major edits within the Main Menu. (When the System Lock
is on, it will ask for your password upon a Factory Reset or to make changes to
the settings.)
Set Password
Selecting Set Password will allow you to change the password. You will need
to input the old password rst and then you can change to a new password.
(Default password 000000)

11
User Guide
Menu
Factory Reset
Selecting Factory Reset will reset the device to its factory settings. This will
cause the device to re-scan channels and you will lose any edits made to your
channel lineup and you will go back to original settings.
Information
Selecting Information displays the hardware and software versions of this
device.

12 Antenna Set Top Box
Menu
Software Update
Selecting Software Update is where you will go to update software. Be sure
that you have a ash drive with only the software update and plug it into the
USB port on the back of the receiver. Follow the on screen steps to download
the software update. Please visit ChannelMaster.com/Support and search for
the CM-7002 to nd any software updates that may be available.
Other
Selecting Other in the menu is where you can adjust the SLEEP Time and turn
the clock display on or off.

13
User Guide
Appendix - Troubleshooting
If you have difculty with your digital TV set-top receiver, there are several
possibilities you should investigate before calling Channel Master.
CAUTION: If the problems are still unsolved after you’re done all of these. Do not disassemble
the device yourself! Please contact the dealer or a trained personal for assistance.
The Display on the front
panel does not light up Power cord is not connected
Problem Possible Causes What to Do
Check that the power cord is
plugged into the power outlet
No sound and no picture The receiver is in standby
HDMI cable might be in the
wrong port
Check to make sure HDMI cable
is connected to HDMI Out to TV
The antenna is disconnected
Program parameters are set
incorrectly
No signal when selecting
channels
Press the POWER key on the front
panel to switch to operation mode
Check antenna connection
Set correct parameters
Picture only but no sound
Audio setting parameter is
wrong
System in MUTE mode
Audio cable is not connected
securely
Press MUTE key on the RCU
to restore volume
Increase the volume to suitable
level
Please go to Audio Setting menu,
select proper audio mode and
proper audio language
Connect it securely
Volume is set to minimum
Sound only but no picture
Video cable is not connected
securely
The current channel is in radio
mode
Connect the video cable securely
Normal
Video and audio is out of
sync Audio out of sync In the MENU under Audio/Video
adjust the AV SYNC
Picture is still or mosaic
phenomenon Signal is too weak
Check to make sure that the
signal cord has been connected
tightly
Remote control unit does
not work
RCU is not aimed at the
sensor on the front panel
Not enough power in the
battery of the remote control
Aim at the sensor on the front
panel
Change battery

14 Antenna Set Top Box
Limited Warranty
LimitedWarrantyPeriod:
CHANNEL MASTER CM7002 has a limited (90) ninety day Warranty from the original purchase date with a valid
proof of purchase from an authorized retailer. A sales receipt or other document showing that you purchased the
product is considered proof of purchase. Certain limitations and exclusions apply.
Whatiscoveredbythislimitedwarranty?
CHANNEL MASTER warrants the original CHANNEL MASTER branded product hardware and accessories
contained in the original packaging against defects in materials and workmanship when used normally in
accordance with CHANNEL MASTER’s published guidelines for a period of (1) year from the date of original
purchase by the end-user purchaser. CHANNEL MASTER’s guidelines include but are not limited to information
contained in technical specications, user manuals and service communications. (90) Days of complimentary
software/user support is also included in this Warranty, software and user support outside of (90) days will be
subject to additional charges. This Warranty is valid only in the United States and Canada.
WhatisNOTcoveredbythislimitedwarranty?
This Warranty does not apply to any non- CHANNEL MASTER branded hardware products or any software
and data services, even if packaged or sold with CHANNEL MASTER hardware. Manufacturers, suppliers, or
publishers, other than CHANNEL MASTER, may provide their own warranties to you but CHANNEL MASTER,
in so far as permitted by law, provides their products “AS IS”. Software distributed by CHANNEL MASTER with
or without the CHANNEL MASTER brand (including, but not limited to system software) is not covered by this
Warranty. Please refer to the licensing agreement accompanying the software for details of your rights with
respect to its use. CHANNEL MASTER does not warrant that the operation of the CHANNEL MASTER product
will be uninterrupted or error-free. CHANNEL MASTER is not responsible for damage arising from failure to
follow instructions relating to CHANNEL MASTER’s product use. Shipping charges to return products under
warranty back to CHANNEL MASTER is not covered.
Howtoobtainwarrantyservice
Consumers with a valid proof of purchase from an authorized retailer can return any In-Warranty CHANNEL
MASTER product to the Warranty department for repair or replacement. For In-Warranty service the consumer
must email Technical Support and request an RMA number in order to return the product. The returned product
must have the RMA number visible on the box and must include the bill of sale showing the unit is within the
warranty period. If the unit is found to be defective under our Warranty Policy CHANNEL MASTER will repair
or replace the item at no charge. Products outside of the warranty period should not be returned to CHANNEL
MASTER with the exception of any product requested by Technical Support to be accessed for quality
assurance purposes. Technical Support: techsupport@channelmaster.com
GENERALTERMS:
1.1 Subject to the provisions of this Warranty, CHANNEL MASTER warrants that the equipment described in
Paragraph 1.2 will conform to our specications in all material respect and that the equipment will be free from
material defects in materials and workmanship during the Limited Warranty period.
1.2 This Warranty applies to all original purchases by consumers of CHANNEL MASTER products
(“Equipment”). The warranties set forth herein are not transferable. 1.3 The Effective period of this Warranty will
start on the date of purchase of the Equipment from an authorized retailer and will end, for the Equipment, (1)
year later (for all hardware and components). Software is not covered even if packed or sold with CHANNEL
MASTER hardware, unless otherwise expressed or provided herein (in each case the “Warranty Period”).
RETURNOFEQUIPMENTUNDERWARRANTY:
2.1 If an item of Equipment malfunctions or fails in normal use within the applicable Warranty Period: (a) The
Customer shall notify CHANNEL MASTER within thirty (30) days of the problem. (b) CHANNEL MASTER will,

15
User Guide
Limited Warranty, continued
at its option, either resolve the problem over the telephone or provide the customer with a Return Authorization
(“RMA”) Number and the address to which the customer may ship the defective item; (c) If the problem cannot
be resolved over the telephone, the Customer shall attach a label showing the RMA number to each returned
item, and include a description of the problem. The Customer shall, at his or her own cost, properly pack the
item to be returned, mark the RMA# on the outside of the box, prepay the insurance and shipping charges,
and ship the item to the specied CHANNEL MASTER location. (d) Unauthorized return of any equipment,
whether in or out of warranty, will be subject to a handling charge, in addition to all repair and all transportation
charges. (e) CHANNEL MASTER will, at its sole option, repair or replace the returned item. If replaced, the
replacement item may be new or refurbished; if refurbished it will be equivalent in operation to new Equipment.
If a returned item is replaced by CHANNEL MASTER, the Customer agrees that the returned item will become
the property of CHANNEL MASTER. (f) CHANNEL MASTER will complete the exchange of CHANNEL
MASTER manufactured equipment returned under this Warranty within a reasonable time, subject to lead-times
from factory, and will make a good faith effort to minimize any and all delays where possible; and (g) CHANNEL
MASTER will, at its cost, ship the repaired item or replacement to the Customer. If the Customer requests
express shipping, the Customer will pay CHANNEL MASTER an expediting fee.
2.2 Equipment which is repaired or replaced by CHANNEL MASTER under this Warranty will be covered under
all of the provisions of this Warranty for the remainder of the applicable Warranty period (for that particular
equipment). 2.3 If equipment is repaired beyond effective warranty dates or if abnormal usage had occurred,
Customer shall be charged applicable rates and the Customer will be advised of the estimated charges prior
to repair by CHANNEL MASTER’s authorized service center. 2.4 The price of out-of-warranty repairs payable
by the Customer will be based on standard labor and parts prices in effect at the time of the repair. CHANNEL
MASTER will use its best efforts to ensure that the cost of such repair, exchange, refurbishing, or substitution
will not exceed the original price of Product. 2.5 If the problem reoccurs within the warranty period, CHANNEL
MASTER will, at its option: (a) re-perform the service; (b) replace the product pursuant to the terms of this
warranty, (c) permit Customer to return the product and issue a refund pursuant to this warrant, or (d) refund the
amount the Customer paid for the services.
PRODUCTMODIFICATION:
3.1 CHANNEL MASTER reserves the right to make changes or improvements to its products, during
subsequent production, without incurring the obligation to install such changes or improvements on previously
manufactured or sold products. FORCE MAJEURE: 4.1 CHANNEL MASTER will not be liable if its performance
under this warranty becomes commercially impracticable due to any contingency beyond CHANNEL MASTER’s
reasonable control, including acts of God, res, ood, wars, sabotage, civil unrest, accidents, labor disputes
or shortages, government laws, rules and regulations, whether valid or invalid, inability to obtain material,
discontinuation of third part data or services, equipment or transportation, incorrect, delayed or incomplete
specications, drawings or data supplied by Customer (collectively “Force Majeure”).
LIMITATIONSANDQUALIFICATIONSOFWARRANTY:
5.1 This Limited Warranty extends only to the original purchaser of the Equipment and is in lieu of all other
express or implied warranties, including those of merchantability and tness for a particular purpose. This
Warranty does not apply to any damage, defect of failure caused by: (a) any part of the equipment having been
modied, adapted, repaired, maintained, transported or relocated by any person; (b) Storage or environmental
characteristics which do not conform to the applicable sections of the appropriate Equipment Manual or
Instruction Sheet; (c) Failure to conform with the Equipment Operating Instructions in the applicable Equipment
Manual or Instruction Sheet; (d) External causes, including external electrical stress or lightning, or use in
conjunction with incompatible equipment, unless such use was with CHANNEL MASTER’s prior written request;
(e) Cosmetic damage; (f) Accidental damage, negligence, modication, mishandling, abuse or misuse; or (g)
Force Majeure. Warranty does not cover: (a) Labor charges for installation or setup of the product. (b) Any taxes
imposed on CHANNEL MASTER for units replaced or repaired under this warranty. (c) Installation, performance

16 Antenna Set Top Box
Limited Warranty, continued
of, or repair of: audio/video cabling, telephone line, or accessory attachments used with the product. (d)
Product replacement because of misuse, accident, lightning damage, unauthorized repair, or other cause not
within the control of CHANNEL MASTER. Please note that removing the cover of the Unit for any reason voids
the warranty. (e) Reception transmission problems caused by signal conditions, telephone line, or cable or
antenna systems outside the unit. (f) Damages to, or viruses that may infect your Unit or other devices arising
from the use of unauthorized third party devices in connection with your Unit. (g) Incidental or consequential
damages resulting from the product. (Some states (or jurisdictions) do not allow the exclusion of incidental or
consequential damages, so the above exclusion may not apply to you.) (h) A product that has been modied or
adapted to enable it to operate in any country other than the country for which it was designed, manufactured,
approved and/or authorized, or repair of products damaged by these modications. (i) A product used for
commercial or institutional purposes. (j) Access connections (telephone or broadband), including charges from
your communications provider.
LIMITATIONONDAMAGES:
6.1 THIS WARRANTY IS THE CUSTOMER’S EXCLUSIVE WARRANTY FOR THE EQUIPMENT, CHANNEL
MASTER SPECIFICALLY DISCLAIMS ALL OTHER WARRANTIES OF ANY KIND, EXPRESSED OR IMPLIED,
INCLUDING ANY WARRANTIES OF FITNESS FOR A PARTICULAR PURPOSE AND OF MERCHANTABILITY.
6.2 CHANNEL MASTER WILL NOT BE LIABLE IN TORT, INCLUDING LIABILITY IN NEGLIGENCE OR
STRICT LIABILITY, AND WILL HAVE NO LIABILITY AT ALL FOR INJURY TO PERSONS OR PROPERTY.
CHANNEL MASTER’S LIABILITY FOR FAILURE TO FULFILL ITS OBLIGATIONS UNDER THIS WARRANTY
OR ANY OTHER LIABILITY UNDER OR IN CONNECTION WITH THE EQUIPMENT WILL BE LIMITED TO
THE AMOUNT OF THE PURCHASE PRICE OF THE EQUIPMENT AT THE TIME OF ORIGINAL PURCHASE.
THE REMEDIES STATED IN THIS WARRANTY ARE THE CUSTOMER’S EXCLUSIVE REMEDIES AGAINST
CHANNEL MASTER REGARDING THE EQUIPMENT. 6.3 EVEN IF CHANNEL MASTER HAS BEEN
NOTIFIED OF THE POSSIBILITY OF THEM, CHANNEL MASTER WILL NOT BE LIABLE FOR ANY INDIRECT,
INCIDENTAL, SPECIAL OR CONSEQUENTIAL DAMAGES, INCLUDING LOST PROFITS AND REVENUES,
FAILURE TO REALIZE EXPECTED SAVINGS, ANY CLAIM AGAINST A CUSTOMER BY A THIRD PARTY,
OR ANY OTHER COMMERCIAL OR ECONOMIC LOSSES OF ANY KIND. 6.4 THESE LIMITATIONS AND
DISCLAIMERS ARE NOT MADE BY CHANNEL MASTER WHERE PROHIBITED BY LAW.
Table of contents
Languages:
Other Channel Master Set-top Box manuals


