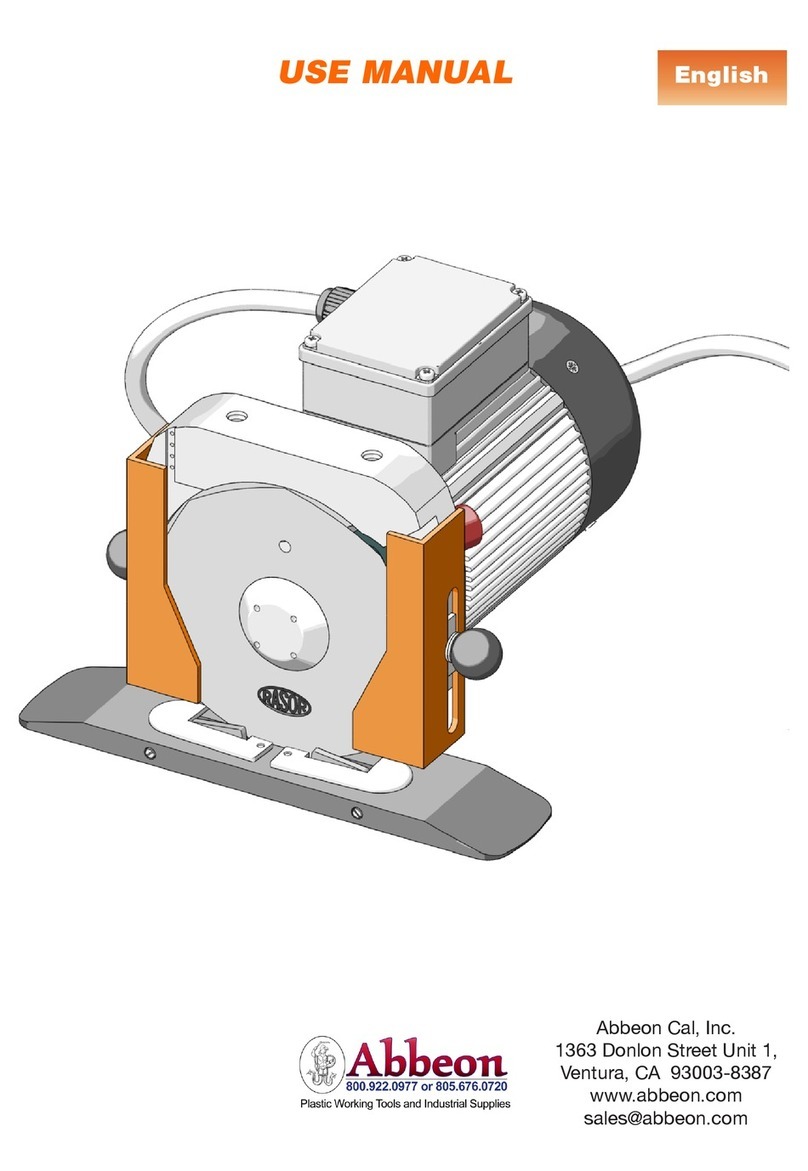
ChemInstruments RDS-100 User manual

TABLE OF CONTENTS
PRODUCT DESCRIPTION.............................................................................................3
SPECIFICATIONS................................................................................................3
UNPACKING...................................................................................................................4
ASSEMBLY.....................................................................................................................5
KEY COMPONENTS ......................................................................................................6
THEORY OF OPERATION.............................................................................................7
CUTTING DIE ADJUSTMENT..............................................................................7
MAINTENANCE..............................................................................................................9
2 | Page
Rotary Die Slitter Operating Instructions (RDS-100)

PRODUCT DESCRIPTION
Congratulations on the purchase of your new ChemInstruments Rotary Die Slitter. This
versatile, user-friendly, carefully designed instrument allows you to produce consistent,
accurate samples. The Rotary Die Slitter’s rugged construction, safety, repeatability,
small footprint, and ease of operation have made it an integral part of sample
preparation for plants and laboratories worldwide.
The unit has the following features:
•Ground Steel Bottom Roll
•Hardened rotary Die for accuracy and long life
•Enclosed Die for safety
•Forward and reverse direction control
•Suitable for slitting paper and film
WARNING: This equipment can cause injury if not used properly. It is
the operator’s responsibility to observe all safety rules and warnings.
SPECIFICATIONS
Maximum
Material
Thickness
0.06 inches (1.5 millimeters)
Maximum Slit
Width
9 inches (22.8 centimeters)
Maximum
Length of
Material
Unlimited
Physical
Dimensions Width: 20 inches (51 centimeters)
Depth: 9 inches (23 centimeters)
Height: 8 inches (20 centimeters)
Weight: 35 pounds (16 kilograms)
3 | Page
Rotary Die Slitter Operating Instructions (RDS-100)

UNPACKING
ChemInstruments has made every effort to ensure that the RDS-100 arrives at your
location without damage. Carefully unpack the instrument and check for any damage
that may have occurred during shipment. If any damage did occur during transit, notify
the carrier immediately.
4 | Page
Rotary Die Slitter Operating Instructions (RDS-100)

ASSEMBLY
Carefully remove the Rotary Die Slitter from the packaging and set it on a sturdy bench
top. Check the physical dimensions listed previously for the space required for the
instrument. The machine should be positioned with ample space to insert sample
material and freely turn the handle. The Rotary Die Slitter should be bolted to the work
surface. The machine has four pre-drilled holes (see section KEY COMPONENTS).
Hardware is not provided to bolt the machine to a surface.
WARNING: Before proceeding with using the Rotary Die Slitter, it is
advisable to become familiar with the Key Components. These Key
Components and a brief description of their function follow in the next
section.
5 | Page
Rotary Die Slitter Operating Instructions (RDS-100)

KEY COMPONENTS
Material Insertion Opening
Die Cover
Die Pressure Screws
Bolt Hole
Handle
Bottom Roll
Die
6 | Page
Rotary Die Slitter Operating Instructions (RDS-100)

THEORY OF OPERATION
WARNING: This equipment can cause injury if not used properly.It is the
operator’s responsibility to observe all safety rules and warnings.
WARNING: Be careful not to apply too much pressure to the Die. Too
much pressure will result in the Die bowing, which may prevent the Die
from cutting evenly.
The Rotary Die Slitter is a hand operated machine. The Die rotates by turning the
Handle. The Handle and Die may turn in either direction. Die pressure can be changed
by turning the Die Pressure Screws (see KEY COMPONENTS). Different materials will
require different Die pressures for optimal slitting. The Die Pressure Screws require a
3/16 inch Allen wrench (see CUTTING DIE ADJUSTMENT).
Material to be slit should be placed in the Material Insertion Opening while turning the
Handle in the appropriate direction (see KEY COMPONENTS). Be sure to keep hands
free from Material Insertion Opening. Once the machine begins to slit the material, it
will automatically feed through the remainder of the material as long as the handle is
being turned. Once slit, the material will exit the opposite side of the machine.
CUTTING DIE ADJUSTMENT
The cutting Die of the Rotary Die Slitter is adjusted at the factory for cutting normal 20
pound paper. Cutting of different materials, and long term use, may cause the Die of the
Rotary Die Slitter to need Die pressure adjustments. The following directions describe
adjusting Die pressure for optimal operation.
1. Using a 3/16 inch Allen wrench, loosen the Die Pressure Screws (see KEY
COMPONENTS) so there is no pressure on the Die.
2. Turn each Die Pressure Screw clockwise 1/4 rotation at a time, bringing each Die
Pressure Screw into contact with the Die. Be careful not to tighten the Die
Pressure Screws unevenly.
7 | Page
Rotary Die Slitter Operating Instructions (RDS-100)

3. Visibly check to see that the Die is resting on the Bottom Roll (see KEY
COMPONENTS).
4. Insert a sample of the material to be cut.
5. Turn the handle to rotate the Die and cut the sample material (see
OPERATION).
6. Inspect the material for even cutting across the entire width.
7. If the material is not cut properly, adjust the depth of cut by turning both Die
Pressure Screws 1/8 rotation clockwise. Take care to do this evenly in order to
maintain equal pressure across the full width of the Die.
8. If the center of the material is not being cut, but the outside edges are being cut,
the Die has too much pressure. Repeat the procedure starting at step 1.
9. Repeat steps 4 – 8 until optimal cutting has been achieved.
WARNING: Be careful not to apply too much pressure to the Die. Too
much pressure will result in the Die bowing, which may prevent the Die
from cutting evenly.
8 | Page
Rotary Die Slitter Operating Instructions (RDS-100)

MAINTENANCE
Over time, the die may require cleaning. To access the Die, remove the Die Cover. The
Die Cover is held in place by 4 screws. Once the Die Cover has been removed, the Die
may be cleaned using Chemsultants’ Adhesive Remover.
WARNING: Be extremely careful with the Die Cover is removed and while
cleaning the unit. The Die is extremely sharp and will cut you.
Die
9 | Page
Rotary Die Slitter Operating Instructions (RDS-100)
Table of contents

