manuals.online logo
Brands
  1. Home
  2. •
  3. Brands
  4. •
  5. Chesney's
  6. •
  7. Indoor Fireplace
  8. •
  9. Chesney's EFB1200 User manual

Chesney's EFB1200 User manual

1
Configuration of EFB1200 with Wi-Fi and
Smart Home System manual
CHESNEY’S
Issue 01
2
1. CONFIGURATION WITH WIFI AND SMARTPHONE
For a configured appliance the following functions are available:
-Turn on the appliance (if READY message is on display).
-Turn off the appliance (if COOLINGTHE DEVICE or READY message is on display)
- Increase or lower the flame height of the appliance during use.
-Turn on/off the ‘LOCK THE DEVICE’ function (Customer’s Menu, point 1).
- Select the appliance if more than one appliance has been installed.
To configure the appliance with Wi-Fi:
Ensure that the Wi-Fi network is of 802.11 b/g/n standard and it operates the
encryption of WPA/WPA2 PSK.
If the Wi-Fi network does not fulfil the above mentioned requirements it will have
to be adjusted in order for configuration to take place.
If Wi-Fi network is ready, prepare the formatted USB flash drive.
Create a text file on a USB flash drive with the name ‘wifi’
and ‘txt’ extension.
Save the name of the network and password in the file in the following format:
3
Instead of ‘Wi-Fi Network Name’ - enter the name of the network, e.g. ‘home’.
Wi-Fi Network Password - password to the network, e.g. ‘mynet’.
Example:
Make sure that the appliance is disconnected from the mains then insert the USB
flash drive to USB port on the side part of the product.
USB PORT
Connect the appliance to the mains and wait a minimum of 5 minutes.
The USB flash drive may be disconnected and the product may be turned on with
the button.
Hold ‘+’ for 8 seconds and ‘Customer’s menu’ will appear [p.10 in the User’s
manual]. Press ‘+’ to go to point 4 ‘Device IP’ and confirm by pressing ‘-’.
The products IP needed for the operation via the configured appliance will be
visible then.The correct IP format is: 192.168.XXX.XXX
4
The assigned IP address is a dynamic address and is subject to change in the
event of a change in the network settings.
It may happen that the displayed IP is incorrect. In such a case follow the
instructions below:
0.0.0.1 No communication with
the module at all
It is normal during the initialization of the
product. If it does not disappear after
several minutes after turning on the
appliance, begin to format the USB flash
drive again.
0.0.0.2* No connection with the
network (wrong data / IP
is busy / no network)
Follow the procedure of giving the network
parameters once more - install the USB
flash drive again.
0.0.0.3 Text mode - jumper was
not downloaded
Follow the procedure of giving the network
parameters once more - install the USB
flash drive again. Call SERVICE
127.0.0.1 No connection with the
network (wrong data / IP
is busy / no network)
Follow the procedure of giving the network
parameters once more - install the USB
flash drive again.
* In case of problems connecting to the fireplace via user’s WiFi network (error
no. 0.0.0.2) due to low network signal:
- remove the seal located in the front of the appliance indicated with a sticker
5
- cut the band that is clipping the cable
- take out the cable with the WiFi transceiver at its end
- repeat the connection procedure
NOTE:
The cause of failure to configure can be ascertained by reading the file ‘wifi.txt’.
Network parameters changed The change of all the network
parameters was successful
Error 0x01 Interfaces error (call service)
Data changed successfully The change of network password
network name was successful
Incorrect data format Data incorrectly entered into the file
(save data again on the USB flash drive,
if it does not work, format the USB flash
drive or use a different one)
If the displayed IP number is the correct one, save it.
The mobile appliance should be connected to the configured Wi-Fi network.The
operation of the appliance via the website has been tested with the following
browsers:
Windows: Opera, Firefox, Chrome, IE min11
Android: Firefox, Chrome, Opera Browser, Opera Classic, Safari
Apple: Safari, Chrome
In the address bar enter the saved IP address and download the webpage.
6
The display will appear on the device:
Appliances can be individually
named so that specific appliances
can be selected where more than
one has been installed.
Activates ‘LOCK THE DEVICE’ function (see: User’s Manual, III. Customer’s Menu, 1.)
7
Using the SETTINGS function it is possible to determine:
- Serial number
- Display and microprocessor’s program version
- Total time of appliance operation
- Website version
8
Using MANAGER function it is possible to control an unlimited number of configured
appliances.
NOTE:
In order to successfully operate the appliance it is essential that the user is familiar
with the User’s manual and that the appliance has been installed in accordance with
the instructions contained in the Installation manual.
9
2. SMART HOME SYSTEM CONNECTION
When the Smart Home System driver is installed, it can be used to:
-Turn on the appliance (if READY message is on display).
-Turn off the appliance (if COOLINGTHE DEVICE or READY message is on display)
- Increase or lower the flame height of the appliance during use.
The following appliance modes can be seen the Smart Home System control panel:
- ready to start (message READY)
- working (message WORKING)
- lack of fuel (message NO FUEL)
- waiting (message WAITING or COOLING THE DEVICE)
- ERROR
Description of Smart Home System ports:
INPUT 12-24 VDC ABCD
INFORMATION
CONTROL
GDN COM DC-V START STOP UP DOWN
Description of electrical connectors:
GND - COM DC -V
START - 12 DC +V input initializing the appliance, signal as an impulse lasting 100ms up to 1s.
STOP - 12 DC+V input turning off the appliance, signal as an impulse lasting 100ms up to 1s.
UP - 12 DC +V input increasing the flame, signal as an impulse lasting 100ms up to 1s.
DOWN - 12 DC+V input decreasing the flame, signal as an impulse lasting 100ms up to 1s.
A-READY - transmitter output signalling that the appliance is ready.
B-WORKING - transmitter output signalling that the appliance is working.
C-FUEL - transmitter output signalling lack of fuel.
C-FUEL - transmitter output signalling error/other.
A+B - transmitter output.
10
All the ports have been adjusted to work within direct current voltage of 12V-24V.
Higher voltage requires the use of an additional limiter installed on the module’s port.
More than one appliance can be controlled simultaneously. In order to do so, it is
essential to divide the signal, using one for each appliance.
Description:
Input - voltage port 12V-24V of the direct current.
Output - voltage port 12V-24V of the direct current depending on the mode of the
appliance.
The following chart shows mode ports where signals will appear depending on the
mode of the appliance. See illustration on p.6 for alphabetically referenced ports.
1 - port with signal
0 - port without signal
MODE A B C D
READY 1 0 0 0
WORKING 0 1 0 0
FUEL 0 0 1 0
ERROR 0 0 0 1
WAIT/COOLING 1 1 0 0
11
MODE OF OPERATION.
Following connection in accordance with the foregoing instructions, control of the
appliance takes place via the emission of single and short electrical impulses (lasting
from 100ms to 1s) to the electrical connectors. A single impulse directed to the START
port turns on the appliance (when stand-by mode is activated manually with the
button).
A single impulse directed to the STOP port switches the appliance into stand-by mode.
A single impulse directed to the UP port increases flame size by one level.
A single impulse directed to the DOWN port decreases flame size by one level.
Electrical connector READY indicates that the appliance is ready to start.
Electrical connector WORKING indicates that the appliance is working. Disappearance
of the signal will occur when there is a lack of fuel or the product is turned off.
Electrical connector FUEL indicates lack of fuel.
Electrical connector ERROR indicates product error. Further information will be shown
on the display panel.
Electrical connector READY + WORKING indicates initialization or cooling of the
appliance.

Other manuals for EFB1200

1

Other Chesney's Indoor Fireplace manuals

Chesney's CUBB18 Alchemy Operating instructions

Chesney's

Chesney's CUBB18 Alchemy Operating instructions

Chesney's CUBB18 Alchemy Operating instructions

Chesney's

Chesney's CUBB18 Alchemy Operating instructions

Chesney's EFB1200 Instruction Manual

Chesney's

Chesney's EFB1200 Instruction Manual
Chesney's EFB22 Instruction Manual

Chesney's

Chesney's EFB22 Instruction Manual
Chesney's The Bronze Urn Instruction Manual
Chesney's

Chesney's The Bronze Urn Instruction Manual

Chesney's Marble User manual

Chesney's

Chesney's Marble User manual

Chesney's Alchemy GFL850URN Operating instructions

Chesney's

Chesney's Alchemy GFL850URN Operating instructions

Chesney's CUBB18 Alchemy Operating instructions
Chesney's

Chesney's CUBB18 Alchemy Operating instructions

Chesney's Alchemy FB18 Instruction Manual

Chesney's

Chesney's Alchemy FB18 Instruction Manual

Popular Indoor Fireplace manuals by other brands
SEI LINDA FA8514 Assembly instructions
SEI

SEI LINDA FA8514 Assembly instructions

Desa VT32EN Series OWNER'S OPERATION AND INSTALLATION MANUAL
Desa

Desa VT32EN Series OWNER'S OPERATION AND INSTALLATION MANUAL

Allen + Roth 237-50-65 manual

Allen + Roth

Allen + Roth 237-50-65 manual

Twin-Star International 23MM774 Instruction manual enclosed
Twin-Star International

Twin-Star International 23MM774 Instruction manual enclosed

Element4 Modore 75H Installation & user manual

Element4

Element4 Modore 75H Installation & user manual

C3 Sierra 48 user manual

C3

C3 Sierra 48 user manual

Superior WRE3836WS Installation and operation instructions
Superior

Superior WRE3836WS Installation and operation instructions

EdilKamin IDRO 30 Installation, use and maintenance

EdilKamin

EdilKamin IDRO 30 Installation, use and maintenance

FPI Energy U31 Owners & installation manual

FPI

FPI Energy U31 Owners & installation manual

HearthStone DVI 44 owner's manual

HearthStone

HearthStone DVI 44 owner's manual

Richen 10664085 instruction manual

Richen

Richen 10664085 instruction manual
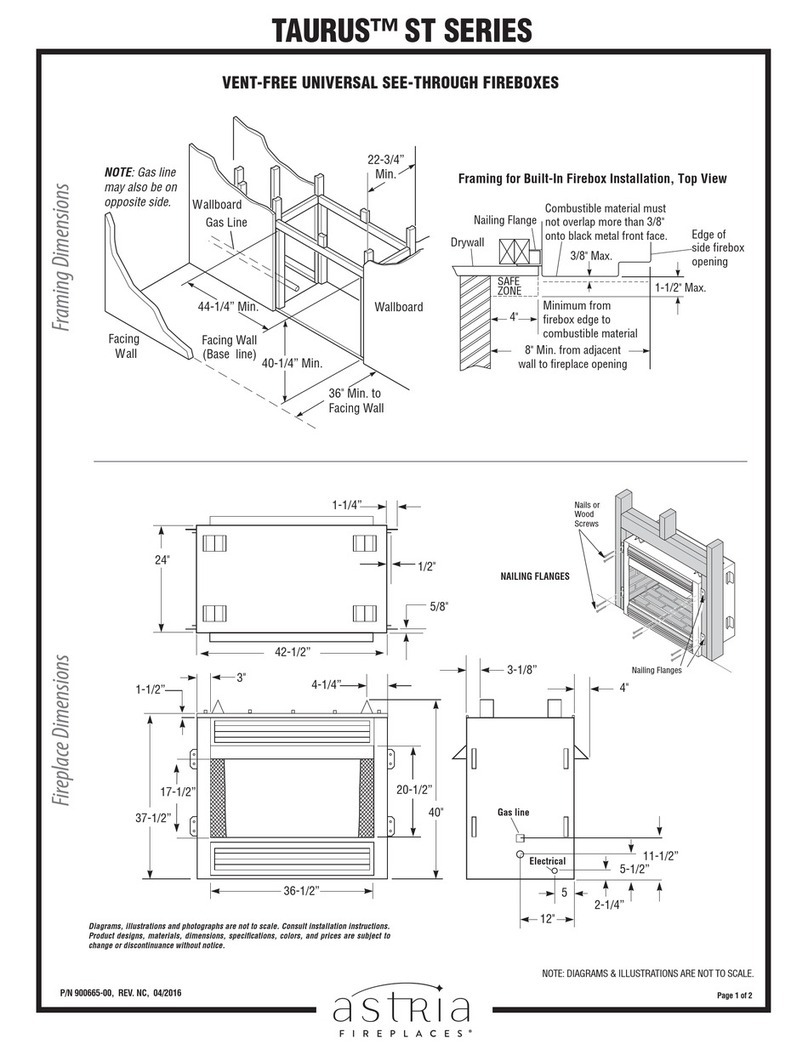
Astria Fireplaces TAURUS ST Series quick start guide

Astria Fireplaces

Astria Fireplaces TAURUS ST Series quick start guide

Northern Tool Electric fireplace heater Operation manual

Northern Tool

Northern Tool Electric fireplace heater Operation manual

ELEMENTI OFG105NG manual

ELEMENTI

ELEMENTI OFG105NG manual

Flame MONACO installation instructions

Flame

Flame MONACO installation instructions

FMI VSGF33PRC owner's manual

FMI

FMI VSGF33PRC owner's manual

Dru G20 Instructions for installation

Dru

Dru G20 Instructions for installation

Regency Bellerive I200B Owners & installation manual

Regency

Regency Bellerive I200B Owners & installation manual

manuals.online logo
manuals.online logoBrands
  • About & Mission
  • Contact us
  • Privacy Policy
  • Terms and Conditions

Copyright 2025 Manuals.Online. All Rights Reserved.