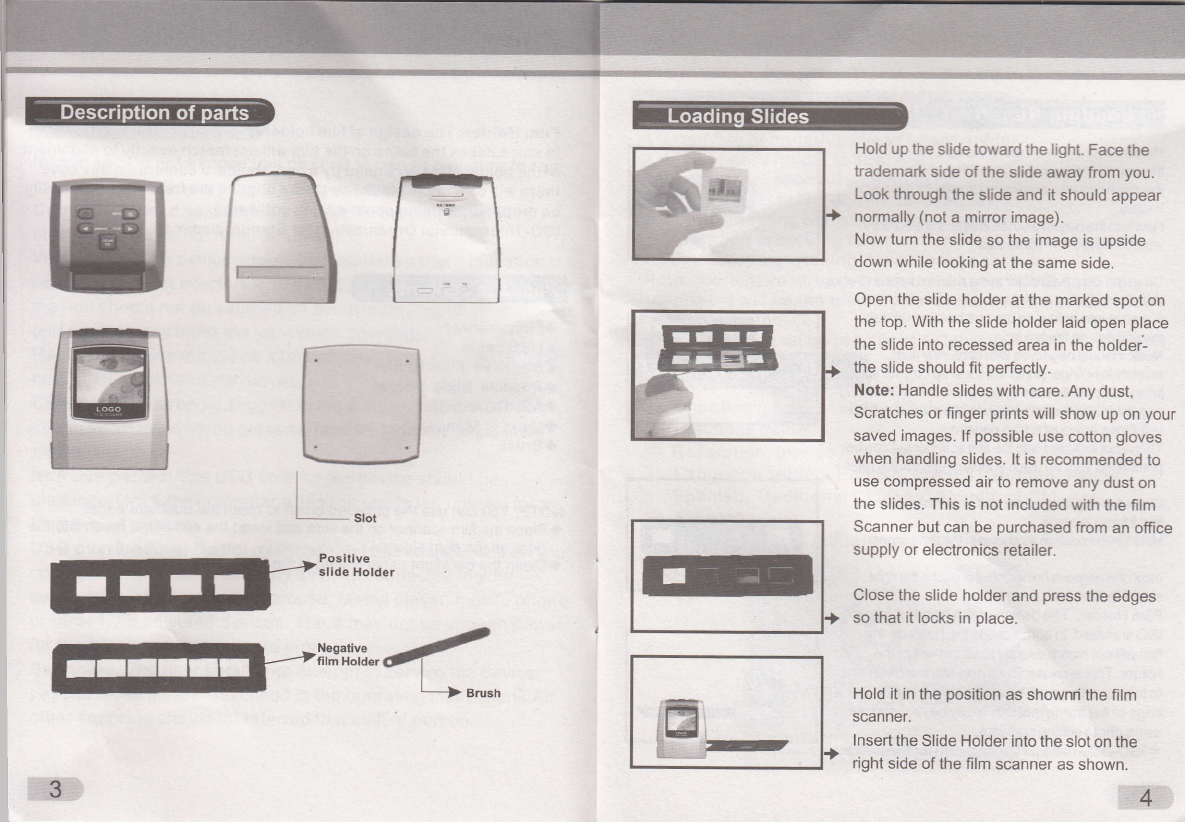
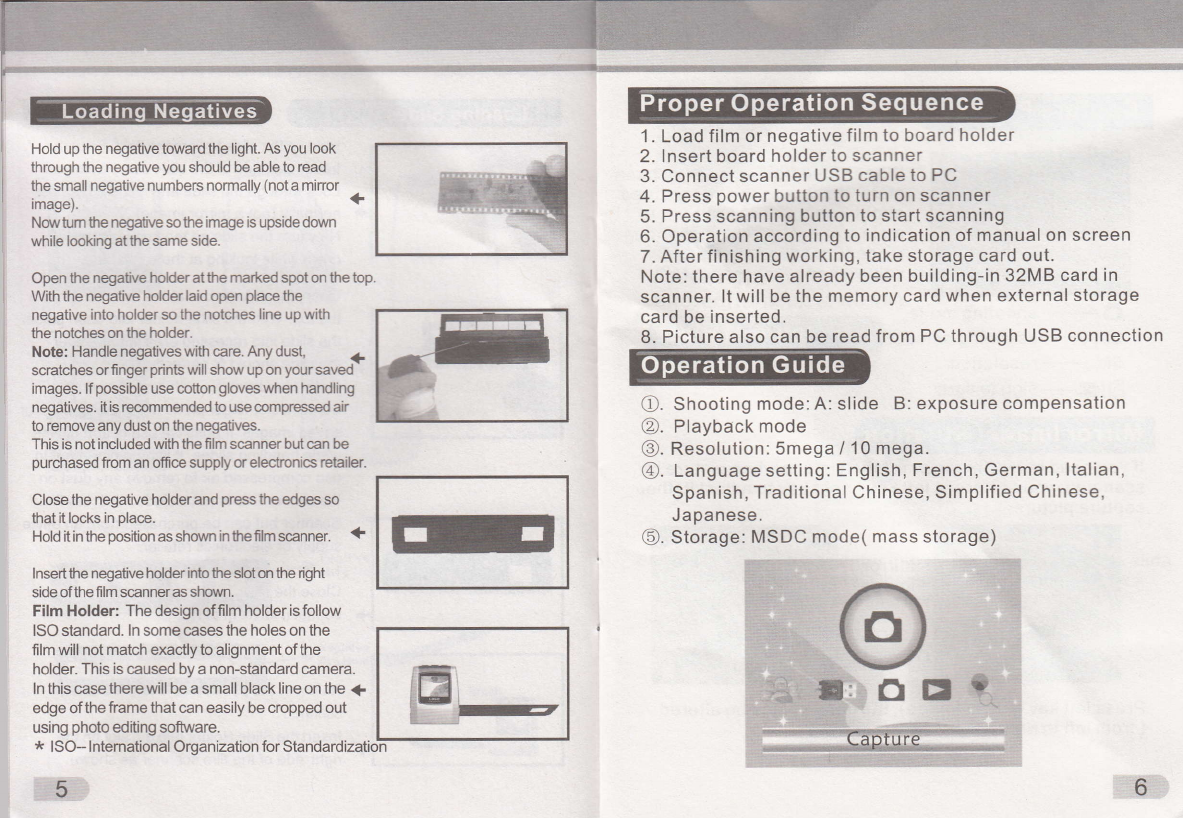
Hold up the negative toward the light. As you look
through the negative you should be able to read
the small negative numbers normally (not a minor
image). <F
No\iv tum the negative so the image is upside doryn
while looking atthe same side.
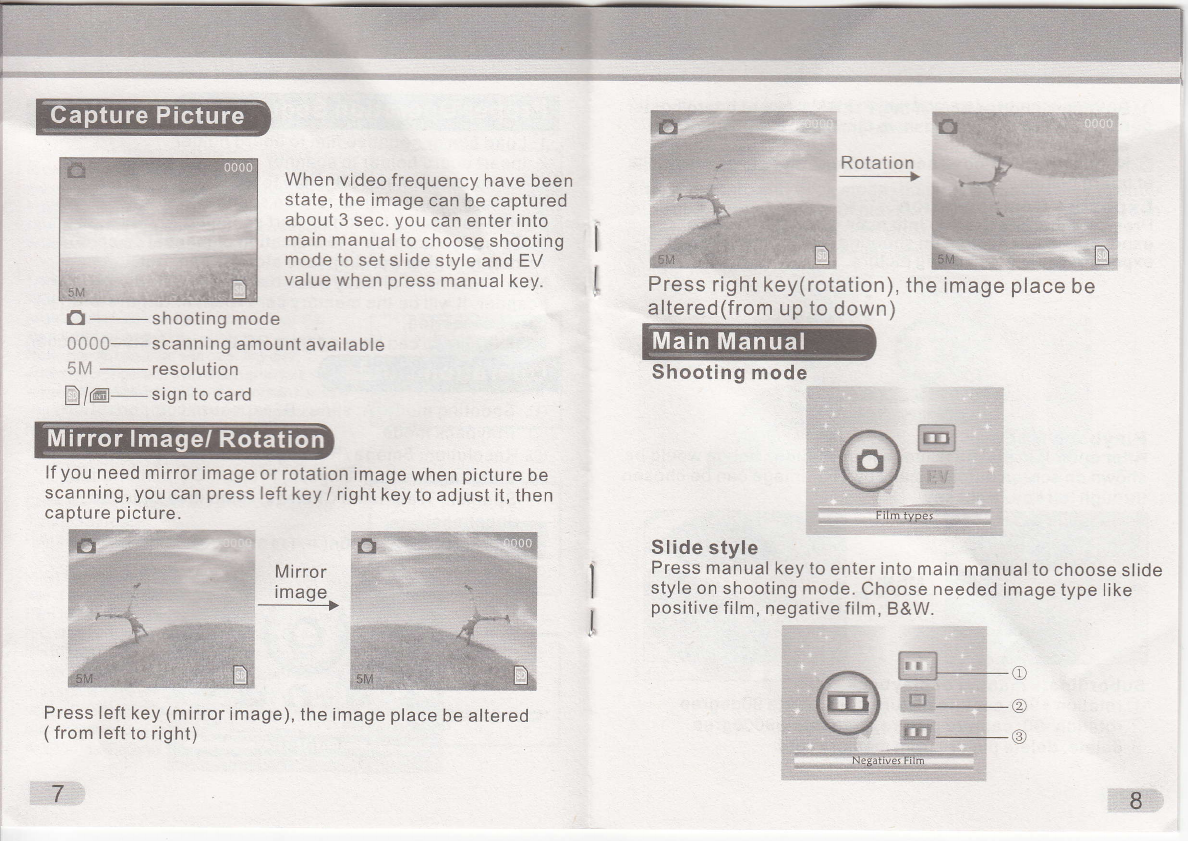
Open the negative hoHer at the marked spot on the top.
With the negative holder laid open place he
negative into holder so the notches line up with
the notches on the holder.
Note: Handle negatives with care. Any dust, +
scratches or finger prints will show up on your saved -
images. lf possible use cotton gloveswhen handling
negatMes. it is recommended to use compressed air
to remove any dust on the negatives.
This is not included with the film scanner but can be
purchased from an offce supply or electronics retailer.
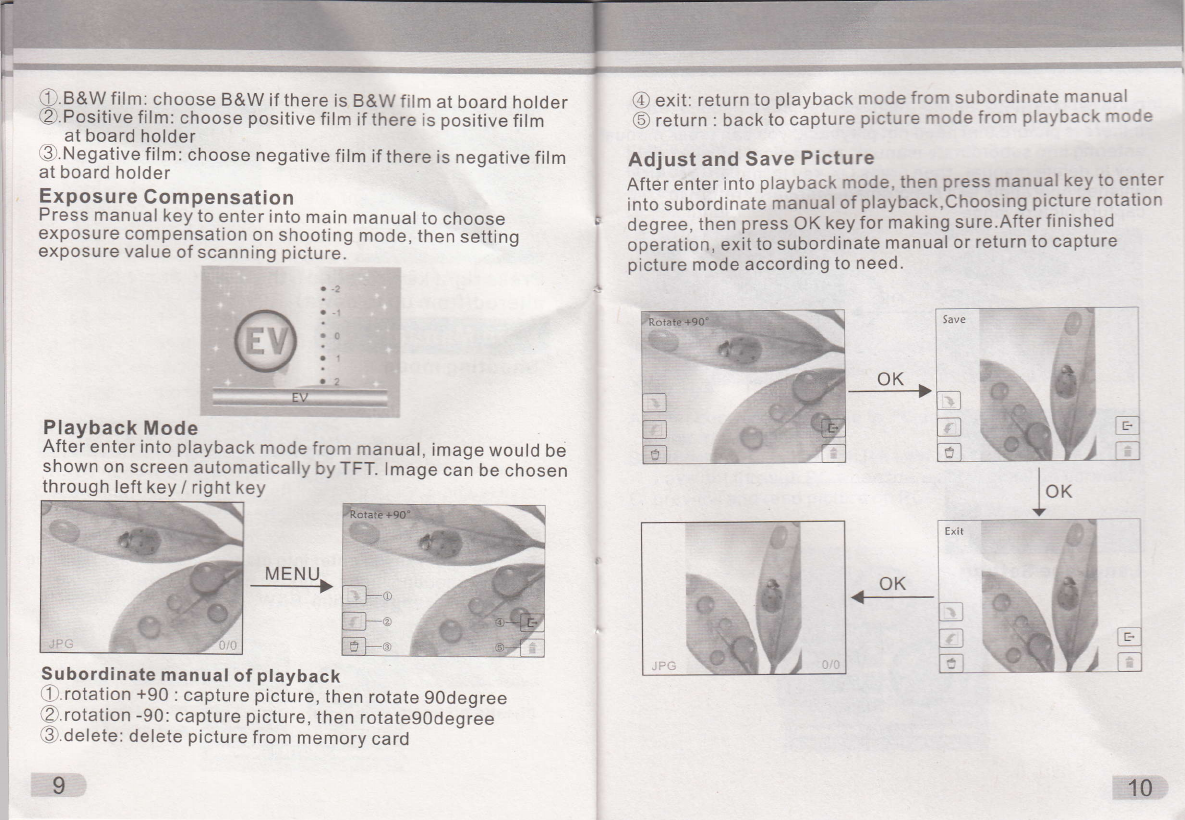
Close the negative holder and press the edges so
that it locks in place.
Hold it in ttre position as shou,n in thefilm scanner. +
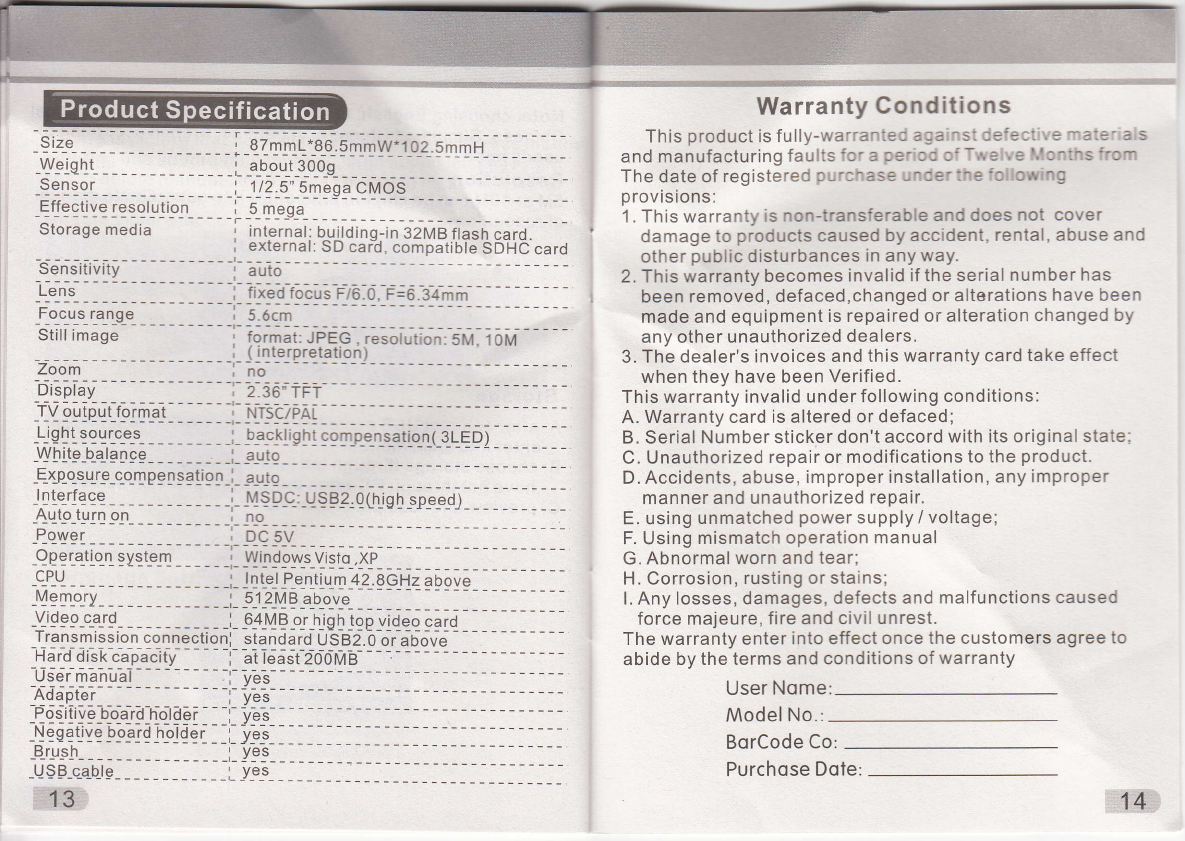
lnsertthe negative holder intothe sloton tre right
side ofthe film scanneras sttorrun.
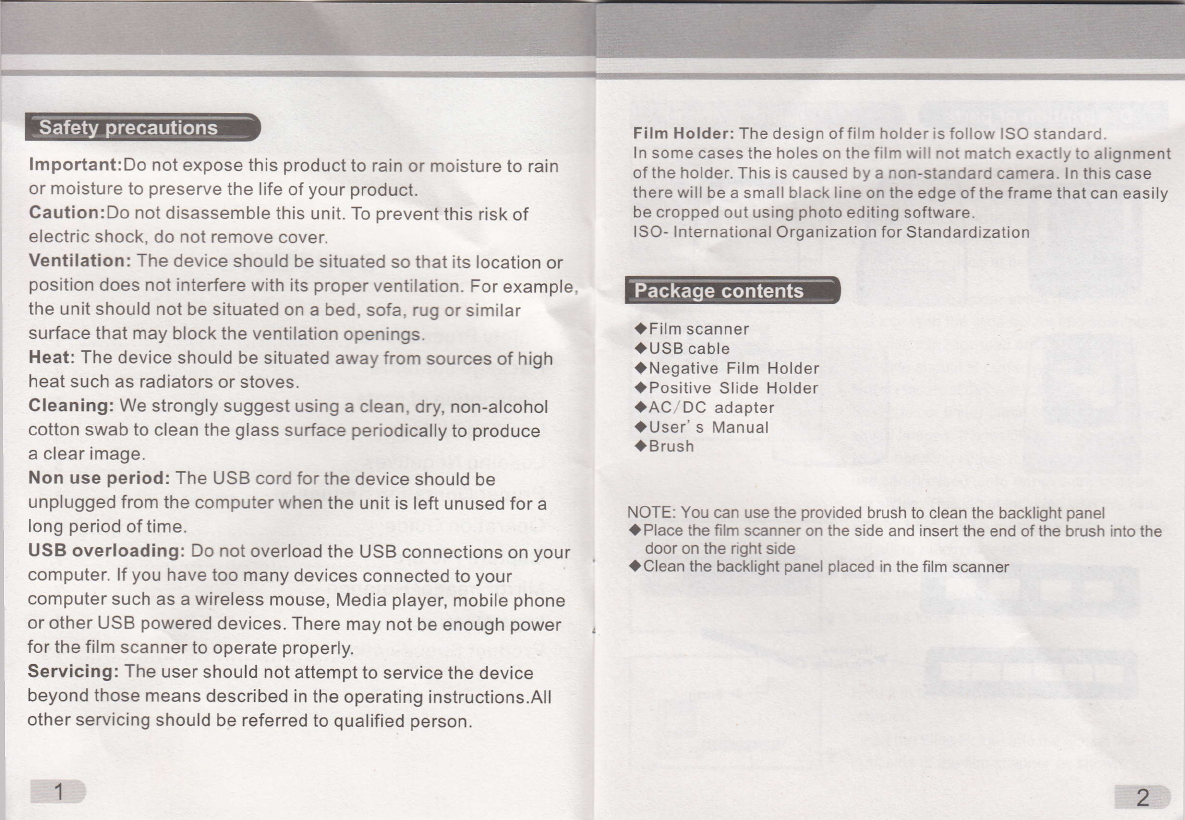
Film Holder: The design of film holder is follow
ISO standard. ln some cases the holes on the
film will not match exacflyto alignment of the
holder. This is caused by a non-standard camera.
ln this case there will be a small black line on the 1
edge ofthe frame that can easily be cropped out
using photo editing soft\ivare.
* ISO- lntemational Organization for Standardization
'1 . Load film or negative film to board holder
2. lnsert board holder to scanner
3. Connect scanner USB cable to PC
4. Press power button to turn on scanner
5. Press scanning button to start scanning
6. Operation according to indication of manual on screen
7. After finishing working, take storage card out.
Note: there have already been building-in 32MB card in
scanner. lt will be the memory card when external storage
card be inserted.
8. Picture also can be read from PC through USB connection
o.
@.
@.
@.
Shooting mode:
Playback mode slide B: exposure compensation
Resolution: 5mega / 10 mega.
Language setting: English, French, German, ltalian,
Spanish, Traditional Chinese, Simplified Chinese,
Japanese.
@. Storage: MSDC mode( mass storage)
,,6
5