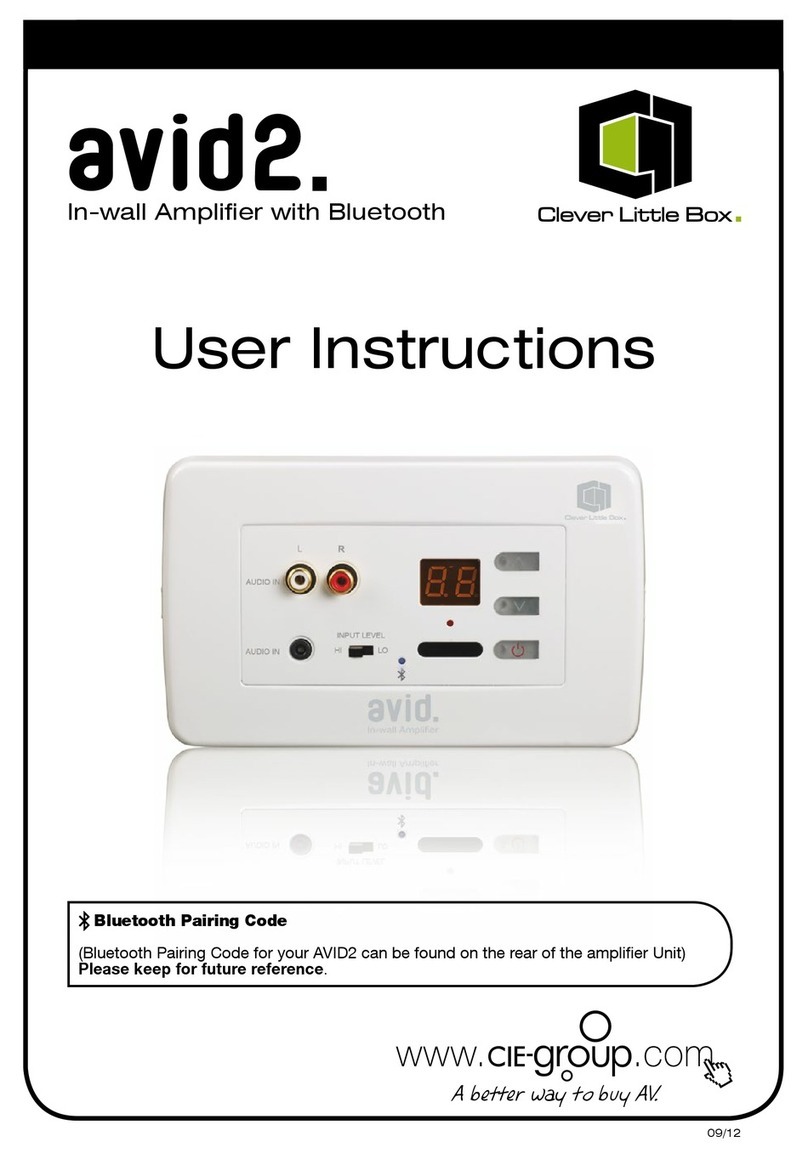
CIE-Group CLB-AVID User manual

Installation Guide
Before installation please take the time to read and understand the enclosed
information.
What’s included in the box?
• 1x CLB-AVID Amplier
• 1x 24v DC 1.25A PSU
• 1x IR Remote Control Unit
• 1 x Reducing Module
06/13
(plus CLB-BLUETOOTH Module)

CLB-AVID Description
The CLB-AVID Amplier Module is a discreet 2 x 20W stereo amplier for
modular faceplate or dado conduit mounting.
Part of the Conec2 range of Modular Faceplates, the new CLB-AVID is
an ideal solution for AV and single-room voice or sound reinforcement
applications and can be integrated into a wide range of faceplate options
and paired with any of the Conec2 connectivity modules.
The CLB-AVID features 2 x audio source inputs (3.5mm jack to the front
and screw terminals to the rear). However, when paired with the CLB-
Bluetooth Module (sold separately), the CLB-AVID stereo amplier allows
fast, simple wireless connection of Bluetooth-enabled devices such as
smartphone, tablets, iPhones, iPods, iPads etc
The AVID2 compact amplier is ideal for applications such as classrooms,
boardrooms, meeting or demo rooms and domestic home installations.
Features:
• Stereo Amplier Module (2 x 20W RMS output)
• For use with the Conec2 range of Faceplates and Connectivity Modules
• Optional CLB-Bluetooth Module provides Bluetooth connectivity for
wireless audio input of iPhone, iPad, smartphones, etc
• 2 x Wired Input Sources: 3.5mm Stereo Jack and Wired Input Terminal
(on rear PCB)
• Control of ON/OFF and volume via illuminated push button located on
the front panel
• Infrared remote control of ON/OFF, volume and input channel selction
(supplied as standard).
• Screw terminations on the rear of the unit for Loudspeakers, power and
wired line input
• Includes In-line Power Supply

Introduction:
The depth of the CLB-AVID unit will allow installation into standard UK
2-gang EO boxes, with a minimum of 40mm depth.
These may be galvanised metal for installation in solid construction walls,
plastic drylining (with lugs) or may be installed into surface mounting Dado-
type trunking systems using the appropriate xings.
The CLB-AVID is designed to interface to the Conec2 series of faceplate
solutions. As standard the CLB-AVID will t into the faceplate models
CLB460A, 460R, 860A and 860R using a reducing module CLB45-5045W
(supplied with CLB-Avid).
Remember, if required, when planning your installation to provide room for
the optional CLB-BLUETOOTH module, which requires a 25mm x 50mm
space for installation adjacent to the CLB-AVID within the same faceplate
shell (CLB460A and CLB460R are not suitable if including Bluetooth
Module).
Specifications:
Output Power 2 x 20W @ 8W
Line Inputs Stereo 3.5mm Jack
Screw Terminal (Rear PCB.) Controlled by source button or IR Control
Bluetooth Input (optional extra) CLB-Bluetooth Module
Line Output Fixed level (Unbalanced) 1v 47kW
Frequency Response 40Hz ~ 20KHz
Input Sensitivity 1v
Power Requirements 24v DC, 1.25A
Dimensions Faceplate
PCB section
45(W) x 45(H) x 40(D) mm
65(W) x 65(H) x 26(D) mm

Front Panel Controls and Connectivity:
Two types of wired input are provided: one via the front panel, a Stereo
3.5mm Jack and one via the 3 pin screw connector input on the rear of
the amplier module. The Stereo 3.5mm Jack Input has a signal-operated
priority over the 3 pin screw connector.
3 illuminated buttons allow basic control of the CLB-AVID. The right hand
button ( ) controls the ON/OFF function and the selection of which input
channel is used; the up/down buttons ( ) control Volume Up and
Volume Down.
An LED Display shows the volume level via a 10 segment stepped LED and
also indicates which input source is selected.
Input channel
selected
Volume level
vol +/–
on/off and
input source
select
IR receiver 3.5mm input

CLB-BLUETOOTH:
Wireless Bluetooth connectivity can be provided via a separate Receiver
Module (CLB-BLUETOOTH sold separately) allowing any Bluetooth
enabled device using A2DP prole to be paired with the CLB-AVID. A blue
LED provides indication of the Bluetooth function.
As follows:
Blink LED = Pairing Mode
Solid LED = Connected
Paired LED

Rear Panel Controls and Connectivity:
Screw terminal connections for Power, Wired Input, Loudspeaker Outputs
and Line Level outputs are located on the rear PCB of the CLB-AVID.
Power is provided via the PSU (included); its cable being marked with a
white line on the positive (+) core which connects to the V+ terminal, the
plain black core is negative (-) which connects to the G terminal.
The Wired Input terminal is congured for a Stereo Input Signal; the three-
way connector has terminals for L (Left Signal), G (Ground/Screen) and R
(Right Signal).
Loudspeaker
trim pots
Audio line
output
Bluetooth link
connection
Power
Line input
Loudspeaker
connection

Important Information.
It is important to note that if using the audio input located on the rear of the
CLB-AVID that the signal applied is at full line level.
Low level signals such as headphone output levels can sometimes not
provide enough output signal level to keep the internal priority switching
circuit built into the CLB-AVID open, this may result in loss or intermittent
playback of the audio being broadcast.
If you are experiencing any such problems please contact you reseller or the
CIE-Group Technical Support Department on +44 (0)115 9770075
When using this application an appropriate screened cable is required to
reduce the possibility of external signal interference.
Bluetooth Pairing Code: 2843
Please note that the Bluetooth Pairing Code is displayed on the rear of the
Bluetooth Receiver. As this is not accessible post-installation, please ensure
to note this down and advise the end user of the Bluetooth Pairing Code
and/or where it can be found.
The Bluetooth Module is wired in parallel with the 3.5m jack input on the
front panel. Therefore in Bluetooth mode the audio source plugged into the
3.5mm jack should be switched off.
Loudspeakers should be wired to the L+ L- and R+ R- terminals, ensuring
the phase of each loudspeaker is the same.
The line output is stereo and provides a xed line output signal for feeding
and external source such as a slave amplier or induction loop system.
Note. The unit has been designed for an 8ohm load per
channel; we do not recommend the use of loudspeakers with
an impedance lower than 8ohms.

Putting the System together...
Once you have selected your faceplate option/style:
1. Insert the reducing module into the faceplate
2. Clip the front panel-facia of the CLB-AVID into the reducing module.
3. Carefully offer up the CLB-AVID PCB to the rear of the front panel-facia,
being careful not to damage or break the PCB or compartments..
PCB
Faceplate
Reducing Module
Facia/Panel

4. If chosen, insert the CLB-Bluetooth
Module into the Faceplate, adjacent
to the CLB-AVID.
5. Connect the two Modules together
with the connecting cable supplied
with the CLB-Bluetooth Module.
6. An additional Conec2 AV Module
of your choice (such as VGA,
HDMI, etc) can be added into any
spare Module spaces, or it can
be lled with a blank Module (eg.
Part Numbers CLB50-480-3MP or
CLB50-480-12MP).

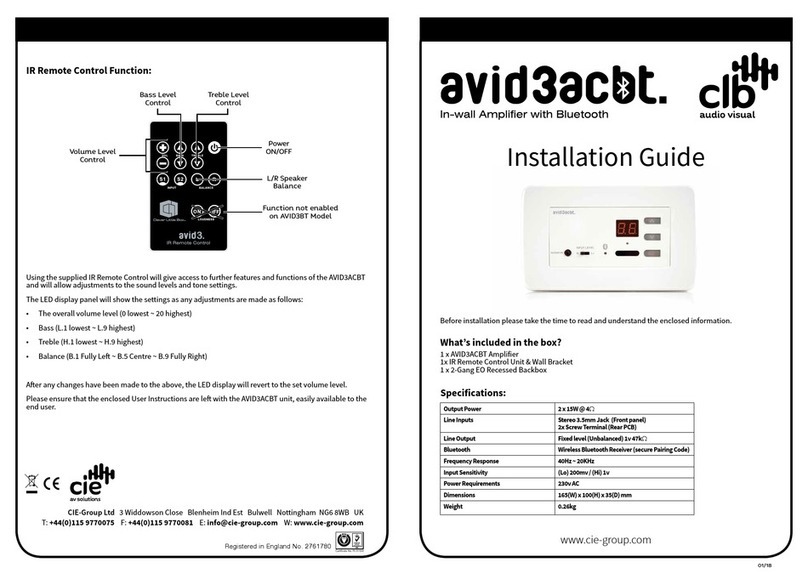
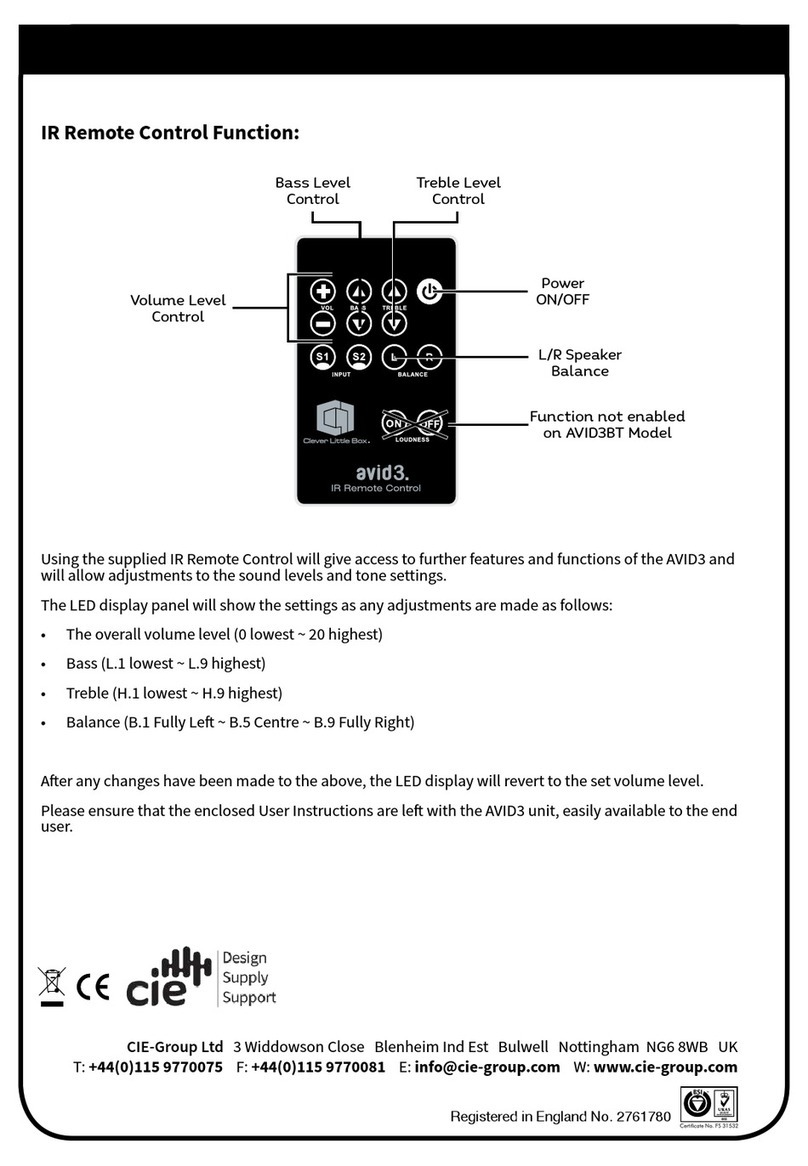
IR Remote Control Function:
Using the supplied IR Remote Control will provide wireless control of the
CLB-AVID’s volume level and Audio Source channel selection.
Power On/Off
Volume Level
Control
Audio Source
Channel Selection

Conec2 ‘Pick-and-Click’
Modular AV Faceplates
For details of the full range of Conec2
Modular AV Faceplate products,
visit us online today at...

CIE-Group Ltd Widdowson Close Blenheim Ind Est Bulwell Nottingham NG6 8WB England
T: +44(0)115 9770075 F: +44(0)115 9770081 E: [email protected] W: www.cie-group.com
CIE-Group
Table of contents
Other CIE-Group Amplifier manuals
