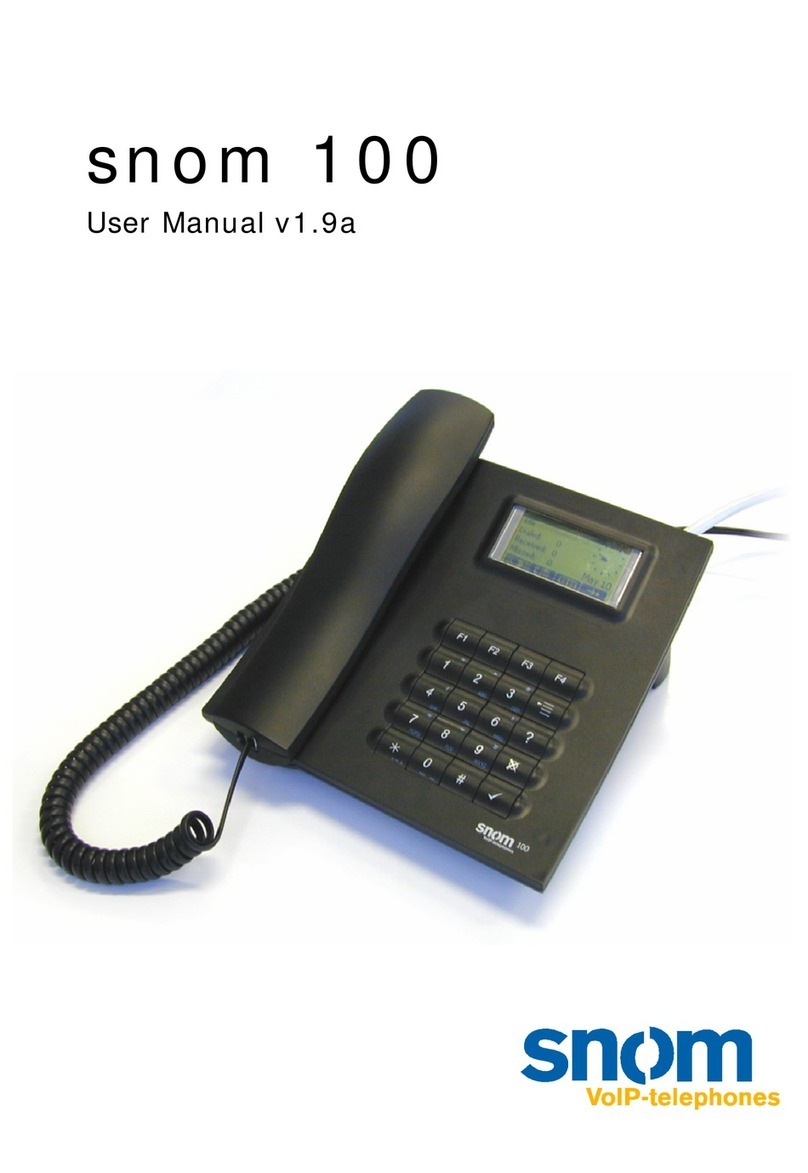
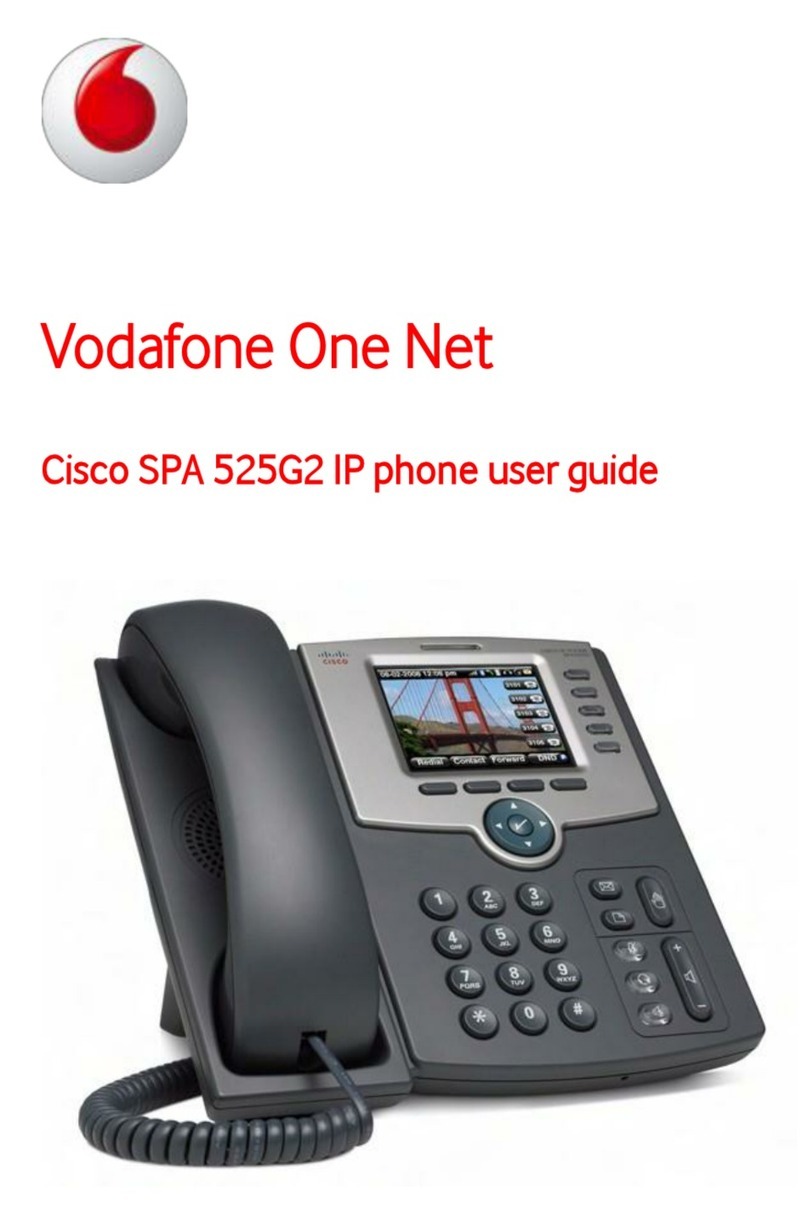
claricom snom 760 User manual

© 2013 snom technology AG
v1.05
Your specialist retailer - Ihr Fachhändler -
Votre distributeur - Su distribuidor - Il tuo rivenditore:
Quick Start Guide
IP Phone
snom technology AG
Wittestr. 30 G
13509 Berlin, Deutschland
Tel. +49 30 39 83 3-0
Fax +49 30 39 83 31 11
snom technology, Inc.
18 Commerce Way, Suite 6000
Woburn, MA 01801, USA
Tel. 781-569-2044
Fax 978-998-7883
infoU[email protected]
snom UK Ltd
Amethyst House, Meadowcroft Way
Leigh Business Park, Leigh
Manchester WN7 3XZ, UK
Tel. +44 169 348 7500
Fax +44 169 348 7509
snom France SARL
6 Parc des fontenelles
78870 Bailly, France
Tel. +33 1 80 87 62 87
Fax +33 1 80 87 62 88
snom technology SRL
Via A. Lusardi 10
20122 Milano, Italia
Tel +39 02 00611212
Fax +39 02 93661864
snom technology Ltd.
Rm. A2, 3F, No. 37, Ln. 258
Ruiguang Rd., Neihu Dist.
Taipei City 114, Taiwan
Tel +886-2-8751-1120
Fax +886-2-8751-1130

C
B
A
12
3
Optional
Optionnel
Opzionale
Opcional
USB 2.0
Type/Typ A
Delivery content
Attaching the Footstand
Connecting

C
B
A
12
3
Optional
Optionnel
Opzionale
Opcional
USB 2.0
Type/Typ A
Delivery content
Attaching the Footstand
Connecting

snom 760 Quick Start Guide
snom 760 Quick Start Guide
E
N
G
L
I
S
H
E
N
G
L
I
S
H
• Do not install the device in rooms with high humidity (for example, in bathrooms,
laundry rooms, damp basements). Do not immerse the device in water and do not
spill or pour liquids of any kind onto or into the device.
• Do not install the device in surroundings at risk for explosions (paint shops, for
example). Do not use the device if you smell gas or other potentially explosive fumes.
• Do not use the device during thunderstorms. Lightning striking the power grid may
cause electric shocks.
• Warning: The handset contains a magnet, and its earpiece may attract small
dangerous objects such as needles or pins. Please ensure before each use that no
such objects are present.
SELV (Safety Extra Low Voltage) Compliance
Safety status of Input/Output connections comply with SELV requirements.
Warning: To avoid electric shock, do not connect safety extra-low voltage (SELV)
circuits to telephone-network voltage (TNV) circuits. LAN ports contain SELV
circuits, and PSTN ports contain TNV circuits. Some LAN and PSTN ports both use
RJ-45 (8P8C) connectors. Use caution when connecting cables.
Standards conformance
This device complies with the essential health, safety, and environmental
requirements of all relevant European directives. The declaration of
conformity can be requested from snom (address see reverse cover).
This phone is FCC-certified and meets US health, safety, and environmental
standards.
Unauthorized opening, changing, or modifying the device will cause the
warranty to lapse and may also result in the loss of CE conformity and
the FCC certification. In case of malfunction contact authorized service
personnel, your seller, or snom.
• Safety: IEC 60950-1:2007
• Power: PoE or power supply PSAC10R-050 (available separately, snom PN
00002730)
• 1x LAN, 1x PC: RJ45
• Ethernet: 2x IEEE 802.3/1 Gigabit switch
• Power over Ethernet: IEEE 802.3af, Class 2
Disposal of the device
This device is subject to European Directive 2002/96/EC and may not be
disposed of with general household garbage.
Cleaning
To clean the device, use an anti-static cloth. Please avoid cleaning liquids as they might
damage the surface or internal electronics of the device.
Setting up and connecting the phone
See pages 2 - 3
Initializing and registering the phone
Please note: You will need the registration information received from your
Internet service provider or your network administrator - normally the phone or
extension number, the password, and the registrar.
After you have set up the phone and connected it to the network as shown on pages
2 - 3, the phone begins to initialize.
Normally the initialization is completely automatic, using DHCP. If your network does not
support DHCP, you must obtain the IP address, netmask, IP gateway, and DNS server
from your Internet service provider or your network administrator and enter them manually
when you are asked to do so on the display.
Watch the display and, when asked to, make selections with / and save with
.
1. Language. The default is English.
2. Time zone
3. Dial tone
4. The display shows the "Welcome" screen. Press any key to log on.
5. Enter the account number. Save with .
6. Enter the registrar. Press .
7. Enter the password received from your Internet service provider or administrator.
Press . After successful registration you will see the green symbol with the
handset:
Infobar with date & time
Identity line
Identity for outgoing
calls: Green symbol Unregistered
identity:
Active identity:
Yellow symbol
Entering numerals, letters, and special characters
Press any key or pick up handset.
Directories, call lists,
contact list, favorites
Input modes:
123: Numerals
abc: Small letters
ABC: Capital letters
Delete character to
the left of the cursor
Current input mode:
Next input mode:
Redial
Move cursor to the left
Move cursor to the right
:
:
Changing input mode:

snom 760 Quick Start Guide
snom 760 Quick Start Guide
E
N
G
L
I
S
H
E
N
G
L
I
S
H
• Do not install the device in rooms with high humidity (for example, in bathrooms,
laundry rooms, damp basements). Do not immerse the device in water and do not
spill or pour liquids of any kind onto or into the device.
• Do not install the device in surroundings at risk for explosions (paint shops, for
example). Do not use the device if you smell gas or other potentially explosive fumes.
• Do not use the device during thunderstorms. Lightning striking the power grid may
cause electric shocks.
• Warning: The handset contains a magnet, and its earpiece may attract small
dangerous objects such as needles or pins. Please ensure before each use that no
such objects are present.
SELV (Safety Extra Low Voltage) Compliance
Safety status of Input/Output connections comply with SELV requirements.
Warning: To avoid electric shock, do not connect safety extra-low voltage (SELV)
circuits to telephone-network voltage (TNV) circuits. LAN ports contain SELV
circuits, and PSTN ports contain TNV circuits. Some LAN and PSTN ports both use
RJ-45 (8P8C) connectors. Use caution when connecting cables.
Standards conformance
This device complies with the essential health, safety, and environmental
requirements of all relevant European directives. The declaration of
conformity can be requested from snom (address see reverse cover).
This phone is FCC-certified and meets US health, safety, and environmental
standards.
Unauthorized opening, changing, or modifying the device will cause the
warranty to lapse and may also result in the loss of CE conformity and
the FCC certification. In case of malfunction contact authorized service
personnel, your seller, or snom.
• Safety: IEC 60950-1:2007
• Power: PoE or power supply PSAC10R-050 (available separately, snom PN
00002730)
• 1x LAN, 1x PC: RJ45
• Ethernet: 2x IEEE 802.3/1 Gigabit switch
• Power over Ethernet: IEEE 802.3af, Class 2
Disposal of the device
This device is subject to European Directive 2002/96/EC and may not be
disposed of with general household garbage.
Cleaning
To clean the device, use an anti-static cloth. Please avoid cleaning liquids as they might
damage the surface or internal electronics of the device.
Setting up and connecting the phone
See pages 2 - 3
Initializing and registering the phone
Please note: You will need the registration information received from your
Internet service provider or your network administrator - normally the phone or
extension number, the password, and the registrar.
After you have set up the phone and connected it to the network as shown on pages
2 - 3, the phone begins to initialize.
Normally the initialization is completely automatic, using DHCP. If your network does not
support DHCP, you must obtain the IP address, netmask, IP gateway, and DNS server
from your Internet service provider or your network administrator and enter them manually
when you are asked to do so on the display.
Watch the display and, when asked to, make selections with / and save with
.
1. Language. The default is English.
2. Time zone
3. Dial tone
4. The display shows the "Welcome" screen. Press any key to log on.
5. Enter the account number. Save with .
6. Enter the registrar. Press .
7. Enter the password received from your Internet service provider or administrator.
Press . After successful registration you will see the green symbol with the
handset:
Infobar with date & time
Identity line
Identity for outgoing
calls: Green symbol Unregistered
identity:
Active identity:
Yellow symbol
Entering numerals, letters, and special characters
Press any key or pick up handset.
Directories, call lists,
contact list, favorites
Input modes:
123: Numerals
abc: Small letters
ABC: Capital letters
Delete character to
the left of the cursor
Current input mode:
Next input mode:
Redial
Move cursor to the left
Move cursor to the right
:
:
Changing input mode:

snom 760 Quick Start Guide
snom 760 Quick Start Guide
E
N
G
L
I
S
H
E
N
G
L
I
S
H
Pound (hash) key
#
: Rescue
mode for TFTP update
Star key
a A
• In editing mode:
- Press for one second to change input
mode (numerals > lower case > upper
case)
- Press briefly to type *
• On idle screen: Press for 3 seconds to
lock/unlock the keypad
Adjust volume
Mute microphone
Speakerphone on/off
Headset on/off
Audio control keys
Context-sensitive, programmable
function symbols and function keys
Select outgoing identity, incl. inactive
identities
Call lists (missed, received, dialled calls)
Forwarding all calls (on/off)
Status information (call forwarding active,
passwords not set, missed calls, etc.)
Dedicated,
customizable
function keys:
MWI (LED key) - if supported by PBX
• Lit when message is waiting on mailbox
• Press to listen to message(s)
Turn DND (do not disturb) on/off
Directory
Settings menu
Transfer call
Hold/unhold call
• Confirming, saving
actions & input
• From idle screen:
Redial
•
Canceling actions
& input
• Turning off call LED
after missed call
Missed
calls
Received
calls
Selecting identity for
outgoing calls
Press the function key to activate the function, open
the list etc. depicted by the symbol above the key
ATAGLANCE
CALL LED
• BLINKING FAST: INCOMING CALL
• STEADY LIGHT: INCALL OR
• MISSED CALL. PRESS TO
TURN OFF.
FREELY PROGRAMMABLE LED
KEYS P1 - P16
DEFAULT SETTING: LINE
• FAST-BLINKING LED: INCOMING
CALL. PRESS KEY OR TO
ACCEPT
• STEADILY LIT LED: INCALL
• SLOW-BLINKING LED: CALL ON
HOLD
Outgoing
identity:
Alphanumeric
keypad
Display -
idle screen
P5 - P10
P11-P16
P1
P2
P3
P4
i
i
Pound (hash) key
#
: Rescue
mode for TFTP update
Star key
a A
• In editing mode:
- Press for one second to change input
mode (numerals > lower case > upper
case)
- Press briefly to type *
• On idle screen: Press for 3 seconds to
lock/unlock the keypad
Adjust volume
Mute microphone
Speakerphone on/off
Headset on/off
Audio control keys
Context-sensitive, programmable
function symbols and function keys
Select outgoing identity, incl. inactive
identities
Call lists (missed, received, dialled calls)
Forwarding all calls (on/off)
Status information (call forwarding active,
passwords not set, missed calls, etc.)
Dedicated,
customizable
function keys:
MWI (LED key) - if supported by PBX
• Lit when message is waiting on mailbox
• Press to listen to message(s)
Turn DND (do not disturb) on/off
Directory
Settings menu
Transfer call
Hold/unhold call
• Confirming, saving
actions & input
• From idle screen:
Redial
•
Canceling actions
& input
• Turning off call LED
after missed call
Missed
calls
Received
calls
Selecting identity for
outgoing calls
Press the function key to activate the function, open
the list etc. depicted by the symbol above the key
ATAGLANCE
CALL
LED
•
BLINKING FAST: INCOMING CALL
•
STEADY LIGHT: INCALL OR
•
MISSED CALL. PRESS TO
TURN OFF.
FREELY PROGRAMMABLE
LED
KEYS P1 - P16
DEFAULT SETTING: LINE
•
FAST-BLINKING LED: INCOMING
CALL. PRESS KEY OR TO
ACCEPT
•
STEADILY LIT LED: INCALL
•
SLOW-BLINKING LED: CALL ON
HOLD
Outgoing
identity:
Alphanumeric
keypad
Display -
idle screen
P5 - P10
P11-P16
P1
P2
P3
P4
i
i
Entering letters, special characters and symbols
In input modes small and capital letters, press the alphanumeric key one or more times
quickly, with a pause after each character.
Special characters and symbols
"0" key": 1x = space ("˽"), 2x = underscore ("_"), 3x = 0
"1" key: . + @ 1 : , ? ! - _ / \ ( ) ; & % * # <=> $ [ ]. Example: 3x = "@".
Letters with accents and umlauts
Keys "2" to "9": Available letters with accents and umlauts depend on the phone's
language setting. Example: If the phone language is German, press key "2" four times
to type "ä".

snom 760 Quick Start Guide
snom 760 Quick Start Guide
E
N
G
L
I
S
H
E
N
G
L
I
S
H
Pound (hash) key
#
: Rescue
mode for TFTP update
Star key
a A
• In editing mode:
- Press for one second to change input
mode (numerals > lower case > upper
case)
- Press briefly to type *
• On idle screen: Press for 3 seconds to
lock/unlock the keypad
Adjust volume
Mute microphone
Speakerphone on/off
Headset on/off
Audio control keys
Context-sensitive, programmable
function symbols and function keys
Select outgoing identity, incl. inactive
identities
Call lists (missed, received, dialled calls)
Forwarding all calls (on/off)
Status information (call forwarding active,
passwords not set, missed calls, etc.)
Dedicated,
customizable
function keys:
MWI (LED key) - if supported by PBX
• Lit when message is waiting on mailbox
• Press to listen to message(s)
Turn DND (do not disturb) on/off
Directory
Settings menu
Transfer call
Hold/unhold call
• Confirming, saving
actions & input
• From idle screen:
Redial
•
Canceling actions
& input
• Turning off call LED
after missed call
Missed
calls
Received
calls
Selecting identity for
outgoing calls
Press the function key to activate the function, open
the list etc. depicted by the symbol above the key
ATAGLANCE
CALL LED
• BLINKING FAST: INCOMING CALL
• STEADY LIGHT: INCALL OR
• MISSED CALL. PRESS TO
TURN OFF.
FREELY PROGRAMMABLE LED
KEYS P1 - P16
DEFAULT SETTING: LINE
• FAST-BLINKING LED: INCOMING
CALL. PRESS KEY OR TO
ACCEPT
• STEADILY LIT LED: INCALL
• SLOW-BLINKING LED: CALL ON
HOLD
Outgoing
identity:
Alphanumeric
keypad
Display -
idle screen
P5 - P10
P11-P16
P1
P2
P3
P4
i
i
Pound (hash) key
#
: Rescue
mode for TFTP update
Star key
a A
• In editing mode:
- Press for one second to change input
mode (numerals > lower case > upper
case)
- Press briefly to type *
• On idle screen: Press for 3 seconds to
lock/unlock the keypad
Adjust volume
Mute microphone
Speakerphone on/off
Headset on/off
Audio control keys
Context-sensitive, programmable
function symbols and function keys
Select outgoing identity, incl. inactive
identities
Call lists (missed, received, dialled calls)
Forwarding all calls (on/off)
Status information (call forwarding active,
passwords not set, missed calls, etc.)
Dedicated,
customizable
function keys:
MWI (LED key) - if supported by PBX
• Lit when message is waiting on mailbox
• Press to listen to message(s)
Turn DND (do not disturb) on/off
Directory
Settings menu
Transfer call
Hold/unhold call
• Confirming, saving
actions & input
• From idle screen:
Redial
•
Canceling actions
& input
• Turning off call LED
after missed call
Missed
calls
Received
calls
Selecting identity for
outgoing calls
Press the function key to activate the function, open
the list etc. depicted by the symbol above the key
ATAGLANCE
CALL
LED
•
BLINKING FAST: INCOMING CALL
•
STEADY LIGHT: INCALL OR
•
MISSED CALL. PRESS TO
TURN OFF.
FREELY PROGRAMMABLE
LED
KEYS P1 - P16
DEFAULT SETTING: LINE
•
FAST-BLINKING LED: INCOMING
CALL. PRESS KEY OR TO
ACCEPT
•
STEADILY LIT LED: INCALL
•
SLOW-BLINKING LED: CALL ON
HOLD
Outgoing
identity:
Alphanumeric
keypad
Display -
idle screen
P5 - P10
P11-P16
P1
P2
P3
P4
i
i
Entering letters, special characters and symbols
In input modes small and capital letters, press the alphanumeric key one or more times
quickly, with a pause after each character.
Special characters and symbols
"0" key": 1x = space ("˽"), 2x = underscore ("_"), 3x = 0
"1" key: . + @ 1 : , ? ! - _ / \ ( ) ; & % * # <=> $ [ ]. Example: 3x = "@".
Letters with accents and umlauts
Keys "2" to "9": Available letters with accents and umlauts depend on the phone's
language setting. Example: If the phone language is German, press key "2" four times
to type "ä".

snom 760 Quick Start Guide
snom 760 Quick Start Guide
E
N
G
L
I
S
H
E
N
G
L
I
S
H
* The submenus and the settings shaded black and gray are not available when the
phone is running in user mode. The factory setting is administrator mode. The
default administrator password is 0000 (4 x zero).
** System Info: Firmware version, IP address, MAC address, available + total memory
1
Preferences
1
Time Zone
2
Tone Scheme
3
Ringer
4
Language
5
Display
2
Call Features
1
Call Forwarding
1
Forward all
2 Forward
when busy
3
Fwd after timeout
2
Outgoing Calls
1
Auto Dial
2 Number
Guessing
3
Call Completion
4 Hide own
outgoing ID
3
Incoming Calls
1
Reject anonymous
2
Call Waiting
3 Auto Answer
Indication
4
Auto Answer Type
3 *
Identity
1 Outgoing
Identity
2
Reregister
3
Edit
4
Logoff
5
Logoff all
4 *
Network
1
IP Setting
2
Webserver
1
Webserver Type
2
HTTP Admin
3
HTTP Password
3
Reset VLAN
3
VLAN
1
VLAN ID (0-4095)
2 VLAN Priority
(0-7)
3
Switch off WLAN
4
WLAN
1
802.11b/g/n
2
802.11b/g
5
Maintenance
1
System Info**
2
User Mode
3
Reboot
4 *
Reset Values
6 (4)
Information
1
Status Info**
2
System Info**
3
Help
3
Maintenance
1
System Info**
2 Administrator
Mode
3
Reboot
In user mode. Admin
password required to
switch to admin mode:
• Press to open
• Press number key
1
,
2
ABC , etc. to
open submenus and settings
• Press /
to select setting
• Press to save selected setting
• Settings with (On)/(Off) or (Yes)/(No): Press
to change and save
• Press briefly to return to the previous screen
• Press for 2 seconds to return to idle screen
Settings menu
Time zone:
Move to
beginning
of next time
zone
Show all
Show only
countries
where phone
language is
spoken
Select time zone
with / and
In administrator mode.
Pressing key "2" will
switch phone to user
mode!

snom 760 Quick Start Guide
snom 760 Quick Start Guide
E
N
G
L
I
S
H
E
N
G
L
I
S
H
Using the phone
Making calls
• Enter the number on the alphanumeric keypad and pick up the handset or
• pick up the handset, enter the number, or
• , enter the number,
Speed Dial
Type the speed dial number or character on the alphanumeric keypad and press P.
Setting the speed dial numbers: Web interface > Speed Dial. Type each phone
number with any necessary area code and/or country code etc. without spaces,
hyphens, etc. into one of the textboxes of the table. Do not add any names or other
data. Example: To enter (911) 555-1234, type 9115551234.
Emergency Numbers
These numbers can be called even when the keyboard is locked. The numbers "911",
"112", "110", and "999" are preset.
Change/add numbers: Web interface > Preferences > Lock Keyboard > Emergency
Numbers (space separated). Type each number without spaces, hyphens, etc. between
the digits, separate the individual numbers with one empty space between them.
Example: 911 112 110 999.
Accepting calls
• With handset: Pick up the handset
• With a headset: Press or blinking line key
• With the speakerphone: Press
Putting calls on hold
Press . The LED starts to blink slowly. Press
again to resume the call. With more than one call on hold:
Select a caller with / and resume the call by
pressing .
Conference (3 parties)
1. Your phone number: 172. Put first party (157) on hold.
2. Call second party (153). Put on hold. Call
third party (154). Press to start
conference.
3. Press to stop conference and put parties on hold. Talking
to one of the parties alone: Select with / , press .
4. Resume conference: Press .
Call transfer
Attended transfer
Put the call on hold > Dial the number that you wish to transfer the call to > If
the third party wishes to accept the call, press and .
Blind transfer
With call ringing or on the line: Press > dial the phone number the call is to be
transferred to > press .
Call forwarding
1. All incoming calls.
• Turning on: > Target when forwarding > enter number > .
• Turning off:
2. When busy.
• Turning on: > 2 Call Features > 1 Call Forwarding > 2 Forward when
busy > 2 Target when Forwarding: Enter number > > 1 Enable
Forwarding: Press
1
[Yes] > Press for 2 seconds to return
to idle screen
• Turning off: > 2 Call Features > 1 Call Forwarding > 2 Forward when
busy > 1 Enable Forwarding: Press
1
[No] > Press for 2
seconds to return to idle screen
• When call is not picked up.
• Turning on: > 2 Call Features > 1 Call Forwarding > 3 Forward after
Timeout > 2 Target when Forwarding > enter number > > 3
Call Forwarding time > enter number of seconds > > 1 Enable
Forwarding: Press
1
[Yes] > Press for 2 seconds to return
to idle screen
• Turning off: > 2 Call Features > 1 Call Forwarding > 3 Forward after
Timeout > 1 Enable Forwarding: Press
1
[No] > Press for 2
seconds to return to idle screen

snom 760 Quick Start Guide
snom 760 Quick Start Guide
E
N
G
L
I
S
H
E
N
G
L
I
S
H
Using the phone
Making calls
• Enter the number on the alphanumeric keypad and pick up the handset or
• pick up the handset, enter the number, or
• , enter the number,
Speed Dial
Type the speed dial number or character on the alphanumeric keypad and press P.
Setting the speed dial numbers: Web interface > Speed Dial. Type each phone
number with any necessary area code and/or country code etc. without spaces,
hyphens, etc. into one of the textboxes of the table. Do not add any names or other
data. Example: To enter (911) 555-1234, type 9115551234.
Emergency Numbers
These numbers can be called even when the keyboard is locked. The numbers "911",
"112", "110", and "999" are preset.
Change/add numbers: Web interface > Preferences > Lock Keyboard > Emergency
Numbers (space separated). Type each number without spaces, hyphens, etc. between
the digits, separate the individual numbers with one empty space between them.
Example: 911 112 110 999.
Accepting calls
• With handset: Pick up the handset
• With a headset: Press or blinking line key
• With the speakerphone: Press
Putting calls on hold
Press . The LED starts to blink slowly. Press
again to resume the call. With more than one call on hold:
Select a caller with / and resume the call by
pressing .
Conference (3 parties)
1. Your phone number: 172. Put first party (157) on hold.
2. Call second party (153). Put on hold. Call
third party (154). Press to start
conference.
3. Press to stop conference and put parties on hold. Talking
to one of the parties alone: Select with / , press .
4. Resume conference: Press .
Call transfer
Attended transfer
Put the call on hold > Dial the number that you wish to transfer the call to > If
the third party wishes to accept the call, press and .
Blind transfer
With call ringing or on the line: Press > dial the phone number the call is to be
transferred to > press .
Call forwarding
1. All incoming calls.
• Turning on: > Target when forwarding > enter number > .
• Turning off:
2. When busy.
• Turning on: > 2 Call Features > 1 Call Forwarding > 2 Forward when
busy > 2 Target when Forwarding: Enter number > > 1 Enable
Forwarding: Press
1
[Yes] > Press for 2 seconds to return
to idle screen
• Turning off: > 2 Call Features > 1 Call Forwarding > 2 Forward when
busy > 1 Enable Forwarding: Press
1
[No] > Press for 2
seconds to return to idle screen
• When call is not picked up.
• Turning on: > 2 Call Features > 1 Call Forwarding > 3 Forward after
Timeout > 2 Target when Forwarding > enter number > > 3
Call Forwarding time > enter number of seconds > > 1 Enable
Forwarding: Press
1
[Yes] > Press for 2 seconds to return
to idle screen
• Turning off: > 2 Call Features > 1 Call Forwarding > 3 Forward after
Timeout > 1 Enable Forwarding: Press
1
[No] > Press for 2
seconds to return to idle screen

snom 760 Quick Start Guide
snom 760 Quick Start Guide
E
N
G
L
I
S
HForwarding
when busy
or after
timeout:
Forwarding
all calls:
i
Call lists
• Press .
• Select list of missed, received, dialed calls with pq > .
• Scroll through list with pq. Press to dial, press to show call details,
press to delete entry. Press to delete entire list.
Directory
• Opening list of names: Press
• Shortcut to <New Item> at the end of the list: p. Scroll with pq .
• Dial: . Details: , edit detail: . Delete entry: .
Trouble shooting
Reboot
> 5 Maintenance:
5
JKL > 3 Reboot:
3
DEF > "Reboot?" >
Hard reboot
Disconnect power, wait for a few seconds, reconnect.
Never disconnect the power during a firmware update!
Reset to factory values
> 5 Maintenance:
5
JKL > 4 Reset values:
4
GHI > enter administrator
password >
All customized settings will be lost!
TFTP Update
When there is no other way to get the phone to work (administrator password lost,
etc.). How it is done: See http://wiki.snom.com/Firmware/Update/TFTP_Update/en.
All customized settings will be lost!
Notes
Table of contents
