manuals.online logo
Brands
  1. Home
  2. •
  3. Brands
  4. •
  5. Clarion
  6. •
  7. Car Receiver
  8. •
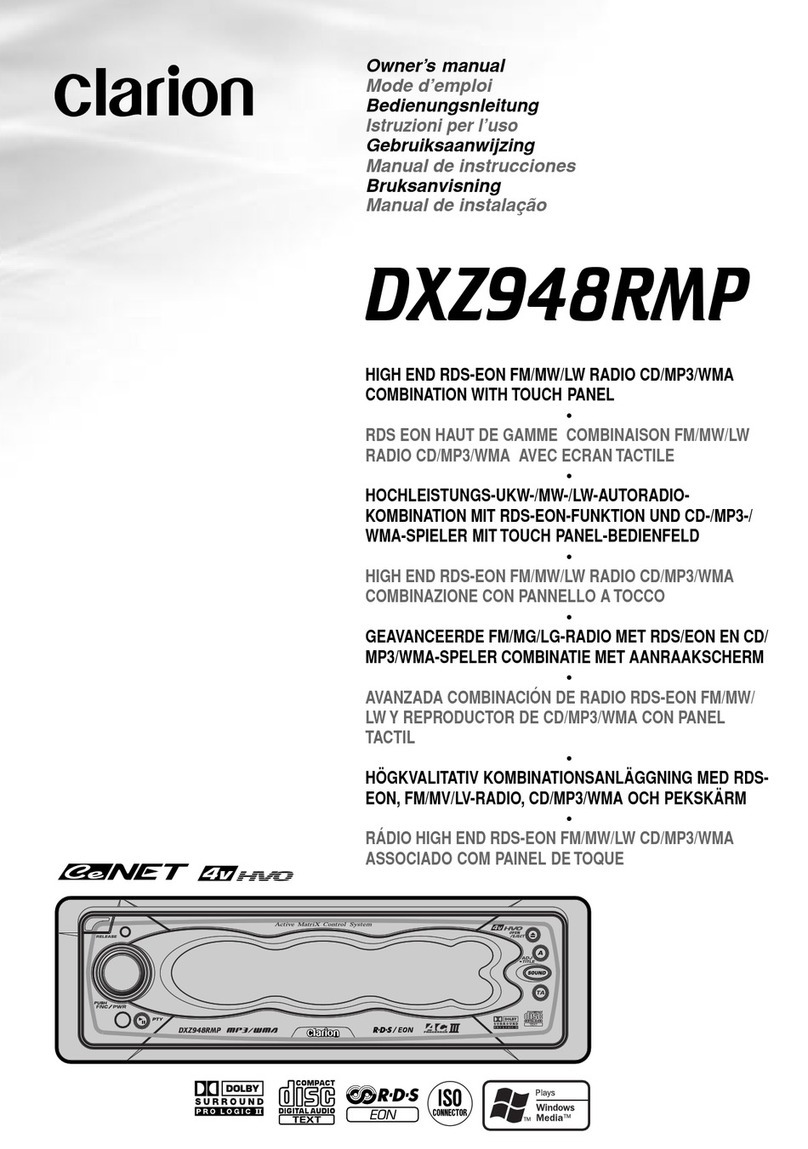
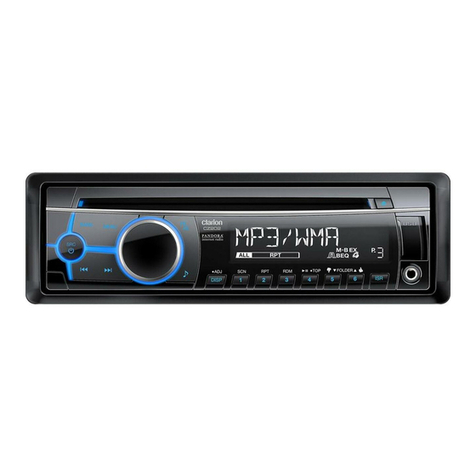
  9. Clarion DXZ835MP DXZ835MP DXZ835MP User manual

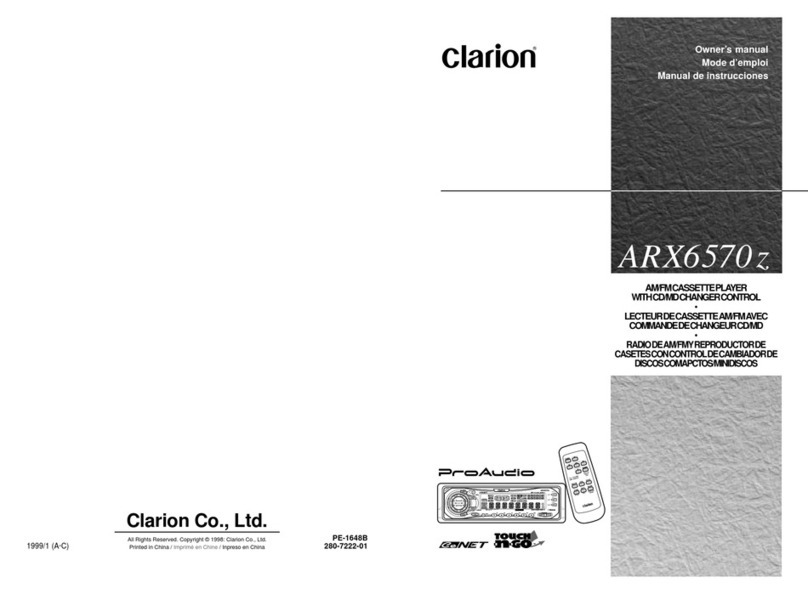
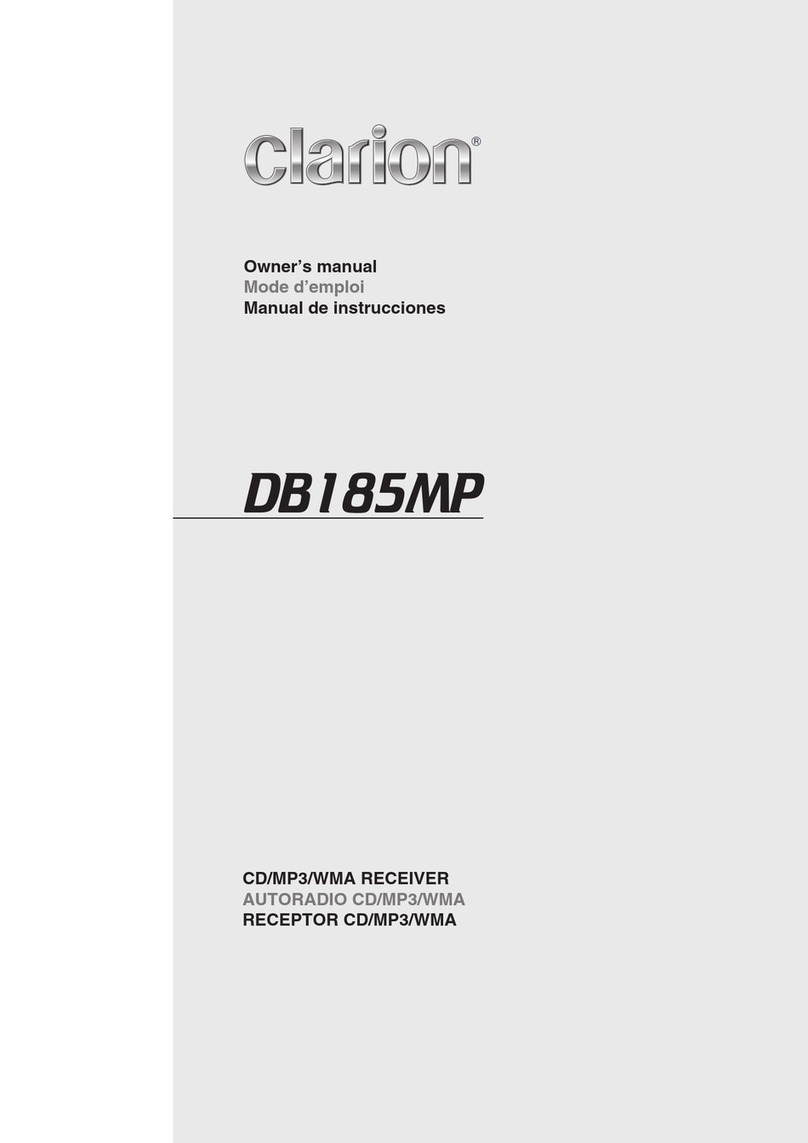
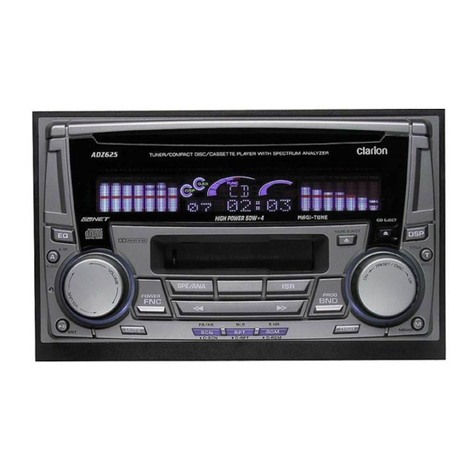
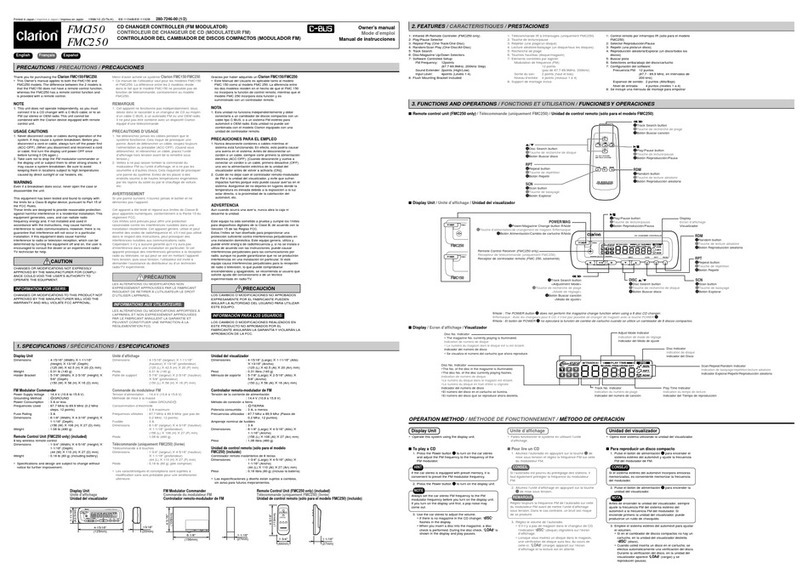
Clarion DXZ835MP DXZ835MP DXZ835MP User manual

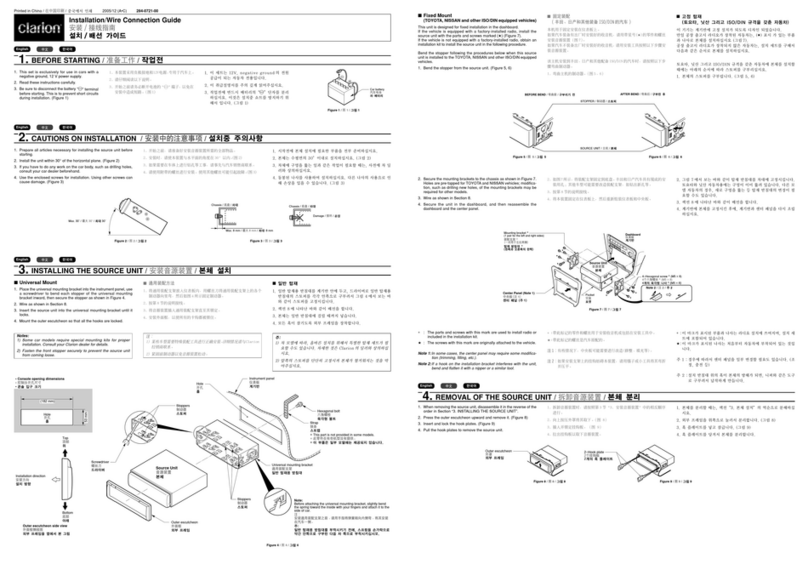
Installation/Wire Connection Guide


/ ! !
 ! !
 !


/

==
==
= 
 

1. This set is exclusively for use in cars with a
negative ground, 12 V power supply.
2. Read these instructions carefully.
3. Be sure to disconnect the battery “v” terminal
before starting. This is to prevent short circuits
during installation. (Figure 1)
1.  !"#$%&'12V !"#$%

2.  !"#$%&'
3.  !"#$%&'()v !"#
 !"#$%&'(1F
Figure 1 / 

1 / 

 1
2003/1 (AB·C) 284-9753-00 ■Fixed Mount
(TOYOTA, NISSAN and other ISO/DIN equipped vehicles)
This unit is designed for fixed installation in the dashboard.
If the vehicle is equipped with a factory-installed radio, install the source unit with the
parts and screws marked (∗). (Figure 9)
If the vehicle is not equipped with a factory-installed radio, obtain an installation kit to
install the source unit in the following procedure.
Remove the stopper following the procedures below.
1. Remove the screw from the source unit (Figure 6).
2. Remove the stopper from the source unit (Figure 7).
3. Install the remove screw to the source unit (Figure 8).
∗Securely attach the screw.
■

==
==
=


EE
EE
E 
 
 I=I=
I=I=
I=

==
==
= 
 
 =fplLafk==fplLafk=
=fplLafk==fplLafk=
=fplLafk= 
 
 ==
==
=

==
==
= 
 
 FF
FF
F
== !== = = = !"K=== =
= = !I===E∗F== = = = !"#K
E 9F
= = != !== !I== = = ==
= = !"#K
 = == != !"#K
1.  != = !"K=E 6F
2.  != != !"K=E 7F
3.  = = = !"K=E 8F
∗ == !"#K
■ ! !
 ! !
 !
EE
EE
E !"#$%&' !"#$%&'
 !"#$%&' !"#$%&'
 !"#$%&'
ISO/DIN
 
 

FF
FF
F
 !"#$%&'()*+
 !"#$%&'(")*+,-./0123E∗F !"#$%&'%()
 9
 !"#$%&'(#)*+,-./0(#12345678(#,9#:;
 !"#$%&'(
1.  !"#$%&' 6
2.  !"#$%&'( 7
3.  !"#$%&'()*+ 8
∗ !"#$%
■Universal Mount
1. Place the universal mounting bracket into the instrument panel, use a
screwdriver to bend each stopper of the universal mounting bracket
inward, t-hen secure the stopper as shown in Figure 4.
2. Wire as shown in Section 6.
3. Insert the source unit into the universal mounting bracket until it
locks.
4. Take care of the top and bottom of the outer escutcheon and mount it
so that all the hooks are locked. (Figure 5)
■ !"#
1.  !"#$%&'()*+ ,-. !"#$/0123
 !"#$%&'4 !"#$%
2. 6 !"#$
3.  !"#$%&!'()*+,-./
4.  !"#$%&'(&)*+,-.$/012345E5F
■=
1. = = != ==I= !"==
 != !== != !==4==
= != !"#K
2. =6= === = K
3.  == !== = !K
4. = !== = != == != !
K=E 5F
1. Prepare all articles necessary for installing the source unit before
starting.
2. Install the unit within 30°of the horizontal plane. (Figure 2)
3. If you have to do any work on the car body, such as drilling holes,
consult your car dealer beforehand.
4. Use the enclosed screws for installation. Using other screws can
cause damage. (Figure 3)
1.  !"#$%&'()*(+,-./0123
2.  !"#$%&'()*+,-30° E2F
3.  !"#$%&'()*+,-.,/01#234567
4.  !"#$%&'()* +,$%-./012*E3F
Note:
Store the removed stopper in a safe place together with the Instruction Manual.


: !"#$%&'()*+,-./0!1234567


: = != !"#== = = !"#K
4. Secure the mounting brackets to the chassis as shown in Figure 9. Holes are pre-
tapped for TOYOTA and NISSAN vehicles; modification, such as drilling new holes, of
the mounting brackets may be required for other models.
5. Wire as shown in Section 6.
6. Secure the unit in the dashboard, and then reassemble the dashboard and the center
panel.
4. 9 !"#$%&'()*+,-./0123456789 :;3< >
 !"#$%&'()*+,-
5. 6 !"#$
6.  !"#$%&'()*+,-. %&'/01'2
Notes:
1) Some car models require special mounting kits for proper
installation. Consult your Clarion dealer for details.
2) Fasten the front stopper securely to prevent the source unit from
coming loose.



1)  !"#$%&'()*+,-.&/012345Clarion
 !"
2)  !"#$%&'()*"+


WW
WW
W
1) = =I= = = = == =
== !K= ==`ä~êáçå= = !"#K
2)  = !== != = !"==
 !K
∗: The parts and SCREW with this mark are used to install radio or included in the
installation kit.
★: The screws with this mark are originally attached to the vehicle.
Note 1: In some cases, the center panel may require some modification (trimming, filling,
etc.).
Note 2: If a hook on the installation bracket interferes with the unit, bend and flatten it
with a nipper or a similar tool.
∗: !"#$%&'()*+,-./012*+3456
★: !"#$%&'()"*


1

 !"#$%&'()* !E !"#F


2

 !"#$%&'()*!+ !"#$%&'()*+,-.
∗:= = = = = = = !I== = !
 !K
★:= = = = != != !== !K


==
==
=1: = == == = = !K=EI==F


==
==
=2:= === = =I= == = !=
 = !K
1. = =12VI=åÉÖ~íáîÉ=ÖêçìåÇ=
 == = !"K
2. = !"#=== !"#K
3.  != = !=“v” =
 !K= = = = !=
= K=E=1F
1.  !== = = == !"#K
2.  = !=30°= = !"#K=E=2F
3.  = ==== = =I= ==
= !"#K
4.  = = != !"#K== = !=
= === !K=E=3F
Figure 2 / 

2/ 

 2 Figure 3 / 

3/ 

 3
1. When removing the source unit, disassemble it in the reverse of the order in
Section “3. INSTALLING THE SOURCE UNIT”.
2. Remove the Detachable Control Panel (DCP).
∗For instructions on removing the DCP, refer to the owner’s manual.
3. Press the outer escutcheon upward and remove it. (Figure 10)
4. Insert and lock the hook plates. (Figure 11)
5. Pull the hook plates to remove the source unit.
1.  !"#$%&'()33.  !"#$%&'()*+,
2.  !"#$%EDCPF
∗ !"#$%EDCPF !"#$%&'()*
3.  !"#$%&'()* 10
4.  !"#$%&= 11
5.  !"#$%&'()*
1. Be sure to turn the power off when wiring.
2. Be particularly careful where you route the wires. Keep them well away from the
engine, exhaust pipe, etc. Heat may damage the wires.
3. If the fuse should blow, check that the wiring is correct. If it is, replace the fuse
with a new one with the same amperage rating as the original one.
4. To replace the fuse, open the lock on the source unit side, remove the old fuse and
insert the new one. (Figure 12)
∗There are various types of fuse cases. Do not let the battery side terminal touch
other metal parts.
5. Connect the CeNET extension cable fully and securely until it locks. When the
CeNET extension cable is pulled, hold the slide cap part and pull it towards you.
∗When the CeNET extension cable is extended or branches, use extension cable
CCA-520 (8 feet [2.5m]) or CCA-521 (2 feet [0.6m]), or Y-adapter CCA-519
(each of them is sold seperately).
∗Use the CeNET extension cable made by Clarion.
1.  !"#$%&'
2.  !"#$%&'
 !"#$%&'()*+,-./01 +
3.  !"#$%&'()*+,-./
 !"#$%&'()*+,-./0123456+,-789
4.  !"#$%&'()*+,-.$/01 !"2)34 !"567 12
∗ !"#$%&'()*+*,-./01%23456789:;<
5.  !"CeNET !"#$%&
 CeNET !"#$%&'()*+,-./0123
∗CeNET !"#$%&'()*+ !CCA-5208E2K5F
CCA-5212E0.6F Y !CCA-519 !"#$
∗Clarion CeNET !"
Figure 4 / 

4/ 

==
==
=4
BEFORE STARTING /  ! !
 ! !
 ! /  
 

1.
 
 



English
INSTALLING THE SOURCE UNIT
/
 !"
/


==
==
=


3.
CAUTIONS ON INSTALLATION
/
 !"#$% !"#$%
 !"#$% !"#$%
 !"#$%
/  
 
 ==
==
= ! !
 ! !
 !
2.
 
 



English
 
 




English
1.  = =I==“3. =”== != !"#K
2.  = =EDCPF= !"K
∗DCP= == == != !"#K
3. = != != = !"K=E 10F
4. = !"== !K=E 11F
5. = !"= = = !"K
1.  === = == !K
2.  !== == = !"K= !=I= = !
= = ==I=== == == !K
3.  = =I= = == = !"#K= =
 I= = == = !== = = !K
4.  = == != == = = ===
K=E 12F
∗ == != !K= !== === =
 = !K
5. CeNET== != = == != !"= K
CeNET== = = I= !== == !=
 K
∗CeNET== !=== === !=CCA-520E8=
x2.5mzF==CCA-521E2x0.6mzF==vJ =CCA-519= =
K=E=F
∗Clarion=CeNET== != !"#K


  
 
 English


  
 
 English
CAUTIONS ON WIRING
/
 !"#$% !"#$%
 !"#$% !"#$%
 !"#$%
/
 ! !
 ! !
 !==
==
= ! !
 ! !
 !
5.
REMOVAL OF THE SOURCE UNIT
/
 !"# !"#
 !"# !"#
 !"#
/


==
==
=


4.
Figure 5 / 

5/ 

==
==
=5
4.  9= ==== != = !"#K= !==
 = = = != !X=== !=I==
=== != = == !K
5.  6= === = K
6.  != = !=I= !== == !"#K
284-9753-00 03.1.17, 2:59 PM1
■Example of the system using an external amplifier (Audio Visual)
■ !"#$%&'()*+,-./01 !"#$%&'()*+,-./01
 !"#$%&'()*+,-./01 !"#$%&'()*+,-./01
 !"#$%&'()*+,-./01
■

==
==
=

==
==
=

==
==
= ! !
 ! !
 !==
==
= 
 
 =E=E
=E=E
=E

==
==
=

FF
FF
F
■Example of the system using an internal amplifier (Audio)
■ !"#$%&'()*+,-. !"#$%&'()*+,-.
 !"#$%&'()*+,-. !"#$%&'()*+,-.
 !"#$%&'()*+,-.
■

==
==
=

==
==
=

==
==
= 
 
 

==
==
= 
 
 =E=E
=E=E
=E

FF
FF
F
■Example of the system using an external amplifier (Audio Visual)
■ !"#$%&'()*+,-./01 !"#$%&'()*+,-./01
 !"#$%&'()*+,-./01 !"#$%&'()*+,-./01
 !"#$%&'()*+,-./01
■

==
==
=

==
==
=

==
==
= 
 
 

==
==
= 
 
 =E=E
=E=E
=E

==
==
=

FF
FF
F
∗This source unit can control a total of 2 changers except 2 DVD changers exist in the system.
∗ !"#2DVD !" #$%&2 !"
∗= = != !=2=DVD= ==2= != == !K
WIRE CONNECTIONS / 

 / 


6. SYSTEM EXAMPLE /  
 
 /  
 
 ==
==
= 
 

7.
GENERAL CAUTIONS /  !"# !"#
 !"# !"#
 !"# /  ! !
 ! !
 !==
==
= ! !
 ! !
 !
8.
1. Do not open the case. There are no user serviceable parts inside. If
you drop anything into the unit during installation, consult your dealer
or an authorized CLARION service center.
2. Use a soft, dry cloth to clean the case. Never use hard cloth, thinner,
benzen, alcohol, etc. For tough dirt, apply a little cold or warm water
to a soft cloth and wipe off the dirt gentry.
IMPORTANT:
Improper installation may cause damage to your unit or car. If you do
not have the appropriate experience, consult a qualified installer.
Cutting chassis wire leads voids the warranty.
 
 

 !"#$%&'()*+,-./0123456789:
 !"#$%&'()*+,-./01%


WW
WW
W
 != = !== != ===
K=== == == = ==
= !"#K= = = = == !"=
== !K
NK  !"#$%&'()*+,-./0&1$23456789
 !"#$%&'()*+,CLARION !"#$%&
OK  !"#$%&'()*+,#-./0-123456(7
 !"#$%&'()*+,-.,//012
NK  !== !K= !"= !=== =
 !K= != = !"=I= = !"=
 =CLARION== = = !"#K
K  != !== !=== !"#K=
 =I=I==== != !K= !"
 !I== !"= ==== ==
= !K
Note:
Use a CeNET extension cable that is less than 20 m in length. (including the Y-adapter CCA-519.)


:
 !"20 mCeNET !"#$v CCA-519


:
 =20 m= =CeNET== != !"#K=Ev =CCA-519=F
 
 




English  
 




English
Clarion Co., Ltd.
English
Source unit
CeNET extension cable
Y-adapter (sold separately)
MD changer
CD/DVD changer
RCA extension cable (sold separately)
4-Channel power amplifier
Front speakers
Rear speakers
Monitor
TV tuner module
5.1ch surround decoder
Optical connector cable
Center speaker (with amplifier)
Subwoofer (with amplifier)
External unit
1
2
3
4
5
6
7
8
9
0
!
@
#
$
%
¥
 
 




 !
CeNET !
Y !"#$%
MD
CD/DVD
RCA !"#$%
4 !"#$
 !"
 !"

TV !"
5.1 !"#$
 !"#$%
 !"#$%&"'
 !"#$%&'#(
 !
1
2
3
4
5
6
7
8
9
0
!
@
#
$
%
¥

CeNET =
Y- =E=F
MD 
CD/DVD 
RCA = =E=F
4-==
 =
=

TV =
5.1= !=
= =
= =EF
 !=EF
=
1
2
3
4
5
6
7
8
9
0
!
@
#
$
%
¥
 
 



English
284-9753-00 03.1.17, 3:01 PM2

Other manuals for DXZ835MP DXZ835MP DXZ835MP

1

Other Clarion Car Receiver manuals

Clarion DB335 User manual

Clarion

Clarion DB335 User manual

Clarion FB275BT User manual

Clarion

Clarion FB275BT User manual

Clarion DXZ375MP Instruction Manual

Clarion

Clarion DXZ375MP Instruction Manual

Clarion DXZ866MP User manual

Clarion

Clarion DXZ866MP User manual

Clarion QY-72 Series User manual

Clarion

Clarion QY-72 Series User manual

Clarion CZ10EiBT Repair manual

Clarion

Clarion CZ10EiBT Repair manual

Clarion DB625MP User manual

Clarion

Clarion DB625MP User manual

Clarion M275 User manual

Clarion

Clarion M275 User manual

Clarion CZ401 User manual

Clarion

Clarion CZ401 User manual

Clarion DXZ575USB User manual

Clarion

Clarion DXZ575USB User manual

Clarion CX201A User manual

Clarion

Clarion CX201A User manual

Clarion CZ205A Service manual

Clarion

Clarion CZ205A Service manual

Clarion RMX855Dz User manual

Clarion

Clarion RMX855Dz User manual

Clarion DXZ448R User manual

Clarion

Clarion DXZ448R User manual

Clarion DXZ865MP Assembly instructions

Clarion

Clarion DXZ865MP Assembly instructions

Clarion DRX5675 User manual

Clarion

Clarion DRX5675 User manual

Clarion C-Bus AX330 User manual

Clarion

Clarion C-Bus AX330 User manual

Clarion NZ502E Repair manual

Clarion

Clarion NZ502E Repair manual

Clarion DXZ778RUSB User manual

Clarion

Clarion DXZ778RUSB User manual

Clarion DXZ475MP Instruction Manual

Clarion

Clarion DXZ475MP Instruction Manual

Clarion DXZ838RMP User manual

Clarion

Clarion DXZ838RMP User manual

Clarion CZ100 Repair manual

Clarion

Clarion CZ100 Repair manual

Clarion DB166 User manual

Clarion

Clarion DB166 User manual

Clarion Addzest DB325 User manual

Clarion

Clarion Addzest DB325 User manual

Popular Car Receiver manuals by other brands

Seicane S126005 Upgrade installation replacement instruction

Seicane

Seicane S126005 Upgrade installation replacement instruction

Alpine CDE-185BT owner's manual

Alpine

Alpine CDE-185BT owner's manual

Marantz Melody Media M-CR603 user guide

Marantz

Marantz Melody Media M-CR603 user guide

Sony CDX-H910UI Marketing Specifications... operating instructions

Sony

Sony CDX-H910UI Marketing Specifications... operating instructions

Alpine CDE-134HD Quick reference guide

Alpine

Alpine CDE-134HD Quick reference guide

Pioneer AVIC Z1 - CD-SR1 Steering Wheel Remote Operation manual

Pioneer

Pioneer AVIC Z1 - CD-SR1 Steering Wheel Remote Operation manual

NAD C 427 user manual

NAD

NAD C 427 user manual

JVC EXAD KD-LHX552 instructions

JVC

JVC EXAD KD-LHX552 instructions

Winegard cio tv c-1000 manual

Winegard

Winegard cio tv c-1000 manual

JVC CH-X400 Service manual

JVC

JVC CH-X400 Service manual

Pioneer Premier DEH-P350 Service manual

Pioneer

Pioneer Premier DEH-P350 Service manual

JVC KD-LHX505 Installation & connection manual

JVC

JVC KD-LHX505 Installation & connection manual

In Phase IPA 2001D instruction manual

In Phase

In Phase IPA 2001D instruction manual

Sony CDX-GT49UM Service manual

Sony

Sony CDX-GT49UM Service manual

Clatronic AR 615 CD / MP3 Instruction manual & guarantee

Clatronic

Clatronic AR 615 CD / MP3 Instruction manual & guarantee

Boss Audio Systems BV6652 user manual

Boss Audio Systems

Boss Audio Systems BV6652 user manual

JVC KD-LX333 lcd receiver

JVC

JVC KD-LX333 lcd receiver

JVC KD-LX50R Service manual

JVC

JVC KD-LX50R Service manual

manuals.online logo
manuals.online logoBrands
  • About & Mission
  • Contact us
  • Privacy Policy
  • Terms and Conditions

Copyright 2025 Manuals.Online. All Rights Reserved.