Before starting work drain any water from the
air tank and blow condensation from the air
line. Drain compressor more frequently in hot
humid weather.
1. Disconnect tool from airline
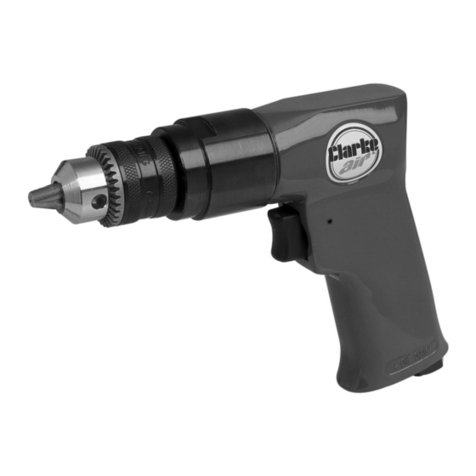
2. Ensure that drill bit (Item 44) is properly
located in drill and grub screw (Item 33) is
fully tightened against flat portion on drill
bit. Slacken depth stop nut (Item 42) and
screw depth stop (Item 41) away from the
drill bit. Depress grip handle fully and then
adjust depth stop to required depth of cut
(see figure 2), Inside front cover.
3. Connect air line to tool, turn air on, check
for air leaks. If any are apparent,
rectify before proceeding.
4. position drill over spot weld (a centre
punch mark in the centre of spot weld may
aid accuracy).
5. Depress grip handle, which will start the
tool, apply a steady, even pressure. Do
not force. Too much pressure can cause
drill to break or overheat. too little pressure
will keep drill from cutting and cause it to
overheat.
6. When grip handle is fully depressed, drilling
is complete.
OPERATING INSTRUCTIONS
MAINTENANCE
Daily before use.
1. Drain water from air tank, air line and
compressor.
2. Check and clean, if necessary, the air
inlet gauze filter .
3. Pour a few drops of CLARKE Air Line Oil
(approx 3cc), into the air inlet. This should
be carried out regardless of whether or
not an air line lubricator is used.
If an Air line lubricator is NOT used, this
procedure should be repeated after
every two to three hours of use.
If the drill is to be stored, or is idle for longer
than 24 hours, run a few drops of Clarke Air
Line Oil into the air inlet, and run the tool for 5
seconds in order to lubricate the internal
parts.
For lubricating the air motor when in
operation, an air line lubricator should be
used, with Clarke Air Line Oil, adjusted to 2
drops per minute.
Clarke Air Line Oil is available from your
CLARKE dealer, part no. 3050825.
Be aware that factors other than the tool may
effect its operation and efficiency, such as
reduced compressor output, excessive drain
on the airline, moisture or restrictions in the
line, or the use of connectors of improper size
or poor condition which will reduce air supply.
Grit or gum deposits in the tool may also
reduce efficiency. This condition can be
corrected by cleaning the air strainer and
flushing out the tool with gum solvent oil, or
failing this, the tool should be disassembled,
thoroughly cleaned, dried and reassembled.
If the tool runs erratically or becomes
inefficient, and the air supply is sound,
dismantle the air motor and replace worn or
damaged parts, or take the tool to your
CLARKE dealer.
IMPORTANT:
The use of parts other than CLARKE re-
placement parts may result in safety haz-
ards, decreased tool performance and
may invalidate your warranty.
SPECIFICATIONS
Model:............................CAT 68
Part No:.......................... 3110740
Max Air Consumption.. 17 CFM
Drill Bit -(Supplied):.........8mm
Rec Air pressure:........... 90 PSI (6.2bar)
Air Inlet Size:...................¼ BSP
Min Hose Size:................8mm
Weight............................1.6 kg
Noise Level 90 dB(A)


