GENERAL SAFETY PRECAUTIONS
•Keep your Clarke drill and all other power tools out of reach of children.
• Keep the drill dry - do not use near water, steam or flammable liquids.
• When drilling into walls,ceilings and floors,check first for concealed services,i.e.Water,
Electric and Gas.
• Always wear safety goggles*. Take particular care when drilling overhead.
• We recommend the use of an appropriate dust mask*.
• Loose clothing and long hair can prove a danger if caught up in machinery. take
suitable precautions.
• The level of noise may exceed 85 dB(A) when hammer drilling into concrete/masonry
etc,. in which case we strongly recommend the use of ear defenders*.
• Always disconnect from the mains supply when changing bits and for all adjustments
and maintenance work.
• Always protect the mains cable,be aware of your suroundings. Do not allow the cable
to rest on hot surfaces, sharp edges, in oil or acids etc.
• Before plugging in to the mains supply, ensure the operating switch IS NOT LOCKED.
• When using an extension cable, ensure it is completely unwound from the drum.
• DO NOT carry the drill by the cable.
• DO NOT pull on the mains cable to disconnect from the mains supply.
• Always make sure you have a firm and secure stance when using the drill particularly
when on a ladder or scaffold.
• Ensure that all workpieces are firmly secured before commencing operations
*Contact your CLARKE dealer for information regarding the various safety products available.
GENERAL ADVICE ON DRILLING
• Many different types of drill bits are now available to cope with different materials and
situations. We recommend you always follow manufacturers instructions for their use.
• After drilling material to the full depth, do not simply pull out the drill but maintain
chuck rotation to ease withdrawal.
• Keep drill bits sharpened for optimum performance.
• Replace any drill or screw bits which break or become badly worn.
• Always drill directly in line with the bit. Do not use sideways movement as this may
damage the drill or cause the bit to break.
ASSEMBLY
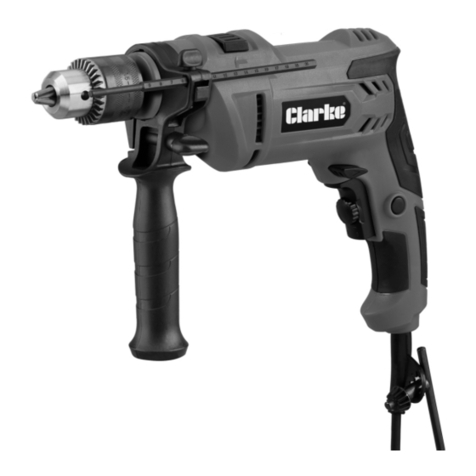
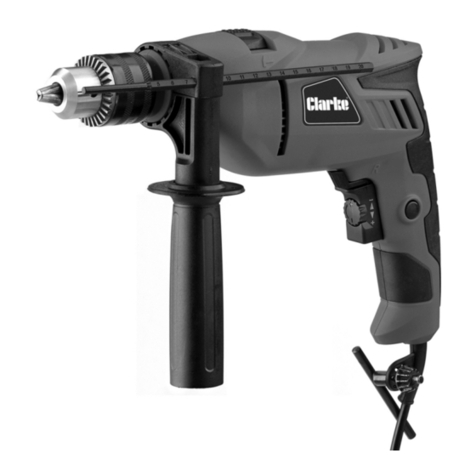
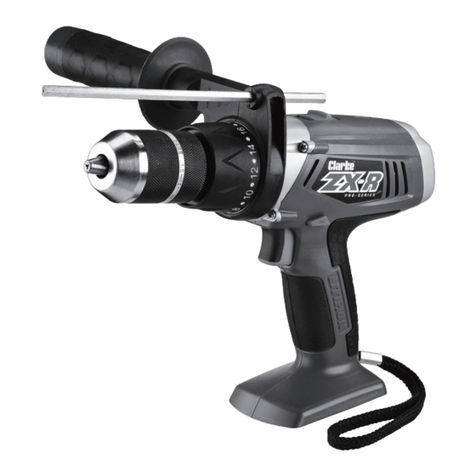
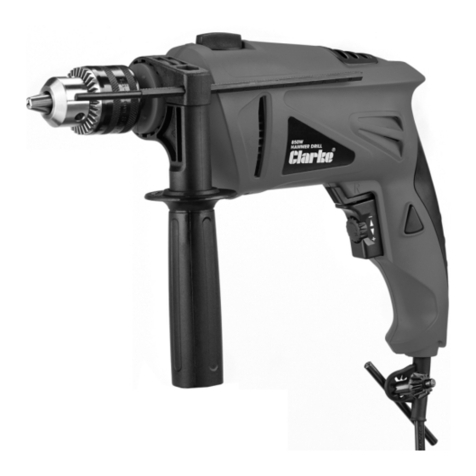
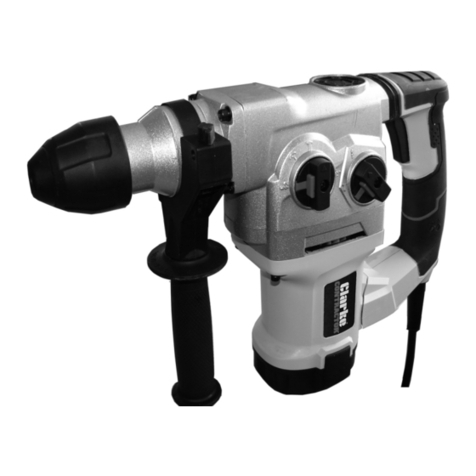
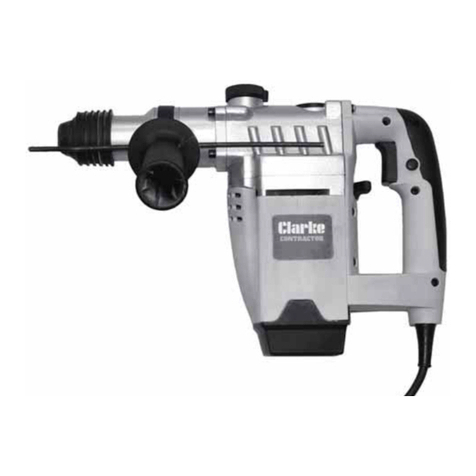
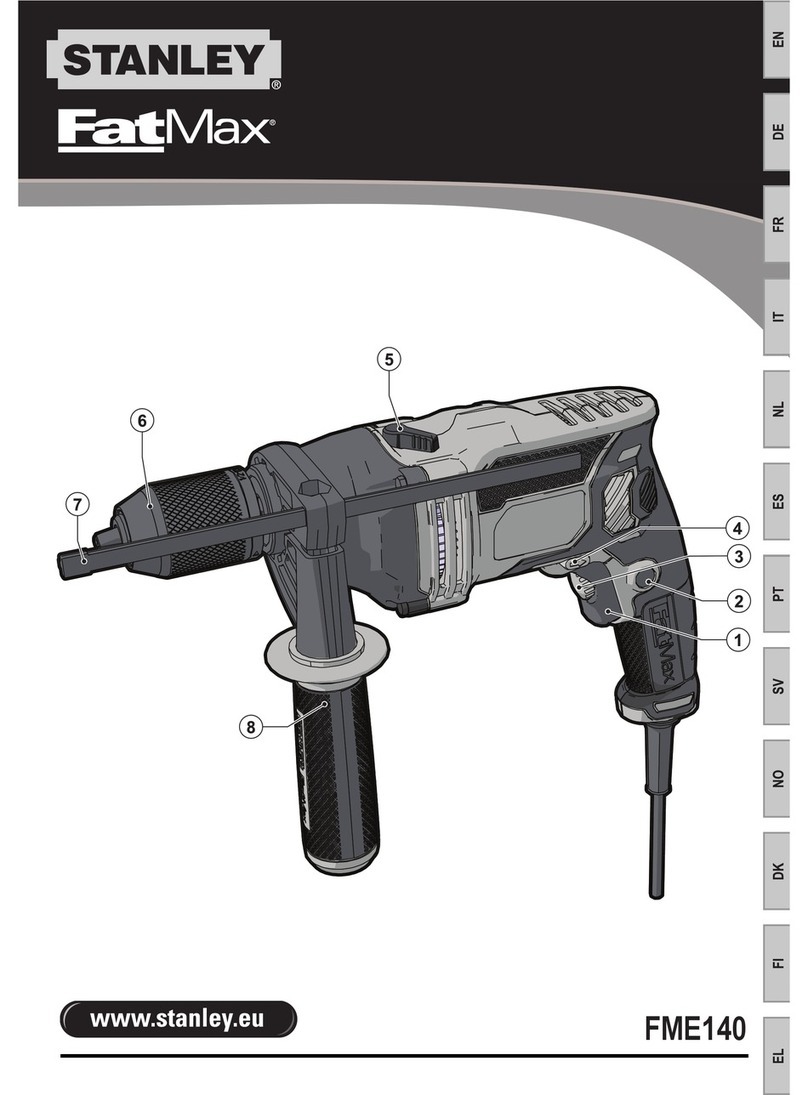
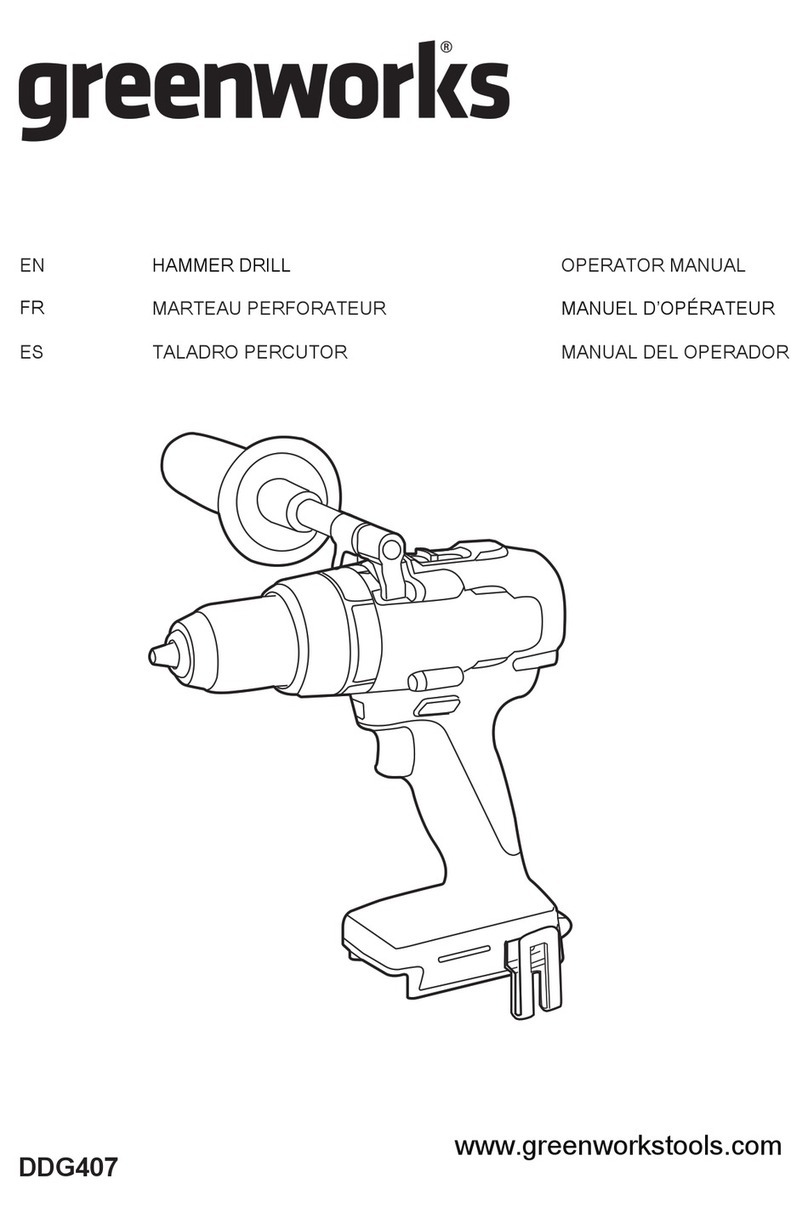
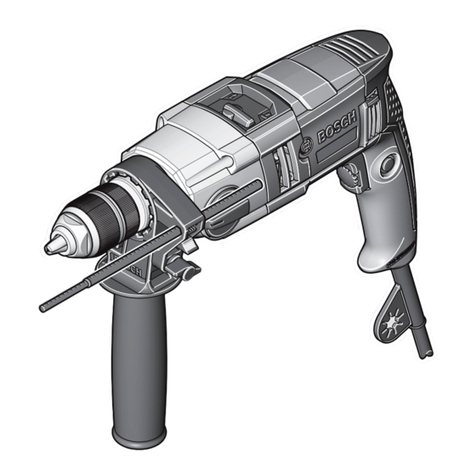
Slide the auxiliary handle over the chuck sothat it is either to the left or to the right, to suit
your requirement, with the locking screw uppermost.
Before tightening the locking screw, slide the depth gauge into its holder.
It is a simple matter to slacken the locking screw so that the handle may be rotated to the
most comfortable position for the job in hand and then re-tightened.
3
