manuals.online logo
Brands
  1. Home
  2. •
  3. Brands
  4. •
  5. Clarke
  6. •
  7. Sander
  8. •
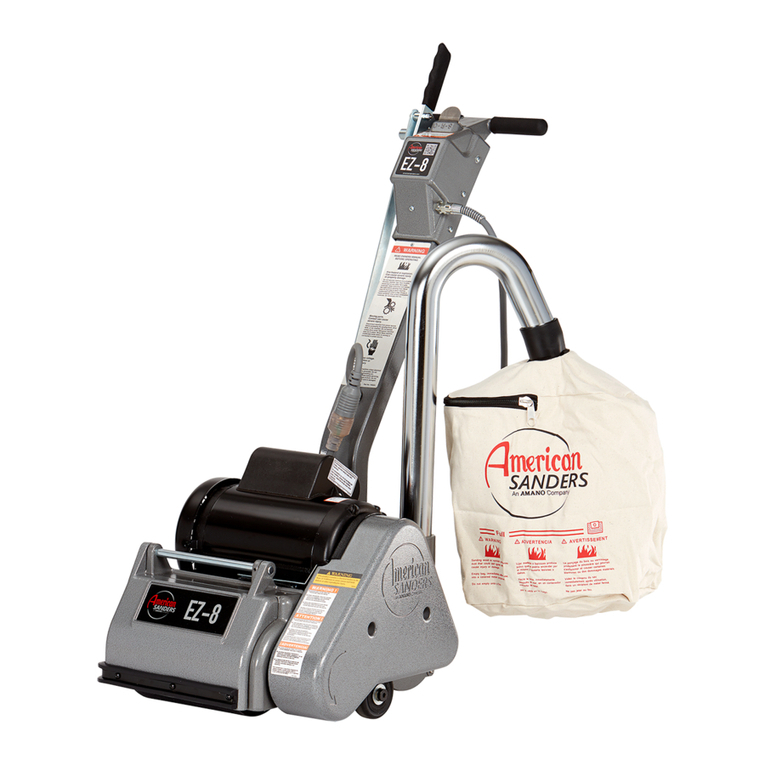
  9. Clarke EZ Sand Installation and user guide

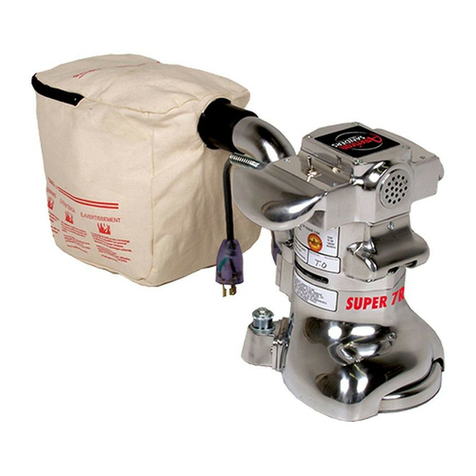
Clarke EZ Sand Installation and user guide

Other manuals for EZ Sand

1

Other Clarke Sander manuals

Clarke CP150 Troubleshooting guide

Clarke

Clarke CP150 Troubleshooting guide

Clarke FM-2000 User manual

Clarke

Clarke FM-2000 User manual

Clarke 01207A User manual

Clarke

Clarke 01207A User manual

Clarke CDS1V Instruction Manual

Clarke

Clarke CDS1V Instruction Manual

Clarke CP180 Instruction Manual

Clarke

Clarke CP180 Instruction Manual

Clarke CAT38 User manual

Clarke

Clarke CAT38 User manual

Clarke CBB150 Instruction Manual

Clarke

Clarke CBB150 Instruction Manual

Clarke RS-16 HDTR User manual

Clarke

Clarke RS-16 HDTR User manual

Clarke CBK100C Instruction Manual

Clarke

Clarke CBK100C Instruction Manual

Clarke Super 7R User manual

Clarke

Clarke Super 7R User manual

Clarke EZ-8 User manual

Clarke

Clarke EZ-8 User manual

Clarke RS-16 HDTR User manual

Clarke

Clarke RS-16 HDTR User manual

Clarke Super 7R Edger 07013A User manual

Clarke

Clarke Super 7R Edger 07013A User manual

Clarke CFP-2000DS User manual

Clarke

Clarke CFP-2000DS User manual

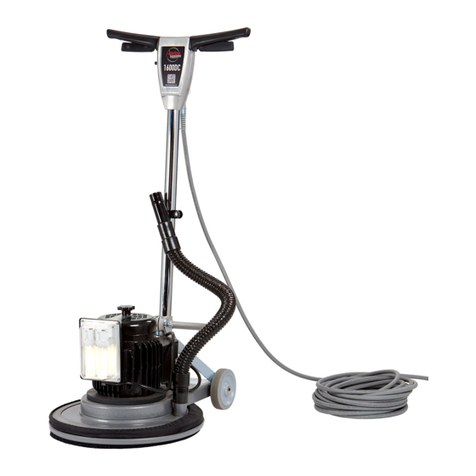
Clarke l 1600DC User manual

Clarke

Clarke l 1600DC User manual

Clarke CFP-130 User manual

Clarke

Clarke CFP-130 User manual

Clarke CP254 Installation and operation manual

Clarke

Clarke CP254 Installation and operation manual

Clarke FA-8 User manual

Clarke

Clarke FA-8 User manual

Clarke CROS1 Installation and operation manual

Clarke

Clarke CROS1 Installation and operation manual

Clarke 07012A User manual

Clarke

Clarke 07012A User manual

Clarke 504 User manual

Clarke

Clarke 504 User manual

Clarke DU-8R User manual

Clarke

Clarke DU-8R User manual

Clarke American Sanders B2 User manual

Clarke

Clarke American Sanders B2 User manual

Clarke CP254 Instruction Manual

Clarke

Clarke CP254 Instruction Manual

Popular Sander manuals by other brands

Dynabrade 51830 user manual

Dynabrade

Dynabrade 51830 user manual

FXA FXAJD2523 instruction manual

FXA

FXA FXAJD2523 instruction manual

Grizzly T33256 owner's manual

Grizzly

Grizzly T33256 owner's manual

Silverline 631320 User instructions

Silverline

Silverline 631320 User instructions

Black & Decker 7041 instruction manual

Black & Decker

Black & Decker 7041 instruction manual

DeWalt D26441 instruction manual

DeWalt

DeWalt D26441 instruction manual

OMCA SMR 930 Handbook

OMCA

OMCA SMR 930 Handbook

Schleifhexe BS 200 Original instructions

Schleifhexe

Schleifhexe BS 200 Original instructions

Ryobi RPS80 Original instructions

Ryobi

Ryobi RPS80 Original instructions

Oliver 6305 owner's manual

Oliver

Oliver 6305 owner's manual

Jet 22-44 Pro-3 Operating instructions and parts manual

Jet

Jet 22-44 Pro-3 Operating instructions and parts manual

Workzone 47561 user guide

Workzone

Workzone 47561 user guide

Makita M9204 technical information

Makita

Makita M9204 technical information

Makita M9204 instruction manual

Makita

Makita M9204 instruction manual

Chicago Pneumatic CP9778 Operator's manual

Chicago Pneumatic

Chicago Pneumatic CP9778 Operator's manual

Ferm FEOS-135 user manual

Ferm

Ferm FEOS-135 user manual

Unior 1510 Operating	 instruction

Unior

Unior 1510 Operating instruction

stayer ls1200 operating instructions

stayer

stayer ls1200 operating instructions

manuals.online logo
manuals.online logoBrands
  • About & Mission
  • Contact us
  • Privacy Policy
  • Terms and Conditions

Copyright 2025 Manuals.Online. All Rights Reserved.

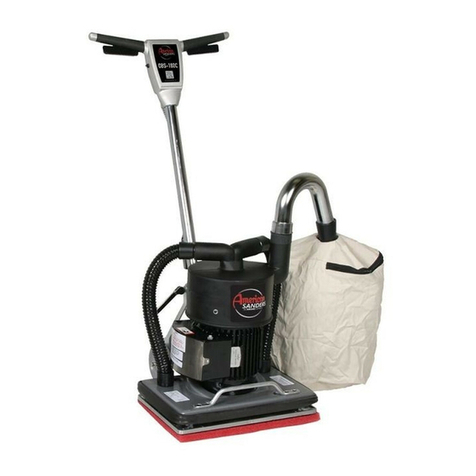
EZ-Sand Orbital Sander
Operation and Safety
Safety Practices:
Sanding dust is flammable!
Empty and clean dust bag
when not in use.
Always wear safety
goggles, protective
clothing, and a dust mask
while sanding.
Keep the dust bag
emptied. Dust generated
from sanding wood floors
can spontaneously ignite
or explode. Promptly
dispose of any sanding
dust in a metal container
clear of any combustibles.
Do not dispose in a fire.
Keep the work area well
ventilated.
Sanding/finishing wood
floors can create an
explosive or combustible
environment. Do not
operate this machine
around solvents, thinners,
fuels, floor finishes, or any
other flammable materials.
Keep hands, feet, and
loose clothing away from
all moving parts on the
machine.
Disconnect the power cord
before replacing the pad or
the abrasive.
Never leave the machine
unattended while it is
connected to a power
source.
www.clarkeus.com/rental
More on reverse . . .
Application: Wood flooring maintenance and light restoration work,
especially small projects that do not require a more aggressive tool.
This tool is well suited for use on parquet floors.
Set-up and operation
Follow the steps listed below to complete a floor sanding project safely.
Step Action
1
To prepare the machine for use follow this procedure:
Step Action
1 Countersink any nails in the flooring.
2 Tape over electrical outlets.
3 Cover doorways and windows with plastic.
4 Cover all air vents in the room (intake and
output vents).
2
Attach the handle to the base
machine by following these
instructions:
a.) The handle label should be
pointing towards the front of the
machine and the black iron casting
should drop down into the top of the
base machine securely.
b.) Snap the three latches down to
the base machine. The hooks on
the latches should slip over the
keepers that are attached to the
base machine. The latches should
require a slight push to snap them
into place (see figure 1).
c.) Plug the interconnect cord into
the base machine (see figure 2).
Figure 1
Figure 2
3
Install or replace circular pads if needed. The pad should be
replaced if they are ripped or torn or the hook material is too
worn to allow attachment of sandpaper. To install or replace the
pad(s), follow the instructions in step 4.
4
a.) Lock handle in the upright
position.
b.) Tilt the machine back until it fully
rests on the handle.
c.) While kneeling and facing the
bottom of the machine, remove the
old pad(s) then center new pad(s)
over the grip face (see figure 3). Figure 3
EZ-Sand Orbital Sander
CAUTION: Damage to the
grip face on the driver pad
will occur if the machine is
operated without a pad or
with a pad that is ripped or
torn. Damage to the grip
face of the pad will occur if
the machine is operated
without installing
sandpaper.
WARNING: Never put
yourself or let others be in
a position to get injured if
the machine should tip or
fall while replacing the pad
or changing abrasive.
Injury can occur if the
machine is connected to a
power source while
installing the pads or the
sandpaper. Disconnect the
machine before installing
the pad/sandpaper.
Questions or Problems?
Contact Clarke
Technical Service at
800-356-7274.
Need more
information?
The instructions on this
sheet are abbreviated
instructions only and are
provided solely as a
customer service. They
are not meant to replace
the tool’s operation
manual. If you are
unsure of the tool’s safe
and proper operation,
please request an
operator’s manual from
one of our sales
associates.
Step Action
5
a.)Press the pad(s) against the grip
face until the hooks in the driver
have set into the pad (see figure 4).
b.) Return machine to the upright
position.
Figure 4
6
To prepare the machine for use with the included dust bag
follow this procedure:
a.) Install the dust bag by pressing the end onto the exhaust
tube until the ring locks into the groove.
b.) To remove the dust bag from the exhaust tube, pry up the
end of the bag opening to partially release the internal rib from
the groove, then pull.
c.) To empty the dust bag, unzip the disposal flap and force
contents out by inverting the bag.
NOTE: For best results, empty frequently. Follow all warnings
posted in this manual and on the dust bag.
7
Follow this procedure for sanding floors:
a.)Move machine to work location. Decide the best approach to
sanding the desired area.
b.)When sanding the area, work so that you are moving away
from the power supply. This will help to avoid entanglement with
the power cord and reduce the need to move the power cord as
frequently.
8
Install the sandpaper. Use the same procedure outlined in
MACHINE SETUP for installing the pad(s), to install the
sandpaper. The sandpaper uses a hook and loop system which
is identical to how the pads attach to the drivers. Center the
sandpaper over the pad and press it against the pad until the
hooks on the pad have set into the sandpaper.
9
a.)While holding the handle, reach
down and slide the knurled locking
collar up the handle tube and hook
it to the pin in the tube by rotating it
(see figure 5).
b.)Lower the handle down to a
comfortable position.
c.)To run the machine, push the
interlock button (1), and apply
pressure to the levers (2).
d.)To stop the machine, release the
levers (2). See figure 6.
Figure 5
Figure 6
Note: Empty the filter bag frequently to prevent a fire hazard.
Check the bag periodically to make sure it does not fill
up. Never leave the sander unattended without emptying
the bag first.