27
Turn the suction power control clockwise if you want to
increase the suction power.
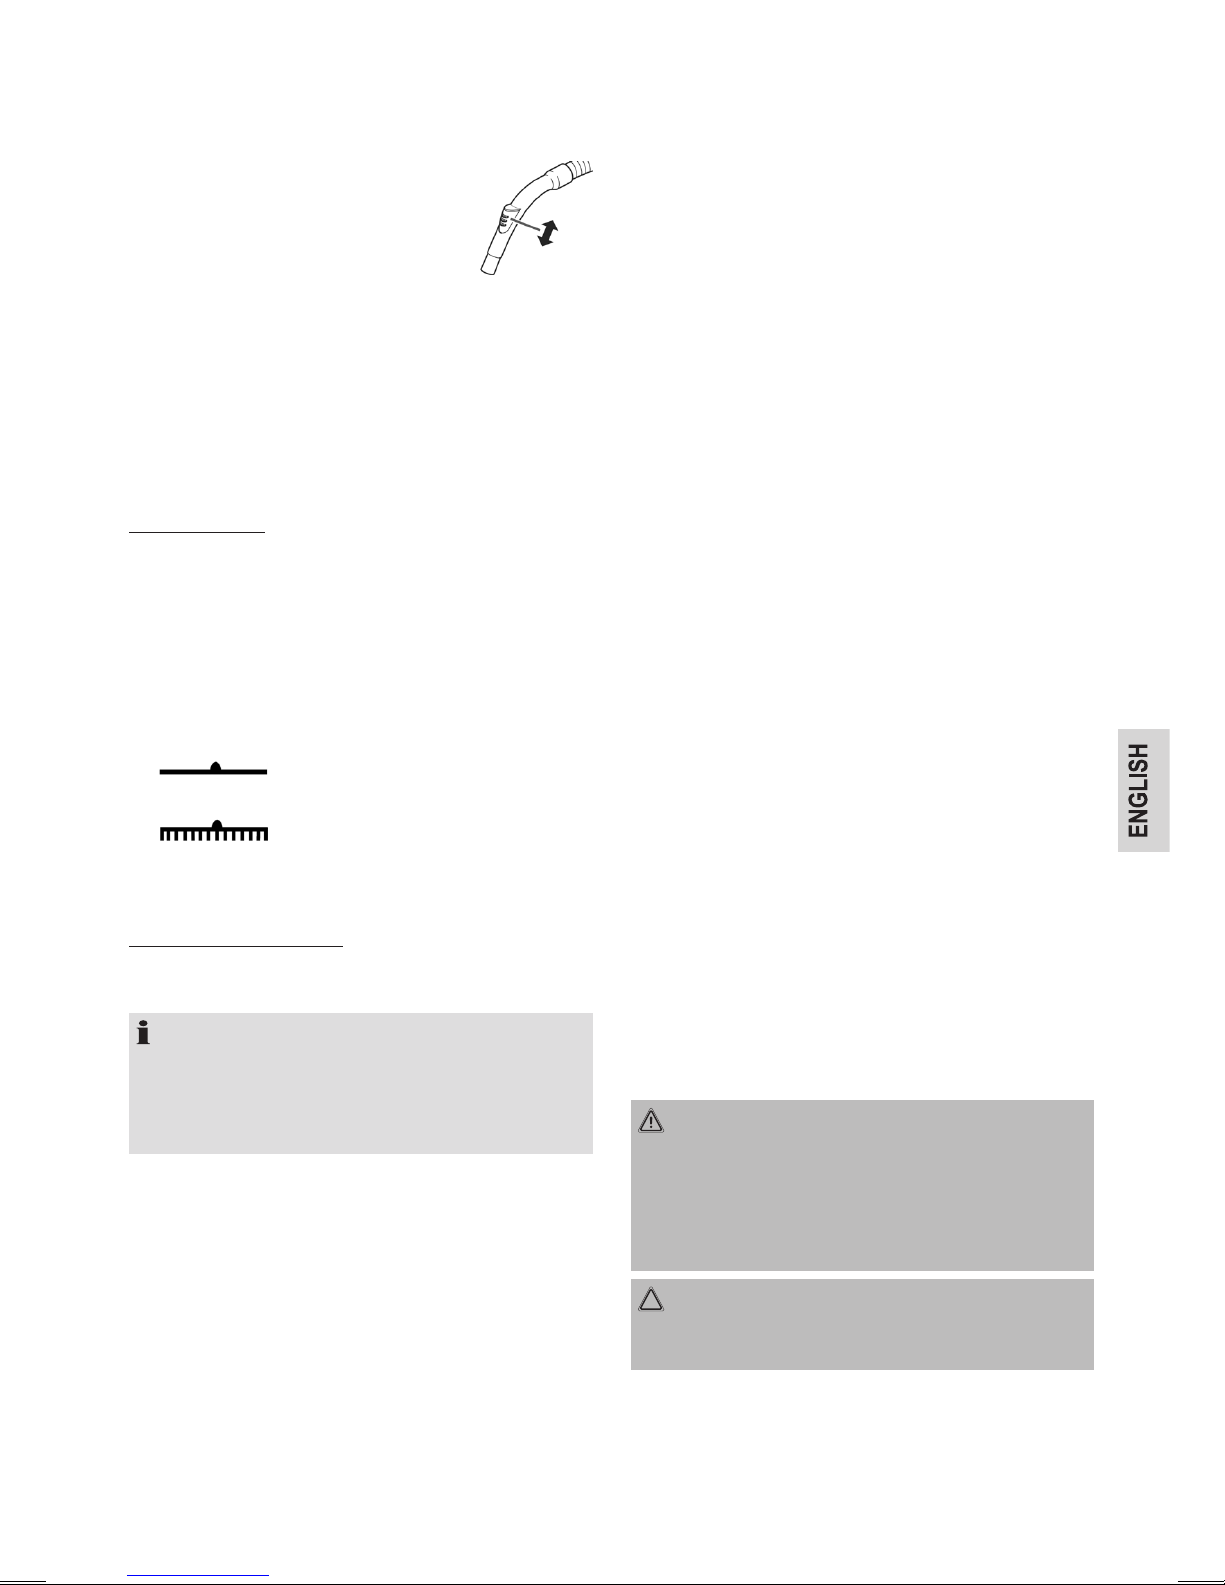
Air Slide (11)
Open the air slide on the hose handle in
order to regulate the airow or to clear
any particles sticking to the nozzle.
Switching off and Winding up the Mains Lead
1. Turn the vacuum cleaner off by the on/off switch and
remove the plug from the socket.
2. Keep the plug in your hand.
3. Press the cable winding button and guide the cable.
Hold the cable to avoid wrapping.
Nozzle Attachment
Floor nozzle (13)
The oor nozzle is tted with rollers for easier guiding.
You can clean smooth surfaces and carpets with the oor
nozzle.
• Adjust the brushes outwards or inwards using the
lever (14).
Best use of the appliance depends on the texture of the
oor covering. We recommend the following use:
• Use without brushes:
For vacuuming oor coverings with a deep pile
• Use with brushes:
For vacuuming smooth oors and carpets with a shal-
low pile
Crevice and jointed nozzle
For vacuuming upholstery, curtains and in corners and
crevices etc.
NOTE “2-in-1” nozzle:
When this is folded together it can be used as a groove
nozzle. If you would like to use the brush nozzle, pull
the brush section in the direction of the arrow until it
locks in place.
To detach the nozzle attachments from the suction pipe,
pull them off by turning them slightly.
Maintenance
Dust bag replacement display (6)
Hold the hose up into air. If the display for the vacuum
bag change shows “red”, the dust bag is full. Please
change it.
Changing the dust bag
1. Pull the plug out of the socket.
2. Open the lid of the dust bag compartment by the han-
dle (9).
3. Remove the bracket with the dust bag.
4. Then remove the dust bag by pulling it upwards.
5. Insert a new bag. Please ensure that the bag is
located correctly in the guide mechanism.
6. Fit the bracket with the new dust bag back into the
appliance. Press down the fastener with the bag. The
bag must be located completely in the dust bag com-
partment. Close the cover so that it snaps into place.
Filter
Your appliance has two lters.
Motor protection filter (inlet filter)
The inlet lter is located in the dust bag compartment.
The lter is located vertically in the rear section of the
dust housing. Remove the lter by pulling upwards.
Cleaning the Filter Element
Clean the engine protection lter after 10 dust bag chang-
es. If necessary, the lter can also be washed in warm
water without any additives. Place it back into place only
once it is completely dry!
Outlet filter
The appliance is also equipped with an outlet lter.
It can be found on the back of the appliance under the
stowage clip.
• Press the lever to the left and remove the ventilation
grille.
• Remove the lter insert and clean it as described
above.
• Place the completely dry lter back into the ventilation
grille.
• Put the ventilation grille back on the appliance. While
doing so, rst press the lever to the left again. Let go
of it when the ventilation grille is completely tted. It
needs to click in audibly.
Cleaning and storage
WARNING:
• Before cleaning remove the mains lead from the
socket.
• Under no circumstances should you immerse the
device in water for cleaning purposes. Otherwise
this might result in an electric shock or re.
CAUTION:
• Do not use a wire brush or any abrasive items.
• Do not use any acidic or abrasive detergents.
Clean the housing with a soft, dry cloth without additives.
Storage
• Let the iron cool down completely.
• Wind the cable completely.