Clemas & Co TENNANT F3 User manual

TENNANT F3
POLISHER
OPERATOR MANUAL
Clemas & Co. Unit 5 Ashchurch Business Centre, Alexandra Way, Tewkesbury,
Gloucestershire, GL20 8NB.
Tel: 01684 850777 Fax: 01684 850707

10
14
3
5
4
2
1
Machine component / Maschinen Komponenten / Pièces de machine
F3/8/12
6
9
11
16
17

EN
F3 / F8 / F12
Single disc machine
- 3 -
Machine components
1 - Handle bar
2 - Brush motor switch
3 - Housing of top shaft element
4 - Switch lock
5 - Shaft adjustment handle
6 - Shaft adjustment unit
7 - Bar
8 - Cable hook
Accessories
Part. No.
11 -Scrubbing brush for F8/F3 low speed 9002236
Polishing brush for F12/F8 high speed 9002200
13 -Solution tank for F8/F3 low speed 9002256
17 -Drive plate for F8/F3 low speed 9002191
Drive plate for F12/F8 high speed flexible 9002193
n/s Spray unit for F12/F8 high speed 9002262
Vacuumunit 9002288
Vacuumring 430mm 9002289
8kg extra weight F3/F8 9002304
8kg extra weight F12 9002303
9 - Wheels
10 - Motor head
11 – Brush
12 - Outlet hose
13 - Solution tank
14 - Tank holder
15 - Tank lever
16 - Water connector
TABLE OF CONTENTS
Machine components………………………... 2
Accessories…………… ……………………… 3
Safety instructions………………………….... 3
Machine assembly and operation…………. 4
Servicing instructions……………………...... 5
Storing machine………………………………. 5
Trouble shooting……………………………… 6
Technical specifications…………………….. 6
Parts list F3..…………………………………… 15
Parts list F8……………………………………. 19
Parts list F12…………………………………… 23
Parts list for Accessories……………………. 27
PROTECT THE ENVIRONMENT
Please dispose of packaging materials
and old machine components in a safe
environmentally way according to your
local waste disposal regulations.
Always remember to recycle.
Safety instructions
WARNING: This manual must be read and
understood before operating or servicing machine.
This machine is intended for commercial use. It’s designed exclusively
to scrub hard floors in an indoor environment and is not constructed for
any other use. Only use recommended pads/brushes and cleaning
agents.
These operating instructions are intended for operating staff.
1. Please familiarize yourself with the instructions and recommenda-
tions contained in these operating instructions before setting up,
operating and servicing the machine.
2. You will then have full control over the machine and use it effi-
ciently. The care and maintenance described in these operating in-
structions are in the interests of your own safety and preserve the
machine’s value.
3. The manufacturer accepts no liability for personal injury or damage
to property due to the incorrect use of this machine.
This warning alert symbol that is used
throughout this manual is to warn of hazards or un-
safe practices. Failure to follow these may cause
electric shock, fire or explosion which could result
in severe personal injury or death.
Before operating the single-disc machine,
please read these instructions carefully and keep
them handy at all times.
The single-disc machine may only be used by per-
sons trained in its use and explicitly entrusted with
its operation.
WARNING:
Fire or Explosion Hazard. Never use flammable liq-
uids or operate machine in or near flammable liq-
uids, vapours or combustible dusts.
This machine is not equipped with an explosion
proof motor. The electric motor will spark when
powered on which could cause a flash fire or explo-
sion if machine is used in an area where flammable
vapours/liquids or combustible dusts are present.
WARNING:
Electrical Hazard. Never operate machine with dam-
aged power supply cable. Do not modify plug. Un-
plug cable before servicing machine.
If the power supply cable is damaged or broken, it
must be replaced by the manufacturer or its service
agent or a similarly qualified person in order to
avoid a hazard.
General remarks
The operation of the single-disc machine is subject to the currently
valid national regulations.
It is essential to observe not only the operating instructions and the
binding regulations on accident prevention valid in the country of use,
but also the generally acknowledged rules for safe and correct working
procedures. No methods involving safety risks must be used.

EN
- 4 -
•
•
•
•
•
•
•
•
•
Correct use
All single-disc machines are intended exclusively for use in build-
ing interiors.
Any use beyond this is considered incorrect. The manufacturer
accepts no liability for any resultant damage; the user alone bears
the risk.
Correct use also includes adherence to the operating, servicing
and maintenance conditions recommended by the manufacture.
The relevant accident prevention regulations as well as all the
generally acknowledged safety and working practices must be fol-
lowed.
Unauthorized modifications to the machine exclude the manufac-
turer’s liability for resultant damage.
Before machine use, floorcoverings must be tested for suitability
for this cleaning process.
Pay attention to the area compression of point-elastic floors, e.g. in
gymnasiums
The manufacturer accepts no liability for damage to equipment and
to the floor being cleaned from using the wrong brushes and clean-
ing agents.
Machine may not be used in combination with an extension cord.
Product liability
The operator’s attention is drawn explicitly to the fact that the ma-
chines may only be used for their intended purpose. If the machines
are not used for their intended purposes, the user must accept full
responsibility. Any liability of the manufacturer is thus excluded.
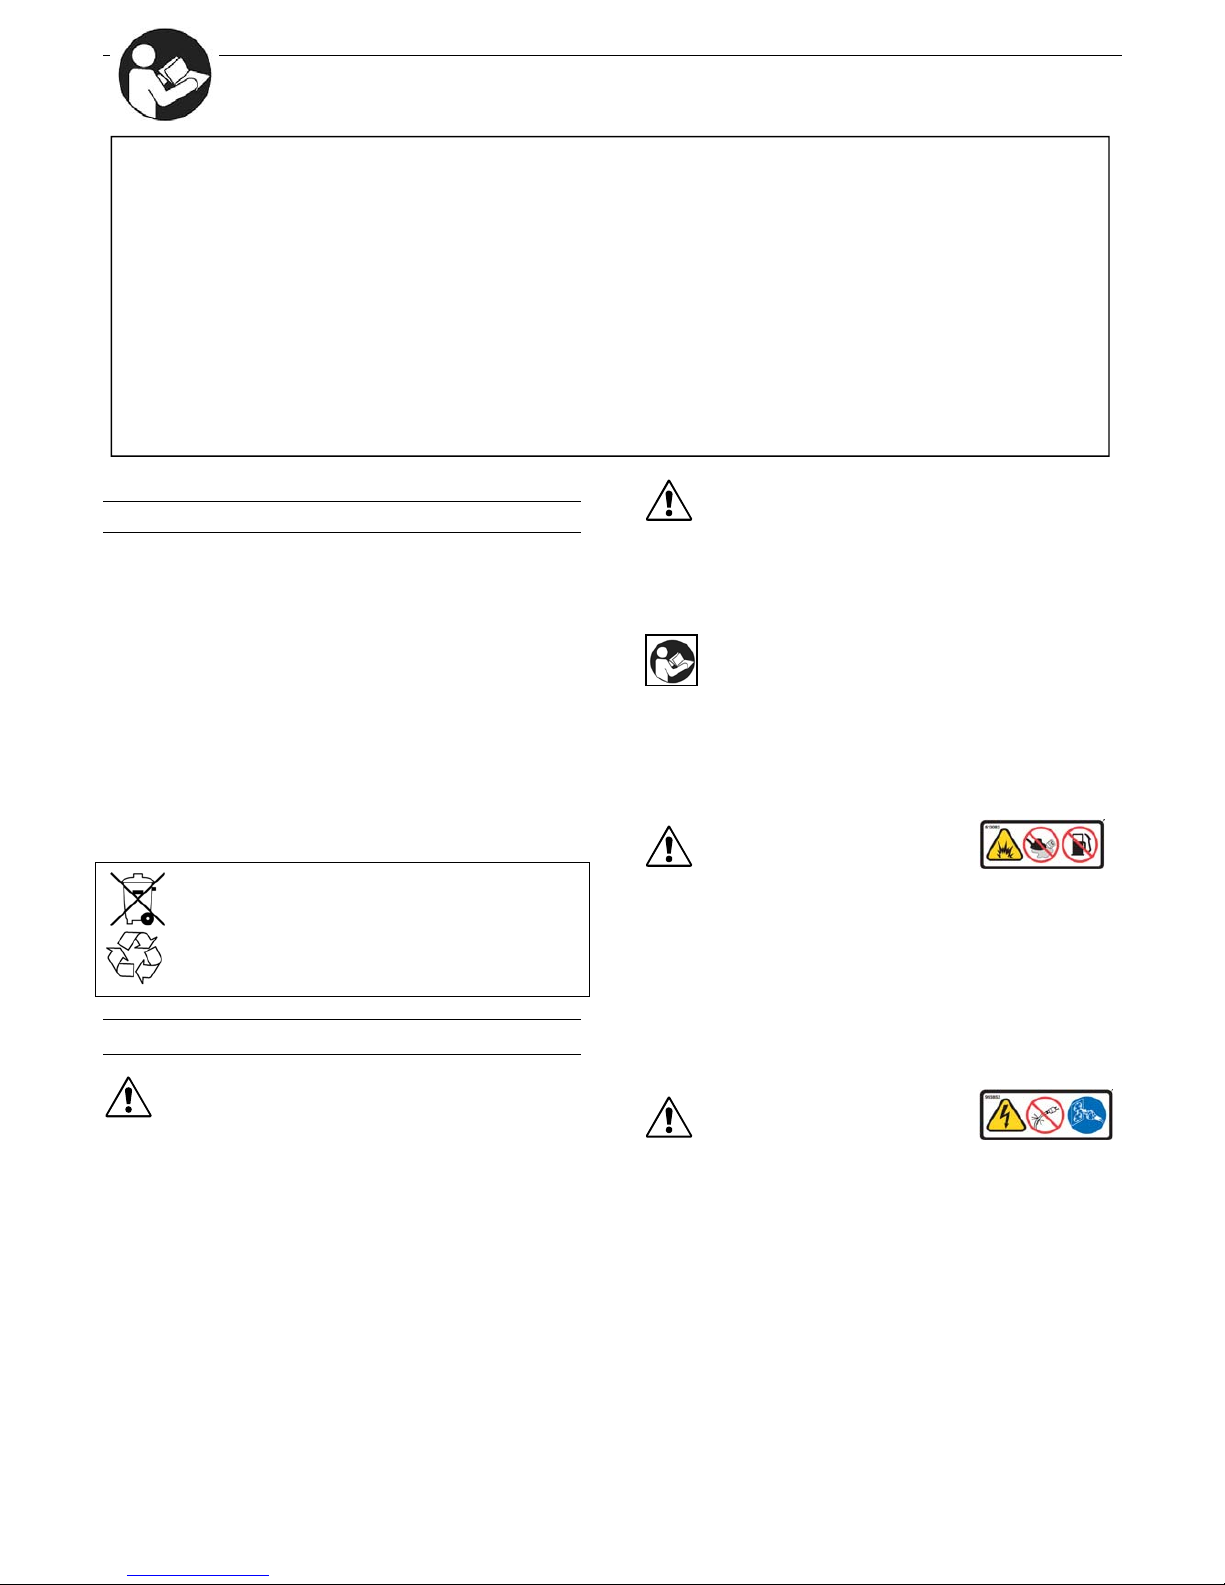
Sources of risk
WARNING: The single-disc machine is not
suitable for cleaning surfaces which release health-
hazardous dusts and liquids. Do not use the ma-
chine on steps.
WARNING:
This machine is only intended for
use on level surfaces with a maximum gradient of up
to 2 %.
WARNING: This machine is not approved for
use on public paths and roads.
WARNING: Use only the brushes provided
with the appliance or those specified in the
instructions. The use of other brushes may
impair safety.
WARNING: When the machine is stationary,
the brush unit must be immediately switched off to
prevent damage to the floorcovering.
WARNING: During transportation in lifts, the
currently valid user instructions and safety regula-
tions – and particularly those concerning maximum
loading – must be observed.
Machine operation position
The machine operation position is behind the machine.
Approved maintenance staff
The single-disc machine may only be serviced and repaired by per-
sons with technical and legal authorization.
Cleaning agents
•
•
When using cleaning and care agents, the manufacturer’s danger
warnings must be followed and protective goggles and clothing
must be worn.
Only use low-foaming, non-combustible cleaning agents which do
not contain generally health-hazardous substances. Explicit refer-
ence is made to the risks of using highly flammable, combustible,
toxic, health-hazardous, corrosive or irritant substances.
Machine assembly and operation
Initial operation
•
•
•
•
•
•
•
•
•
•
•
•
•
•
•
Delivery, instruction on safety procedures, handling and mainte-
nance and initial operation are generally carried out by our author-
ized specialist.
If this is not the case, the operator is responsible for instructing
machine users.
Please remember that the voltage in the building being cleaned must
concur with that given on the machine’s type plate.
Assembly instructions
The motor head and bar are supplied separately packed.
First release the hexagon socket screws in the shaft adjustment
unit (6).
Then feed the bar (7) gently as far as it will go into the shaft ad-
justment unit (6).
Align the handle bar (1) parallel with the wheels (9), so that the
open side of the housing of the top shaft element (3) is facing to
the rear.
Then tighten the hexagon socket screws again.
Wind the electric cable around the handle bar (1) and cable hook
(8).
Preparations for use
Grasp the handle bar (1) with both hands and tip the machine until
it is resting on both wheels (A).
Then wheel the machine to its place of work and plug the electric
cable into the power supply.
Set the desired rpm, using the switch mounted at the motor hous-
ing (only for F8 Duo speed)
Lay the accessories (11), i.e. brush or drive plate with pad, on the
floor.
Now tip the machine back onto the wheels and push it over the
brush (or drive plate) until the drive star and brush flange are verti-
cally aligned. Lower the machine onto the brush (B).
Then squeeze the shaft adjustment lever (5) and lower the bar (7)
into its working position. Both arms should be extended loosely
downwards (C).
Align the machine horizontally above the working element (brush
or drive plate), press the switch lock (4) and press the brush motor
switch (2) briefly.

EN
- 5 -
•
•
•
•
•
•
•
•
•
•
•
•
•
•
•
•
•
•
•
•
•
•
•
•
•
•
•
•
•
•
•
The accessory automatically engages.
Operating machine
Press the brush motor switch (2) (to the right or left). The motor
starts.
If you raise the bar (7) slightly, the machine moves to the right (D).
If you lower the bar, the machine moves to the left (D).
If you keep the bar in its central position, the machine works on the
spot.
After use
Squeeze the shaft adjustment handle (5) and shift the bar (7) into
its vertical position.
Then tip the machine onto its wheels (9) and press the brush
motor switch (2) briefly. The accessory (11) disengages.
Remove the plug from the power socket and wind the electric
cable around the handle bar (1) and cable hook (8).
Thorough cleaning the easy way
For thorough cleaning, equip your machine with the following accesso-
ries:
-
Solution tank (13)
-
Scrubbing brush (11) or drive plate with pad.
Fasten the tank to the mounting (14).
Slide the outlet hose (12) onto the water connector (16).
Fill the tank (13). Then fit the brush or drive plate with pad.
Control the flow of liquid with the tank lever (15) by pulling the
lever (15) upwards.
Vacuum the dirty wash solution a section at a time with a water
extractor.
Shampooing thoroughly and efficiently
For shampooing, equip your machine with the following accessories:
- Solution tank; 0.3 Perlon shampooing brush or pad for textile
floorcoverings.
The working procedure is in principle the same as for thorough
cleaning.
Start the machine with the shampooing brush dry.
Meter a small amount of liquid until the bristles are saturated with
foam.
Run the machine with the rotating brush from right to left or vice-
versa.
⇒
Immediately after this, run the machine in the same way
in the reverse direction, but with an overlap of about a quarter of
the strip already treated (E.)
Only then run the machine in a spiral pattern over the shampooed
strips.
⇒
In doing so, work both strips at the same time (F.)
During shampooing it is highly advisable to immediately remove
the dirt-laden foam a section at a time with a water extractor.
Assembly instructions for Spray unit
Fit the holder for the spray can to the bar (7) with the holder point-
ing upwards and, when viewed from the operating side, to the left
(G).
Hook the spray can’s tongue onto the holder, pivoting the holder
back until the ball catch engages.
Then slide the spring clip over the shaft adjustment unit (7).
Attach the box on the right or left as desired (H).
Point the universal-jointed hose in the desired direction.
Routine cleaning
For routine cleaning, equip your machine with the following accesso-
ries:
- Spray unit, drive plate for pads, pad for F8/F3 low speed or Spray
unit, drive plate for pads, pad for F12/F8 high speed
Fill the spray can with the desired product.
Fit the drive plate with the desired pad.
Start the machine.
When you pull the Spray unit lever a few times the cleaning agent
is sprayed onto the floor. Now start cleaning immediately until a
shine is produced.
We advise cleaning the surface in relatively small areas at a time.
The machine is ideal for cleaning with polymer dispersions. The
coating’s resistance to foot traffic and general wear and tear is
preserved. Streaks and marks are easier to remove.
Polishing with F12/F8 high speed
For polishing, equip your machine with the following accessories:
-
Drive plate for pads, white pad
-
Fit the drive plate with the pad.
Then start the machine.
Service
•
•
•
•
•
•
•
•
For repairs, please contact your specialist wholesaler or one of the
service shops.
You will be expertly and quickly served.
Servicing instructions
the following instructions must always be observed
When cleaning and servicing the machine, replacing parts or when
changing over to a different function, switch off the drive and re-
move the plug.
The power supply lead must not be damaged by driving over it,
crushing, tugging etc.
Check the power supply lead regularly for signs of damage.
The machine must not be used if the power supply lead is not in
perfect condition.
When using or replacing the power supply or equipment supply
leads, use only those specified by the manufacturer.
When replacing the plug-and-socket connectors of power supply or
equipment supply leads, splash protection and mechanical
strength must be assured.

EN
- 6 -
•
•
•
•
•
When transporting the machine in lifts, put the shaft/bar in a verti-
cal position so that it cannot catch on the lift walls.
The shaft/bar is automatically secured against recoil by the pat-
ented shaft/bar adjustment unit.
Only the spray and cleaning agents suitable for the machine’s
purpose may be used.
Never use highly flammable, combustible, toxic, health-hazardous,
corrosive or irritant substances.
Repairs, including the fitting of spray agent lines and hoses, may
only be carried out by approved customer service shops or by
specialists in this field who are familiar with all the relevant safety
regulations.
Storage
•
•
Remove brush/pad driver from machine and neatly coil cord
around cord hook and handle.
Store the machine in a dry place and in normal room conditions
(not below under 0
°
C).
Trouble Shooting
Problem Cause Solution
Machine does not operate Faulty power cord. Contact Service Center.
Tripped circuit breaker Wait 10 min. till machine cooled down and try again.
Faulty machine wiring. Contact Service Center
Faulty motor. Contact Service Center
Capacitor burned out
.
Contact Service Center
Machine operates with a wobble Soiled Pad. Replace Pad
or jerky motion. Improper pad/brush for application. Change to proper pad/brush
Pad driver/brush not installed correctly. Remove and reinstall pad driver/brush
Pad/brush unevenly worn. Replace pad/brush
Pad not properly centered on pad driver Remove and reinstall pad driver
Machine circuit breaker trips Heavily soiled pad/brush Clean or replace pad/brush
continuously. Improper pad/brush for application Change to proper pad/brush
Defective circuit breaker. Contact Service Center
Worn carbon brushes in motor. Contact Service Center
Technical specifications
F3 low speed F8 high speed F12 Duo speed
A.C. motor
230 V: 50 Hz 230 V; 50 Hz 230 V, 50 Hz
Rated power
1000 W 1100 W 1200/1500 W
Max. amp draw
5,5 A 5,5 A 5,2 / 8,1 A
Brush (rpm)
165 400 170 / 340
Brush (mm)
430 430 430
Working height (mm)
250 250 250
Working weight
31 kg 31 kg 37 kg
Protection class
lPx4 lPx4 IPx4
Belt-driven
x x x
Sound pressure level LPA
59db (A) 59db (A) 65db
Weighted acceleration value
1.05 m/sec2 1.05 m/sec2 1.05 m/sec2
DECLERATION OF CONFORMITY FOR MACHINERY (Directive 89/392/EEC, Annex II, sub A)
Model: F3,F8,F12
Machine nr.: MF122004, MF122904, MF32004, MF32904, MF82004, MF82904
Tennant N.V.
Herewith declares, on our own responsibility, that the machinery
Adress: Industrielaan 6, 6405 AB - is in conformity with the provisions of Directive 89/392/EEC, 73/23/EWG and 89/336/EWG
P.O. Box 6, 5400 AA Uden-The Netherlands - The following standards and normative documents have been applied:
Uden/Netherlands, 20-12-06
EN 60335-1 (ed.3);am1;am2, 60334-2-67(ed2);am1, EN60355-1:94+A1:96+A12:96+A13:98+A14:
98+A15:00+A2:00+A16:01,EN60355-2-67:98+A1:00, EMC:CISPR 14-1:00+A1:01,CISPR 14-2:01,
ICE61000-3-2:00,IEC61000-3-3:94+A1:01,EN55014-1:00+A1:01,EN 55014-2:97+A1:01,
EN61000-3-2:00, EN 61000-3-3:95+A1:01
-----------------------------------------------------------------
Richard van de Hoogen - Technical Support Engineer
Table of contents
Other Clemas & Co Sander manuals