Installation Guide / SolarRoof™ SADL Bracket A1
1Code-Compliant Planning and Installation Guide V1.0 - Complying with AS/NZS1170.2-2011 AMDT 2-2016
Introduction
•
•
List of contents
Introduction
Planning
Tools and Components
System Overview
Installation Instruction
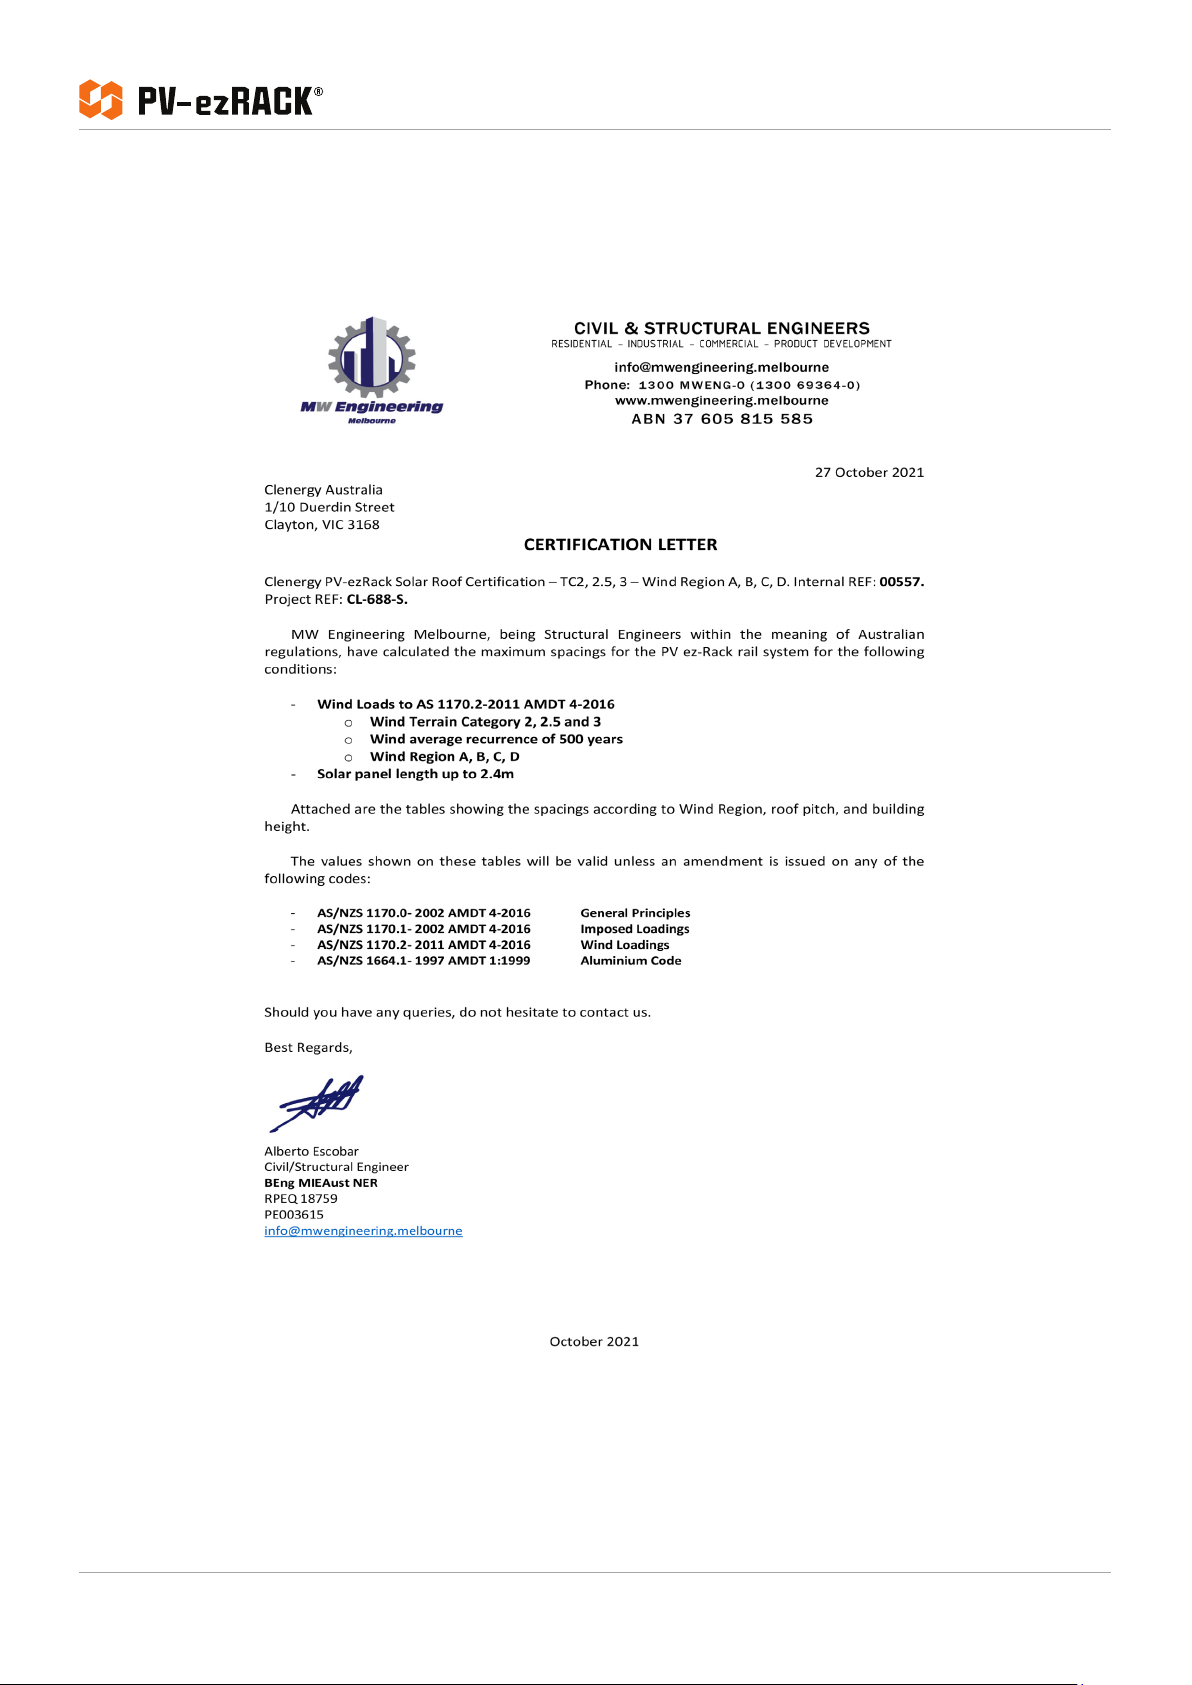
Certification Letter
Product Warranty
01
02 - 04
05
06
07 - 08
09 - 22
23
The Clenergy PV-ezRack® SolarRoof™ has been
developed as a universal PV-mounting system for roof-
mounting on pitched and flat roofs. SADL bracket A1
is another innovative Tin roof interface, specified for
Kingspan KS1000 RW trapezoidal roof panel. SADL
bracket A1 has been tested on the roof panel above
in a National Association of Testing Authorities (NATA)
accredited lab.
Please review this manual thoroughly before installing
PV-ezRack® SolarRoof™. This manual provides:
1) Supporting documentation for building permit
applications relating to PV-ezRack® SolarRoof™
Universal PV Module Mounting System,
2) Planning and installation instructions.
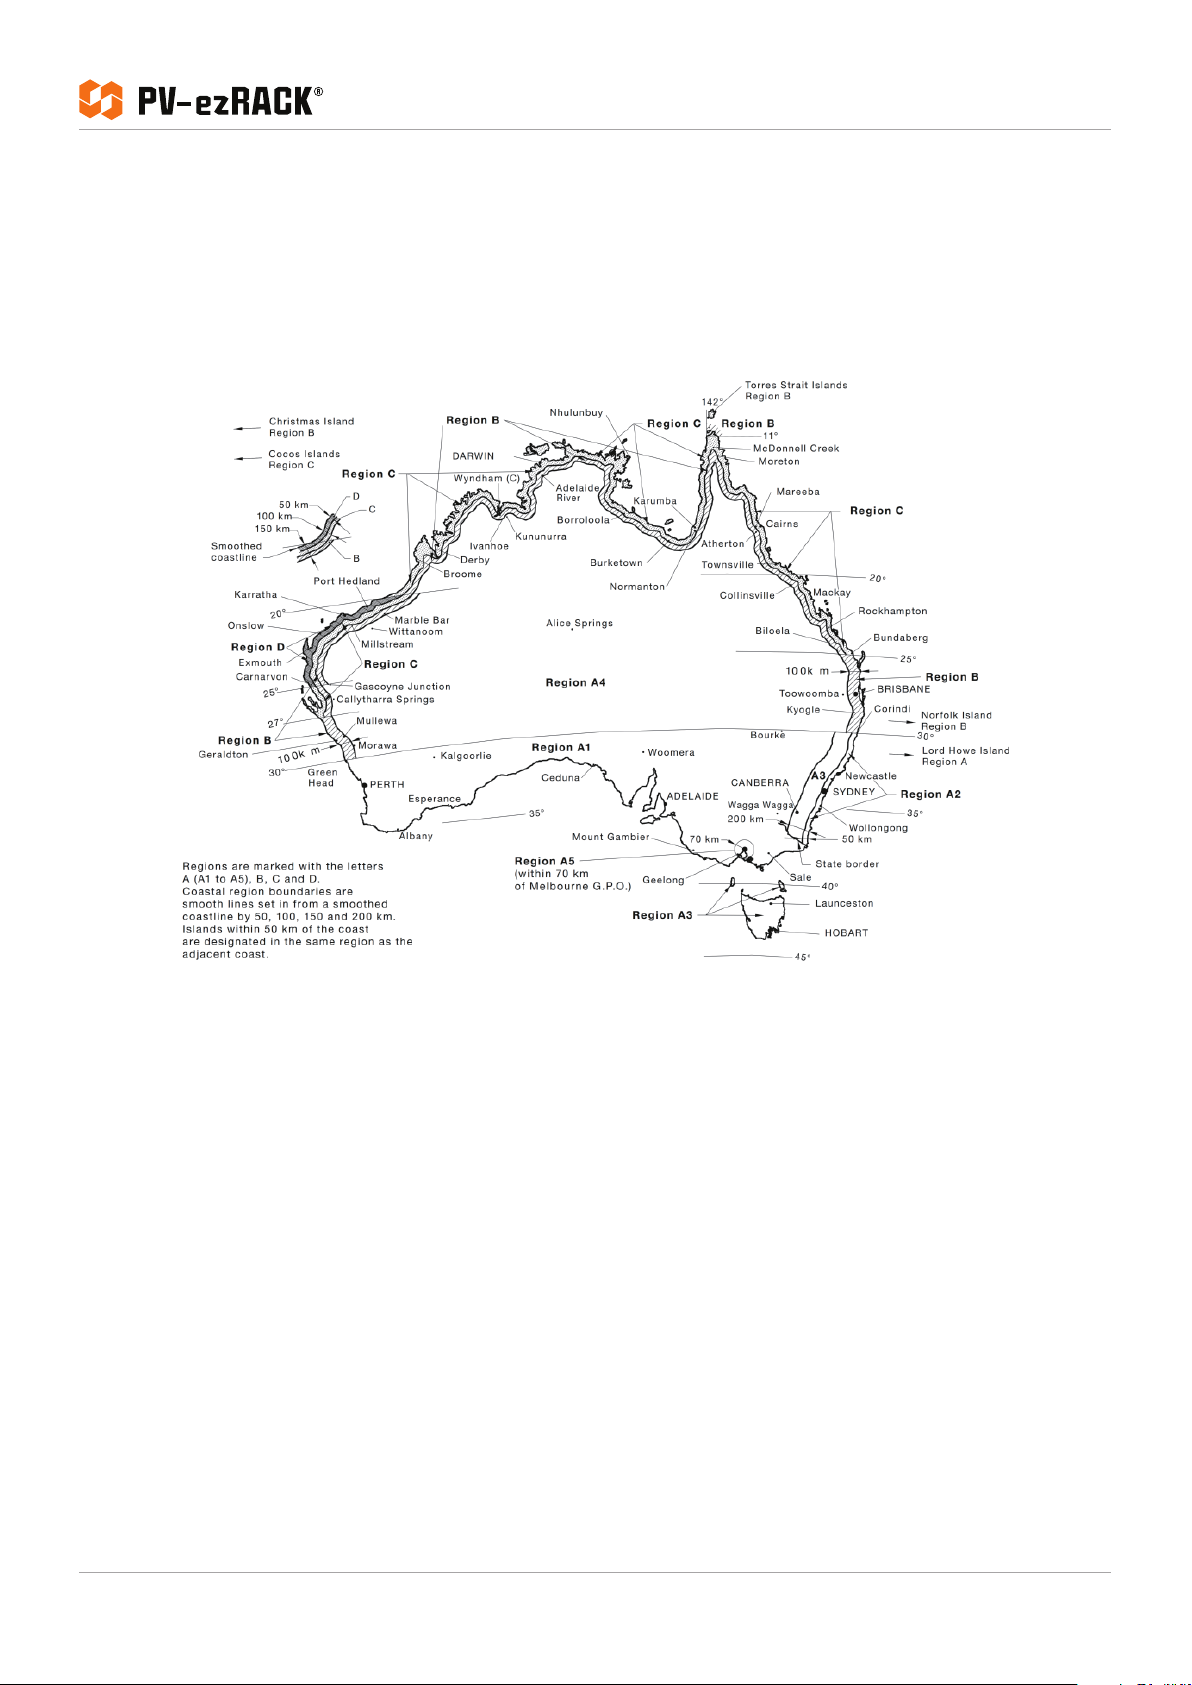
The PV-ezRack® SolarRoof™ parts, when installed in
accordance with this guide, will be structurally sound
and will meet the AS/NZS1170.2:2011 Amdt 2- 2016
standard.
During installation, and especially when working on the
roof, please comply with the appropriate Occupational
Health and Safety regulations. Please also pay attention
to any other relevant State or Federal regulations.
Please check that you are using the latest version of the
Installation Manual, which you can do by contacting
Clenergy Australia via email at tech@clenergy.com.au or
contacting your local distributor in Australia.
- Introduction -
Complying with all applicable local or national
building codes, including any that may supersede this
manual.
Ensuring that PV-ezRack and other products are
appropriate for the installation and the installation
environment.
Using only PV-ezRack parts and installer-supplied
parts as specified by the PV-ezRack project plan.
(substitution of parts may void the warranty and
invalidate the letter of certification).
Recycling: Recycle according to the local relative
statute.
Removal: Reverse installation process.
•Ensure that there are no less than two professionals
working on panel installation.
Ensure the installation of related electrical equipment
is performed by licenced electricians.
Ensuring safe installation of all electrical aspects of
the PV array. This includes adequate earth bonding of
the PV array and PV-ezRack® SolarRoof™ components
as required in AS/NZS 5033-2014 AMDT 2 2-2018.
Ensuring that the roof, its rafters/purlins, connections,
and other structural support members can support
the array under building live load conditions.
Ensuring that screws to fix interfaces have adequate
pull-out strength and shear capacities as installed.
Maintaining the waterproof integrity of the roof,
including the selection of appropriate flashing.
Verifying the compatibility of the installation
considering preventing electrochemical corrosion
between dissimilar metals. This may occur between
structures and the building and between structures,
fasteners and PV modules, as detailed in AS/NZS
5033: 2014.
Verifying atmospheric corrosivity zone of installation
site by referring to AS 4312-2008 or consulting local
construction business to determine appropriate
products and installations.
•
•
•
•
•
•
•
•
•
•
•
•
•
The installer is solely responsible for: