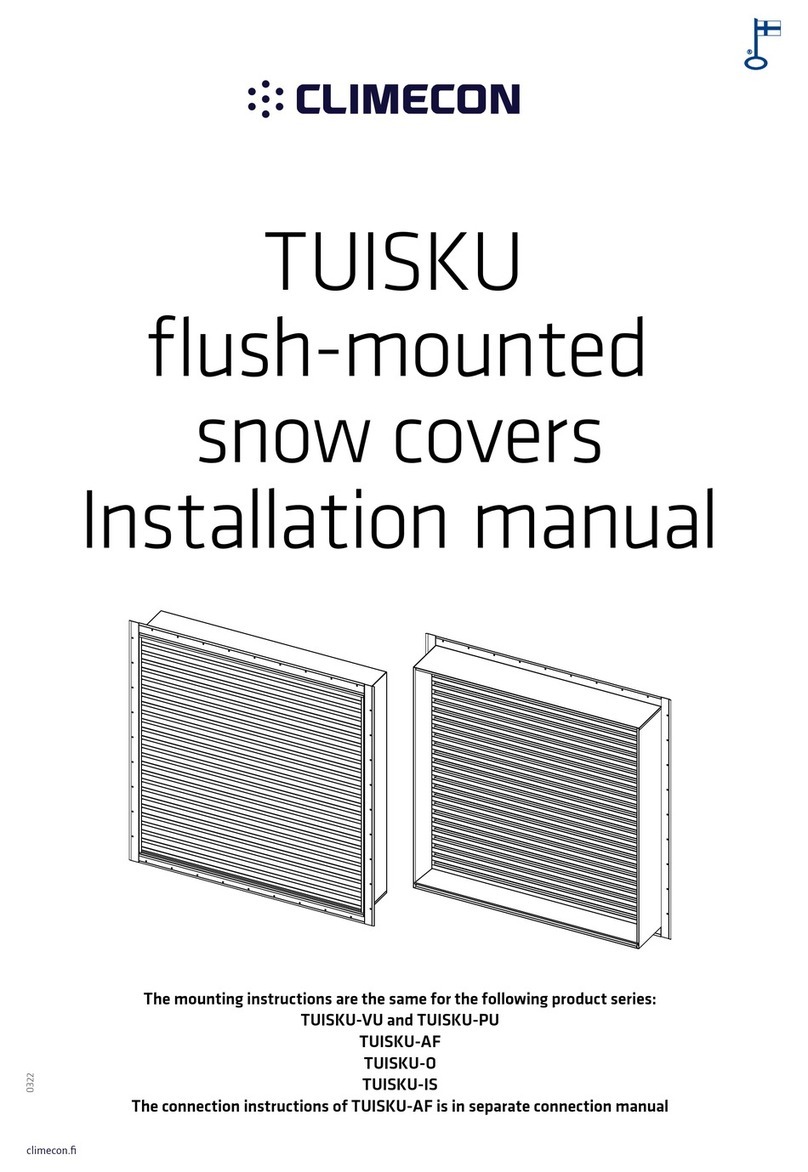
Climecon TUISKU-VS User manual

The mounting instructions are the same for the following product series:
TUISKU-VS, TUISKU-PS, TUISKU-V and TUISKU-P
TUISKU-AF
TUISKU-O
The connection instructions of TUISKU-AF is in separate connection manual
T
TUISKU
surface-mounted
snow covers
Installation manual
climecon.
11.21

TUISKU surface mounting
Dimensioning
Min. 100 mm
Min. 100 mm
Min. 100 mm
Opening
Min. 100 mm
Min. 100 mm
Esteseinämä estää lumen
kulkeutumisen suodattimille
Kaivo + saattolämmitys / lumen sulatus
Max. 0,7 m/s
< 2 m/s
TUISKU:t on suunniteltu toimimaan
suurillakin otsapintanopeuksilla,
mutta maksimi suositeltu otsa-
pintanopeus on 0,7 m/s.
1
2
entering the vents
climecon.fi
© Climecon 2

TUISKU surface mounting
130 mm
130 mm
1-piece surface mounting using J-profile that is included in the shipment.
NOTE! TUISKU can also be installed without the J-profile.
130 mm
We recommend the following screw types or equivalent to mount the J-prole to the wall:
We recommend the following screw types or equivalent in mounting the TUISKU to the wall:
1
3
5
2
4
6
climecon.fi
© Climecon 3

TUISKU surface mounting
130 mm
Multielement TUISKU side-by-side
We recommend the following screw types or equivalent to mount the J-prole to the wall:
We recommend the following screw types or equivalent in mounting the TUISKU to the wall:
1
1
2
2
3
3
4
4
climecon.fi
© Climecon 4

Multielement TUISKU elements on top of one another
TUISKU surface mounting
the upper plate and/or through side plates.
We recommend the following screw types or equivalent in mounting the TUISKU to the wall:
1
2
3
1
2
3
climecon.fi
© Climecon 5

Sandwich
structure
Interior
Interior
Exterior
Exterior
50 mm 50 mm
30 mm 30 mm
Width of the
element
Width of the
element
TUISKU surface mounting
TUISKU-AK installation frame (accessory)
We recommend the following methods or equivalent
to mount the TUISKU-AK installation frame to the opening:
• Wood: TX-20 4.5X40 zin
point
NOTE! The TUISKU-AK installation frame
must not be a part of a load-bearing structure!
The load-bearing structure must be designed
and approved by a structural engineer.
-
tural engineer’s instructions.
1
1
2a 2b
2
climecon.fi
© Climecon 6

NOTE! The TUISKU-AK installation frame must not be a part of the building’s load-bearing structures.
We recommend the following screw types or equivalent to mount the support frame
inside the opening or to the edges of the opening:
The structure must always be approved by a structural engineer.
TUISKU surface mounting
Multielement TUISKU + TUISKU-AK installation frame
1
1
2
2
climecon.fi
© Climecon 7

A
ASECTION A-A
B
A
ASECTION A-A
B
sides and the top into the load-bearing structure.
= double screws. In ver-
tical sections 2 screws
side-by-side and in hori-
zontal sections 2 screws
on top of one another.
TUISKU surface mounting
Multielement TUISKU + TUISKU-AK installation frame,
for example 4-piece
1
2
3
4
2
4
1
3
Recommended
screw type:
EJOT JT2-6-6,3x25mm
1
1
2
22
3a
3a
3b
3b
climecon.fi
© Climecon 8

1
1
2
2
33
4
4
55
6
6
sides and the top into the load-bearing structure.
TUISKU surface mounting
Multielement TUISKU + TUISKU-AK installation frame,
for example 6-piece
A
ASECTION A-A
B
Recommended
screw type:
EJOT JT2-6-6,3x25mm
= In vertical sections
2 screws side-by-side
and in horizontal sec-
tions 2 screws on top
of one another.
A
ASECTION A-A
B
1
1
2
2
2
3a
3a
3b
3b
climecon.fi
© Climecon 9

contact the Climecon customer service
Tel. +358 (0)20 1986 600
Email info@climecon.fi
Climecon Oy
Lämmittäjänkatu 4 A
00880 HELSINKI
FINLAND
climecon.fi
climecon.fi
© Climecon 10
This manual suits for next models
5
Other Climecon Fan manuals
Popular Fan manuals by other brands

FGE
FGE FARELEK 112300 manual
Fanimation
Fanimation SCULPTAIRE FP8511 Series manual
SODECA
SODECA HGT user manual

Kichler Lighting
Kichler Lighting Hatteras Bay Patio instruction manual

Fanimation
Fanimation Sandella FP1820 Series Specification sheet

Somogyi Elektronic
Somogyi Elektronic home TF 231 instruction manual
Panasonic
Panasonic FV-07VF1 installation instructions
Ebmpapst
Ebmpapst W2S130-AB03-34 operating instructions
Bajaj
Bajaj EFL-05 user manual
Minka Group
Minka Group minkaAire SKYHAWK Instruction manual warranty certificate

ELPLAST
ELPLAST Aero 100 User instructions

Westinghouse
Westinghouse 73040 instruction manual
