manuals.online logo
Brands
  1. Home
  2. •
  3. Brands
  4. •
  5. Clou
  6. •
  7. Plumbing Product
  8. •
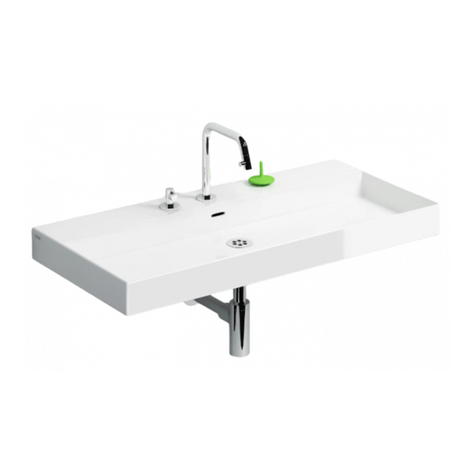
  9. Clou First CL/02.27011 User manual

Clou First CL/02.27011 User manual

First
washbasin, aluite
CL/02.27011
Montage instructies
Installation instructions
Notice de montage
Montageanweisungen
REV 04
01.05.2019
- Alvorens de montage te beginnen moet de
volledigheid van de levering gecontroleerd
worden. Tevens moet ook op transport-
schade gecontroleerd worden, te late
schademeldingen (> 1 dag na levering) wor-
den niet aanvaard.
- De meegeleverde bevestigingsartikelen zijn
geschikt voor gestucte of betegelde,
massieve muren die voldoende draagkracht
hebben. Voor andere muren dient men zelf
bevestigingsartikelen te voorzien en dient
de muur mogelijk verstevigd te worden.
- Clou behoudt zich het recht voor
technische en optische wijzigingen aan te
brengen t.o.v. afgebeelde producten.
- Door wijzigingen in de productie kan het
zijn dat gegeven afmetingen niet meer
correct zijn. Alle vermelde afmetingen in
deze handleiding dienen te worden
geverifieerd alvorens de actie uit te voeren.
- Clou b.v. kan niet verantwoordelijk worden
gesteld voor de gevolgen van onaangepast
gebruik, onaangepast transport of
beschadigingen veroorzaakt door
tussenopslag.
- De van toepassing zijnde garantievoor-
waarden gelden steeds.
- De montage dient uitgevoerd te worden
door 2 personen waarvan minstens één
vakkundig opgeleid persoon.
- Alle maten zijn in mm.
- Before starting with the mounting check
whether the delivery is complete. At the
same time the delivery should be checked
for damage due to transportation, damage
reports that are too late (> 1 day after
delivery) will not be accepted.
- The included fixing media are suited for
plastered or tiled solid walls with enough
supporting power. For other walls the used
fixing media is at own responsibility, and
the wall might need reinforcement.
- Clou reserves the right to introduce
technical and visual changes with respect
to the depicted images.
- Due to changes in production it is
possible that given dimensions are no
longer correct. All mentioned dimensions
in this manual should be verified before
executing the action.
- Clou b.v. can not be held responsible for
the results of improper use, improper
transportation or any damage caused
during interim storage.
- The current terms of guarantee are always
valid.
- The installation has to be performed by at
least 2 persons of whom at least one
should be a skilled professional.
- All dimensions are in mm.
NL EN
- Avant de procéder au montage, veuillez
contrôler si l’article livré est complet.
Veuillez également contrôler les dom-
mages éventuels causés par le transport.
Nous n’acceptons pas de réclamations
dues à des dégâts causés par le transport
au-delà du 1er jour de livraison.
- Les fixations livrées avec les articles sont
destinées au montage sur un mur
massif porteur, finition stuc ou carrelé.
Pour d’autres finitions ou murs plus faibles,
prévoir d’autres fixations et éventuellement
consolider le mur si nécessaire.
- Clou se réserve le droit pour tout
changement technique ou optique par
rapport à la photo représentant le produit.
- Des changements de production peuvent
faire en sorte que les dimensions achées
ne correspondent plus, nous vous prions de
vérifier avant de procéder à toute action.
- Clou BV ne peut être tenu responsable
pour usage non approprié des articles,
transport inadéquat ou dommage causés à
votre entrepôt en attente de livraison.
- Les conditions de garanties en vigueur
restent toujours valables.
- Le montage doit être eectué par
2 personnes dont une au moins soit un
corps de métier.
- Toutes les mesures achées sont en mm.
- Bevor Sie die Montage durchführen,
kontrollieren Sie bitte, ob die gelieferte
Artikel vollständig ist. Auch kontrollieren
Sie, mögliche durch den Transport
verursachte Schäden. Wir akzeptieren
keine Beschwerden auf Schäden nach dem
1 Tag nach Lieferung.
- Die gelieferten Befestigungen sind für die
Montage auf einer vergipsten oder einem
verfliesten Untergrund vorgesehen. Für
andere Untergründe prüfen Sie hier die
erforderlichen Befestigungsmaterialien, die
Sie in Eigenverantwortlichkeit beschaen.
- Clou behält sich das Recht vor, die
technische und Sichtbarmachungsände-
rungen in Bezug auf die bildlich dargestell-
ten Bilder vorzustellen.
- Wegen eventuell anfallenden Änderungen
in der Produktion ist es möglich, dass
gegebene Maße nicht mehr korrekt sind.
Vor der Durchführung der Tätigkeit sind
alle erwähnten Maße in dieser Montagean-
weisung zu überprüfen.
- Clou b.v. kann nicht dafür verantwortlich
gemacht werden, für den unsachgemäßen
Gebrauch, unsachgemäßen Transport oder
Schäden, die während der Zwischenlage-
rung verursacht werden.
- Die gegenwärtigen Ausdrücke der Garantie
sind immer gültig.
- Die Installation muss von mindestens
2 Personen durchgeführt werden, von
denen man mindestens ein erfahrener
Fachmann sein sollte.
- Alle Maße sind in Millimeter.
FR DE
Gebruiksvoorschriften: zie ook de onderhoudsvoorschriften op www.clou.nl
User’s instructions: See also the maintenance guides at www.clou.nl
Instructions d’utilisation: Voyer aussi les instructions de maintenance sur www.clou.nl
Gebrauchsanweisungen: Sehen Sie auch die Wartungsanweisungen am www.clou.nl
Inhoud levering:
Content of delivery:
Contenu de la livraison:
Inhalt der Anlieferung:
Benodigd gereedschap:
Required tools:
Outils requis:
Erforderliche Werkzeuge:
Tijdens de installatie moet men voorkomen dat het
oppervlak van het product beschadigd raakt door harde
voorwerpen op het product te leggen.
During installation one has to prevent damaging the surface of
the product due to placing hard objects on the product.
Pendant l’installation on doit empêcher d’endommager la surface
du produit en évitant de poser des objets contondants sur le
produit.
Während der Installation muss man Schädigung verhindern der
Oberfläche des Produktes, das zur Platzierung der harten
Gegenstände auf das Produkt passend ist.
max.
15 kg
325
1 1/4"
90
71
96
300
17
280
840
380
57
min. 310
min. 87
10
80
150 150
17
810
900
2100
90
330
590
1050
100100
660
810
900
norm. 590
max. 730
min. 470
norm. 590
max. 730
min. 470
2100
90
330
590
310
310
1
Duidt met potlood en wa-
terpas de middellijn van de
wastafel aan.
Mark with pencil and level
the centreline of the wash-
basin.
Marquer avec un crayon et
au niveau la ligne de centre
du lavabo.
Markieren Sie mit einem
Bleistift und mithilfe der
Wasserwaage die Mittellinie
des Waschtisches.
2
Duidt met potlood en water-
pas de gewenste hoogte X
van de wastafel aan. (aange-
raden: X = 900 mm)
Mark with pencil and level
the prefered height X of the
washbasin. (recommended:
X = 900 mm)
Marquer avec un crayon et
au niveau la hauteur sou-
haitée X du lavabo. (recom-
mandé : X = 900 mm)
Markieren Sie mit einem
Bleistift und mithilfe der
Wasserwaage die gewünsch-
te Höhe X des Waschtisches.
(Empfohlener Wert: X = 900
mm)
centre
280 mm
X mm
X mm
3
Indien de wastafel niet op een
planchet van Clou wordt geplaatst,
dient men de benodigde gaten te
maken volgens de tekening op pagina
6.
If the washbasin is placed on a shelfs
that’s not from Clou, the necessary
holes have to be made according to
the drawing on page 6.
Si la vasque est placée sur une tablette
qui n’est pas de Clou faites les trous
selon le desin sur page 6.
Wenn das Waschbecken auf ein Platte
gesetzt wird das nicht vom Clou ist,
müssen die notwendigen Löcher
zufolge der Zeichnung auf Seite 6
gemacht werden.
4
Installeer het planchet.
Install the shelf.
Monter la tablette.
Montieren Sie die Platte.
min. 310
min. 87
10
80
150 150
17
4x
5
Plaats de wastafel op het planchet
en bevestig met de sluitringen en
M6 bouten (niet inbegrepen).
Place the washbasin on the shelf
and fix with the washers and M6
bolts (not included).
Placer le lavabo sur la tablette et
fixer avec les rondelles et les
boulons M6 (non inclus).
Bringen Sie das Waschbecken auf
die Platte an und befestigen Sie es
mit den Unterlegschieben und M6
Schraubbolzen (nicht mit
enthalten).
6
Bevestig de sifon (niet
inbegrepen) aan de afvoer
en aan de afvoerleiding.
Attach the trap (not
included) to the drain and to
the waste pipe.
Fixer le siphon (non inclus) à
la bonde et à la décharge
d’eau.
Befestigen Sie den Siphon
(nicht mit enthalten) am
Ablauf und an der Abflusslei-
tung.
2x
Lengte bout: dikte planchet + 7 mm Te diep indraaien van de bout kan de wastafel beschadigen!
Length bolt: thickness shelf + 7mm Inserting the bolt to deep can result in damaging the washbasin!
Longeur boulon: épaisseur tablette + 7 mm Visser le boulon trop profondément peut endommager le lavabo!
Länge schraubbolzen: dicke platte + 7 mm Zu tiefes Einschrauben kann das Waschbecken beschädigen!
7
Bevestig de kraan (niet
inbegrepen) en sluit deze
aan op de waterleiding.
Mount the tap (not included)
and connect it to the water
supply.
Fixer le robinet (non inclus)
et le raccorder à la conduite
d’eau.
Befestigen Sie die Waschti-
scharmatur (nicht mit
enthalten) und schließen Sie
ihn an der Wasserleitung an.
Clou. Bath findings.
Clou bv
Thermiekstraat 1
NL-6361 HB Nuth
T +31 (0)45 524 56 56
[email protected]
www.clou.nl
Looking for inspiration?

This manual suits for next models

1

Other Clou Plumbing Product manuals

Clou Minisuk CL/06.53011.20 User manual

Clou

Clou Minisuk CL/06.53011.20 User manual

Clou New Wash Me CL/02.01434 User manual
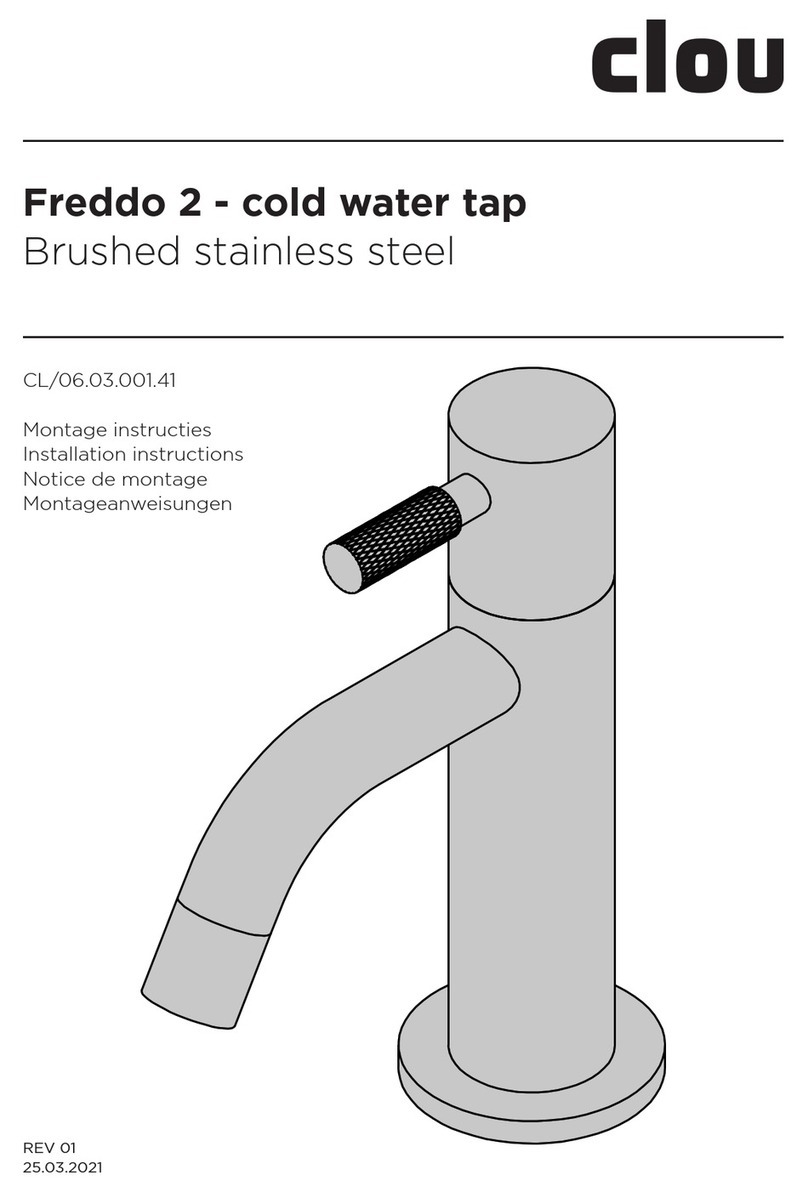
Clou

Clou New Wash Me CL/02.01434 User manual

Clou Freddo 4 CL/06.03.012.29 User manual

Clou

Clou Freddo 4 CL/06.03.012.29 User manual

Clou Aluite CL/02.27011 User manual

Clou

Clou Aluite CL/02.27011 User manual

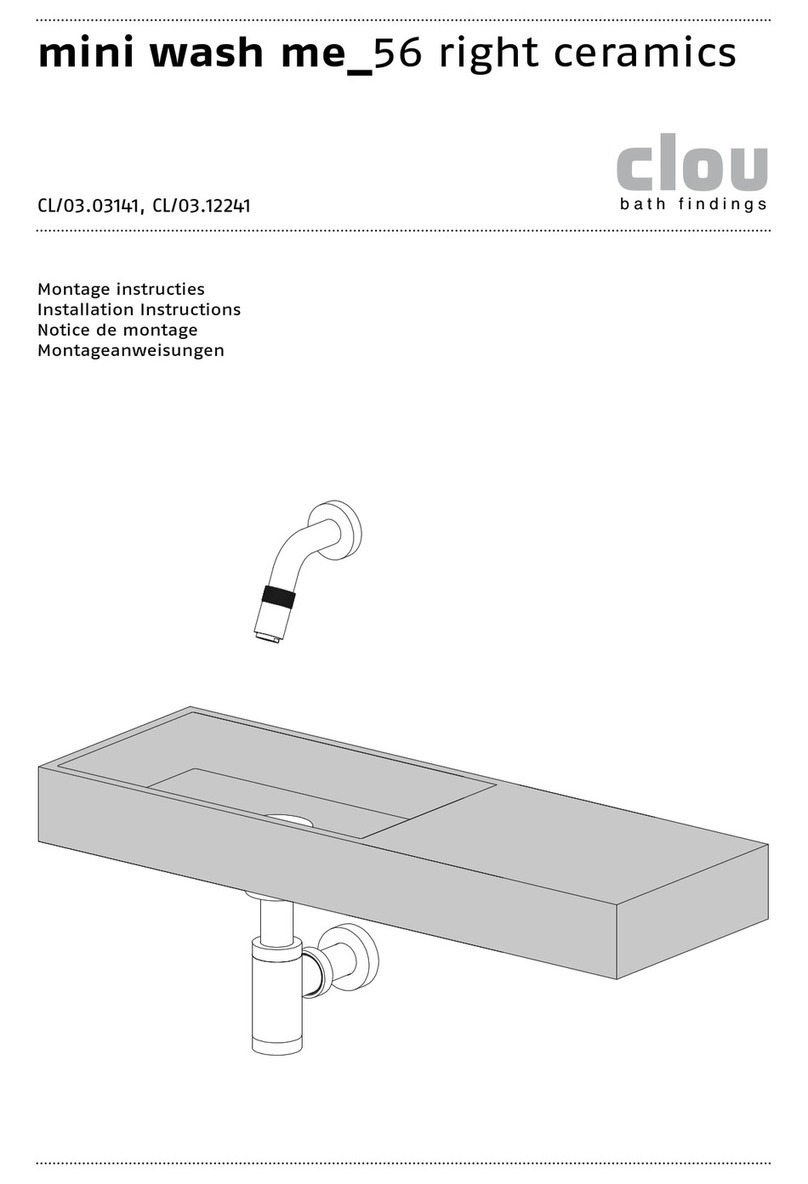
Clou Mini Wash Me CL/03.12230 User manual

Clou

Clou Mini Wash Me CL/03.12230 User manual

Clou Mini Wash Me CL/03.12231 User manual

Clou

Clou Mini Wash Me CL/03.12231 User manual

Clou Kaldur CL/06.05.001.29 User manual

Clou

Clou Kaldur CL/06.05.001.29 User manual

Clou mini wash me 45 left basalt CL/03.07134 User manual

Clou

Clou mini wash me 45 left basalt CL/03.07134 User manual

Clou New Flush 3 CL/03.03430 User manual

Clou

Clou New Flush 3 CL/03.03430 User manual

Clou Freddo 2 CL/06.03.001.21.L User manual

Clou

Clou Freddo 2 CL/06.03.001.21.L User manual

Clou Kaldur CL/06.05.004.41.R User manual

Clou

Clou Kaldur CL/06.05.004.41.R User manual

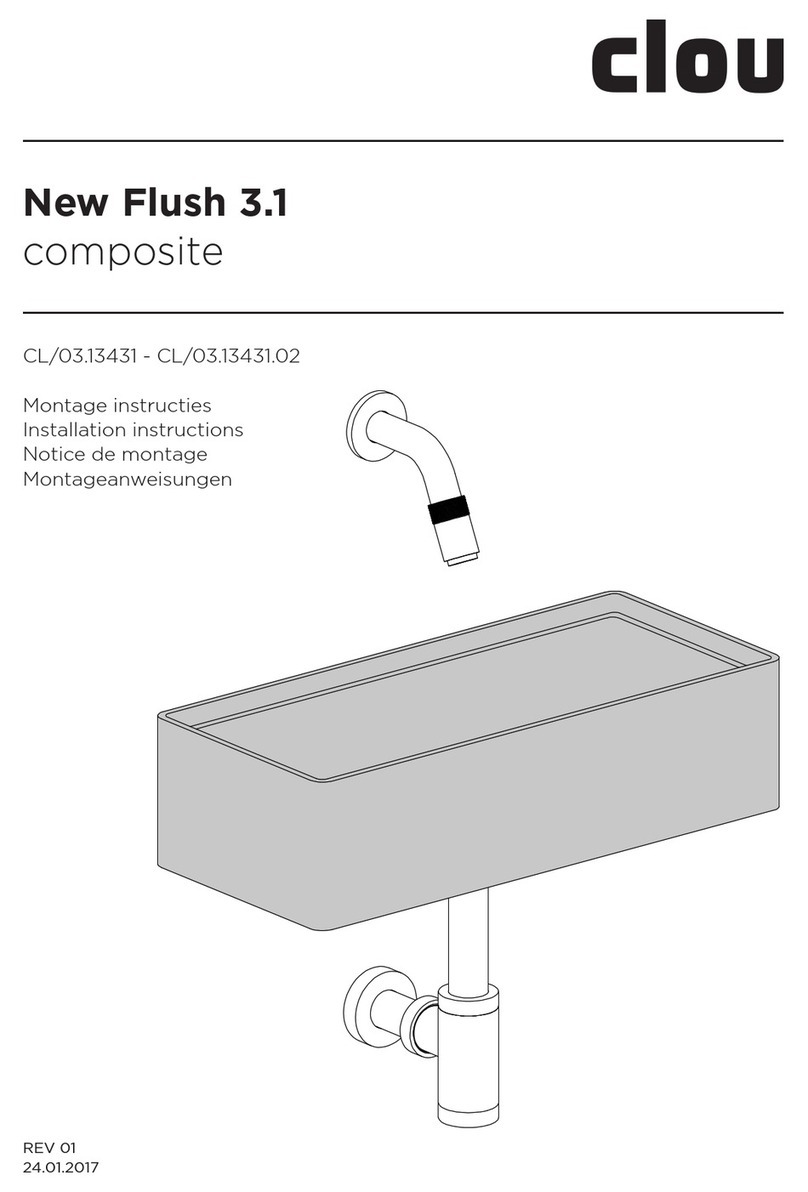
Clou New Flush 3.1 CL/03.13431.02 User manual

Clou

Clou New Flush 3.1 CL/03.13431.02 User manual

Clou New Flush 3.1 composite CL/03.13431.02 User manual

Clou

Clou New Flush 3.1 composite CL/03.13431.02 User manual

Clou Freddo 5 CL/06.03.006.41.L User manual

Clou

Clou Freddo 5 CL/06.03.006.41.L User manual

Clou Vale CL/03.02164 User manual

Clou

Clou Vale CL/03.02164 User manual

Clou wash me CL/02.01038 User manual

Clou

Clou wash me CL/02.01038 User manual

Clou CL/03.03432.01 User manual

Clou

Clou CL/03.03432.01 User manual

Clou first CL/03.12110 User manual

Clou

Clou first CL/03.12110 User manual

Clou New Flush 3.1 CL/03.13431 User manual

Clou

Clou New Flush 3.1 CL/03.13431 User manual

Clou Kaldur CL/06.05.004.84.R User manual

Clou

Clou Kaldur CL/06.05.004.84.R User manual

Clou Freddo 2 CL/06.03.001.41 User manual
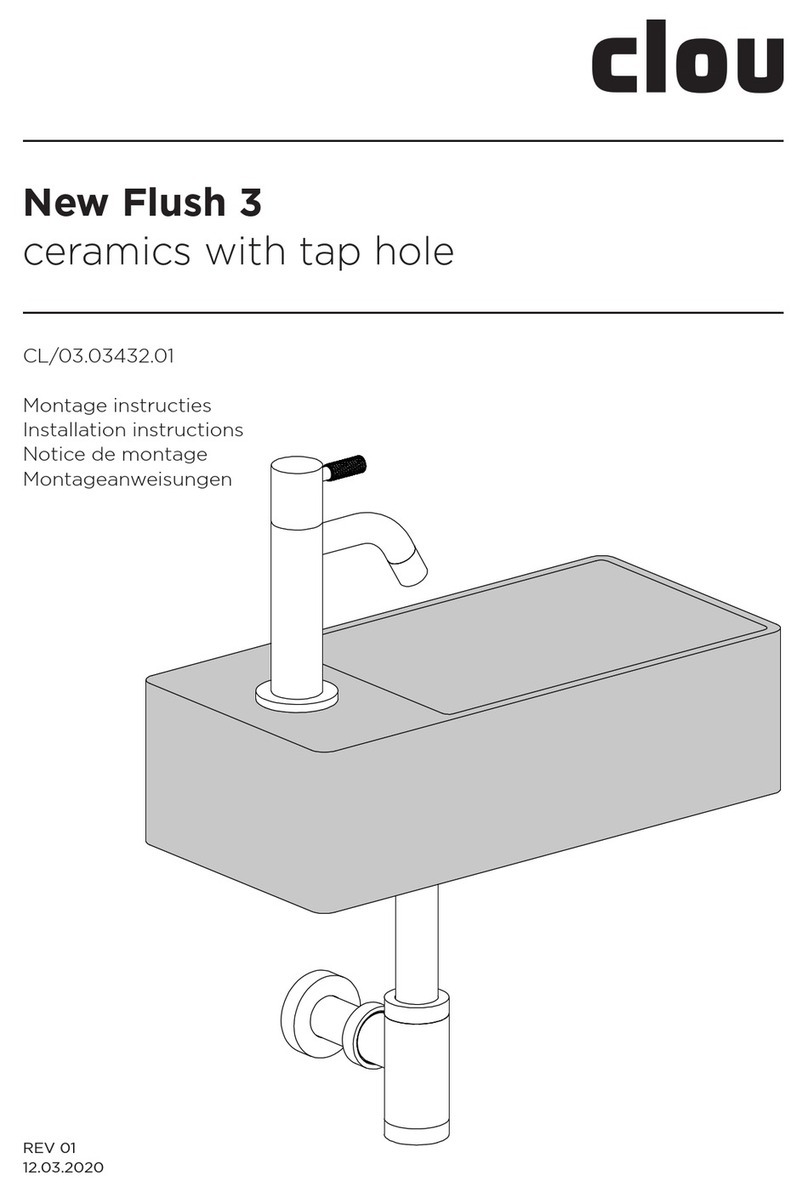
Clou

Clou Freddo 2 CL/06.03.001.41 User manual

Clou New Flush 1 CL/03.13410 User manual

Clou

Clou New Flush 1 CL/03.13410 User manual

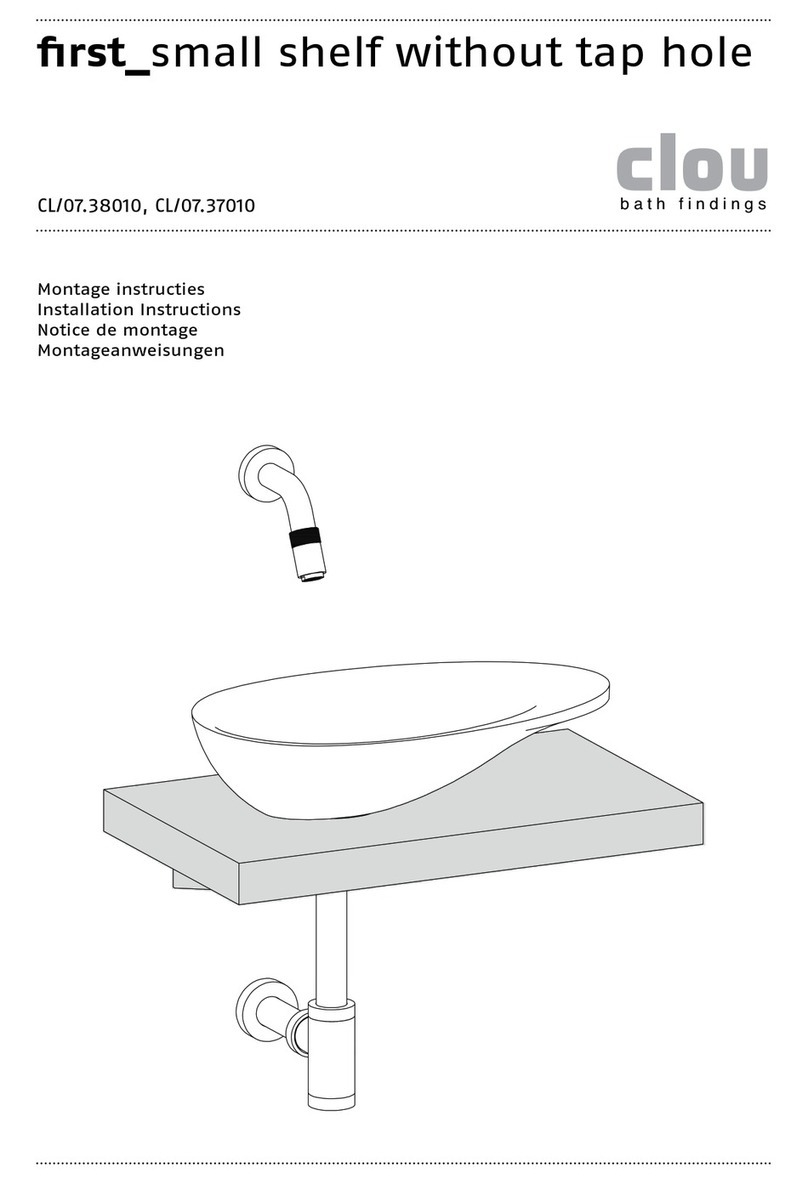
Clou first CL/07.38010 User manual

Clou

Clou first CL/07.38010 User manual
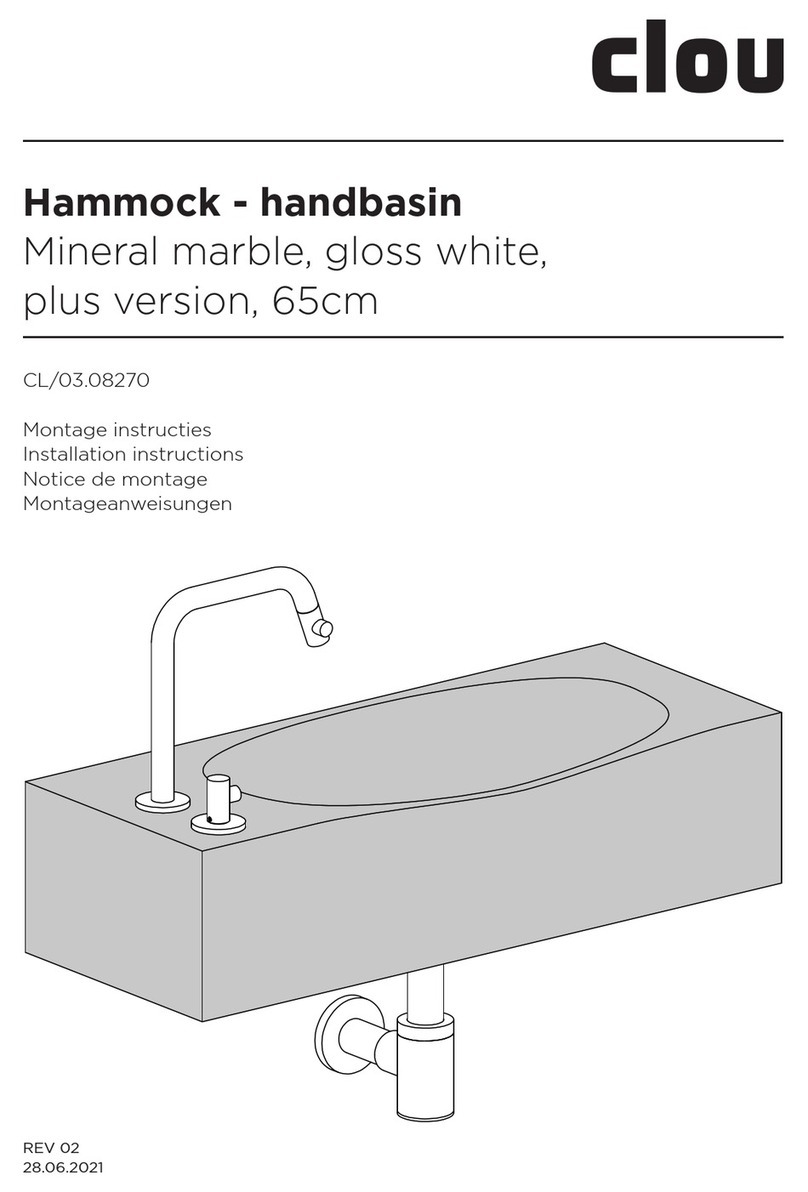
Clou Wash Me CL/02.13032 User manual

Clou

Clou Wash Me CL/02.13032 User manual

Popular Plumbing Product manuals by other brands

Voda Plumbingware VECM035 manual

Voda Plumbingware

Voda Plumbingware VECM035 manual

Brizo Rook 65060LF manual

Brizo

Brizo Rook 65060LF manual

Casa Lusso EVOKE EV-WH-CH installation instructions

Casa Lusso

Casa Lusso EVOKE EV-WH-CH installation instructions

Sapa Alumax PL91 installation instructions

Sapa

Sapa Alumax PL91 installation instructions

ZUCCHETTI ZD4 Instruction for the installation

ZUCCHETTI

ZUCCHETTI ZD4 Instruction for the installation

Hans Grohe Axor Uno 38850XX1 installation instructions

Hans Grohe

Hans Grohe Axor Uno 38850XX1 installation instructions

Hans Grohe Axor Front 26021001 Installation/User Instructions/Warranty

Hans Grohe

Hans Grohe Axor Front 26021001 Installation/User Instructions/Warranty

Axor Edge 46030001 Installation/User Instructions/Warranty

Axor

Axor Edge 46030001 Installation/User Instructions/Warranty

Axor Montreux Installation/User Instructions/Warranty

Axor

Axor Montreux Installation/User Instructions/Warranty

Hans Grohe Unica'E 06890 0 Series Installation/User Instructions/Warranty

Hans Grohe

Hans Grohe Unica'E 06890 0 Series Installation/User Instructions/Warranty

Kohler K-13490 Installation and care guide

Kohler

Kohler K-13490 Installation and care guide

CareCo DL06201 Owner's handbook

CareCo

CareCo DL06201 Owner's handbook

Toto Oberon TS362P Installation and owner's manual

Toto

Toto Oberon TS362P Installation and owner's manual

Kohler K-25875-0 quick start guide

Kohler

Kohler K-25875-0 quick start guide

Pfister Ashfield F-049-YW2 Quick installation guide

Pfister

Pfister Ashfield F-049-YW2 Quick installation guide

Rubi FALL-RFA21D2 Installation

Rubi

Rubi FALL-RFA21D2 Installation

Radaway Fuenta New KDJ Assembly instructions

Radaway

Radaway Fuenta New KDJ Assembly instructions

Sanela SLUN 72E Instructions for use

Sanela

Sanela SLUN 72E Instructions for use

manuals.online logo
manuals.online logoBrands
  • About & Mission
  • Contact us
  • Privacy Policy
  • Terms and Conditions

Copyright 2025 Manuals.Online. All Rights Reserved.