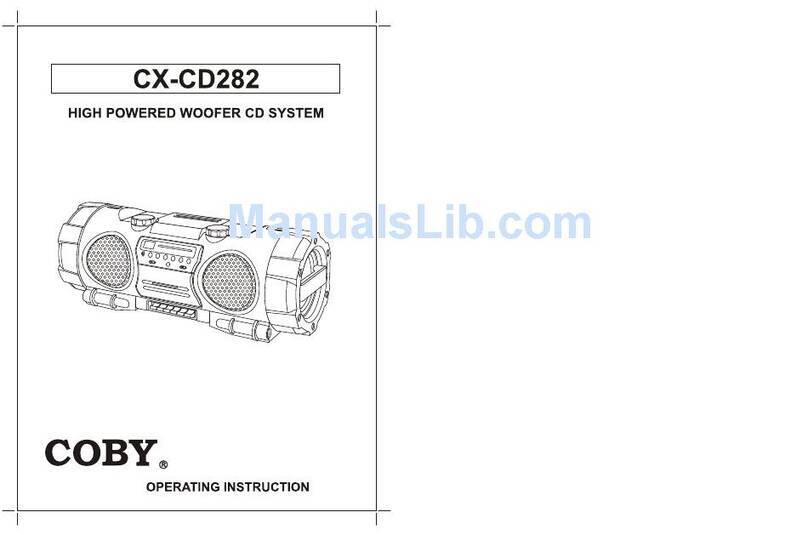
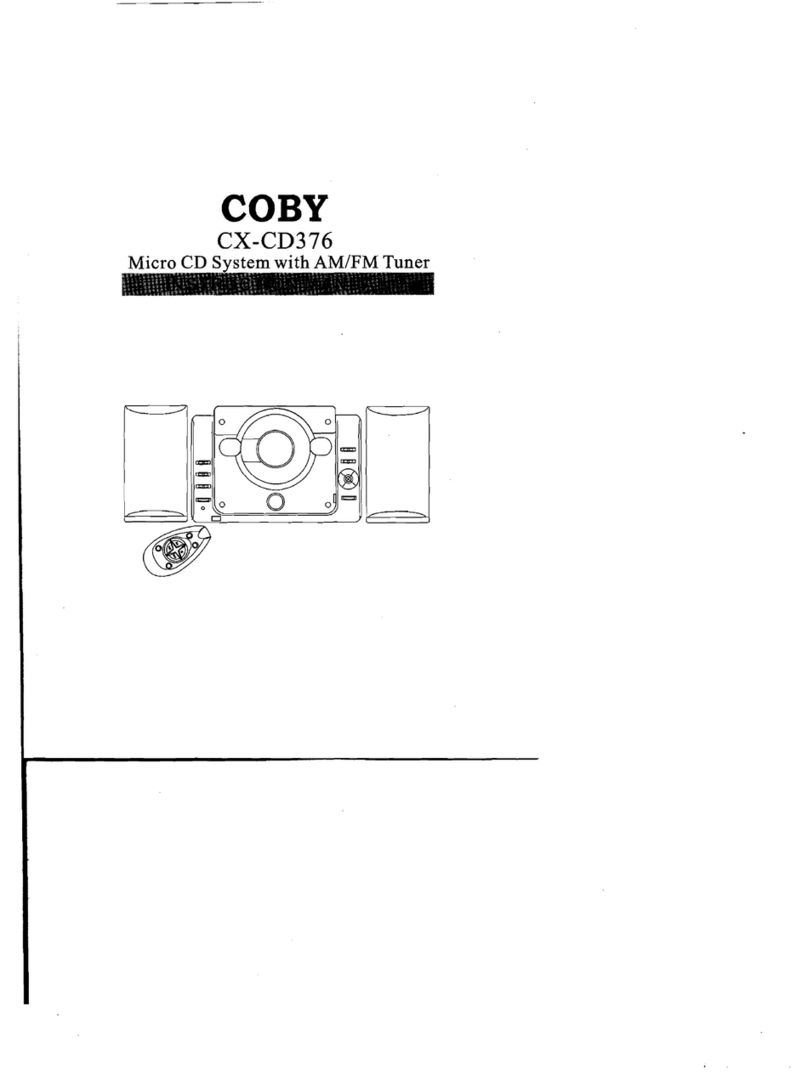
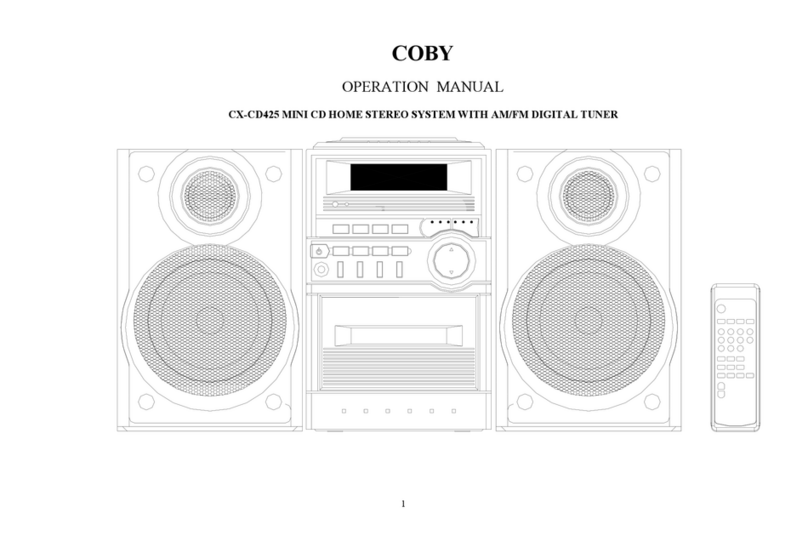
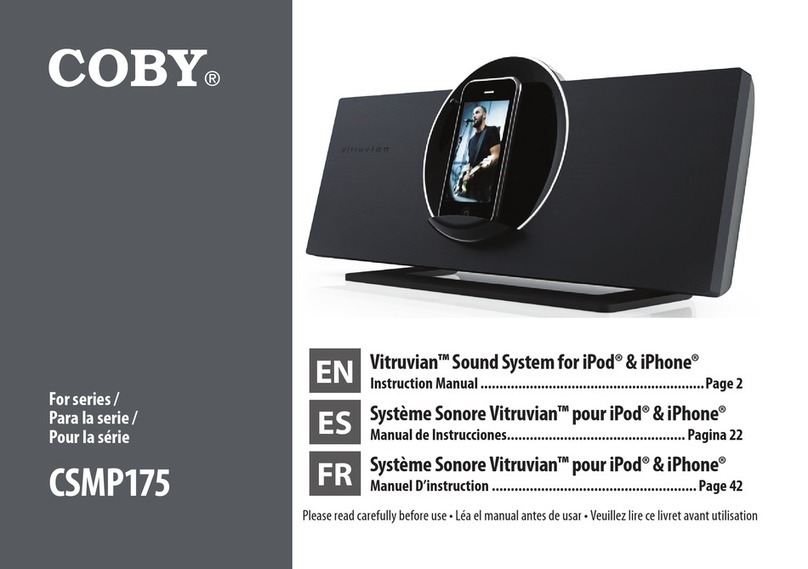
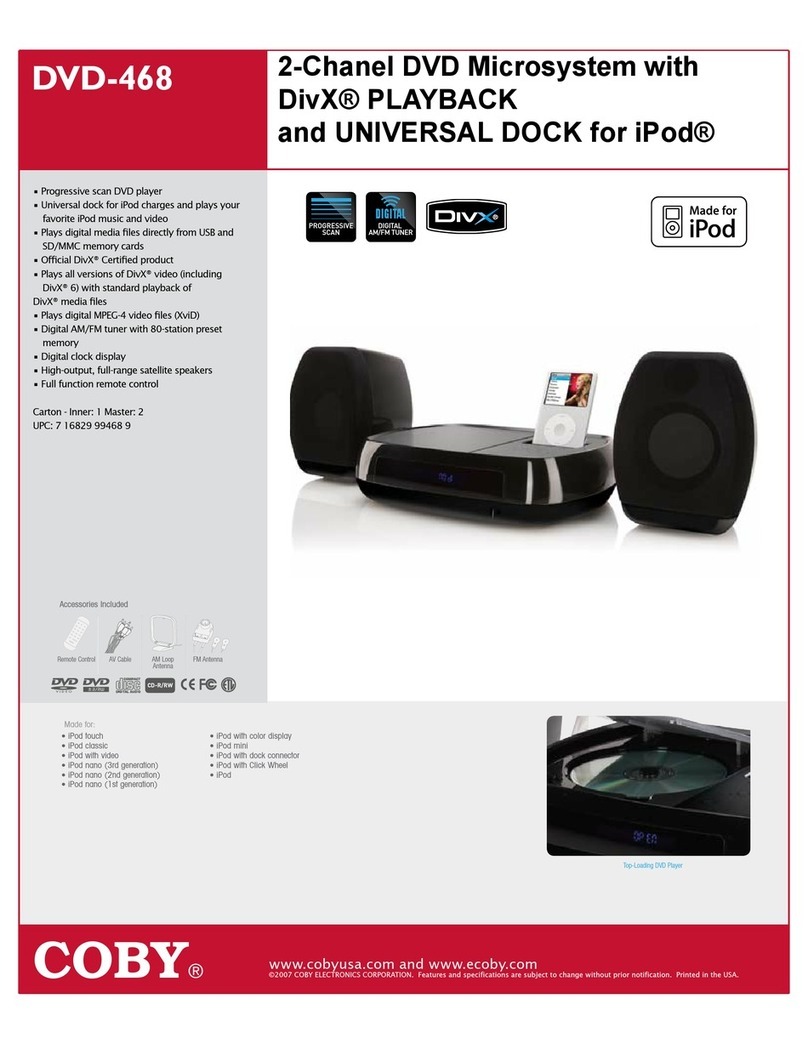
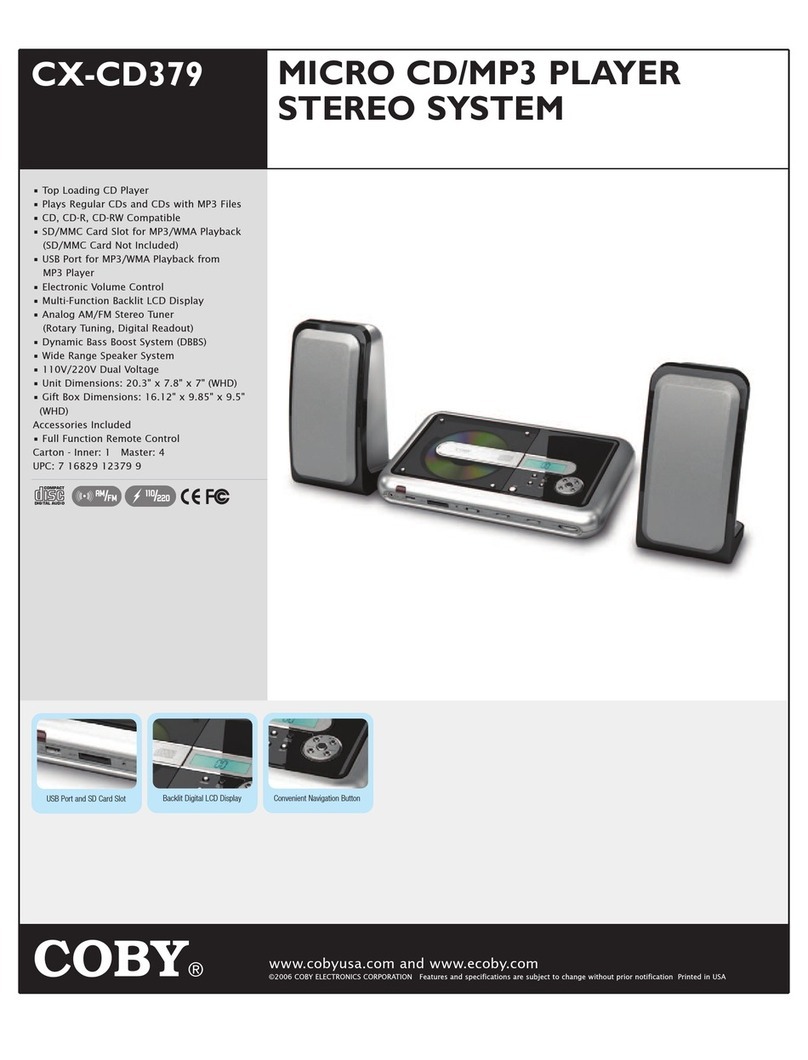
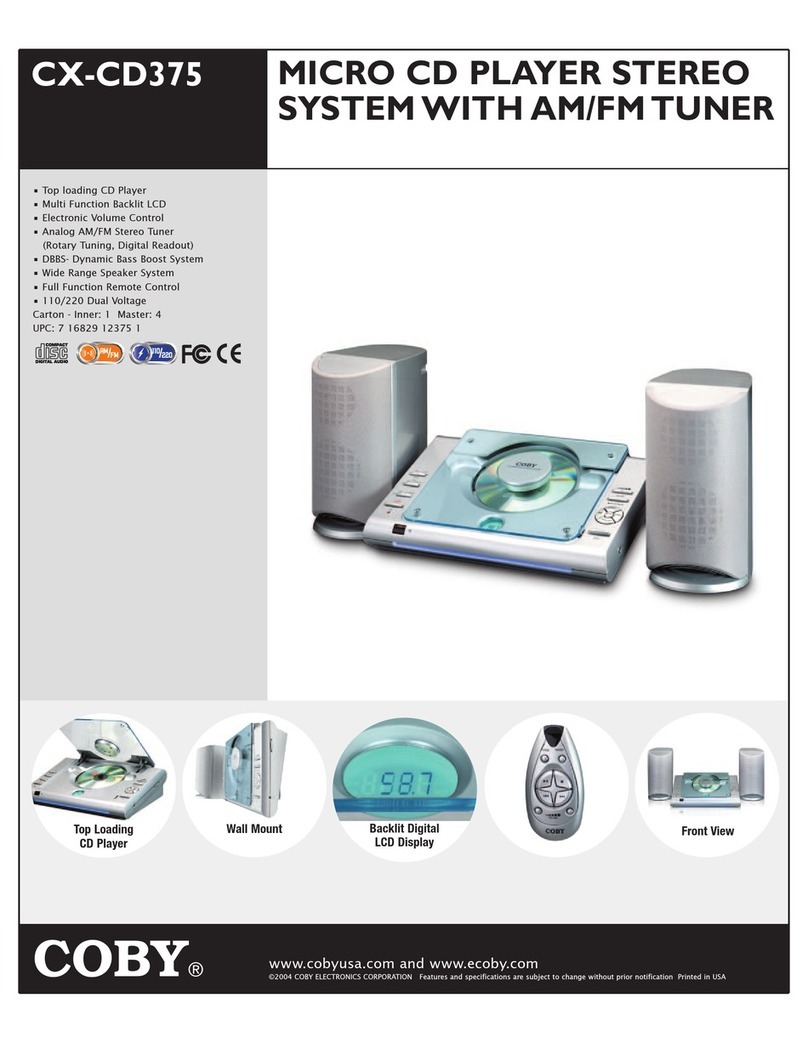
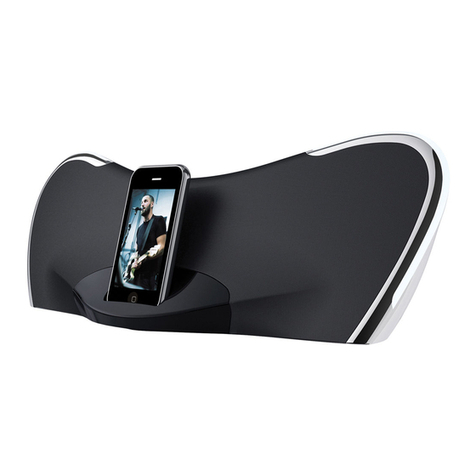
Coby DVD468 - AV System User manual

DVD-468
2-Channel DVD Microsystem for iPod
Instruction Manual

Contents
-1-
Features ...........................................................................................................................................2
For Your Attention.........................................................................................................................3-5
Accessories......................................................................................................................................6
Panel.................................................................................................................................................7
Connections ..................................................................................................................................8-9
System Setup............................................................................................................................10-14
Remote Control.........................................................................................................................15-16
Playback....................................................................................................................................17-22
Troubleshooting .............................................................................................................................23
Specifications.................................................................................................................................24

Features
-2-
Thank you for purchasing our product. Please read through this manual before connecting and operating this
product. Retain this manual for future reference.
The Coby DVD-468 provides a quality video and audio experience. Its high-performance digital technology
delivers a crisp picture and brilliant sound for long-lasting and enjoyable entertainment!
● Progressive scan DVD player
● DVD, DVD R/RW, CD, CD-R/RW, JPEG, and MP3 compatible
● Universal dock for iPod charges and plays your favorite iPod music, videos, and photo slideshows
● Plays digital media files directly from USB, SD, and MS memory cards
● Official DivX® Certified product
● Plays all versions of DivX® video (including DivX® 6) with standard playback of DivX® media files
● Plays digital MPEG-4 video files (XviD)
● Dolby Digital decoder
● NTSC/PAL compatible
● Parental lock controls
● Digital AM/FM tuner with preset station memory
● Full function remote control

For Your Attention
-3-
IMPORTANT SAFETY INSTRUCTIONS
1. Read these instructions.
2. Keep these instructions.
3. Heed all warnings.
4. Follow all instructions.
5. Do not use this apparatus near water.
6. Clean only with a dry cloth.
7. Do not block any ventilation openings. Install in accordance with the manufacturer's instructions.
8. Do not install near any heat sources such as radiators, heat registers, stoves, or other apparatus
(including amplifiers) that produce heat.
9. Do not defeat the safety purpose of the polarized or grounding-type plug. A polarized plug has two
blades with one wider than the other. A grounding type plug has two blades and a third grounding prong.
The wider blade or the third prong is provided for your safety. If the provided plug does not fit into your
outlet, consult an electrician for replacement of the obsolete outlet.
10. Protect the power cord from being walked on or pinched particularly at plugs, convenience receptacles,
and the point where they exit from the apparatus.
11. Only use attachments/accessories specified by the manufacturer.
12. Use only with the cart, stand, tripod, bracket, or table specified by the manufacturer, or
sold with the apparatus. When a cart is used, use caution when moving the
cart/apparatus combination to avoid injury from tip-over.
13. Unplug this apparatus during lightning storms or when unused for long periods of time.
14. Refer all servicing to qualified service personnel. Servicing is required when the appara-
tus has been damaged in any way, such as power-supply cord or plug is damaged, liquid has been
spilled or objects have fallen into the apparatus, the apparatus has been exposed to rain or moisture,
does not operate normally, or has been dropped.
15. Where the mains plug or an appliance coupler is used as the disconnect device, the disconnect device
shall remain readily operable.

For Your Attention
-4-
IMPORTANT INFORMATION
To reduce risk of fire or electric shock, do not expose this apparatus to rain or moisture.
WARNING
The apparatus must not be exposed to dripping or splashing. Objects filled with liquids, such as
vases or drinking glasses, must never be placed on the apparatus.
This symbol indicates "dangerous voltage" inside the product that presents a
risk of electric shock or personal injury.
This symbol indicates important instructions accompanying the product.
Caution: To reduce the risk of electric shock, do not remove cover (or back). No user
serviceable parts inside, Refer servicing to qualified service personnel.
This symbol indicates that this product incorporates double insulation between hazard-
ous mains voltage and user accessible parts. When servicing use only identical
replacement parts.

For Your Attention
-5-
FCC Statement:
This device complies withPart 15 of theFCC Rules. Operation issubject to the followingtwo conditions:
(1) This devicemay not cause harmfulinterference, and
(2) This device must accept any interference received, including interference that may cause undesired
operation.
Note:
This equipment has beentested and found to comply with the limitsfor Class B digitaldevices, pursuant to
Part 15 of the FCC rules. These limits are designed to provide reasonable protection against harmful
interference in a residential installation. This equipment generates, uses and can radiate radio frequency
energy and, if not installed and used in accordance with the instructions, may cause harmful interference
to radio communications. However, there is no guarantee that interference will not occur in a particular
installation. If this equipment does cause harmful interference to radio or television reception, which can
be determined by turningthe equipment offand on, the useris encouraged to tryto correct the interference
by one or moreof the following measures:
- Reorient or relocatethe receiving antenna.
- Increase the separationbetween the equipment andreceiver.
- Connect the equipmentinto an outlet ona circuit differentfrom that to whichthe receiver is connected.
- Consult the dealeror an experienced radio/TVtechnician for help
Use of shielded cableis required to complywith Class B limitsin Subpart B ofPart 15 of theFCC rules.
Do not make any changes or modifications to the equipment unless otherwise specified in the manual. If
such changes or modificationsshould be made, youcould be required tostop operation of theequipment.

Accessories
SymbolContents
Audio + Video
DVD
Disc types
Audio + Video
Audio
Audio
MP3
Video-CD
(VCD)
CD-DA
JPEG Photo CD
Picture CD
Audio +Video
Playable Disc and Media Types
-6-
Accessories
Accessories
U s e r ma n ua l
1
REPEAT
AUDIO
MEMO
RY
MO
/ST
SOURCESELECT
RADIO
STANDBY
23
456
78 9
ENTER
TITLE SUBTITLE
AM/FM AUTO
MENU
VOL
0/1010+
SEARCH
ANGLE V-MO
DE
PROG OSD
S.EFFECT CH-LEVEL TONE
USB STEP ZOOM
A-B
SETUP
PBC
SLOW
Audio +Video
MPEG-4
V I D E O
DivX
User Manual Remote Control A/V Cable Multimedia Player Adapters
AM AntennaFM Antenna Speaker Cable

Panel
-7-
Front panelTop panel
LR
YCb/Pb Cr/Pr
S-VIDEO
VIDEO
LR COAXIAL
ANTENNA
LIN E IN
SPEAKER OUT 4ohm
Rear panel
AM/FM
SOURCE
1 2
5
3567
12
13
9
10
8
11
USBSD/MS/MMC
4
6 7 8 9 10
2
34
1
1. COMPOSITE VIDEOOUTPUT
2. COMPONENT VIDEOOUTPUT
3. FMANTENNA JACK
4. AM ANTENNAJACK
5. L/RAUDIO INPUT
6. S-VIDEO OUTPUT
7. L/RAUDIO OUTPUT
8. COAXIAL DIGITAL AUDIOOUTPUT
9. SPEAKER OUTPUT
10. POWER SOCKET
STANDBY
OPEN/CLOSE
1. DISPLAY SCREEN
2. HEADPHONE JACK
3. OPEN/CLOSE
4. SOURCE
5. STANDBY
6. STOP
7. VOLUME +/-
8. PLAY / PAUSE
9. PREVIOUS /NEXT
10.AM/FM
11. SD/MS/MMCPORT
12. MULTIMEDIAPLAYER
DOCK
13. USB PORT


System Setup
MENU OPERATION
1. In DVDmode, press [SETUP]on the remotecontrol to displaythe setup menu.
2. Press [ ]/[ ] to selectan item.The submenu ofthe selected itemwill be displayedbelow instantly.
3. Press [ ]/[ ] to selectan item youdesire to setin the submenu,then press [ENTER]/[ ]to enter.Use [ ]/[ ] to
select an option,then press [ENTER]to confirm it,or press [ ] to cancel.
4. Thenyou can press[ ]/[ ] to continueto set otheritems in thesubmenu.
5. Press [ ] to goback to the .
6. Press [SETUP]again to exit the setup menu. move the highlight to ' ',then press [ENTER]to exit
the setup menu.
1 GENERAL SETUP PAGE
1.1 TV DISPLAY
If the unit is connected to a conventional TV set, 4:3 PANSCAN or 4:3 LETTERBOX. The 4:3 image will be
displayed in fullscreen in itsnative aspect ratio.
4:3 PANSCAN: The wide-screen image will be displayed on the screen in its native aspect ratio with some part on
the left andright cut off.
4:3 LETTERBOX: The wide-screen imagewill be displayed in its native aspect ratio withblack bands onthe upper
and lower sectionsof the screen.
If the unitis connected toa wide-screenTV set, 16:9 or WIDESQUEEZE.
16: 9: The wide-screen image will be displayed in full screen in its native aspect ratio while the 4:3 image will be
stretched out horizontallyto fit inthe screen.
WIDE SQUEEZE: The wide-screen image will be displayed in full screen in its native aspect ratio and so does the
4:3 image butwith black borderson the leftand the rightside.
1.2 ANGLEMARK
Set this itemto ON. When adisc encoded withmultiple camera angles is playing, theangle mark will display on the
screen. Thenyou can viewthe video different camera angles by pressing[ANGLE] on theremote control.
Set this itemto OFFto disable thisfunction.
NOTE:This functiononly works encoded with multiplecamera angles.
previous menuAlternatively,
select
select
in
with discs
-10-

System Setup
1.3 OSD LANGUAGE (On-Screen Display Language)
Set the on-screendisplay language inthis item.
1.4 CLOSED CAPTIONS
Set this itemto ON. When a disc encoded with closed captions , the closedcaptions will beshown on the
screen. Set thisitem toOFFto hide it.
Youcan also press[SUBTITLE] on theremote control toshow or hidethe closed captions.
NOTE:This functiononly works withthose discs encodedwith closed captions.
1.5 SCREEN SAVER
ON: If the image remains motionless on the screen, for example the disc is paused, stopped etc, for several
minutes, a screen saver will appear on the screen. You can press any key or button except [STANDBY] to wake it
up.
The unit will go into the standby mode the screen saver mode. You can press [STANDBY] to
switch it on.
OFF: Disable the screensaver function.
1.6 LAST MEMORY
ON: During a playback or in the paused statuseach time you open the disc tray, the unit will memorize the last
playback time. Next time when you insert the same disc and close the disc tray to load the disc, the unit will play
from the memorizedpoint.
OFF: Disable thelast memory function.
2 AUDIO SETUP PAGE
2.1 ANALOGAUDIO SETUP
2.1.1 DOWNMIX
LT/RT: The 5.1-channel audio is mixed into left channel and right channel and is output via the FLand FR speaker
respectively.
STEREO: The 5.1-channel audiois mixed intostereo signal andis output viathe FLand FR speaker.
NOTE: This function onlyapplies to theDolby AC-3 encoded 5.1-channeldiscs.
is playing
after 20 minutes in
,
-11-

System Setup
2.2. DIGITALAUDIO SETUP
2.2.1 DIGITAL OUTPUT
SPDIF OFF:There will beno digital audiosignal output. (CoaxialOff)
ALL: The digital audio signal output will be in its raw format. Normally, this m ode is used for DTS & Dolby Digital
5.1 signals.
PCM ONLY: The digital audiosignal output willbe in PCMformat. Normally, this modeis used foraudio CD signals.
2.2.2 LPCM OUT
When DIGITALOUTPUTis set toPCM ONLY, this itemis available.
Select a samplerating for theanalog audio output.There aretwo options, 48KHzand 96KHz.
NOTE: Some amplifiers don'tsupport 96KHz samplingwhich will affect the opticaland coaxial output.
2.3 DOLBY DIGITALSETUP
2.3.1 DUAL MONO
STEREO: The player outputsthe left-channel audioand right-channel audiovia the FLand FR speaker
respectively.
L-MONO: The player outputsthe left-channel audioonly via boththe FLand FR speaker.
R- MONO:The player outputsthe right-channel audioonly via boththe FLand FR speaker.
MIX- MONO:The player outputsthe average signalof the left-channeland right-channel audiovia the FLspeaker
and the FRspeaker.
NOTE: This function onlyapplies to theDolby AC-3 encoded 2-channeldiscs.
2.3.2 DYNAMIC
When you watch films with large dynamic scope in low volume, for example at night, you can adjust the dynamic
value up toavoid losing sounddetails resulting fromthe low volume.
3 VIDEO SETUP PAGE
3.1 VIDEO OUTPUT
OFF: Set video outputto the CVBS.
YUV:Set video outputin analog componentvideo format ifthe component videooutputs are used.
P_YUV:Set video outputas progressiveYUV signals ifthe component videooutputs are used.
NOTE:If the videosetting differs from the actualvideo connection, youmay get noimage or verypoor image onthe
TV. In such reset this setting item for an appropriate video output mode or press [V-MODE] on the remote
control until theoutput image becomesnormal.
cases
-12-

System Setup
3.2 COLOR SETTING
3.2.1 SHARPNESS
There are threeoptions (HIGH, MEDIUMand LOW) for youto choose inthis item.
3.2.2 BRIGHTNESS, CONTRAST, HUE and SATURATION
Enter these itemsrespectively,use direction [ ]/[ ] to adjustthe value, thenpress [ENTER] toconfirm it.
3.2.3 GAMMA
There are fouroptions (HIGH, MEDIUM, LOWand NONE) for youto choose inthis item.
3.2.4 LUMADELAY
There are twooptions (0T and 1T) for youto choose inthis item.
4 PREFERENCE PAGE
If there's nodisc in thedisc tray, the disctray is openor the discin the disctray is stopped,this item isavailable.
4.1 TV TYPE
This product supports both NTSC (National Television System Committee) and PAL (Phase Alternating Line)
television broadcasting standards.
PAL:If the connectedTV is PALsystem which isused in China,Hong Kong andEurope, etc, selectthis mode. Itwill
change the videosignal of NTSC disc andoutput in PAL format.
MULTI:If the connected TV is multi system, select this mode. The output format of the video signal of the disc will
be in accordancewith the videosignal of thedisc.
NTSC: If theconnected TV is NTSC systemwhich is used in Taiwan, America,Canada, etc, select this mode. It will
change the videosignal of aPALdisc and outputin NTSC format.
NOTE:If a wrongselection is made,the viewing imagewill be verypoor. Insuch case, youare supposed tochange
the option inthis item tofix the error.
keys
3.3 DIVX VOD (DivX Video-on-Demand)
The registration code for DivX Video-on-Demand (VOD) service can be available in this item. Enter this item and
press [ENTER] toget the registrationcode from thebrought up informationbox. Press [ENTER]to quit.
With the registration code you can rent and purchase movies using the DivX Video-on-Demand (VOD) service
offered by DIVX official website. Thenburn the videoonto a discand playback itwith this player.
an
-13-

System Setup
-14-
4.2 PBC (Play Back Control)
ON: Activate the PBC function. When playing a disc encoded with PBC function such as VCD 2.0, SVCD etc, press
[PBC] to returnto the PBCmenu.
OFF: Disable the PBCfunction.
NOTE: This function onlyworks with thosediscs encoded with PBC function suchas VCD 2.0, SVCD, etc.
DVD, VCD1.1, CD-DAand M P3 disc have noPBC menu.
4.3 AUDIO, SUBTITLE and DISC MENU
Select a preferredaudio language, subtitlelanguage and disc menu language in these items.
You can also make selection of the audio language by using the [AUDIO] and the subtitle language by the
[SUBTITLE] on theremote control.
NOTE: If the selectedlanguage is notavailable for the currently playing disc, the disc's defaultsetting works.
4.4 PARENTAL
This item allows the user to set a maximum rating of the movies that can be viewed. Movies rated higher than the
level set for the parental lock can not be viewed without inputting the correct password. What's more, to key in the
correct password isneeded to resetthe level. The default passwordis 136900.
NOTE: This function onlyworks with thosediscs with parental function.
4.5 DEFAULT
Enter to restoreall the defaultsettings except the settings in PARENTAL item and PASSWORD setup page.
5 PASSWORD SETUP PAGE
5.1 PASSWORD MODE
You can switch on/off the password function in thisitem.
NOTE: You must key in the correct password and press [ENTER] to confirm before you change the option in this
item. The default password is 136900.
5.2 PASSWORD
You can reset thepassword in thisitem.
NOTE: The default password(136900) is alwaysactive even if the password has been reset.

-15-
Remote Control
Install two AAA/1.5V batteries into the remote control. Point the remote control at the remote sensor
on the front panel. The remote control works within a distance of about from the sensor and
within an angle of about 30 degrees from the left and right side.20 feet
Not e:
Remove the batteries when you do not intend to use the remote control for a longtime.
Do not mixnew and usedbatteries, or different types ofbatteries.
Weak batteries can leak and severely damage the remote control.
Be environmentally friendlyand dispose ofbatteries according toyour government regulations.
Remote Control Operation
Battery Installation
Remove the battery
compartment cover on
the back ofthe remote
control.
Load the batteriesinto the battery
compartment making sure that the
batteries have been inserted with the
correct polarities matchingthe symbols +,
- as indicatedinside the battery
compartment.
Replace the cover.

Remote control
-16-
1
REPEAT
AUDIO
MEMORY
MO/ST
SOURCE SELECT
RADIO
STANDBY
23
456
78 9
ENTER
TITLE SUBTITLE
AM/FM AUTO
MENU
VOL
0/10 10+
SEARCH
ANGLE V-MODE
PROG OSD
S.EFFECT CH-LEVEL TONE
USB STEP ZOOM
A-B
SETUP
PBC
SLOW
15
20
21
9
622
23
5
31
30
26
28
11
27
1
16
2
3
17
4
7
18
19
8
25
14
29
13
12
10
1. STANDBY
2. GOTO
3. SETUP
4. PBC
5. PROGRAM
6. VOLUME+/-
7. FASTFORWARD/FAST REWIND
SEARCH +/-
8. TITLE/AM/FM
9. DIRECTION KEYS
10. AUDIO/ MEMORY
11. SOUNDEFFECT
12. STEP
13. USB
14. REPEAT
15. MUTE
16. DIGIT KEYS
17. PLAY/PAUSE
18. SLOW
19. V-MODE
20. ANGLE
21. SOURCE SELECT
22. OSD
23. NEXT/PREVIOUS
RADIO+/-
24. SUBTITLE/AUTO
25. ENTER
26. MENU/ MONO/STEREO
27. CH-LEVEL
28. TONE
29. ZOOM
30. STOP
31. A-B REPEAT
24

Playback
-17-
GOTO
Press to enteran item inthe menu orto confirm youroperation etc.
ENTER
The direction keyscan be usedto move thehighlight or adjustthe value ofan item inthe menu .
STANDBY
SETUP
Note: Being inthe standby modeuses a minimalamount of electricity, but ensuresthat the components
of the unitoperate at maximumefficiency from the moment youstart.
Switch on theunit. /Put theunit in standbymode.
Press to enter/exitthe setup menu.
The digit keys can be used to input the corresponding numbers or make selection of a track or a
chapter of adisc, etc.
56
8 9
10+
0/10
23
1
4
79
During playback, pressto enter theGOTO menu. In the menu,use the direction key [ ]/[ ] to select
a setting item and press [ENTER] to enter the editing state, then with the digit keys input a specific
track, disc time,track time, chapter, title, chaptertime or titletime to goto directly. Press itagain to exit
the GOTOmenu.
SOURCE
SELECTPress repeatedly toselect a signalsource among DVD,TUNER, LINE 1 and LINE2.
USBPress this button,use the directionkey [ ]/[ ] to selecta signal source,DVD, USB orCARD, then
press [ENTER] toaccess the correspondingmode.
Press this button to enter/exit the program menu with which you can playback the contents of a disc
in your desiredorder.
In the program menu, use the direction keys, digits keys and [ENTER] to make a program list, then
move the highlightto STARTand press [ENTER]to start programplayback.
During program playback, press [PROG] to enter the program menu and the STOPis highlighted,
press [ENTER] tocancel program playback.
PROGRAM

Playback
-18-
Press for fastforward playback. The available speeds are 2X, 4X,8X, 16X and 32X.
Press for fastreverse playback. The available speeds are 2X, 4X,8X, 16X and 32X.
Press to skipto the previouschapter/track.
Press to skipto the nextchapter/track.
Press to temporarilyswitch off the sound . Press it againto switch it on.
VOLUME+/-
Press [VOLUME +/-]to adjust thevolume.
Press repeatedly toswitch the repeatmodes.
(Note: For VCD2.0,SVCD, etc, thisfunction is invalid when PBC functionis activated.)
REPEAT
You can repeat aspecific section ofa disc with this button.
During playback, press this button to mark down the starting point (A) and press it again to mark down
the ending point (B). Then, the unit will playback this section over and over again. Press it for the third
time to cancelA-B repeatand resume to the normal playback.
Note: PointsA andB must be in the sametitle/ track.
A-B
Press to temporarilypause a playback.Press it again to resume the playback.
Or, pressto resume thenormal playback from the fast forward,fast reverse playback,etc.
Press once topause the playingdisc, then press [ ] tocontinue the playback;
Press this buttontwice to stopthe disc and the disc willbe reset tothe start point.
Press repeatedly to advance the video frame by frame. Press [ ] to resume the normal playback.
(Note: Appliesto DVD, VCD,MPEG4 discs etc)
Press repeatedly for slow-motion playback in different speeds or return to the normal speed. The
available slow-motion speeds are 1/2, 1/4, 1/8, 1/16 of the normal speed. (Note: Appliesto DVD, VCD,
,etc)
STEP
SLOW
CH-LEVEL Press to select a channel or the overall volume, then use [VOLUME+]/[VOLUME-] to adjust the
volume of theselected channel orthe overall volume.

Playback
-19-
When a DVDis currently playing,press to returnto the titlemenu.
TITLE
When a DVDis currently playing,press this buttonto return tothe root menu.
MENU
TONEPress to selectBASS orTREBLE, then use[VOLUME+/-] to adjustthe value ofbass or treble.
Press repeatedly toswitch the soundeffects or switch off the sound effect.
Note: You are recommended to switch off the sound effect when playing a Dolby 5.1 channel
obtain the real5.1 effect.disc to
S.EFFECT
Press repeatedly to switch the subtitles or switch off the subtitle if the playing disc has multiple
subtitles recorded ontoit.
SUBTITLE
OSDPress repeatedly toswitch or hidethe relative informationof the playingdisc.
AUDIOPress repeatedly to select the available audio languages provided by the disc (for DVD).
Press repeatedly to switch the available audio channels (LEFT MONO, RIGHT MONO, MIX-MONO
and STEREO) providedby the disc(for VCD).
ANGLE
Press to switchthe viewing anglesif the playingdisc has multiplecamera angles recordedonto it.
V-MODEPress repeatedly toswitch the videooutput modes.
ZOOMPress to zoom in/out the scene. The available zoom ratios are 2X, 3X, 4X, 1/2, 1/3 and 1/4. In
zoomed-in mode, the direction keys can be used to move the zooming center. (Note: Applies to DVD,
VCD, etc.)
PBCPress to activate/disable the PBC(Play Back Control)function.
(Note: This function only works with those discs encoded with PBC function such as VCD 2.0, SVCD,
etc. DVD, VCD1.1,CD-DA andMP3 have no PBCfunction.)discs
Other manuals for DVD468 - AV System
1
Table of contents
Other Coby Stereo System manuals

Coby
Coby CX-CD376 - 20 Watts CD Stereo System User manual

Coby
Coby DVD468 - AV System User manual

Coby
Coby COBY CX-CD379 User manual

Coby
Coby COBY CX-CD282 User manual

Coby
Coby Vitruvian CSMP175 User manual

Coby
Coby COBY CX-CD375 User manual

Coby
Coby MP-C351 User manual

Coby
Coby CX CX-CD400 User manual

Coby
Coby Butterfly CSMP145 User manual

Coby
Coby COBY CX CD377 User manual