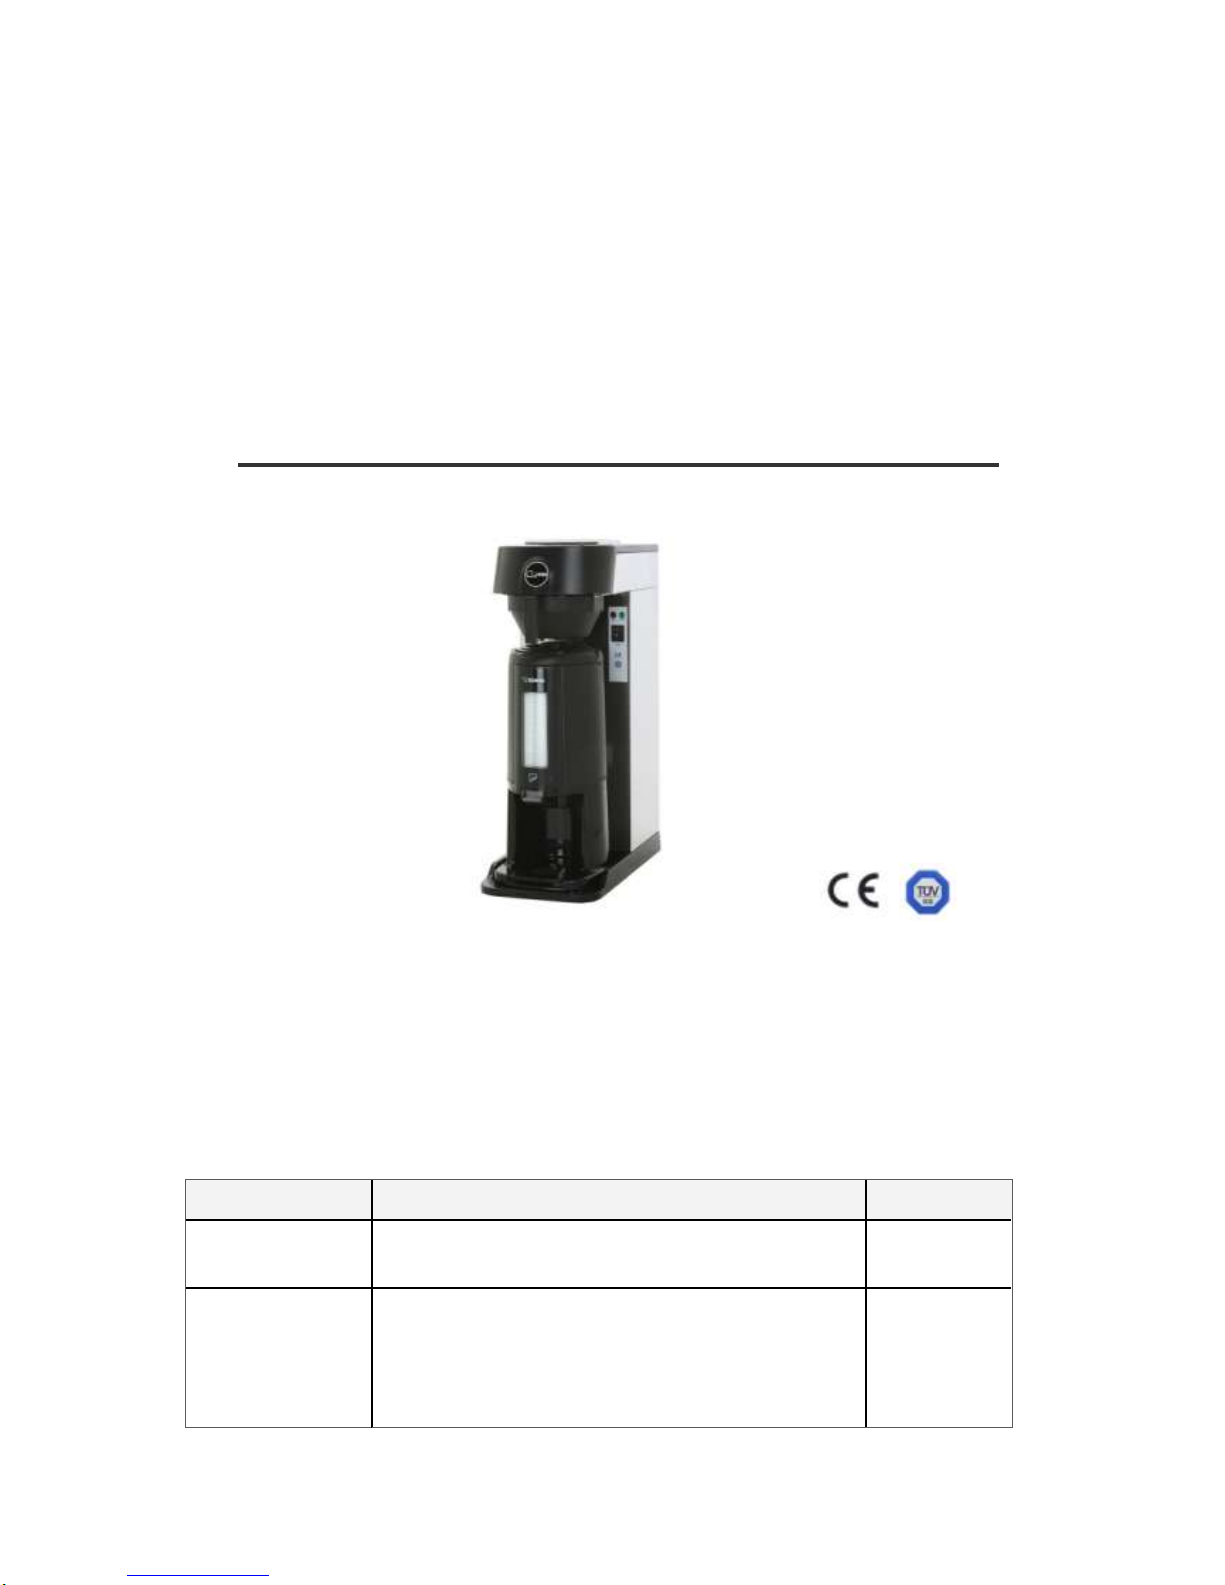
Successful Installation
Damages resulting from improper installation are not covered by the warranty.
Here are the key points to consider before installation.
Electrical Connection
1. Verify that the actual voltage at the electrical service connection is compatible with the specifications
on the brewer's label. All Cofman coffee makers require NEUTRAL.
Ground is not an acceptable substitute. Installation without neutral may cause the electronic
components to damage.
2. Pour water of about 4 liter into the coffee maker (DW101TS), then electricity to concert.
Because, at first if you supply electricity for it, inside the tank is empty, Heater is damaged.
3. Power cords and plugs are shipped your national electrical configurations.
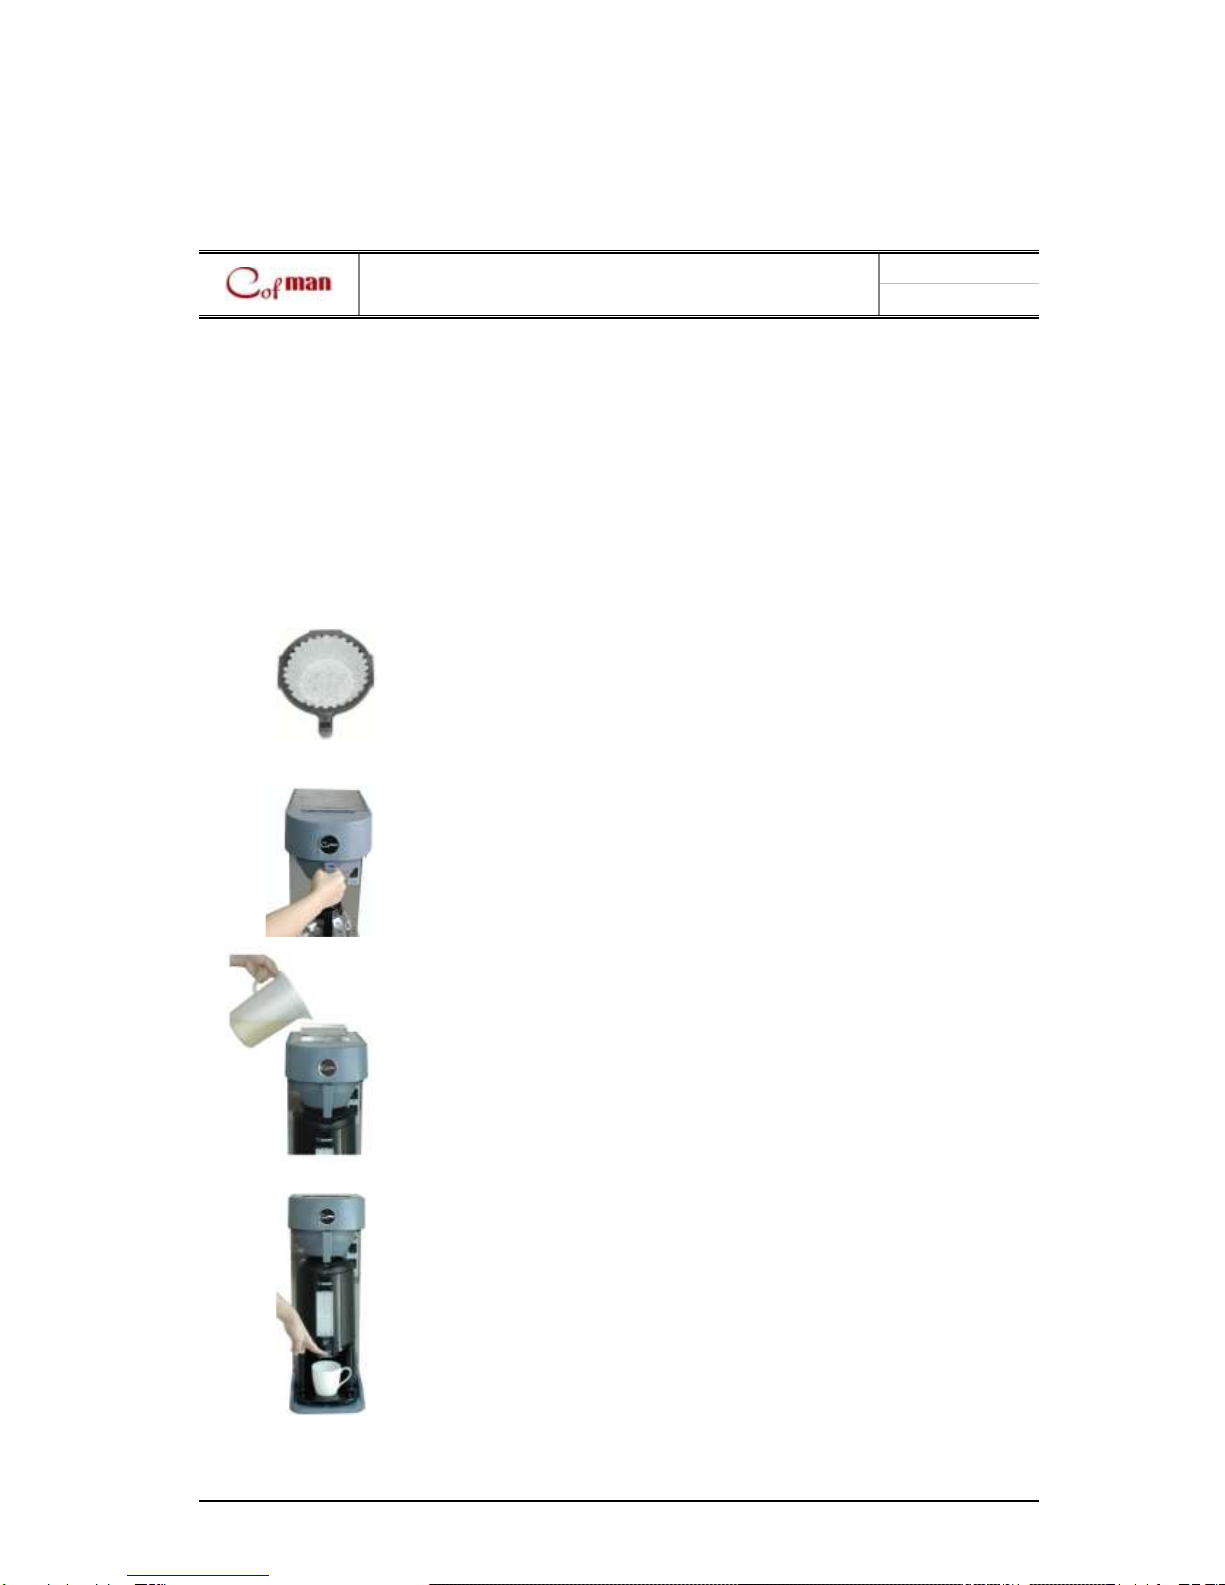
Coffee Maker(DW101 TS) Setup
1. Fill water of about 4 liter into the coffee maker (DW101TS).
2. Turn on the incoming power.
3. Turn on the coffee maker 's main power switch.
4. Heater operates and Heating Lamp is lighted.
5. The brewer will be stand-by for operation as soon as the stand-by light comes on to
signify that the water tank is up to temperature.
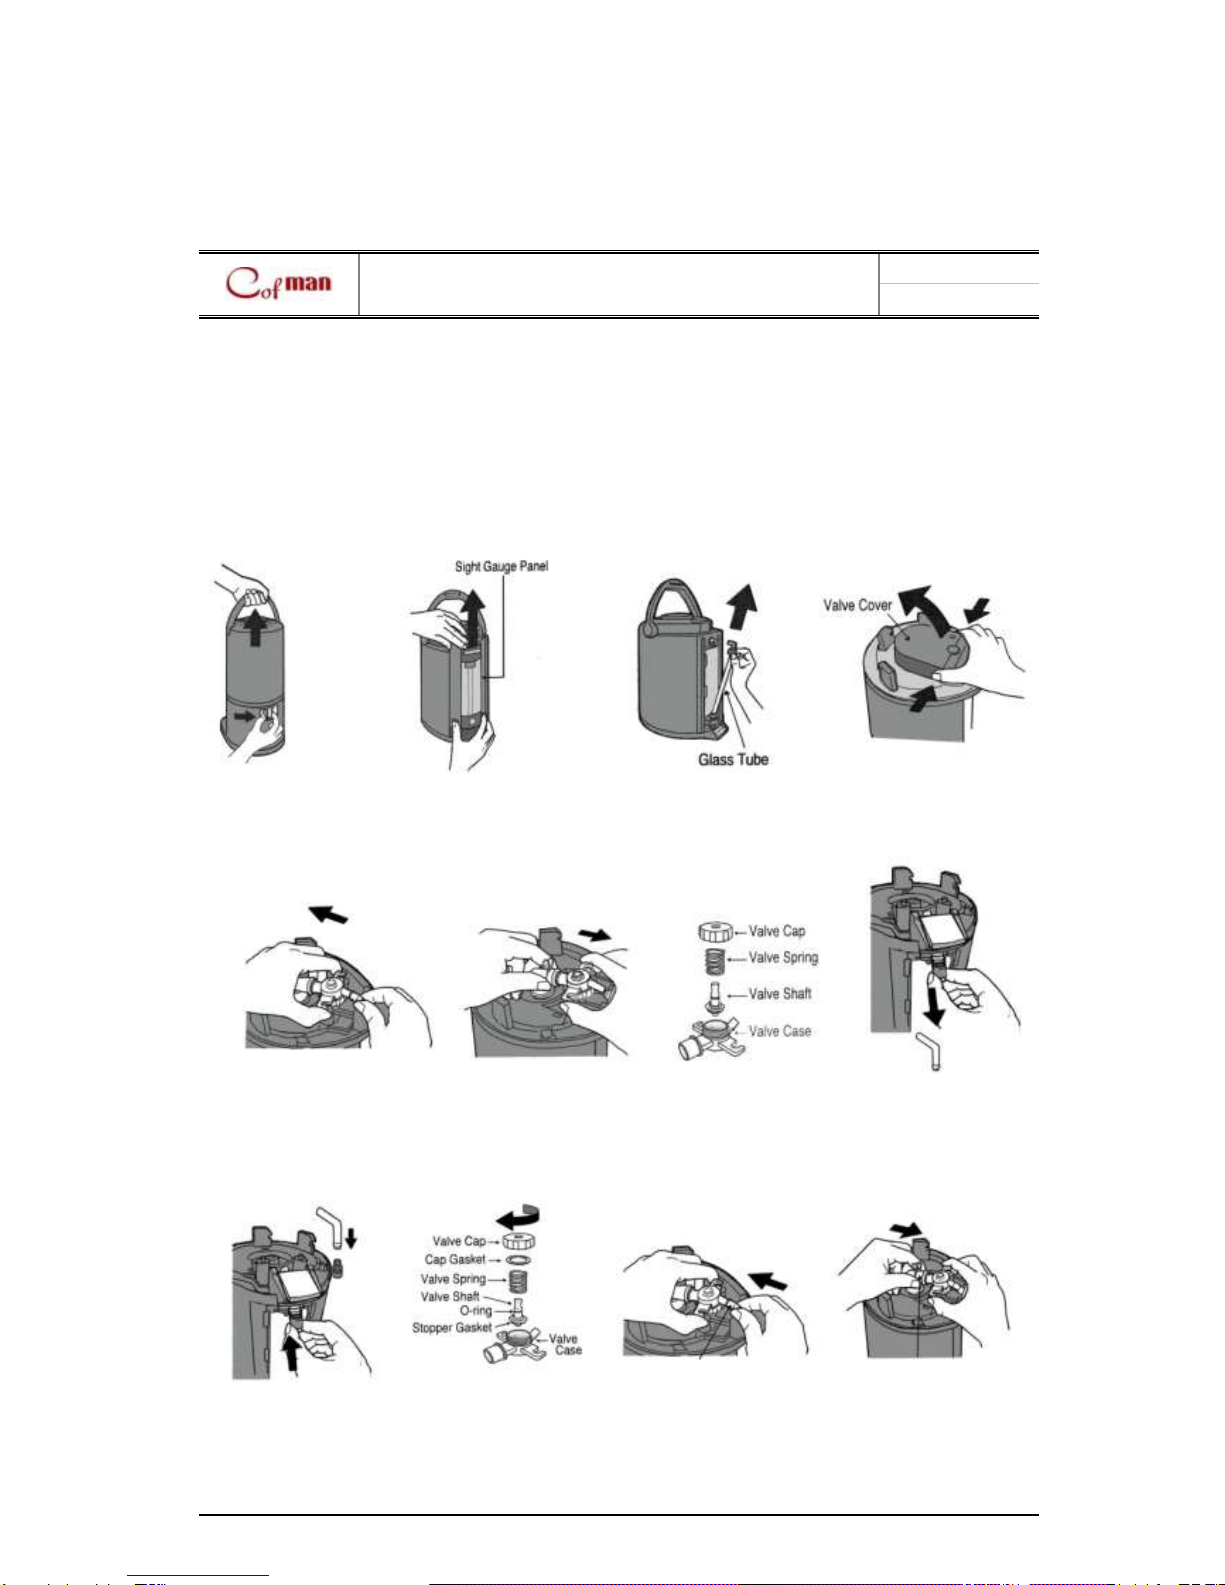
Shot brew levels (Every Brew)
affected and levels are consistent.
Clean and replace the spray-cap
Put waste (coffee powder) on inside.
After dissolution, inside cleaning
High brew levels (Some Brews)
Empty the Thermal Server and try again.
Brew water is cold / not hot enough,
Stand-by light is OFF.
- Make sure power switch is on.
- Check power connection. (plug or wire)
- Check building circuit breaker
Check amperage draw on heater wires.
Brew water is cold / not hot enough,
Stand-by light is ON.
Bad Thermostat (the thermostat
Belive that it is at set temperature)
Change the new Thermostat
Low brew temp. setting on EGO.
Adjust thermostat (88~90℃)
Slower to recover temperature
Check amperage and inspect for lime.
Server (Coffee not hot enough)
Thermal Server not preheating
Preheat before first brew of the day.
Thermostat set too high for altitude
Reduce temperature setting to 5℃below
Defective thermostat (EGO)